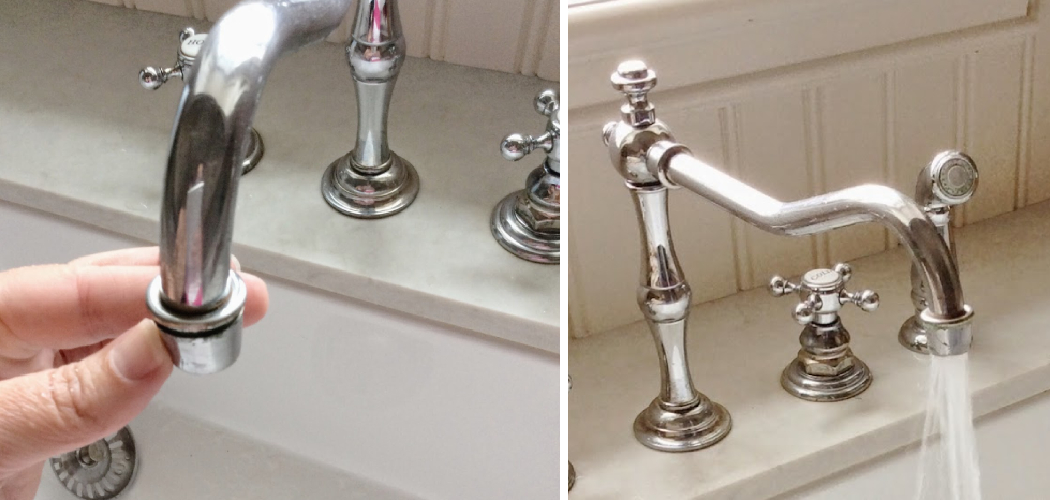
A faucet that sprays water unevenly can be both frustrating and messy. This common issue is often caused by a clogged or damaged aerator, which disrupts the flow of water and leads to splashing. Fortunately, fixing a spraying faucet is a simple task that doesn’t require advanced plumbing skills. With a few basic tools and a little patience, you can restore your faucet to proper working condition in no time.
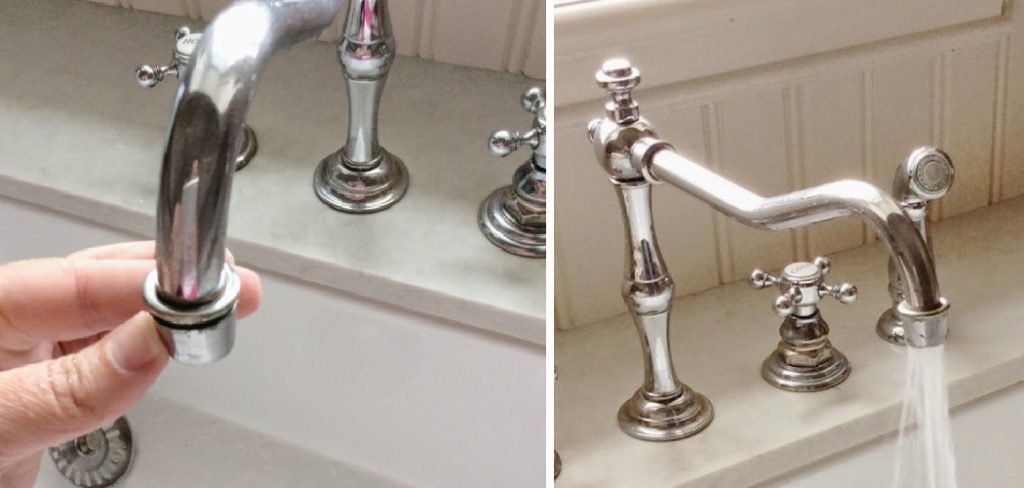
In this article on how to fix a faucet that sprays, we’ll walk you through the step-by-step process of identifying and resolving the problem. We’ll also provide some tips on how to prevent future leaking faucets and maintain a smooth water flow in your home.
Understanding Faucet Spray Issues
Faucet spray issues are commonly caused by the buildup of debris or mineral deposits in the faucet’s aerator. The aerator, a small screen located at the tip of the faucet, is designed to regulate water flow by mixing air and water. Over time, hard water deposits, dirt, and sediment can clog the aerator, leading to uneven water flow and spraying.
Another potential cause of spray issues is a damaged or misaligned aerator, which can affect the direction of the water stream. Additionally, cracks or leaks in the faucet spout can exacerbate the problem, causing water to escape unpredictably. Understanding these underlying causes is the first step to successfully addressing faucet spray issues and ensuring consistent water flow in your home.
Tools and Materials Needed
Screwdriver:
Used for removing aerators and disassembling faucets.
Cleaning Solution:
It can be a mixture of dish soap and warm water, or a specialty cleaner specifically designed for faucets.
Small Brush:
Ideal for cleaning hard-to-reach areas such as the inside of faucet spouts. A toothbrush can also work in a pinch.
Vinegar or Lime Removal Solution:
Effective for removing mineral build-up and improving water flow in clogged aerators.
Replacement Parts:
If a damaged aerator or faucet component is the root cause of spray issues, replacement parts may be needed.
7 Steps on How to Fix a Faucet That Sprays
Step 1: Turn Off the Water Supply
Before starting any repair work, locate and turn off the water supply to the faucet. This can typically be done by shutting off the valves located under the sink. If individual shut-off valves are not available, you may need to turn off the main water supply to your home.
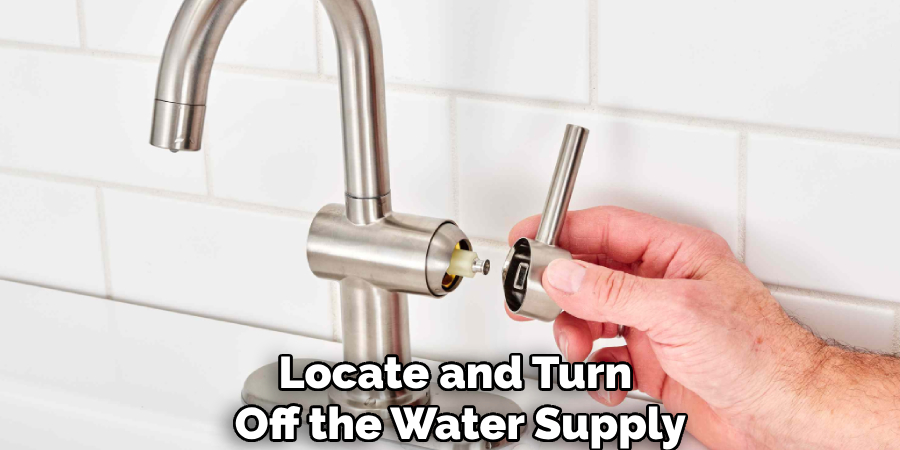
This step is crucial to prevent water from spraying out unexpectedly during the repair process.
Step 2: Cover Sink Drain
Place a cloth or stopper over the sink drain to prevent any small parts, such as screws or washers, from falling into it during the repair. This simple precaution can save time and effort, ensuring that no components are accidentally lost while working on the faucet.
It is also recommended to clean the sink and the surrounding area before starting the repair process. This will make it easier to locate any dropped parts and prevent them from getting lost in a dirty sink.
Step 3: Remove Aerator
Carefully unscrew the aerator from the end of the faucet spout. An aerator is typically found at the tip of the faucet and may be unscrewed by hand. If it proves difficult to remove, use a pair of pliers wrapped in a cloth to avoid scratching the metal.
Removing the aerator helps ensure that no debris or buildup inside it interferes with the repair process. Once removed, set the aerator aside in a safe place to prevent it from being damaged or misplaced.
Step 4: Clean Aerator
Once the aerator is removed, inspect it for debris, mineral buildup, or sediment clogging the screen. Rinse the aerator thoroughly under warm running water, using a small brush or an old toothbrush to gently scrub away any deposits. For more stubborn buildup, soak the aerator in a solution of equal parts vinegar and water for 15–30 minutes.
After soaking, rinse and scrub again to ensure all residue is removed. Once cleaned, set the aerator aside to dry before reattaching it to the faucet.
Step 5: Check for Blockages
Before reattaching the aerator, turn on the faucet and allow water to run through the spout for several seconds. This step helps clear out any remaining debris or sediment that may be lodged inside the faucet itself.
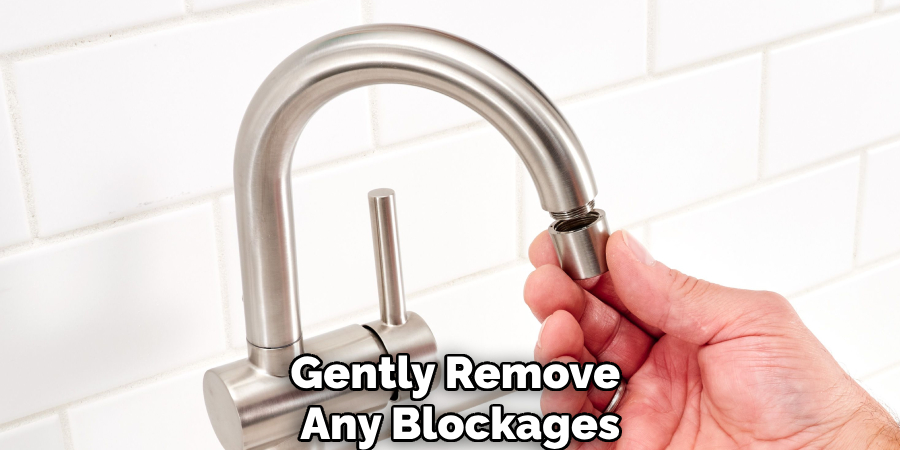
Observe the water flow to ensure it is steady and free from obstructions. If the flow appears uneven or weak, use a thin wire or pipe cleaner to gently remove any blockages from the faucet opening. Once the water is running smoothly, proceed to reattach the cleaned aerator.
Step 6: Reassemble
Carefully reattach the aerator to the faucet by screwing it back into place. Ensure that it is aligned correctly to avoid cross-threading, which can damage the threads. Use your hand to tighten the aerator until it is snug; if necessary, use pliers for an additional quarter turn, but avoid overtightening as this can cause leaks or damage to the aerator.
Once reassembled, turn on the faucet to test the water flow and check for any leaks around the aerator. If everything is secure and functioning properly, the reassembly process is complete.
Step 7: Turn Water Supply Back On
After completing the reassembly and testing the faucet, it is time to restore the water supply. Locate the shutoff valves under the sink and turn them counterclockwise to fully open them. Once the valves are open, check the faucet again to ensure a steady and unrestricted flow of water. Confirm there are no leaks at the connection points, and everything is sealed properly. With the water supply fully activated and the aerator securely in place, the process is successfully completed.
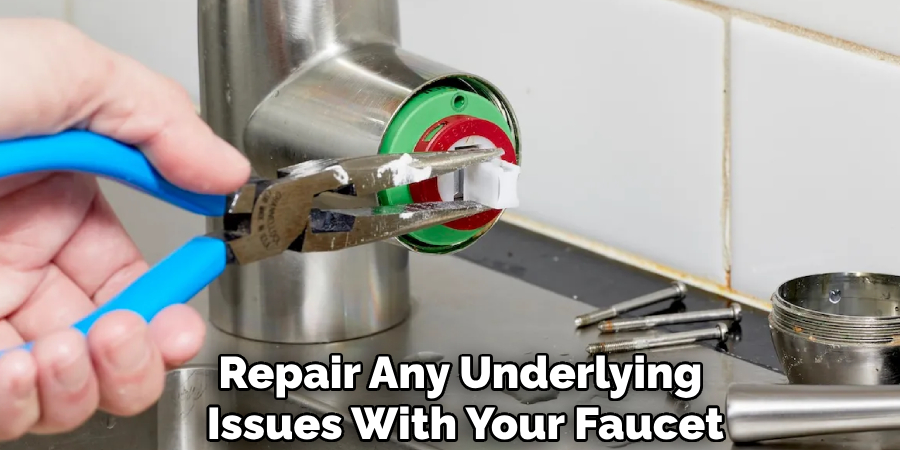
Following these steps on how to fix a faucet that sprays water at the handle, you can save yourself from a messy and potentially expensive situation. However, if you encounter any difficulties or the issue persists after attempting these solutions, it is best to seek professional help. A licensed plumber will have the necessary tools and expertise to properly diagnose and repair any underlying issues with your faucet.
Additional Tips
- It is important to regularly clean your aerator to prevent build-up and maintain proper water flow.
- If you notice a decrease in water pressure, check the aerator first before calling a plumber.
- Regularly inspect and replace O-rings and washers to prevent leaks.
- Consider investing in a high-quality faucet as it can save you from frequent repairs or replacements in the long run.
- Familiarize yourself with the specific model of your faucet so that you can easily troubleshoot and find replacement parts if needed.
- Keep an emergency plumbing kit on hand that includes items such as plumber’s tape, O-rings, and washers for quick fixes.
- Stay vigilant for any signs of leaks or issues with your faucet to catch them early and avoid more extensive repairs down the line.
- Regularly clean and maintain your faucet to prevent the buildup of mineral deposits and prolong its lifespan.
- Consider installing a water filtration system to reduce the chances of clogs or damage caused by hard water.
- Educate yourself on proper usage and maintenance techniques for your specific type of faucet (e.g., pull-out, touchless) to ensure optimal performance.
- If you’re not comfortable with DIY repairs, don’t hesitate to call a professional plumber for assistance.
Do You Need to Use Professionals?
While many faucet maintenance tasks can be handled on your own, there are situations where it’s best to call in a professional plumber. Complex issues such as persistent leaks, low water pressure, or internal damage to the faucet mechanism may require expert knowledge and specialized tools to resolve.
Additionally, if you’re planning to install a new faucet or upgrade to a more advanced model like a touchless faucet, a professional can ensure proper installation and functionality. Hiring a professional not only saves time but also reduces the risk of causing further damage, giving you peace of mind that the job is done right.
Frequently Asked Questions
Q: Can I Fix a Leaky Faucet on My Own?
A: It depends on the severity of the leak and your level of expertise in plumbing. If it is a minor leak, you may be able to fix it yourself with some basic tools and knowledge. However, for more complex leaks or issues with water pressure, it is recommended to hire a professional.
Q: How Often Should I Have My Plumbing Inspected?
A: It is recommended to have your plumbing inspected at least once a year. This can help catch any potential issues before they become major problems and save you both time and money in the long run.
Q: What Should I Do If I Notice a Strange Smell Coming from My Drains?
A: A strange smell coming from your drains could be a sign of a clogged or backed-up sewer line. In this case, it is best to call a professional plumber immediately to avoid any potential health hazards.
Q: Are There Any DIY Methods for Unclogging Drains?
A: Yes, there are some DIY methods that can help unclog drains, such as using a plunger or pouring a mixture of baking soda and vinegar down the drain. However, these methods may not work for more severe clogs and it is always best to consult a professional plumber for persistent drain issues.
Q: How Often Should I Have My Drains Cleaned?
A: It is recommended to have your drains cleaned at least once a year to prevent buildup and potential clogs. If you notice slow drainage or repeated clogs, it may be beneficial to have them cleaned more frequently.
Conclusion
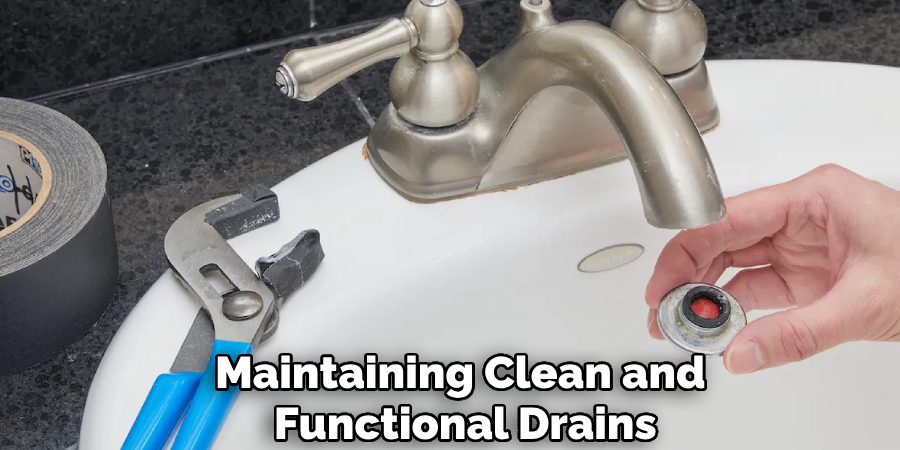
Maintaining clean and functional drains is essential for the overall health of your plumbing system and the hygiene of your home. Regular cleaning and addressing issues promptly can prevent costly repairs and ensure smooth water flow.
Remember, while DIY methods can be effective for minor problems, seeking professional assistance for persistent or severe clogs is always the safest option. By staying proactive and attentive, you can keep your drains in excellent condition for years to come. Thanks for reading this article on how to fix a faucet that sprays.

