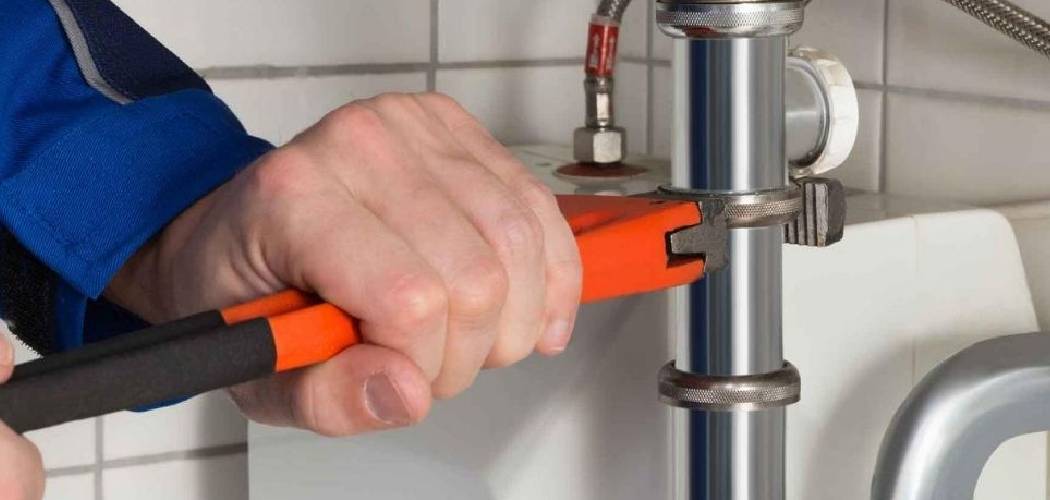
A freeze proof faucet is an essential tool for protecting your outdoor plumbing from the harsh effects of freezing temperatures. However, even these specialized faucets can occasionally malfunction due to wear and tear or improper usage.
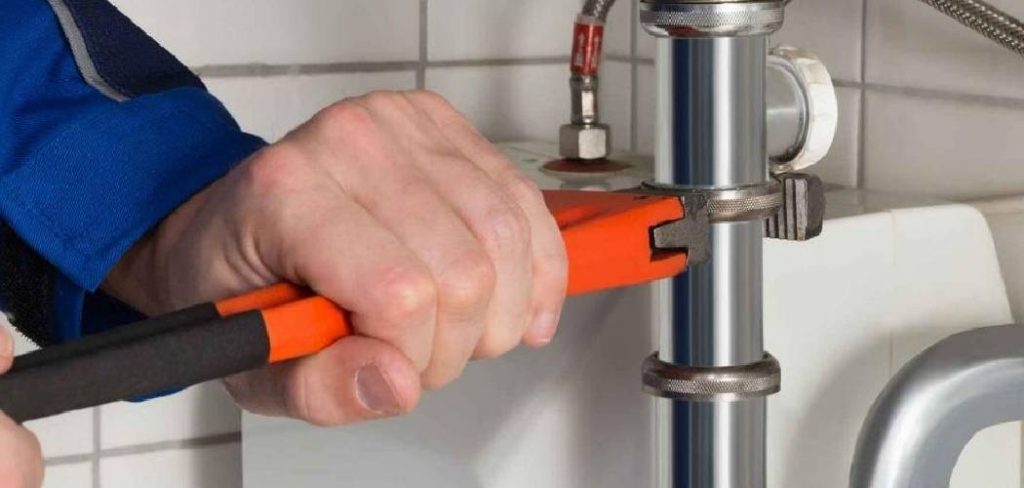
Repairing a freeze proof faucet may seem like a daunting task, but with the right tools and a step-by-step approach, you can restore its functionality quickly and effectively. This guide on how to repair a freeze proof faucet will walk you through the process, ensuring that your faucet is back in working order and ready to withstand the elements.
Understanding Freeze-Proof Faucets
Freeze-proof faucets are designed to prevent water from freezing within the spout or pipes, a common issue in colder climates that can lead to pipe bursts and costly repairs. These faucets work by incorporating a long stem that extends into the warmer interior of the home, where the water supply is controlled. When the faucet is turned off, the water in the stem drains out, leaving no water inside the exposed parts to freeze.
While these faucets are effective in mitigating freezing risks, it’s crucial to ensure proper installation and maintenance to avoid leaks or internal damage. Understanding how they function provides essential insight for troubleshooting and repairing issues when they arise.
Needed Materials:
- Anti-siphon Valve
- Screwdriver
- Adjustable Wrench
- Pipe Cutter or Hacksaw
- Plumber’s Tape
8 Step-by-Step Guidelines on How to Repair a Freeze Proof Faucet:
Step 1: Shut Off the Water Supply
Begin by turning off the water supply to the faucet to prevent any water flow during the repair process. Locate the shut-off valve connected to the faucet, usually found indoors near the pipe leading to the outdoor faucet. Turn the valve clockwise until it is fully closed.
Once the water supply is shut off, open the outdoor faucet to drain any remaining water from the pipe. Ensuring the water is completely off will make the repair process smoother and avoid unnecessary mess.
Step 2: Remove the Old Faucet
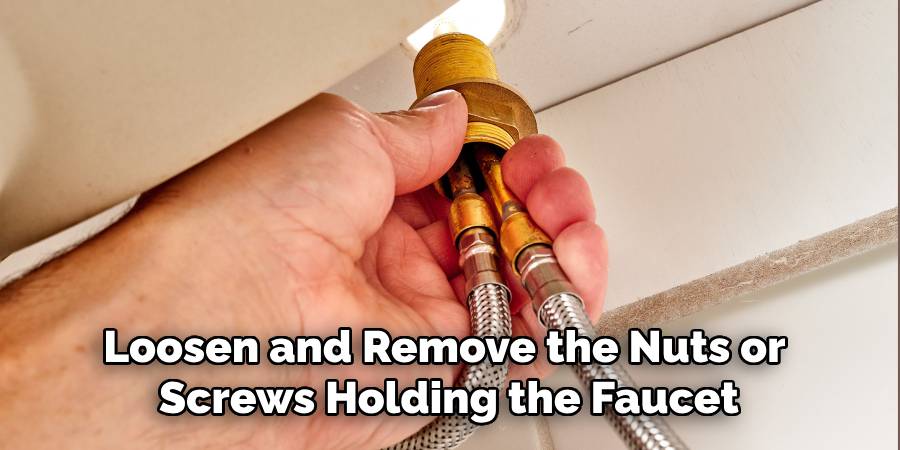
Using a wrench, loosen and remove the nuts or screws holding the faucet in place. Once these are removed, carefully pull out the old faucet from the pipe.
Be sure to inspect the condition of the surrounding area while removing the old faucet. If you notice any damage or wear and tear, it may be necessary to repair or replace any damaged parts before installing the new faucet.
Step 3: Prepare for Installation
Before installing the new outdoor faucet, take a moment to prepare everything you will need for installation. This may include Teflon tape, pliers, and a screwdriver.
Additionally, make sure to thoroughly clean the pipe opening where the old faucet was removed from to ensure a secure and tight fit for the new faucet.
Next, gather all necessary installation instructions or manuals provided by the manufacturer of the new faucet. These should include helpful diagrams and specific instructions for your particular model. It is also important to have a clear understanding of how your home’s plumbing system operates in order to properly connect and install the new outdoor faucet. If you are unsure about any aspect of your plumbing system, it is best to consult a professional plumber before proceeding with installation.
Step 4: Install the New Faucet
Begin by carefully following the manufacturer’s instructions specific to your faucet model. Align the new faucet with the mounting area and securely attach it. Depending on your faucet type, this could involve tightening screws, securing washers, or threading the faucet into place.
Make sure all connections are tight but avoid over-tightening, which could damage parts or create leaks. Once the faucet is mounted, connect it to your home’s plumbing system, ensuring all fittings are properly sealed. Use plumber’s tape on threaded connections to prevent leaks, and double-check that everything is firmly in place before testing.
Step 5: Test the Faucet
To ensure that your faucet is working properly, turn on the water supply and test both the hot and cold handles separately. Check for any leaks or drips, and make any necessary adjustments to tighten connections if needed.
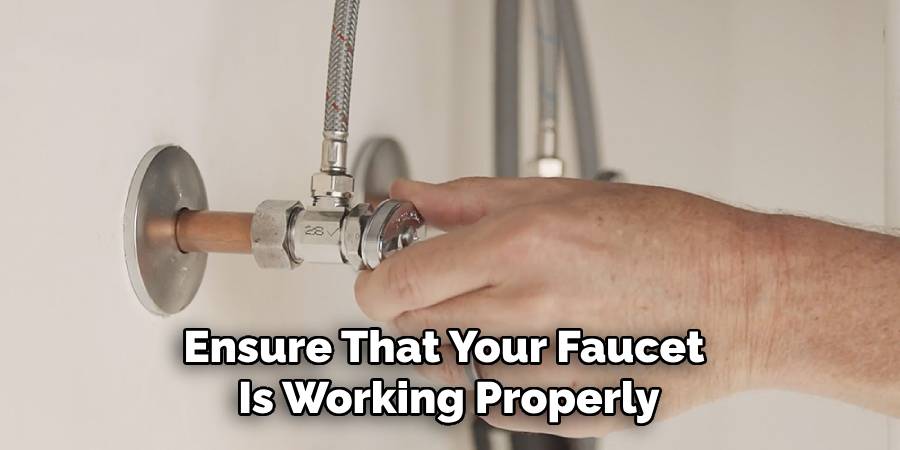
If everything looks good, let the water run for a few minutes to flush out any debris or air bubbles. Then turn off the water supply and inspect the faucet again for any signs of leakage.
Step 6: Finish Up
Once you have confirmed that your new faucet is functioning correctly without any leaks, it’s time to finish up. Reattach any accessories or decorative pieces that were removed during installation, such as a soap dispenser or handle covers.
Following these steps on how to repair a freeze proof faucet can help you save money and time in the long run by avoiding potential leaks or plumbing issues. And with the wide variety of styles and designs available, upgrading your faucet can also add a fresh new look to your kitchen or bathroom.
Remember to always follow the manufacturer’s instructions and consult a professional plumber if needed. Happy DIY-ing!
Repairing the Freeze-Proof Faucet
Freeze-proof faucets are designed to prevent water from freezing inside the pipes during cold weather, but over time, they may still experience wear or damage. If your freeze-proof faucet is leaking or not functioning correctly, repairing it can often resolve the issue without the need for a full replacement.
Start by shutting off the water supply to the faucet to prevent further leaks or water damage. Next, remove the handle and stem assembly using a wrench, taking note of any worn-out washers or seals. Inspect the internal components for cracks, corrosion, or other signs of wear. Replacing faulty washers, seals, or o-rings can often stop a leak and restore proper operation.
For more extensive damage, such as a cracked stem or damaged faucet body, it may be necessary to replace specific parts instead of trying to repair them. Remember to use parts compatible with your faucet’s make and model. Finally, after reassembly, turn the water supply back on and test the faucet to ensure the repairs are successful.

If repairing the freeze-proof faucet seems too complicated or doesn’t resolve the issue, consulting a professional plumber is always a wise choice. Proper maintenance and timely repairs can extend the life of your faucet and keep it working effectively during the cold months.
Frequently Asked Questions:
Q1: Can I Install a New Faucet on My Own?
A1: Yes, with the right tools and instructions, installing a new faucet can be done as a DIY project. The process may vary slightly depending on the specific faucet model, but it typically involves removing the old faucet, preparing the new one, and securing it in place. However, if you are unsure or uncomfortable with this task, it’s best to seek professional help.
Q2: What Tools Do I Need for Installing a New Faucet?
A1: The tools needed will depend on the type of faucet being installed. But as a general guideline, you will likely need an adjustable wrench, screwdrivers (both flathead and Phillips), pliers, plumber’s putty or Teflon tape for sealing connections, and possibly a basin wrench for hard-to-reach areas.
Q3: How Long Will it Take to Install a New Faucet?
A1: Installation time can vary depending on your level of experience, the type of faucet being installed, and any unforeseen complications that may arise. On average, it can take anywhere from 30 minutes to an hour for a basic faucet installation. However, if you are new to DIY projects or encounter difficulties during installation, it may take longer.
Q4: What are Some Tips for a Successful Faucet Installation?
A1: Here are some tips to help ensure a successful faucet installation:
- Gather all necessary tools and materials before starting the installation.
- Turn off the water supply before beginning any work.
- Take your time to carefully read and follow the manufacturer’s instructions.
- Use Teflon tape to seal connections and prevent leaks.
- If possible, have someone assist you during the installation process.
- Double check all connections and make sure everything is secure before turning on the water supply.
- Don’t be afraid to ask for help or seek professional assistance if needed.
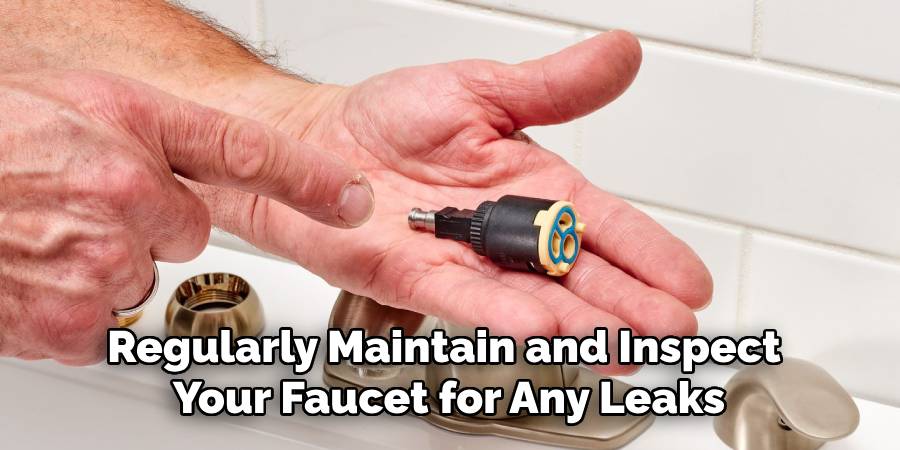
These tips can help make your faucet installation go smoothly and prevent any potential issues in the future. Additionally, it’s important to regularly maintain and inspect your faucet for any leaks or wear and tear. This not only ensures proper functioning but also helps in avoiding any potential water damage.
Conclusion
Installing a new faucet can be a rewarding DIY project that enhances both the functionality and appearance of your space. By preparing the right tools, following installation guidelines, and dedicating some time to the process, you can successfully complete this task with ease.
Remember to consult the manufacturer’s instructions and seek professional help if needed, ensuring a smooth and stress-free experience. Thanks for reading this article on how to repair a freeze proof faucet.

