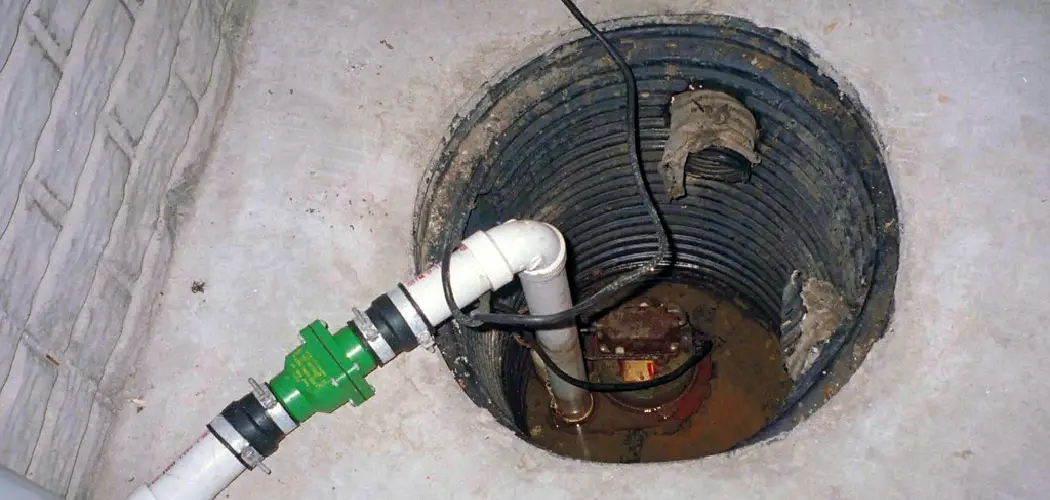
A leaky sump pump pipe is an annoying and sometimes dangerous issue that can cause further damage to your home and property. It’s essential to address the problem immediately to prevent further damage and ensure your sump pump operates correctly.
In this blog post, we’ll discuss the causes of a leaky sump pump pipe and provide easy-to-follow steps on how to fix a leaky sump pump pipe. Read to learn more!
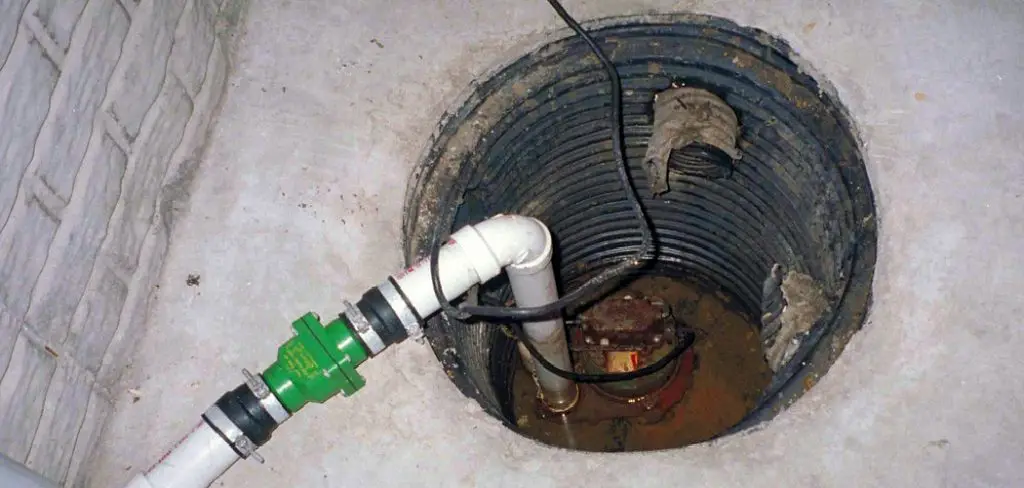
Can You Fix a Leaky Sump Pump Pipe?
Dealing with a leaky sump pump pipe can be a headache – especially if you’re not sure where to start. Though fixing it may seem like a daunting task, it’s a problem that can be tackled with some basic DIY knowledge, a little elbow grease, and a bit of determination. The first step is to identify the source of the leak, which could range from a loose connection to a crack in the pipe.
Once you’ve found the issue, it’s time to make any necessary repairs, such as reattaching a loose union or replacing a section of pipe. With a bit of patience, you can quickly restore your sump pump to a fully functioning condition and avoid any further damage to your home.
Why Should You Fix a Leaky Sump Pump Pipe?
If you have a sump pump in your home, it’s probably a crucial part of your foundation’s drainage system. But if the pipe leading away from the pump is leaking, you could be risking serious water damage to your home’s foundation.
Not only can a leaky sump pump pipe cause mold and mildew growth, but it can also weaken the structure of your home’s foundation and lead to costly repairs. Fixing the issue sooner rather than later is an investment in your home’s value and your family’s safety. Don’t ignore a leaky sump pump pipe – take action to protect your home and your loved ones today.
7 Steps to Follow on How to Fix a Leaky Sump Pump Pipe
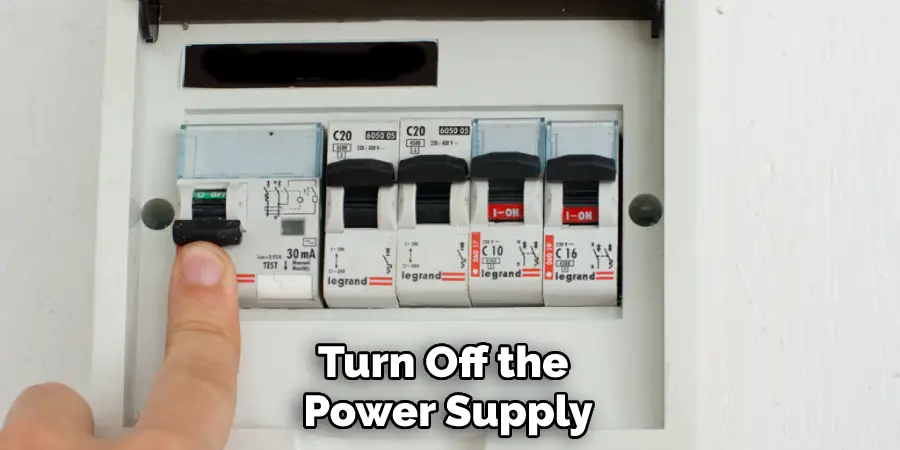
Step 1: Turn Off the Power Supply
The first step is to turn off the power supply to your sump pump. This is a crucial safety precaution to avoid electrocution. Locate the breaker switch for the sump pump in your electrical panel and turn it off. If you’re unsure which breaker controls the sump pump, turn off the main power supply to your house instead.
Step 2: Locate and Assess the Leaky Pipe
Locate the pipe that is leaking water in your sump pump system. The quickest way to spot the leak is to look for water buildup around the sump pit, pump, or excess moisture on the walls or floor nearby. Inspect the pipe to determine the extent of the damage. Leaks can occur due to corrosion, loosened fittings, or cracks in the pipe.
Step 3: Tighten or Replace the Fittings
If you notice that the fittings are loose or worn, use a socket wrench to tighten them. Be careful not to over-tighten, as this can cause further damage. If the fittings are corroded, it’s best to replace them. Take a picture of your fittings and take it to a hardware store to ensure a proper fit.
Step 4: Seal the Cracks
If you identify any cracks in the pipe, they require sealing. Depending on the size of the crack, you can use sealant or putty to seal it. Examine the entire length of the pipe, as it is possible that more than one area may require sealing. Make sure you tightly seal the cracks to avoid any further leaks.
Step 5: Test the Sump Pump System
Once you have fixed the leak, switch on the power supply to your sump pump and observe its functionality. You should see water flow smoothly through the pipes and not leak from any of the connections. If you notice any further leaks, do not hesitate to contact a professional plumber.
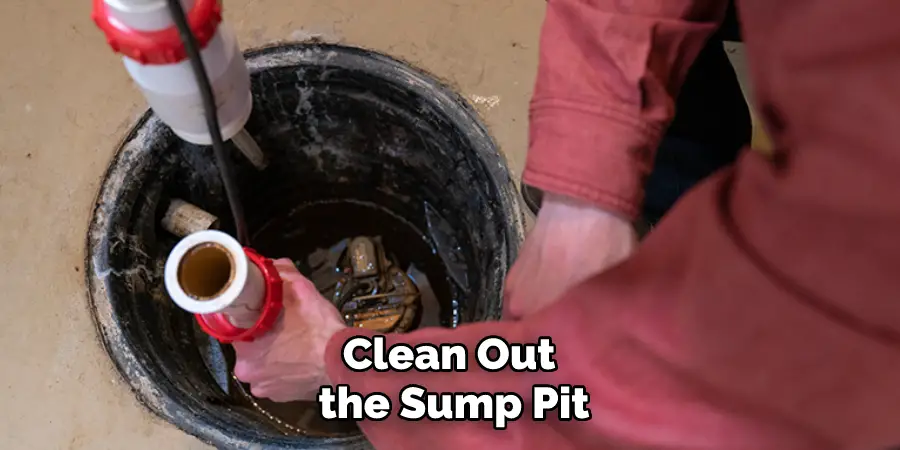
Step 6: Clean the Sump Pit
Leaking pipes can cause dirt and debris to build up in the sump pit. Make sure you clean out any accumulated sediment or dirt before covering up the pipe connections with a lid or sealant. This will help ensure that your sump pump system functions properly and remains leak-free for longer.

Step 7: Maintain Your Sump Pump System
To avoid future leaks, it’s important to regularly inspect your sump pump system and check for any signs of wear or damage. If you use a battery-operated sump pump, make sure to keep the batteries in good condition and replace them when needed.
Additionally, ensure the sump pump is free from debris or blockages. Regular maintenance will help extend the lifespan of your sump pump system and prevent costly repairs in the future.
That’s it! You’ve now learned how to fix a leaky sump pump pipe. While it’s not always easy, it can be done with the right tools and knowledge. With regular maintenance, your sump pump system should stay leak-free for years. Be sure to take caution when dealing with electricity and water, and if you ever encounter any problems, contact a professional plumber.
5 Considerations Things When You Need to Fix a Leaky Sump Pump Pipe
1. Check the Float Switch
The float switch is a critical component of a sump pump, as it is responsible for turning the pump on and off. If the float switch is not working properly, it can cause the pump to run continuously, which will eventually lead to a burned-out motor. A faulty float switch can also cause the pump to turn on and off erratically, damaging the pump and shortening its lifespan.
2. Check the Discharge Pipe
Another common issue that can cause a sump pump to leak is a clogged or blocked discharge pipe. The discharge pipe is responsible for carrying water away from the sump pit, so if it becomes clogged, water will back up into the pit and eventually leak out. Additionally, if the discharge pipe freezes during cold weather, it can cause the pump to leak.
3. Check the Check Valve
The check valve is another important component of a sump pump, as it prevents water from flowing back into the pit after the pump has turned off. If the check valve is not working properly, water will flow back into the pit and eventually leak out. Additionally, a faulty check valve can cause the pump to run continuously, which will eventually lead to a burned-out motor.
4. Inspect the Impeller
The impeller is responsible for moving water through the sump pump. If the impeller is damaged or broken, it can cause water to leak out of the pump. Additionally, if the impeller is not properly aligned, it can cause vibration and noise issues.
5. Clean the Sump Pit
If your sump pit is full of debris, it can cause your sump pump to leak. Debris such as mud, sand, and rocks can build up in the pit and block the pump’s intake port. This can cause water to back into the pit and eventually leak. Additionally, too much debris in the pit can weigh down on the float switch and prevent it from working properly. To prevent this from happening, you should clean out the sump pit on a regular basis.
Fixing a leaking sump pump pipe is not always easy, but with these five considerations in mind, you can be sure that your pump is running properly and efficiently. Regular maintenance and inspections will help to prevent any future issues with your sump pump and keep it running smoothly for years to come.
Benefits of Fix a Leaky Sump Pump Pipe
A leaky sump pump pipe can be a headache for homeowners, but fixing it can bring immense benefits. Not only can fixing a leaky sump pump pipe prevent water damage in your basement, but it can also save you money in the long run.
A leaky pipe can cause your sump pump to work harder than it needs to, leading to higher energy bills and a shorter lifespan for your sump pump. Also, fixing a leaky sump pump pipe can improve your home’s air quality by preventing mold and mildew growth. Fixing a leaky sump pump pipe can provide peace of mind and ultimately save you both time and money.
Some Common Mistakes People Make When Trying to Fix a Leaky Sump Pump Pipe
A leaky sump pump pipe can quickly turn into a nightmare as the water damage spreads. However, fixing the problem is not always as easy as it seems. In fact, many people make common mistakes when attempting to repair their leaky sump pump pipe. One of the most common errors is failing to identify the leak’s source properly.
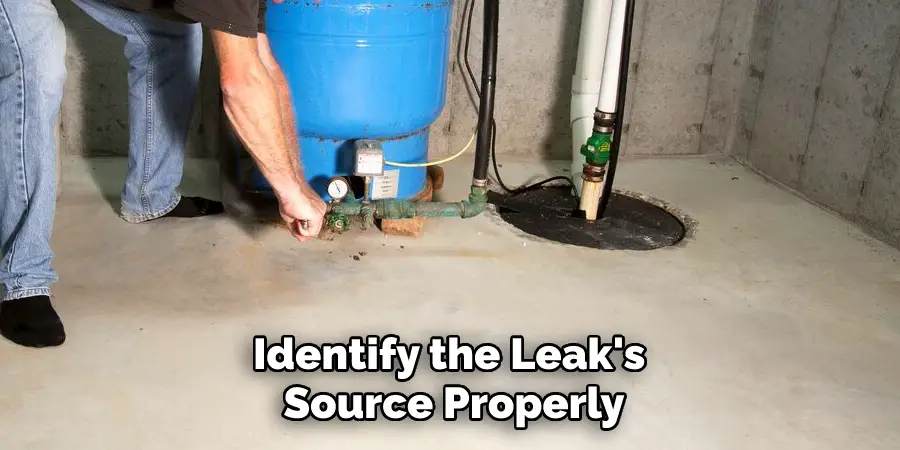
Another mistake is using improper materials or techniques to patch the pipe. Getting it right the first time is essential, or the damage could become costly and catastrophic. If you’re having trouble fixing a leaky sump pump pipe, it’s best to call a professional to ensure the job gets done right.
Conclusion
A leaky sump pump pipe is a common issue that can be quickly resolved with some easy-to-follow steps. Remember to always turn off the power supply before assessing the pipes, tighten the loose fittings, seal the cracks, and test the sump pump system before resuming regular use.
If you require further assistance or are unsure whether you can fix the problem yourself, it’s best to contact a professional plumber to avoid any risk of further damage. Following these simple steps can save money and have a fully functioning sump pump system. Thanks for reading our post about how to fix a leaky sump pump pipe.

