A generator is a lifesaver when the power is out. Whether you have an upcoming storm or are in an area with frequent power disruptions, investing in a generator can keep your home and family safe, secure, and comfortable. Many generators can use either propane or natural gas. However, many people prefer natural gas for its economic benefits and reliability.
In this blog post, we will guide you through the process of installing a natural gas line for your generator. So keep reading to learn more how to install natural gas line to a generator.
Can You Install a Natural Gas Line to A Generator?
If you’re looking to keep your home powered during an outage, a generator can be a lifesaver. And, if you’re already using natural gas to power your home, it’s easy to see the appeal of using it to power a generator, too.
But can you install a natural gas line to a generator? The answer is a resounding ‘yes!’ Not only is it possible, but it’s also one of the safest and most convenient ways to power your generator.
By connecting your generator directly to your home’s natural gas line, you’ll never have to worry about running out of fuel, refilling gas cans, or the fumes that come with alternative power sources. Plus, you’ll have the peace of mind that comes with knowing your generator is always ready to go when you need it.
Why Should You Install a Natural Gas Line to A Generator?
With the constant threat of natural disasters and power outages, many homeowners are taking the necessary steps to ensure that their homes are prepared for these uncertainties.
One of the most effective ways to do this is by installing a natural gas line to a generator. Not only does this provide a reliable and long-lasting source of power, but it also offers significant cost savings compared to traditional fuel sources.
Additionally, natural gas is a cleaner and more environmentally friendly option, making it a great choice for those who want to reduce their carbon footprint. By installing a natural gas line, you’ll have peace of mind knowing that your home will always have power, even in the most challenging times.
7 Steps to Follow on How to Install Natural Gas Line to A Generator
Step 1: Prioritize Safety First
Before starting any installation process, it is important to prioritize safety. Turn off your home’s main power supply and the gas line. Make sure your hands are dry, and you are wearing appropriate clothing. Always read the manufacturer’s instructions and seek professional help if you have any questions or concerns.
Step 2: Select the Right Location for the Installation
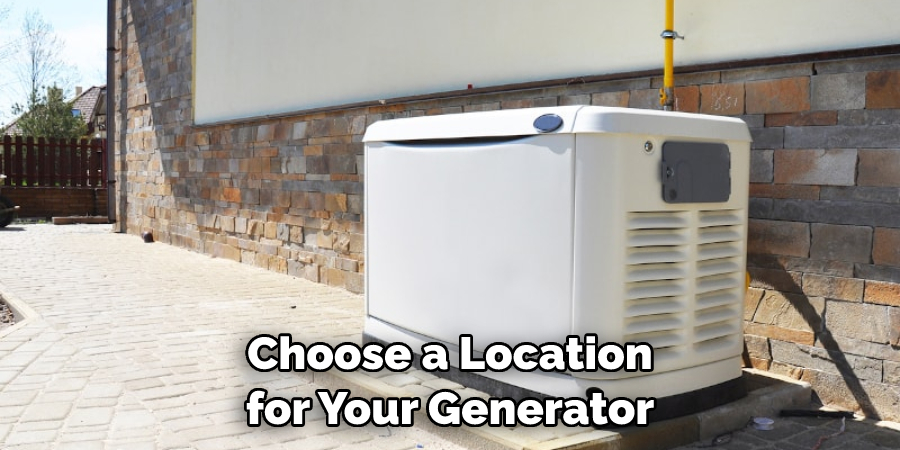
Choose a location for your generator that complies with all local regulations. It should be placed in an area not prone to flooding and is far enough from windows, doors, and vents to prevent carbon monoxide from entering your home. The location should enable a safe distance for natural gas connection and prevent other hazards.
Step 3: Purchase and Gather Materials
Gather all the necessary tools and materials before installation. These materials typically include high-quality steel piping, natural gas regulators, stop valves, gas risers, and adaptors. Additionally, you will need a drill, saw, and wrenches to install your natural gas line. In some states, you may also have to pay for permits before you begin the installation process.
Step 4: Installation Process
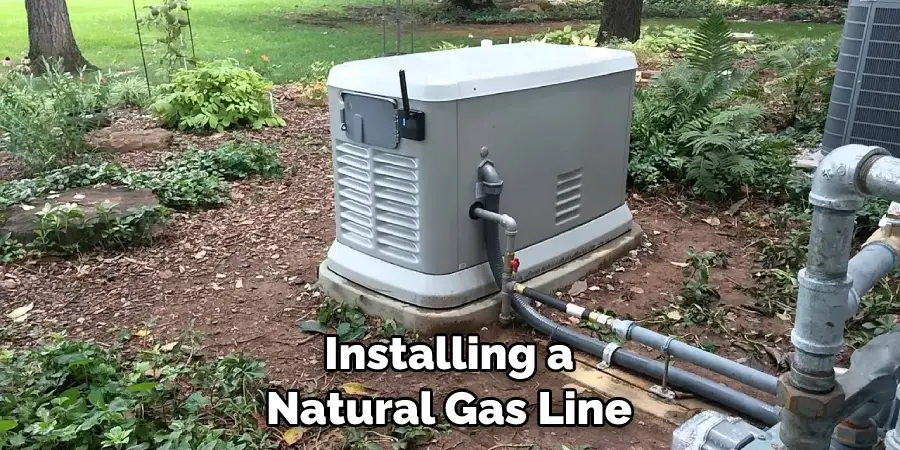
Once the materials are bought, and all precautions are taken, it is time to start the installation process. Begin by measuring the distance between the meter and the generator to ensure accurate piping for the gas line. Lay out your equipment, and connect the pipe to the valve using a nipple joint.
After the pipes have been correctly laid out, use the drill and saw to create holes for the gas connection. Connect the pipe and valve to the gas riser and secure it with a fitting. Be sure to switch on the gas line pressure and check for leaks.
Step 5: Professional Inspection
Your installation process is not yet complete. It is essential to contact a qualified technician to inspect the installation process. Professionals ensure that everything done is up to code and correctly installed. Inspections typically involve testing pressure, checking for leaks, and ensuring the generator is correctly tied to the natural gas line.
Step 6: Finishing Touches
Once the technician completes the inspection, it is time to finish your installation. Connect the generator to the gas line and turn on its power switch. After a few minutes, test if the generator is working correctly by running it for 1-2 minutes. If everything feels okay, turn off the generator and replace the gas regulator panel’s cover.
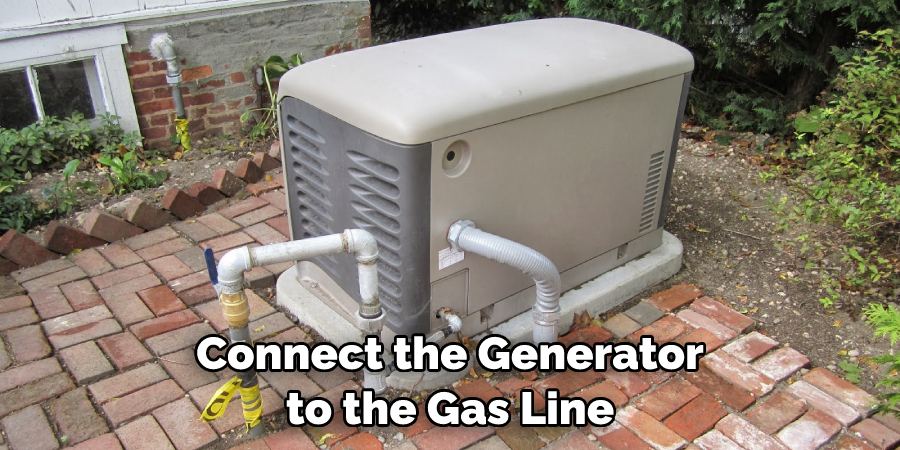
Step 7: Final Check-up
Once you have completed all of the steps, it is time to give your natural gas line a final check-up. Make sure you look for any signs of wear or damage that may have been caused during installation. If everything looks good, turn on your generator one last time and ensure it runs smoothly.
That’s it! You’ve now learned how to install natural gas line to a generator. Remember, always follow safety measures and consult a professional if you have any questions or concerns.
5 Considerations Things When You Need to Install Natural Gas Line to A Generator
1. Check the Local Regulations
Before you start installing a natural gas line to your generator, it’s important to check with your local authorities to see if there are any regulations you need to be aware of. There may be restrictions on where you can run the line or what type of line you can use.
2. Choose the Right Line
There are two main types of natural gas lines – steel and polyethylene. Steel lines are more durable and less likely to leak but are also more expensive. Polyethylene lines are less expensive but not as durable and may leak more easily. Choose the right type of line for your needs and budget.
3. Hire a Professional
Unless you’re an experienced contractor, it’s best to hire a professional to install your natural gas line. This is not a job you want to do yourself, as it’s very important that the line is installed correctly to avoid accidents or leaks.
4. Get Everything Inspected
Once the natural gas line is installed, it’s important to have it inspected by your local authorities to make sure that it meets all of the safety standards. This is especially important if you’re running the line underground.
5. Test the Line Before Use
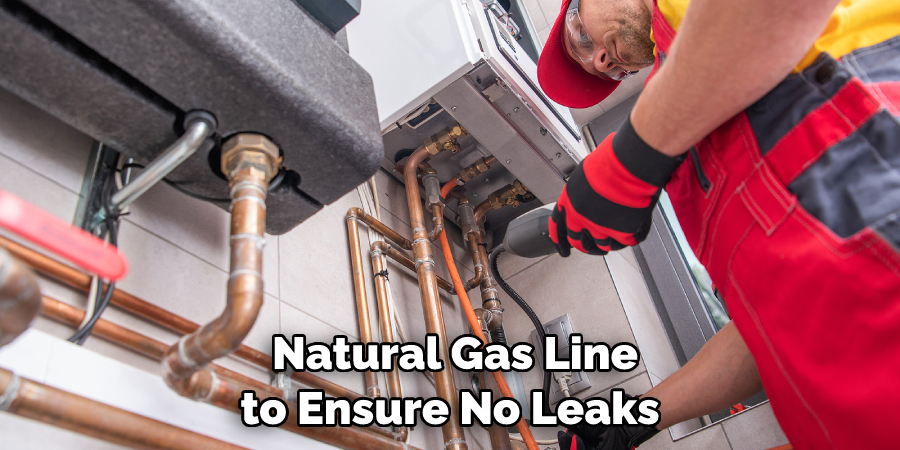
Before you start using your generator, it’s important to test the natural gas line to ensure no leaks. You can do this by running some soapy water along the length of the line and watching for bubbles. If you see any bubbles, that means there’s a leak somewhere, and you’ll need to have it fixed before using your generator.
Benefits of Install Natural Gas Lines to A Generator
Natural gas lines can provide many benefits to homeowners with generators installed on their property. One key advantage is that natural gas is more cost-effective than diesel or gasoline, making it a great option for those looking to save money on fuel costs. Additionally, natural gas is significantly cleaner, making it better for the environment and reducing the harmful emissions that traditional fuels produce.
In times of power outages or emergency situations, having a natural gas line connected to your generator ensures that you have a reliable source of energy that can keep your household running smoothly, no matter what comes your way. Ultimately, investing in a natural gas line can save you money and provide peace of mind and security during times of uncertainty.
Some Common Mistakes People Make When Trying to Install Natural Gas Line to A Generator
When installing a natural gas line to a generator, there are a few common mistakes people tend to make. One of the biggest mistakes is failing to properly determine the size of the generator and the gas line needed.
This can lead to inadequate gas flow and cause the generator’s performance issues. Another mistake is not properly sealing connections or using the wrong type of fittings, which can result in gas leaks.
It’s also important to check local codes and regulations to ensure the installation is up to code and safe. By avoiding these mistakes and taking the necessary precautions, homeowners can successfully install a natural gas line to their generators and enjoy reliable backup power during outages.
Conclusion
Installing a natural gas line for your generator can be daunting, so it is essential to prioritize safety and follow the guidelines given by the manufacturer. Once you complete the installation process, it is an excellent investment for secure, reliable, and less costly power supply backup. If you are unsure about any part of this installation process or lack the necessary tools, consider consulting a professional gas fitter.
Our guide provides the basics of installing a natural gas line to a generator, so feel free to share it with others who need it. Thanks for reading our post about how to install natural gas line to a generator.

