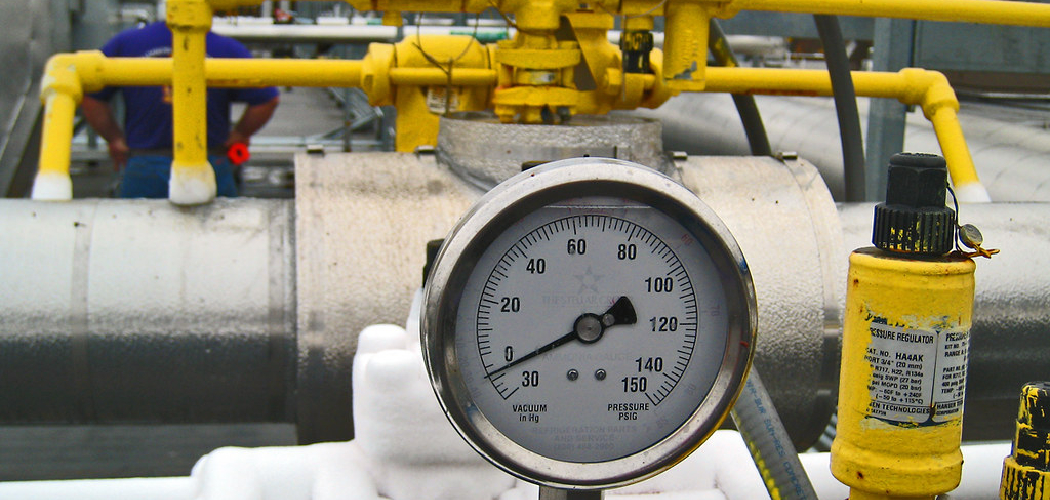
When it comes to gas installation, safety should be your top priority. Gas leaks can be extremely dangerous and can lead to fires or explosions. That’s why proper installations and testing are crucial before and after any gas line installation.
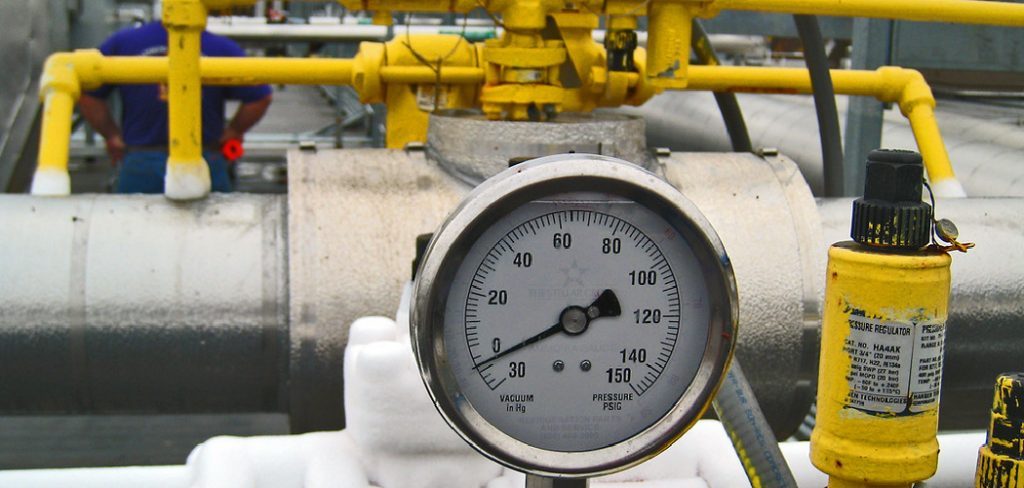
One of the most essential tests is the pressure test. It can detect leaks and ensure that the gas line can withstand the desired pressure. In this blog, we will guide you through the step-by-step process of how to pressure test gas line.
Can You Pressure Test the Gas Line?
When it comes to the safety and functionality of your home’s gas line, there are a lot of questions to consider. Many homeowners wonder if they can pressure test their gas line themselves to ensure that it’s working properly and without leaks. While it’s certainly possible to pressure test a gas line yourself, it’s important to note that this is not a task for the average homeowner.
Gas lines can be incredibly dangerous if handled improperly, and a single mistake could result in serious injury or damage to your home. Therefore, it’s always recommended that you hire a qualified professional to pressure test your gas line and ensure that it’s safe and secure. Trusting the experts means you can rest easy knowing that you and your loved ones are protected from any potential gas leaks or malfunctions.
Why Should You Pressure Test the Gas Lines?
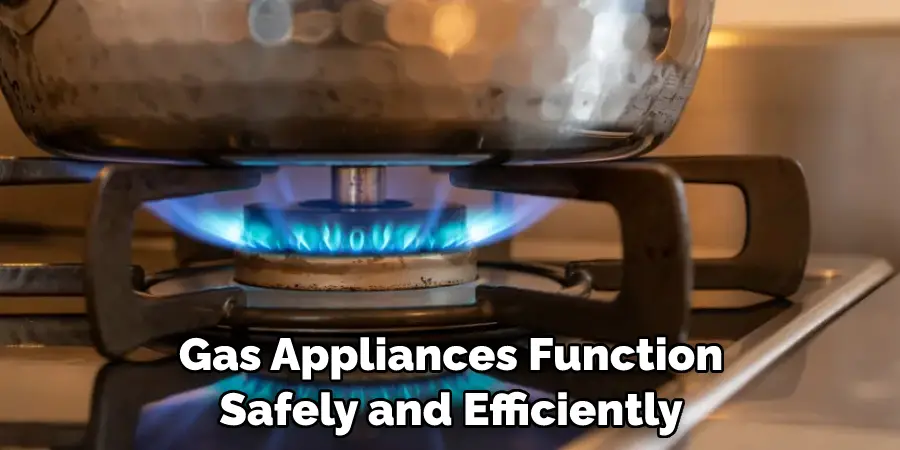
Have you ever wondered if your gas lines are working properly? Despite being invisible, faulty gas lines can seriously threaten your safety and property. That’s why it’s essential to pressure test your gas lines regularly. The process involves pressuring your gas system to check for leaks, ensuring that your gas appliances function safely and efficiently.
A pressure test can also detect whether there is a drop in pressure, indicating a leak or a potential blockage in the line. By performing this simple preventative task, you can have peace of mind knowing that your gas system is working correctly and protecting your home or business. So don’t wait until it’s too late – pressure tests your gas lines today!
7 Steps to Follow on How to Pressure Test Gas Line
Step 1: Shut Off the Gas Supply
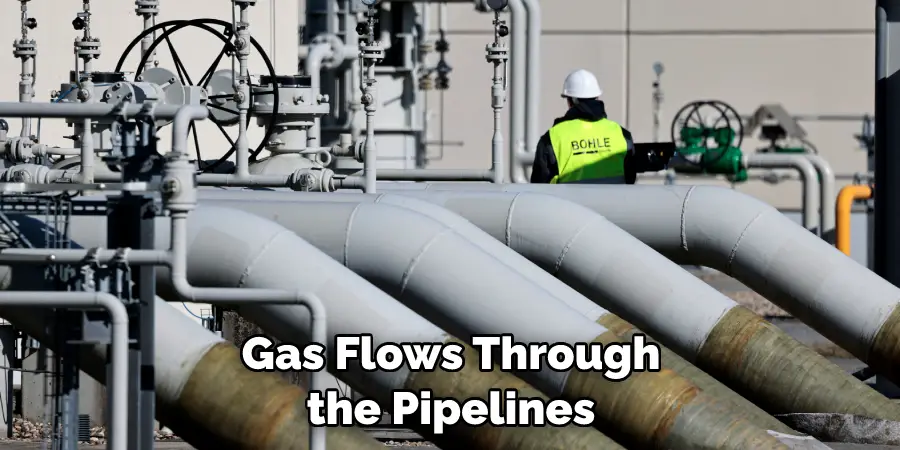
Before pressure testing the gas lines, you will need to shut off the gas supply completely. This will ensure that no gas flows through the pipelines while you carry out the pressure test. To do this, close the main gas valve at the pipeline’s entry point.
Step 2: Install the Pressure Gauge
You will use the pressure gauge to monitor the pressure in the gas line. You will need to remove the plug from the valve to install it. Then, connect the pressure gauge to the valve and make sure it is secure.
Step 3: Increase Pressure Slowly
Once the pressure gauge is in place, you can slowly increase the pressure in the line. Make sure you do this very slowly to prevent any sudden pressure surges. It’s recommended that you increase the pressure by about ten psi every 10 minutes. During this time, carefully monitor the pressure and the gauge’s readings.
Step 4: Maintain the Pressure
Once you have reached the desired pressure, you will need to maintain it for several minutes. It’s usually recommended that you hold it for at least 10-15 minutes. This period will allow you to check whether there are any leaks or if the gas line can sustain the required pressure.
Step 5: Monitor the Gauge and Check for Leaks
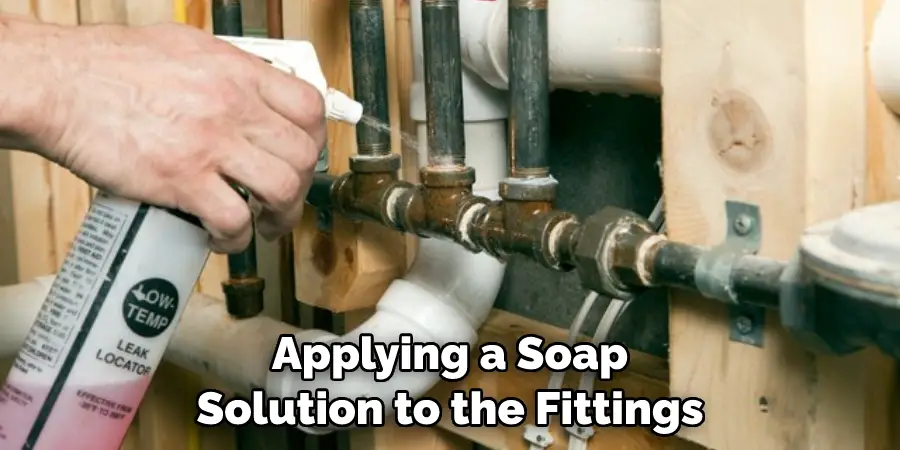
While maintaining the pressure, continue to monitor the pressure gauge to ensure that the pressure does not decrease. Also, during this period, it’s advisable to conduct a thorough visual inspection of the gas line to check for leaks. You can do this by applying a soap solution to the fittings. If there is a leak, the soap solution will bubble in that area.
Step 6: Release the Pressure
Once you have determined that there are no leaks and the gas line can sustain the pressure, you can slowly decrease it. It’s recommended that you release the pressure at a rate of 10 psi per 10 minutes. After releasing all the pressure, always remember to close off the valve completely and remove the gauge.
Step 7: Clean Up
Once the pressure test is complete, cleaning up any soap solution you use to check for leaks is important. This will help prevent corrosion and ensure that your gas line remains in good condition. After cleaning up, you can turn on the main gas valve and use the gas line again.
That’s it! You’ve now learned the steps on how to pressure test gas line. Remember, always exercise caution when working with gas lines and make sure you follow all safety protocols. Good luck!
4 Considerations Things When You Need to Pressure Test Gas Line
1. The first thing you must consider when pressure testing a gas line is the type of gas you will use. There are two main types of gas: natural gas and propane. Natural gas is typically used for home heating and cooking, while propane is typically used for outdoor applications like grilling.
2. The second thing you need to consider is the pressure you will be testing at. Gas lines are designed to operate at specific pressures, so it is important to make sure you are testing at the correct pressure.
3. The third thing you need to consider is the length of time you will be testing for. Gas lines need to be tested for a minimum of two hours in order to ensure they are leak-free.
4. The fifth and final thing you need to consider is the location of the gas line. Gas lines must be tested in a well-ventilated area to prevent fumes from accumulating and causing health hazards.
Benefits of Pressure Test Gas Line
If you’re like most homeowners, chances are that you don’t give much thought to the safety of your gas lines. However, ensuring that your gas lines are functioning properly is incredibly important to avoid potential hazards. One way to do this is by conducting a pressure test on your gas line.
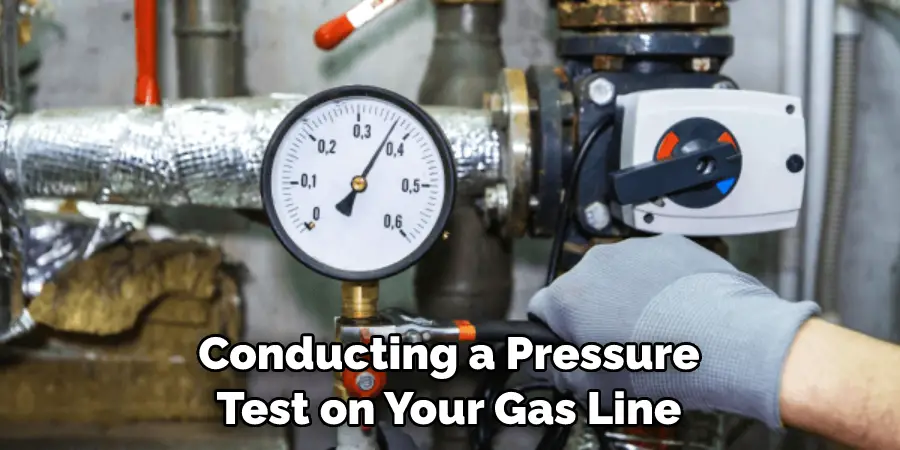
This process involves filling your gas line with compressed air to determine if any leaks or other issues could put you and your family in danger. By conducting a pressure test on your gas line, you can rest easy knowing that you’re doing everything in your power to keep your home safe from potential gas-related accidents.
4 Common Mistakes People Make When Trying to Pressure Test Gas Line
1. Not Bleeding the Air Out of the Line
One of the most common mistakes people make when trying to pressure test a gas line is not bleeding the air out of the line. If there is air in the line, it will compress when the pressure is applied and give you an inaccurate reading. Always make sure to bleed the air out of the line before starting your test.
2. Not Using the Correct Pressure
Another common mistake is not using the correct pressure when testing the line. The pressure you use should be based on the type of pipe you are testing as well as the maximum operating pressure of the system. Using too much pressure can damage the pipe while using too little pressure will not give you an accurate reading.
3. Not Checking for Leaks After the Test
Once you have completed your pressure test, it is important to check for leaks. Even a small leak can cause big problems down the road. Use a soap and water solution to check for bubbles indicating a leak. If you find a leak, make sure to repair it before putting your system into operation.
4. Not Documenting Your Results
Finally, one of the most important things to do after completing a pressure test is to document your results. This documentation will come in handy if there are ever any problems with your system down the road. Make sure to include information such as the date of the test, the type of pipe tested, the maximum operating pressure, and any leaks that were found.
By avoiding these common mistakes, you can be sure that your pressure testing procedure is done correctly and safely. Always take the time to do it right so you don’t have to worry about problems down the road. If you need additional assistance, contact a professional for assistance. They can help you determine the best way to pressure test your gas line and ensure that it is done correctly.
Conclusion
Pressure testing is an essential step that a qualified and competent gas installation engineer must carry out. It ensures that the gas lines are safe, secure, and leak-free.
Following the five steps outlined above will help you pressure test your gas lines accurately and safely. Always remember that safety comes first, and you should never take any shortcuts when it comes to gas installations. Thanks for reading our post about how to pressure test gas line.

