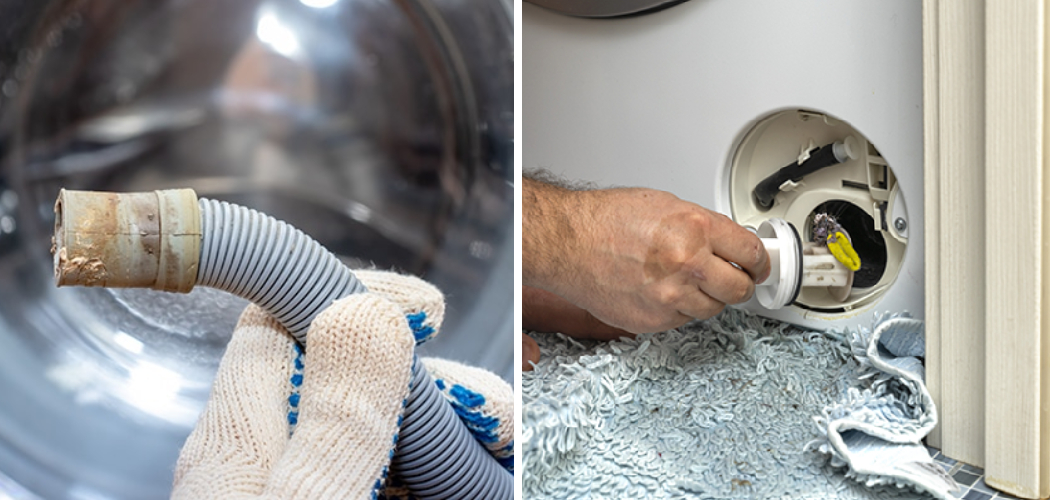
When it comes to doing household chores, a surprisingly intimidating yet important task is knowing how to drain a Whirlpool washer. It may seem difficult at first, but with the right tips and guidance, you’ll be able to do it with ease in no time.
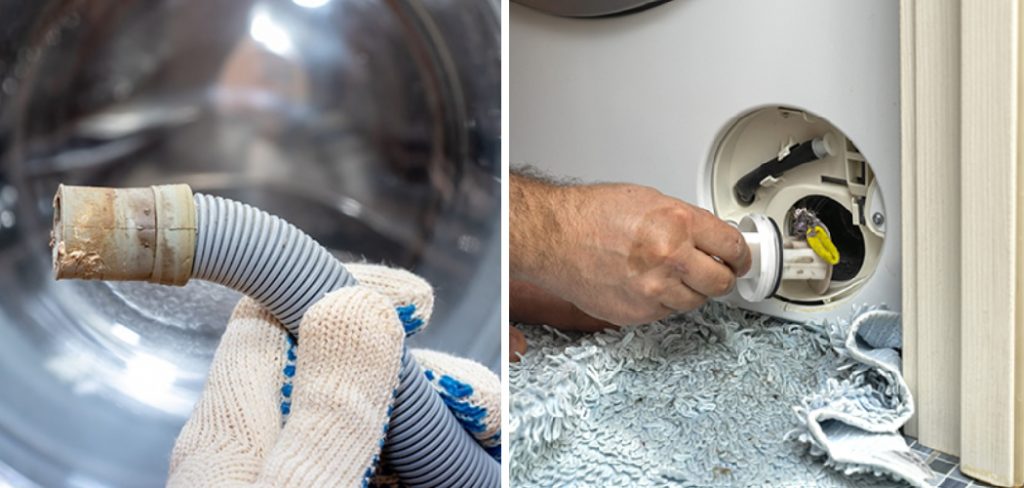
In this blog post, we’ll provide an easy-to-follow step-by-step guide on how to go about successfully draining a Whirlpool washer – from identifying the correct hose locations to resetting the appliance afterward. Whether you are dealing with high water levels or need to replace your Whirlpool washer’s hoses, let us teach you everything you need to know!
11 Step-by-step Guidelines on How to Drain a Whirlpool Washer
Step 1: Unplug the Washer
Before you start, make sure to unplug the washer from its power source. If you don’t, the machine will still have power running through it when you start draining. Otherwise, you may be at risk of electric shock.
But don’t worry – you can always plug it back in once you’re done. It’s just important to keep in mind! Remember to also turn off the water supply. This will help prevent any accidents or potential leaks from occurring.
Step 2: Locate the Drain Hose
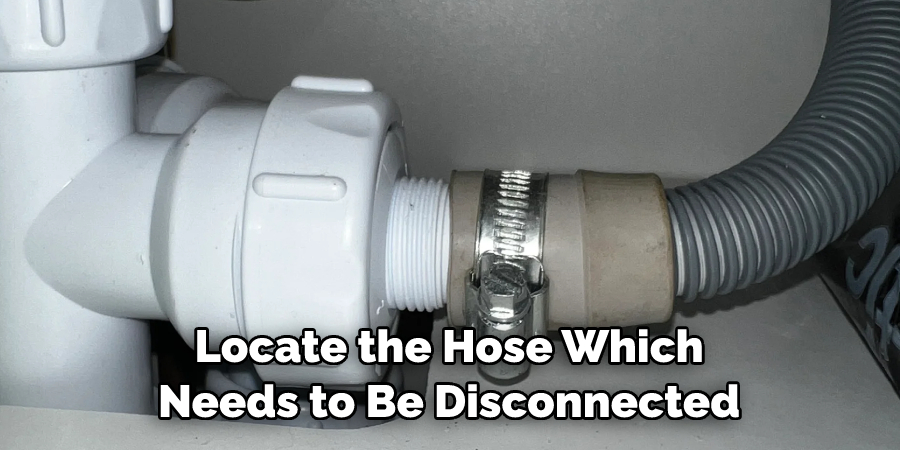
Once you have unplugged the washer, locate the hose which needs to be disconnected. It is usually near the back of the machine and is where the water drains from the washer. Be sure to use gloves when handling it, as hoses can get dirty and bacteria-ridden over time. If it’s been a while since you’ve changed the hose, don’t forget to replace it! But for now, make sure to unscrew the hose and set it aside.
Step 3: Disconnect the Hose
Now that you’ve located the drain hose, disconnect it from the washer. This may require a bit of force, but be careful not to break or damage it while doing so. It’s always better to be too gentle than too rough – you can always apply more pressure, but you can’t undo what’s already been done. This is a necessary step in draining the washer, so be sure to do it correctly.
Step 4: Place a Bucket Underneath
With the hose disconnected, place a bucket underneath where the water will drain out. This is so that you can capture any residual water left in the machine and dispose of it safely. If you don’t have a bucket, a bowl or bin will work just as well – anything to contain the water is fine. But be sure to use something that’s big enough, as it will help avoid any messes! This step is essential for maintaining a clean work environment.
Step 5: Start Draining
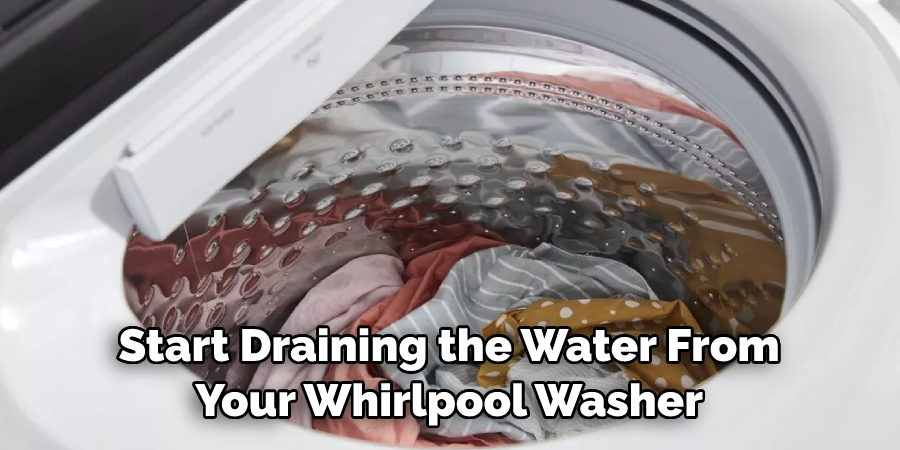
Now that you’ve got everything set up, start draining the water from your Whirlpool washer by twisting the knob located on top of the soap dispenser tray. This will allow for all remaining water to flow out through the hose into your bucket below. Allow all of the water to drain until there is none left in the machine. But be sure to check the bucket periodically to make sure it is not overflowing!
Step 6: Clean Up
Now that you’ve drained all of the water out, clean up any mess you may have made while completing the process. This includes replacing the bucket under the hose and wiping down any surfaces affected by dripping water. If you’ve changed the hose, ensure that it is properly secured and attached to the washer. Otherwise, you may end up with a leaky appliance! You can also use a damp cloth to wipe the exterior of the washer.
Step 7: Reattach Hose
After cleaning up, reattach the drain hose back to its original position on your Whirlpool washer. Make sure it is secured tightly before plugging in your appliance again. It’s also important to note that if you changed out the hose, you can now dispose of it – just make sure you don’t throw it down the drain, as it can clog up your pipes! If you’ve replaced the hose, now would be a good time to clean out your washer as well.
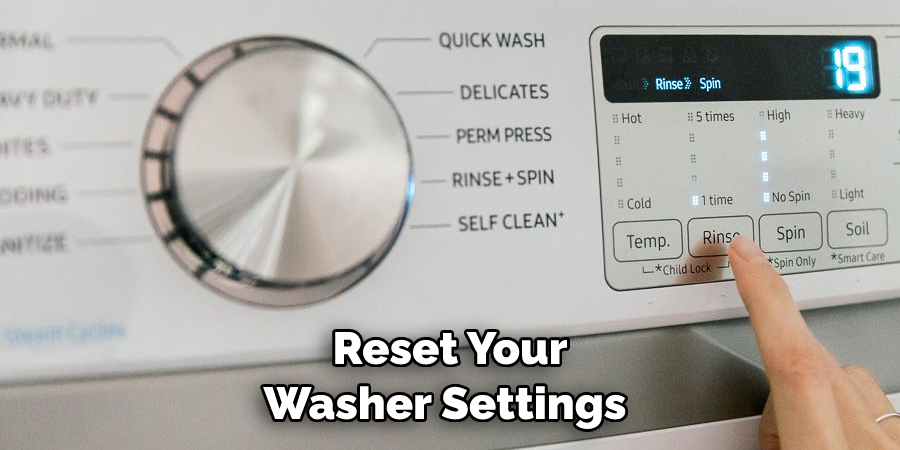
Step 8: Reset Washer Settings
Once everything is reconnected and in place, be sure to reset your washer settings to their original positions. This ensures that nothing is left off balance and will help ensure the machine runs properly.
If any settings have been changed, they will need to be reset in order for the washer to function correctly. It’s also a good idea to give the washer a quick run-through with some water inside of it – just to make sure everything is working properly.
Step 9: Fill the Washer with Water
Now that all settings are restored, fill your washer up with water until a sufficient amount is reached. Depending on how large of a load you plan to wash, this can vary but it’s important to make sure there is enough in order for the machine to operate correctly.
This step ensures that your washer is ready to go and can now be used as normal. It is the last step in draining your Whirlpool washer. However, if you ever need to repeat the process for any reason, you now know how to do it!
Step 10: Plug in the Washer
Once the water levels have been filled, plug your Whirlpool washer back into its power source and check to make sure it is running properly. You may need to run a test cycle or two before using it for laundry again just to be sure everything is functioning as expected.
If all goes well, you’re now ready to start washing clothes as usual. Congratulations – you have successfully drained your Whirlpool washer! It’s as easy as that!
Step 11: Enjoy!
And that’s it! You have now successfully drained your Whirlpool washer and are ready to go. Enjoy clean clothes and the peace of mind of knowing how to properly maintain your machine. Always remember to keep an eye on it, though – just in case you need to drain it again in the future.

With a few simple steps, you can keep your washer up and running for years to come. This is one of the key benefits of owning a Whirlpool washer – it’s easy to maintain and can last for a long time.
We hope this blog post has provided you with all the information necessary on how to drain a Whirlpool washer. If you found this helpful, be sure to check out our other blog posts for more tips and tricks related to home appliances. Thanks for reading!
Do You Need to Use Professionals?
Draining the water from your Whirlpool washer isn’t a difficult task. However, if you find that you are having trouble with this process or don’t feel comfortable doing it yourself, then it is best to contact professionals. This way you can be sure that everything is done properly and safely. If you do decide to go this route, be sure to ask for a detailed estimate of any costs associated with the service.
Frequently Asked Questions
Q: How Often Should I Be Draining My Whirlpool Washer?
A: The frequency of the drain will vary depending on usage, but it is generally recommended to do this once every few months. This ensures that the machine is running efficiently and prevent any buildup of sediment or other debris.
Q: What Should I Do with the Water After Draining?
A: Whatever you do, make sure not to pour the water into sewers or gardens as this can contaminate them. It’s best to dispose of it in a safe and responsible manner such as through proper plumbing systems.
Q: Can I Use Any Type of Bucket for Draining My Washer?
A: Yes, you can use any type of bucket for draining your washer. However, be sure that it is large enough to handle all of the water from the machine.
Q: Are There Any Other Maintenance Tips I Should Follow?
A: Yes! It’s important to regularly clean out the washer filter screen, check the drain hose for any clogs or kinks, and make sure all settings are properly adjusted. Additionally, it is recommended to use cleaning solutions specifically designed for washing machines on a monthly basis. This helps keep your machine running smoothly and prevents the buildup of dirt, soap scum, and other residues.
Conclusion
Draining a Whirlpool washer may seem daunting, but it’s an important part of routine appliance maintenance. Using the correct components and following the right procedures can help ensure you’re successful in accomplishing this task. Once you’ve braved a few draining attempts, it becomes easier to master the process. If all else fails, don’t hesitate to reach out to a professional for assistance.
Taking this step on how to drain a whirlpool washer is often more cost-effective than hiring an expert down the road after extended use causes further damage to your washer. Properly draining your Washer is just one step in keeping this essential appliance running smoothly for years to come. So don’t give up; get that hose and get started on draining your Whirlpool washer today!

