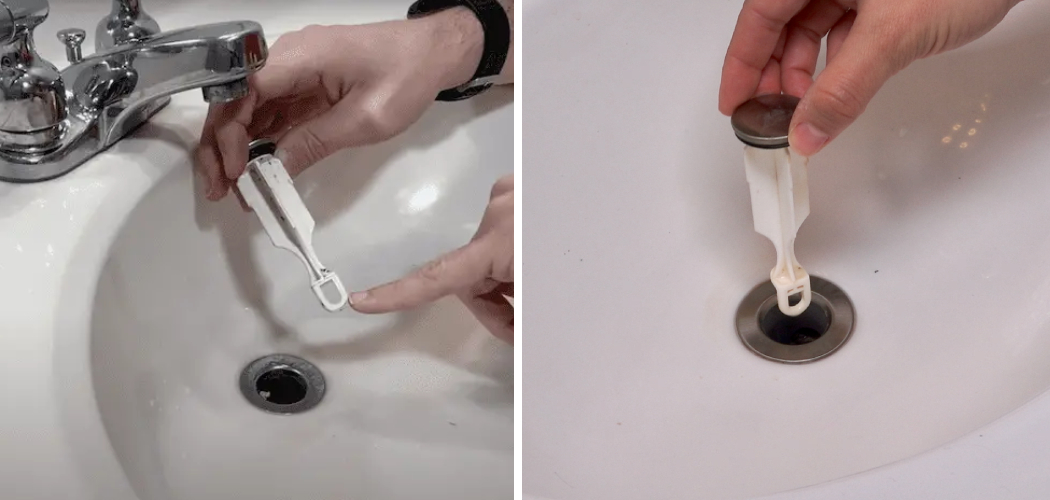
The bathroom sink stopper is an essential piece of plumbing that plays an important role in keeping your sink clean, preventing wastewater from flowing out of your sink and water from flowing back into your sink.
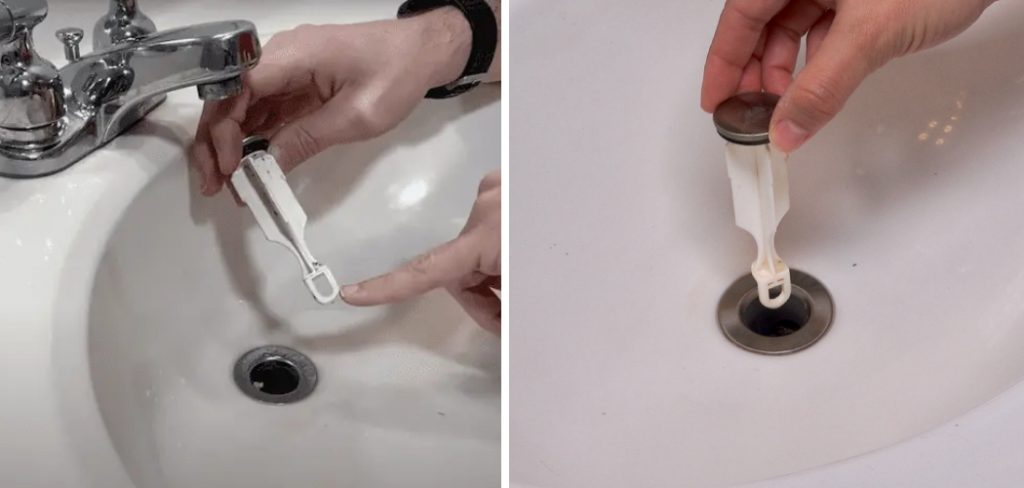
However, it may start malfunctioning after extended use, leading to water draining too slowly or not draining at all. Fortunately, adjusting the sink stopper is a relatively easy job that you can do without professional help. In this guide, we’ll tell you how to adjust bathroom sink stopper, step-by-step.
Can You Adjust the Bathroom Sink Stopper?
The bathroom sink stopper is a small but crucial component of any sink. Not only does it prevent water from flowing down the drain, but it also keeps unwanted debris from getting caught in the piping.
The good news is that adjusting the sink stopper is a fairly simple process that can be done without professional help. By following a few simple steps, you can ensure that your sink stopper is working properly and keeping your bathroom sink free of clogs. So give it a try – your sink (and your future self) will thank you!
Why Should You Adjust the Bathroom Sink Stopper?
The sink stopper in your bathroom may not seem like a major issue, but it can cause serious problems over time. A stopper that is not adjusted correctly can lead to clogs in your pipes, water damage, and even mold growth. Additionally, an improperly adjusted stopper can affect the overall function of your sink, making it difficult to use and clean.
Adjusting your bathroom sink stopper is a small step that can prevent big headaches down the line. Not only will it save you from costly repairs, but it will also ensure that your sink is working just as it should. Don’t wait until it’s too late to make this simple adjustment.
How to Adjust Bathroom Sink Stopper: A Simple Guide
Step 1: Examine the Stopper Assemblies and Connections
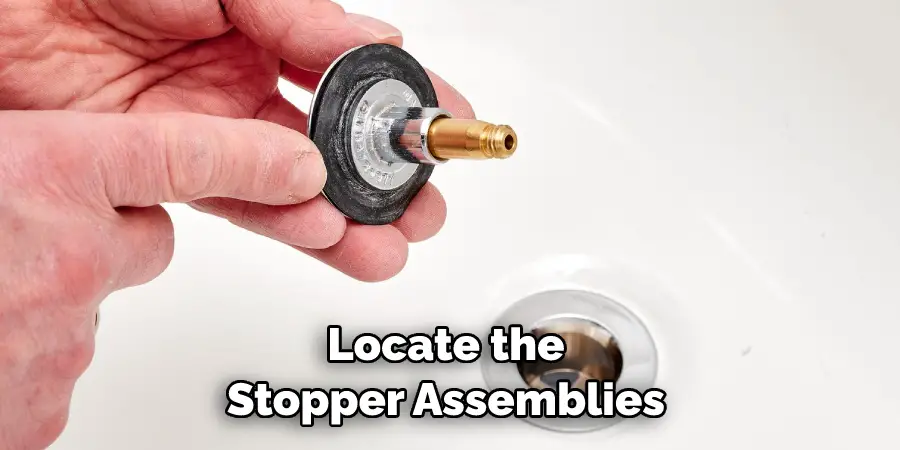
You should first locate the stopper assemblies under your sink to adjust the bathroom sink stopper. Depending on your sink type, there may be one or two stopper assemblies. Look for a metal rod running through the tailpiece on the underside of the sink and connecting it to the stopper. Ensure that every connection is secure and tight.
Step 2: Check Stopper Height
If you notice that your stopper is not closing all the way, you can adjust the stopper height by removing or tightening the nut at the bottom of the assembly. To do so, reach under the sink and twist the nut counterclockwise to loosen it, then move the stopper up or down to the desired position. After that, tighten the nut back towards the tailpiece and test the stopper movement a few times.
Step 3: Check Stopper Alignment
If your stopper is not centered, remove the nut from the assembly and position the stopper correctly. Ensure that you have enough clearance between the stopper and the drain to prevent it from scratching the sink surface. Position the stopper as close as possible to the drain opening, then secure it in place by tightening the nut back towards the tailpiece.
Step 4: Clean The Stopper
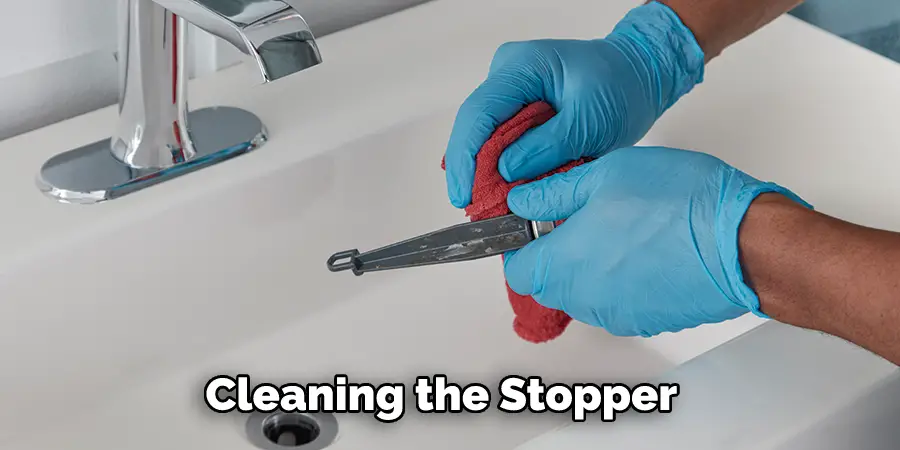
Before attempting to adjust the bathroom sink stopper, cleaning the stopper and removing any debris or build-up is important. Use a soft cloth and mild detergent to wipe down the surface of the stopper without damaging it. If you have an old, corroded stopper, consider replacing it with a new one, as adjusting will not be effective.
Step 5: Remove The Stopper
If your stopper is worn out or corroded, you can replace it by first removing the old one from the assembly. To do so, loosen the nut at the bottom of the assembly and pull up firmly on the stopper until it dislodges from its connection. Carefully remove the old stopper and clean out any debris from the assembly before replacing it.
Step 6: Insert The New Stopper
Once you have removed the old stopper, insert the new one into its connection. Ensure that it is properly aligned with the drain opening as well as tight enough to prevent water from coming up through the tailpiece. Tighten the nut at the bottom of the assembly and test it to see if your alterations have been successful.
Step 7: Repeat The Process
Repeating this process a few times is important to ensure that your adjustments are correct and that the stopper is operating properly. If any issues arise, try repeating steps 1-6 until you achieve the desired results. Your bathroom sink stopper should be fully functional and closed properly when everything works correctly.
That’s it! You’ve now learned how to adjust bathroom sink stopper. With the right tools and following these steps accurately, you can quickly and easily adjust the stopper in your bathroom sink to ensure that it is functioning properly. Now, all you have to do is enjoy your new and improved experience!
5 Considerations Things When You Need to Adjust Bathroom Sink Stopper
1. Check the Drainage Hole
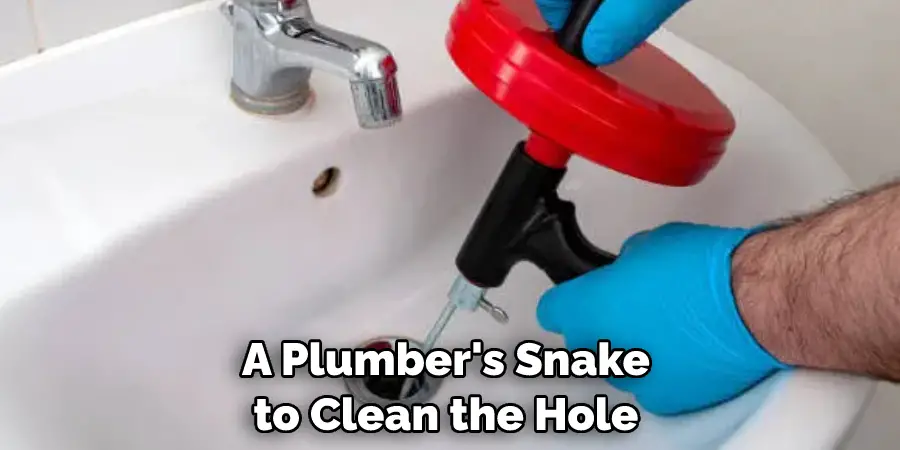
One of the first things you need to do when adjusting a bathroom sink stopper is to check the drainage hole. This is the hole in the sink that allows water to drain out. If the hole is clogged, it can cause the stopper to become stuck in the open position. Simply use a plunger or a plumber’s snake to clean the hole.
2. Remove the Stopper
Once you have cleared the drainage hole, you will need to remove the stopper from the sink. To do this, simply unscrew the knob or lever that is attached to the stopper. Once the knob or lever is removed, you should be able to pull the stopper out of the sink.
3. Adjust the Chain
If your bathroom sink stopper has a chain, you must adjust it to close the drain properly. The chain should be long enough so that when the stopper is in the closed position, there is still some slack in the chain. However, if the chain is too long, it can become tangled and cause problems when you try to open and close the drain.
4. Replace the Stopper
Once you have adjusted the chain, you can replace the stopper in the sink and screw the knob or lever back into place. Ensure that the stopper is positioned so that it covers the drainage hole completely when it is closed.
5. Test It Out
After you have replaced and adjusted the bathroom sink stopper, it is important to test it out to make sure that it is working properly. Simply fill up your sink with some water and then pull on the knob or lever to close the drain. The water should start draining out of your sink immediately. If it does not, then you may need to adjust your bathroom sink stopper again.
Adjusting a bathroom sink stopper is not difficult, but following the steps outlined above is important to ensure that your drain works properly. Once you have successfully adjusted your bathroom sink stopper, it should be good to go for years to come.
Benefits of Adjust Bathroom Sink Stopper
The sink stopper is one of the most essential parts of any bathroom sink. It is a small yet crucial component that keeps water from flowing out of the basin when necessary. However, many people overlook the importance of adjusting their sink stoppers.
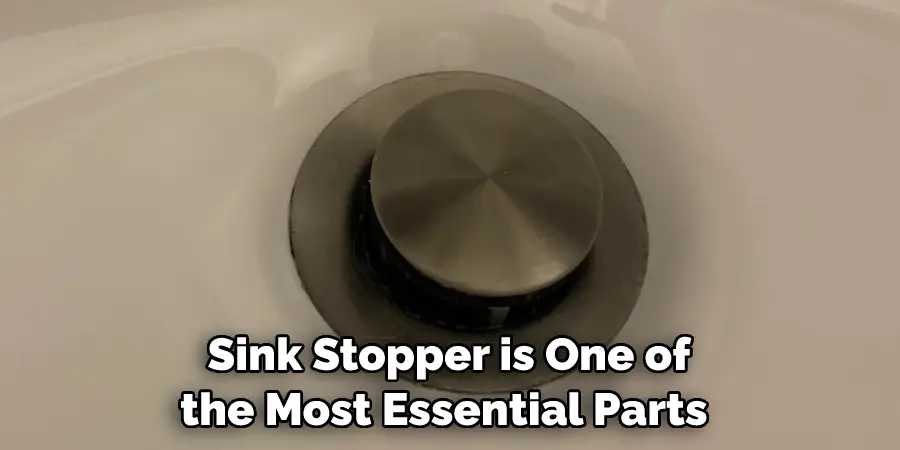
By adjusting it, you can ensure it is working correctly, saving you time and money in the long run. For example, a faulty sink stopper can cause water to leak, damaging your pipes and increasing your water bill.
On the other hand, a properly adjusted sink stopper can help you conserve water and prevent clogs. Not to mention, it can make your sink look more appealing and function more efficiently. By adjusting your bathroom sink stopper, you can enjoy these benefits and more.
Some Common Mistakes People Make When Trying to Adjust Bathroom Sink Stoppers
The bathroom sink stopper is a small but crucial component of any bathroom sink. However, adjusting this stopper can be a daunting task for many. People often make the mistake of tightening the stopper too much, causing it to get stuck and rendering it useless.
Another common mistake is not properly cleaning the stopper before adjusting it, leading to a buildup of debris and grime that can interfere with its functioning. Additionally, people often overlook the importance of properly aligning the stopper’s components, leading to incorrect adjustments that do not solve the problem.
It is important to remember these mistakes and take special care when adjusting the bathroom sink stopper to ensure its optimal functioning and longevity.
Conclusion
Admittedly, adjusting the bathroom sink stopper is easy to follow in a couple of minutes. By following the five steps outlined in this guide, you can get your sink functioning correctly and prevent any future water damage to your home. However, if you lack the necessary tools or expertise, it’s best to contact professional plumbers to solve the problem.
Remember, never ignore faulty sink stoppers, which may lead to significant plumbing issues and costly repairs. Thanks for reading our post about how to adjust bathroom sink stopper.

