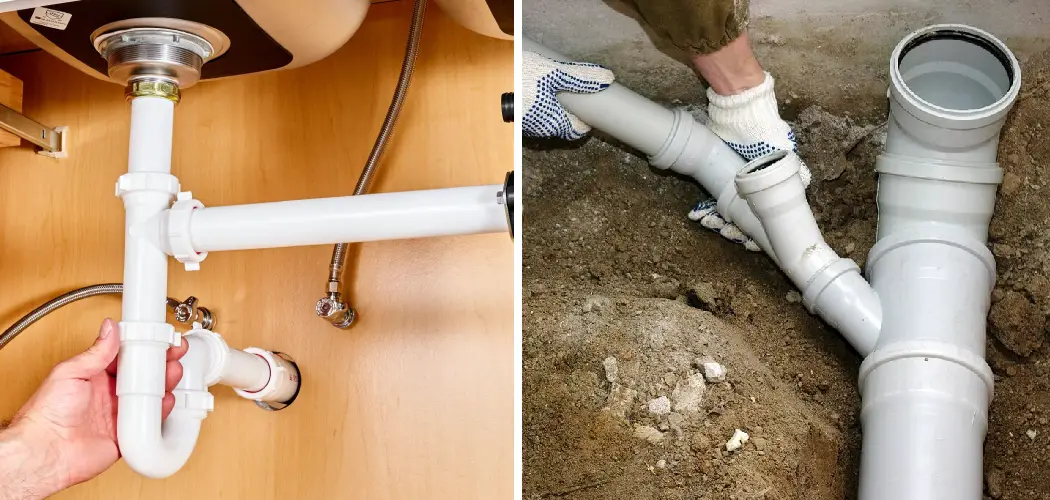
Are you looking for a comprehensive and informative guide on how to slope PVC drain pipe? If so, then this blog post is the perfect place to start! In this article, we’ll answer all your questions about correctly sloping PVC drain pipes.
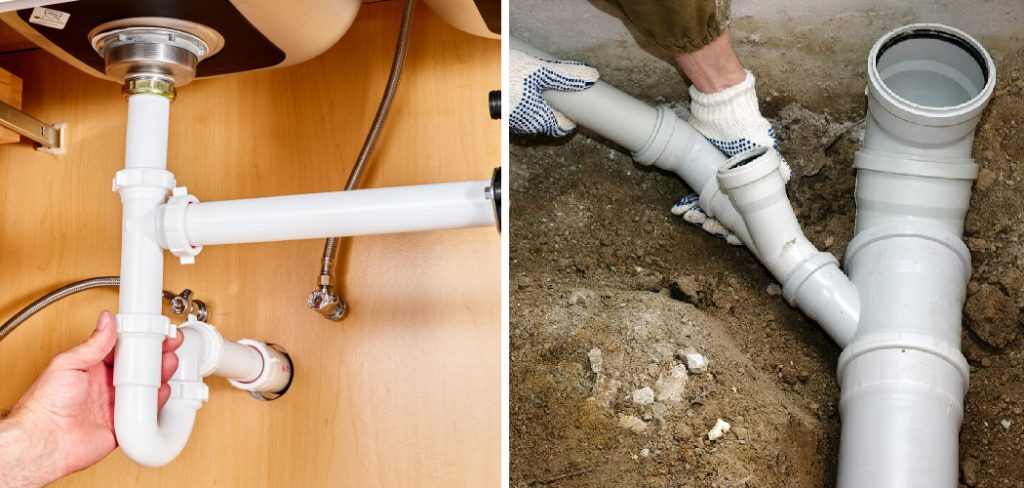
We will discuss what you need to consider before starting your project, as well as provide step-by-step instructions on how to slope pvc drain pipe. So whether it’s kitchen sinks or other plumbing projects in your home, read on now and get ready to tackle those slopes like an expert!
Here, We’ll cover everything you need to know in this post, with easy-to-follow instructions and helpful diagrams. Properly sloping drains are essential for ensuring that the water inside of them can flow away easily, instead of collecting on its own or becoming clogged. Let’s take a look at what needs to be done!
Why May You Want TO Slope PVC Drain Pipe?
1. To Ensure Efficient Flow
Properly sloping PVC drain pipes help to ensure that the water is draining away quickly and efficiently, reducing the risk of flooding. This is particularly important in areas where heavy rains are common. Also, sloping the pipe can help to prevent water from collecting in low areas and create standing pools. This reduces the risk of contamination due to bacterial or algae growth.
2. To Prevent Clogging
By sloping your PVC drain pipes, you create a steeper angle that prevents debris and other items from clogging up the pipe. This helps to reduce the need for frequent cleaning and maintenance.
3. To Help With Installation
When it comes time to install your PVC drain pipes, having them sloped properly makes the job go much more quickly and easily. This is especially important when working with multiple levels of pipe connected together.
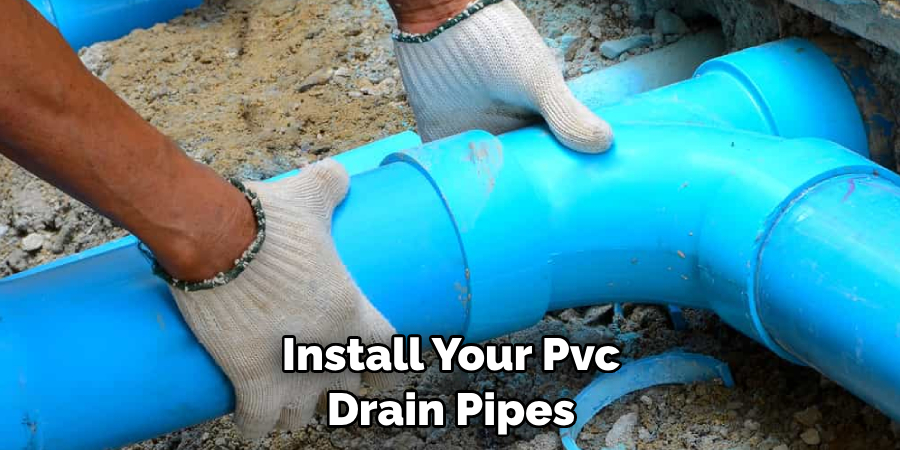
By taking the time to slope your Pvc drain pipes correctly, you can ensure that your plumbing system is efficient and effective. This will save you time and money in the long run. In addition, it helps to reduce the risk of flooding due to heavy rains or clogging from debris build-up. It also makes installation easier when working with multiple levels of pipe connected together.
How to Slope PVC Drain Pipe in 5 Easy Steps
Step 1: Gather All The Materials
The very first step is to gather all the materials you’ll need for the job, which includes PVC pipes and fittings, a power saw, measuring tape, a hack saw, PVC cement, and a level. Also, you have to make sure that you wear safety glasses and gloves when working with power tools.
Step 2: Cut The Pipe To The Desired Length
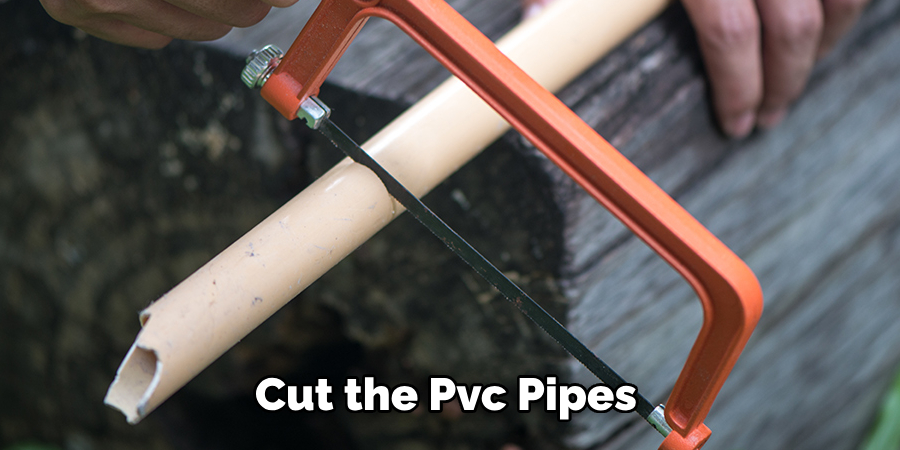
Cut the PVC pipes to the desired length using a power saw or hack saw, based on where it needs to be placed. Make sure to measure twice and cut once so that all your cuts are accurate.
Step 3: Dry Fit The Pipe
Dry fit the PVC pipe to make sure that all the pieces are of the correct size and in the right position, before cementing them. This will help you ensure that the final product is as desired.
Step 4: Apply PVC Cement To The Fittings
Once you are satisfied with the dry fit, apply PVC cement to the fittings and then slide them into place. Make sure to work quickly as PVC cement sets fast and permanently. Also be careful not to get any cement on your skin or clothing as it can cause irritation.
Step 5: Slope The Pipe
The last step is to slope the pipe. According to most plumbing codes, you should have a minimum of 1/4 inch drop in the drain pipe per foot. To do this, use a level and adjust your pipes until they are properly sloped.
Once all your slopes are set, you can now permanently secure them with PVC cement and your drain pipe is ready for use. Following these five steps should help you successfully install a sloped PVC drain pipe in no time.
Some Tips to Slope PVC Drain Pipe
1. Do Not Use Too Much Slope
Pvc drain pipes should be sloped at a minimum of 1/4 inch per foot, and never more than 2 inches per foot. Too much slope can cause water to run too quickly, which can lead to pipe damage or failure. Also, be sure that the slope is consistent throughout the entire length of pipe.
2. Use Adequate Supports
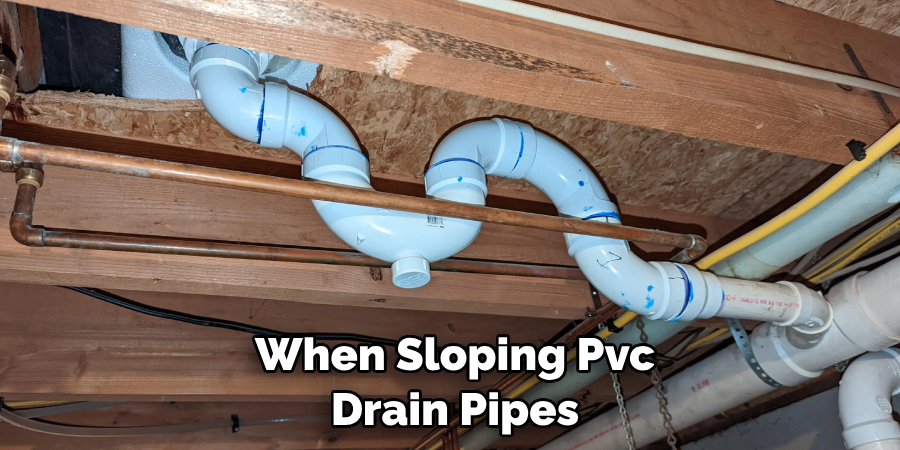
When sloping Pvc drain pipes, it’s important to use adequate support. This includes the use of straps and hangers to ensure that the pipe remains securely in place when it is under pressure from moving water.
3. Cut the Pipe Properly
When cutting Pvc drain pipes, be sure to use a sharp blade and measure twice before making any cuts. Using a jigsaw or hacksaw is not recommended as they can create too much vibration that can cause damage to the pipe’s material.
4. Clean up Debris
Be sure to clean up any debris that is created during the pipe-sloping process. This includes removing all loose pieces of pipe or fittings, as well as wiping down the interior and exterior of the pipe to make sure it is free of dust, dirt, and other particles.
5. Seal Seams Properly
Once you’ve finished sloping the Pvc drain pipe, it’s important to seal any seams or joints with an appropriate sealant. This will help ensure water does not leak from the pipe, which can lead to damage or other issues.
Following these tips when sloping Pvc drain pipes can help ensure that your plumbing is up to code and functioning properly. Be sure to consult a professional if you have any questions or concerns about the process. With the right preparation, sloping Pvc drain pipes can be a simple and straightforward task.
Frequently Asked Questions
What Precautions Should Be Taken When Sloping PVC Drain Pipe?
When sloping PVC drain pipe, it’s important to ensure that it is installed correctly. This means following the manufacturer’s instructions and making sure all measurements are accurate. Additionally, make sure that the pipes are firmly connected so they do not become loose over time.
It’s also important to use quality materials and properly insulate the pipes, as this will help ensure that the system is durable and long-lasting. Finally, check for obstructions or blockages in the line before covering it up with soil to prevent any water from backing up into your home.
What Is The Recommended Slope For PVC Drain Pipe?
The recommended slope for PVC drain pipe is ¼ inch per foot. This slight downward gradient helps ensure that waste water flows away from your home and towards the sewer or septic tank. It’s important to make sure that all measurements are accurate while sloping the pipes, as even a small error can lead to serious water damage in the future.
Additionally, make sure to check for any obstructions before covering the pipe with soil.
Are There Any Differences between Sloping PVC Drain Pipes and Other Types of Pipes?
Yes, there are some differences between sloping PVC drain pipes and other types of pipes. For instance, PVC is not as flexible as other materials like copper or cast iron, so it may be more difficult to slope the pipe without causing any damage.

Additionally, PVC is not as durable as other materials and can become brittle over time if exposed to extreme temperatures. Therefore, it’s important to properly insulate the pipe before installing it in order to ensure its longevity.
It’s also important to double-check all measurements when sloping PVC drain pipe, as even the smallest error can cause water to back up and damage your home.
What Tools Are Necessary To Slope PVC Drain Pipe?
When it comes to sloping PVC drain pipe, the right tools are essential for a successful installation. You’ll need a tape measure, a level, an angle finder, and a hacksaw or other cutting tool. Additionally, you’ll need PVC primer and cement to connect the pipes together. PVC pipe fittings and proper insulation should also be purchased if necessary.
How Much Slope Is Needed For PVC Drain Pipe?
The recommended minimum slope for PVC drain pipe is ¼ inch per foot. If possible, it’s best to use a slight gradient of 1/4 inch over every 12 inches of pipe. Any steeper or shallower slopes can cause water to move too quickly or too slowly through the line, leading to pipe damage or failure. Additionally, make sure that the slope is consistent throughout the entire length of the pipe.
Conclusion
Now you know how to slope pvc drain pipe! As you can see, sloping PVC drain pipe properly isn’t always a simple task but it’s an essential one if you want to protect your home from water damage. With the right tools and preparation, you can save yourself thousands in repairs and years of headache.
The most important thing is to research thoroughly and understand the process before beginning. Take the time to plan out each step, measure twice, and consider professional help when needed. Remember, this isn’t a convenient weekend DIY project; if done incorrectly it could cost thousands in repairs down the line. It’s better to take your time and do it right than have to pay for larger problems in the future.

