If you’ve ever come home to a flooded basement or damage caused by a leaking air conditioner, it’s possible that your cracked AC drain pan is to blame. Having a broken air conditioning system is never fun, especially when your AC unit’s drain pan develops a crack.
At best, the leak will cause water damage in the immediate vicinity of the unit; at worst, it could result in a large-scale flood and cost thousands of dollars in repairs.
Thankfully, there is good news—fixing a cracked AC drain pan doesn’t have to be complicated or expensive. With the right tools and supplies on hand, you can locate and repair those pesky leaks quickly so your home stays dry and comfortable.
Read on to learn how to take care of that pesky problem with minimal fuss! In this blog post, we’ll cover all the necessary information on how to fix a cracked ac drain pan for diagnosis as well as repair an AC drain pan so you don’t have to worry about water damage anymore!
What is an Ac Drain Pan?
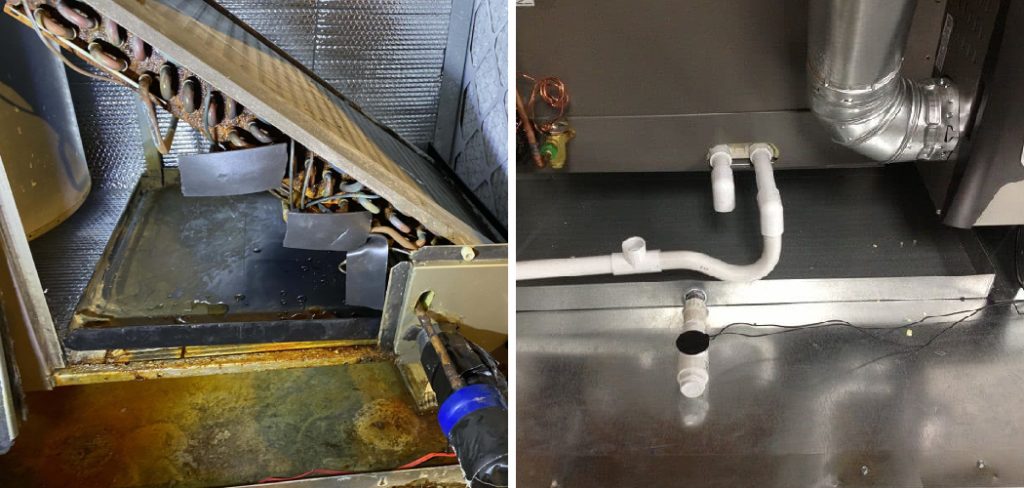
An AC drain pan is a plastic or metal pan located underneath your air conditioner’s evaporator coil, which collects condensation and other moisture that builds up during the cooling process. If the drain pan develops a crack, it can cause leaking around your air conditioning unit as well as water damage to any nearby carpets, furniture, and walls.
The Function of Ac Drain Pan
1. Gives Protection
The primary purpose of an AC drain pan is to collect condensation and any other liquids that are expelled from the air conditioner’s evaporator coil. It helps protect your home from water damage by catching the liquid before it can spread throughout your house.
2. Maintains Air Quality
An AC drain pan also serves the important function of keeping your air conditioner running efficiently by allowing moisture and contaminants to be drained away from the unit. This helps maintain good indoor air quality.
3. Keeps Your Home Dry
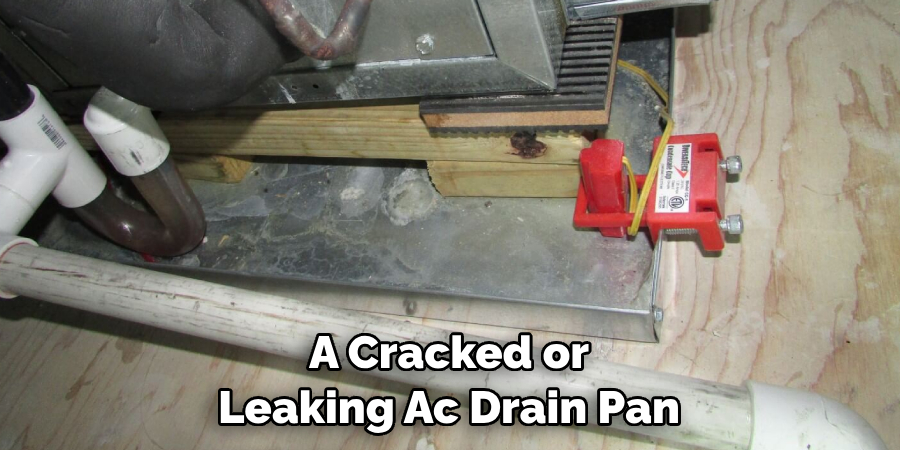
A cracked or leaking AC drain pan can cause water damage in your home if left unchecked for too long. By fixing the issue as soon as you notice it, you can keep your home free from water damage and other related problems.
Required Items for Fixing a Cracked Drain Pan
Before you begin, make sure to assemble the following items:
- A pair of safety glasses
- A screwdriver
- A bucket
- Silicone caulking (or another type of sealant)
- An epoxy patch
10 Ways How to Fix a Cracked Ac Drain Pan
1. Protective Gear
Wear safety glasses. To protect your eyes from any particles or debris that may be present during the repair process. Always wear safety glasses when working around an AC unit.
2. Locate the Leak
The first step in fixing a cracked AC drain pan is to locate the leak. Look closely at the drain pan for any signs of cracking or other damage. You can also use a flashlight to look more closely at hard-to-see areas that may be leaking.
3. Clean the Area
Once you’ve located the crack, use a damp cloth or brush to clean the area around it and make sure there is no debris that could get in the way of your repair. Cleaning the area helps ensure a better seal when it comes to patching or caulking.
4. Dry the Area
Once you’ve cleaned the area, use a clean cloth to dry the surface completely before beginning any repairs. This will help make sure your repair lasts longer and seals more securely. Make sure the surface is completely dry before continuing.
5. Seal any Leaks with Caulk
Once the area is clean and dry, you can use a tube of silicone caulking (or another type of sealant) to fill in any cracks or gaps in the pan. Apply a generous amount of caulk along the length of the crack, making sure to cover the entire area with a thick layer of caulk.
6. Smooth Out Caulk
Once you’ve applied the caulk, use your finger to smooth out any excess caulking that may have been squeezed out during the process. Any excess caulking should be removed as it could impede water flow or cause further damage down the line.
7. Let Caulk Dry
Allow the caulking to dry completely before continuing with your repair job. Depending on the type of sealant used, this could take anywhere from a few hours to overnight. Caulk that isn’t completely dry could cause further damage down the line.
8. Apply Epoxy Patch
If the crack is too big to be sealed with caulking alone, you may need to use an epoxy patch. To do this, apply a generous amount of epoxy on both sides of the crack and then press it together firmly. This will help ensure a secure, water-tight seal.
9. Let Epoxy Cure
Once you’ve applied the epoxy patch, allow it to cure completely before reassembling the unit and restoring power to the air conditioner. Depending on the type of epoxy used, this could take anywhere from several hours to overnight.
10. Reassemble the Unit
Once all repairs have been made, reassemble the unit and restore power to it. This will help ensure that the AC is operating properly and all parts are functioning as they should.
With these 10 easy steps, you can quickly fix a cracked AC drain pan without having to pay for expensive professional repairs. Just remember to take precautions while working on your AC unit, and make sure to dry the area thoroughly before applying any sealant or patch. That way, you can ensure a secure repair that will help keep your home safe and dry for years to come!
8 Safety Precautions
It’s important to take safety precautions when attempting to fix a cracked AC drain pan. To keep you and your family safe, please follow these steps:
1. Be sure the power is completely shut off before beginning any repairs. The power should be turned off at the fuse box or circuit breaker. Also, unplug the appliance to ensure it doesn’t come on during repairs.
2. Wear protective eyewear and gloves as you work since contact with harsh chemicals or sharp tools may occur. Protective clothing is also recommended.
3. Make sure the area is well-ventilated when using materials like epoxy, flux, or solvents to fix the drain pan. Wear a face mask or respirator if necessary. Also, keep all materials away from fire and open flames.
4. If you are using a soldering iron, make sure the tip of the iron is clean before contacting it with the drain pan material to prevent contamination. Also, be aware that any sprayed-on insulation or sealants may contain toxic materials like formaldehyde or asbestos.
5. Make sure your tools are in good condition and free of any defects. Check that all screws, bolts, and nuts are tight and secure before using the appliance.
6. Never use a hammer or pliers near the drain pan to prevent further damage. Never place any electrical equipment — like soldering irons or power drills — near the drain pan either.
7. Make sure you dispose of all materials properly after completing repairs. Don’t leave anything that can be a safety hazard, like sharp edges or exposed wires. Also, clean up any tools you may have used.
8. Check the drain pan for leaks once it has been repaired and all safety precautions have been taken. It’s important to ensure that the repair job is done correctly to avoid future problems.
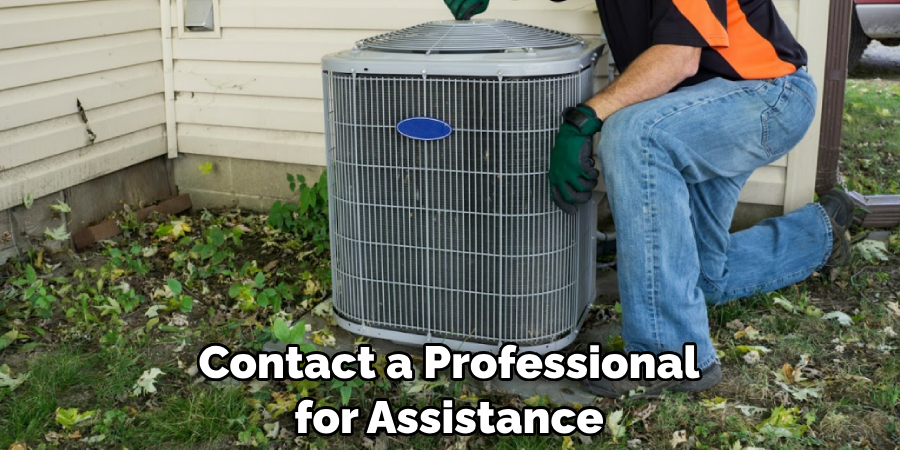
Following these steps will help keep you safe while fixing a cracked AC drain pan. If you’re still unsure about how to complete the job correctly, it’s best to contact a professional for assistance. With their help and guidance, you can be sure that your repair is done safely and correctly.
Frequently Asked QuestionS
How Long Will It Take to Finish the Project?
The time it takes to repair a cracked AC drain pan will depend on the complexity of the job, as well as any additional repairs that may need to be done. If there are no other issues beyond the cracked drain pan, then typically, this job can be completed in one day or less.
However, if other repairs are necessary, it is best to plan for multiple days of work. Additionally, if you are not familiar with the repair process, it is best to work with a professional for assistance.
Conclusion
Fixing a cracked AC drain pan is an easy procedure that only takes a couple of hours. Remember, it’s common to require 2-3 people to assist you in this type of repair, as the pan must be close enough to the ground for optimal effectiveness. Make sure your repair material matches up with your air conditioning unit, and use gentle tools when handling the panel.
Follow the above steps on how to fix a cracked ac drain pan, and you should have your air conditioning unit up and running in no time.
DIYers likely won’t need professional assistance, but if they ever do, any nearby HVAC specialist should be able to help. All in all, DIYers can now reap the benefits of high-cost savings when it comes to repairing a cracked AC drain pan on their own.
That said, take special care when fixing a damaged unit and remember that safety always comes first, no matter what types of repairs you are performing on your air conditioner.

