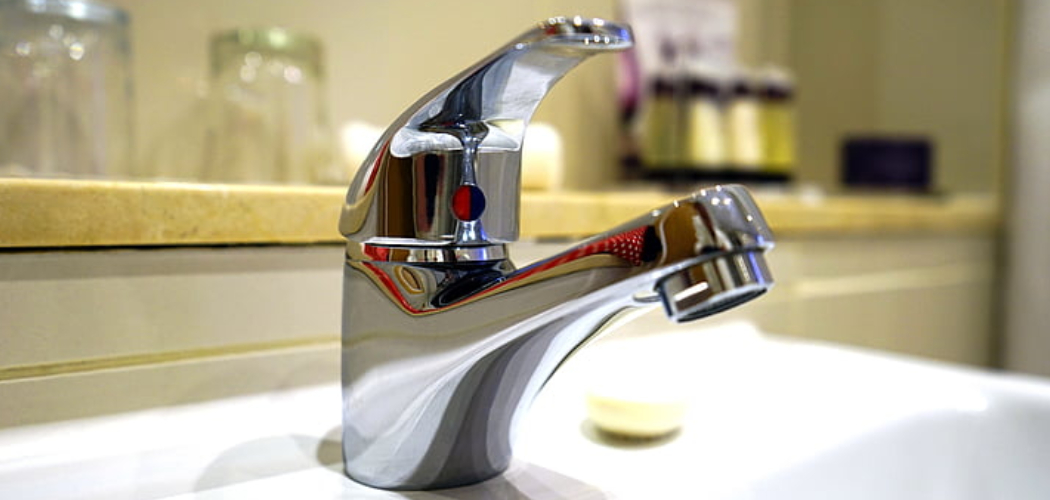
If you’re having trouble with low water pressure only coming out of one faucet, then don’t worry—you don’t need to call a plumber or replace the entire fixture. In most cases, this issue can be fixed quite easily and without spending a lot of money.
In this blog post on how to fix low water pressure in one faucet, I’ll walk you through the steps needed to diagnose and resolve low water pressure in just one single faucet within your home. Get ready to fix the problem once and for all!
Needed Materials
Given below is a list of materials that you’ll need in order to fix this issue:
- Plumber’s Tape (Also Called Ptfe Tape)
- Wrench/pliers
- Screwdriver
11 Step-by-step Guidelines on How to Fix Low Water Pressure in One Faucet
Step 1: Check the Faucet Handle
Start by turning the faucet handle on and off several times to check if the water pressure changes. If it does, then you can rule out a clogged diverter inside the faucet. It’s possible that the handle is simply not being opened fully, resulting in a lower water flow. But if the pressure remains low, then it’s time to move on to the next step.
Step 2: Clean the Aerator
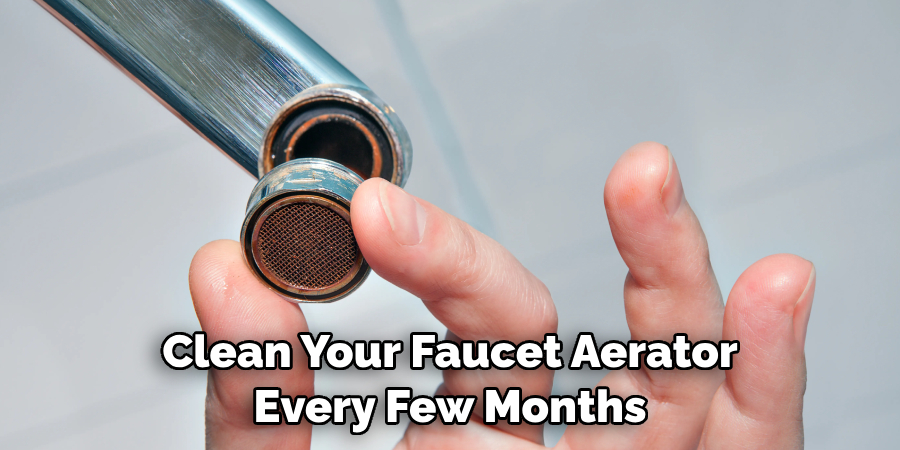
Unscrew and remove your faucet’s aerator, which is usually located at the end of the spout. This is a small screen filter that controls water flow and helps reduce sediment or other debris from entering the faucet. Clean this aerator to make sure there’s no blockage causing decreased water pressure. If you find any dirt inside, simply rinse it off with warm soapy water and then reattach it back in place.
Step 3: Replace the Washer and O-Ring
If cleaning the aerator didn’t improve water pressure, then it may be time to replace the washer and O-ring inside your faucet. Over time, these components can become worn out or damaged which will cause a decrease in water flow.
It’s best to replace them with a new one, using the same exact size and shape for an optimal fit. You can find replacement washers and O-rings at most hardware stores. Otherwise, consult the manufacturer’s website for specific instructions.
Step 4: Check the Water Supply Lines
If all else fails, you’ll want to check your water supply lines just in case they are clogged or leaking. To do this, locate where the water line enters your home from the main water supply and take off the valve cover.
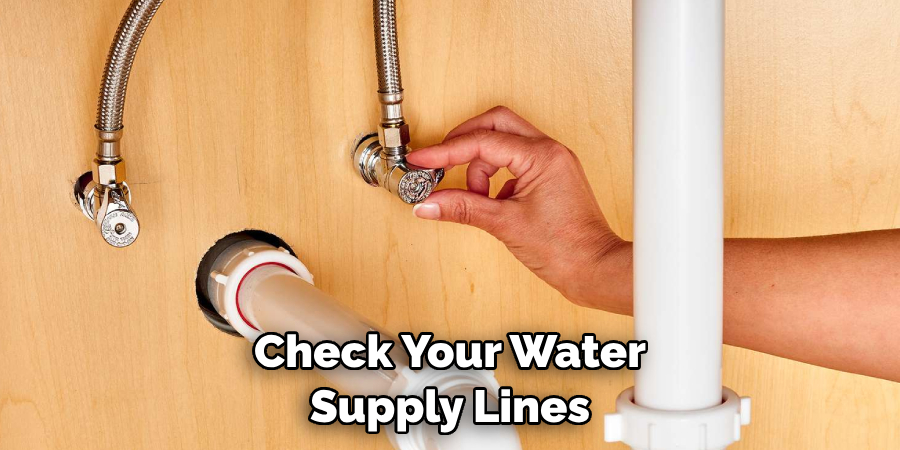
If you see any signs of dirt or debris, then use a wire brush to clean it out before reattaching the valve cover. But if the lines look fine, then you may have a bigger problem that requires professional help.
Step 5: Check for Leaks in the Faucet
Another possible cause of low water pressure is an internal leak inside the faucet. To check for this, turn the faucet off and then fill a cup with water from the sink. If you notice any dripping or leaking afterward, then it’s time to replace your entire faucet or just the internal parts if you’re feeling up to it.
That should fix the issue and restore your faucet’s water pressure. This is a lengthy process but it can be done with the right tools and techniques.
Step 6: Adjust Your Home’s Water Pressure Regulator
Your home’s water pressure regulator might need to be adjusted if you have extremely low water pressure coming from the faucet. To check, locate and open your main shutoff valve (usually located near your water meter or in the basement), then use a wrench to turn the adjustment nut clockwise until it stops. This should slightly increase the overall pressure in your home.
Step 7: Call a Professional
If these steps still haven’t resolved the low water pressure issue, then it’s best to call a professional plumber for further assistance. A licensed plumber will be able to diagnose and repair any underlying issues with your faucet or plumbing system, allowing you to enjoy normal water pressure once again.

It’s always best to leave any plumbing issues to the experts—this way, you can be sure that your faucet is properly fixed and functioning as it should. You can also save yourself a lot of time and money in the process.
Step 8: Try Replacing the Faucet
If you’ve tried all of the above steps but still can’t get your faucet to work properly, then it might be time to replace the entire fixture. Fortunately, replacing a faucet is relatively easy and straightforward—all you need are basic tools and a little bit of knowledge.
Plus, there are plenty of affordable options available online and in retail stores, so you don’t have to break the bank. But if you’re a beginner, it’s always a good idea to have a professional do the work for you.
Step 9: Have Patience
When dealing with low water pressure in your home, it’s important to be patient and take your time. Don’t rush into anything or try to make repairs without fully understanding what you’re doing. Take the time to research and read up on how to fix your specific issue, and if you’re still stuck then it’s best to call a professional. It might take some time and effort, but it’s worth the hassle in the long run.
Step 10: Make Sure Your Home’s System is Up-to-date
Finally, make sure that all of your home’s plumbing systems are up-to-date and working properly. If your home is more than 20 years old, then it’s possible that the pipes are outdated or worn out, which can cause low water pressure. It might be time to invest in new plumbing fixtures if you want to increase your home’s water pressure for good.
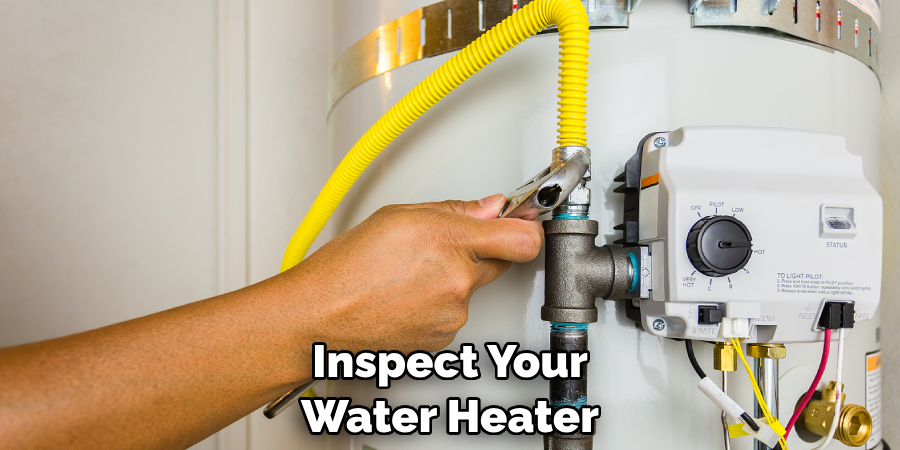
Step 11: Check Your Water Heater
If your home’s water pressure has been low for a while, then consider checking the water heater. Poorly maintained or old water heaters can reduce the amount of hot and cold water available in your home, which will further decrease the overall pressure.
Inspect your water heater for any signs of damage or leaks, and have it serviced if necessary. This may be all you need to restore your water pressure back to normal.
By following these 11 step-by-step guidelines on how to fix low water pressure in one faucet, you’ll be able to diagnose and fix the root cause of low water pressure coming out of one single faucet in no time.
Once everything is up and running again, be sure to take extra precautions with your plumbing system to ensure that all of your faucets are working properly and that you don’t run into any further issues with water pressure. With the right preventive maintenance, you can keep your plumbing system running smoothly for years to come.
Frequently Asked Questions
Q: What Could Cause Low Water Pressure in My Home?
A: Low water pressure can be caused by a variety of things, including clogged aerators, worn out washers and O-rings, leaks in the faucet or pipes, or an outdated plumbing system. It’s best to check each individual component before calling a professional for assistance.
Q: How Can I Test My Water Pressure?
A: To test your home’s water pressure, you can purchase a pressure gauge from any hardware store and follow the instructions on the package. Alternatively, you can fill a large container with water from the faucet and then time how long it takes to fill up. A slower-than-normal water flow could mean that your home has low water pressure.
Q: How Can I Increase My Home’s Water Pressure?
A: To increase the overall water pressure in your home, you should first check and clean any clogged aerators, replace worn components, and check for leaks in the faucet or pipes. You may also need to adjust your home’s water pressure regulator or invest in new plumbing fixtures. It is always best to call a professional plumber for assistance if you are unsure of what to do.
Q: How Often Should I Clean My Faucet’s Aerator?
A: It’s recommended that you clean your faucet aerator every few months (depending on usage) to prevent any clogs from forming and to maintain optimal water flow. Taking the time to do this regularly can help ensure that you have proper water pressure in your home for years to come.
Conclusion
All in all, fixing the water pressure in one faucet can be a daunting task without the right knowledge. But by following simple steps like turning off the main water valve, checking for clogs, and replacing faulty parts of plumbing fixtures, you can have your faucet working at its best in no time!
Moreover, regular maintenance and repair of plumbing fixtures can help keep the water pressure in your home stable and running properly.
To ensure your safety when doing DIY repairs, it is important to read up and adhere to safety procedures before beginning any work.
Don’t be afraid to take the initiative and learn how to fix minor issues yourself or call a professional plumber if needed; either way, being familiar with different types of repair techniques can help you save money in the long term. Thanks for reading this article on how to fix low water pressure in one faucet.

