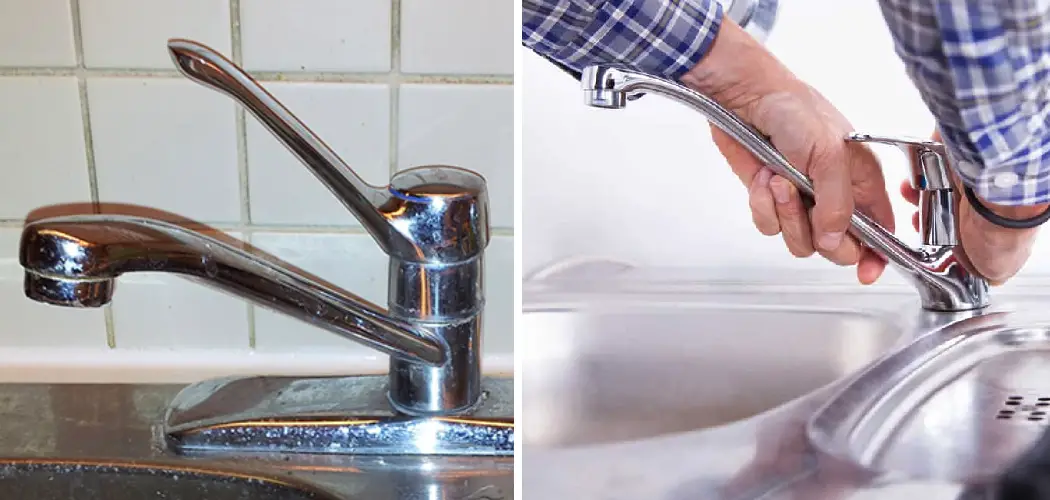
Are you looking to replace your old Moen kitchen faucet? Removing an old Moen kitchen faucet is a relatively simple task that almost anyone can do. This guide will walk you through the process step by step.
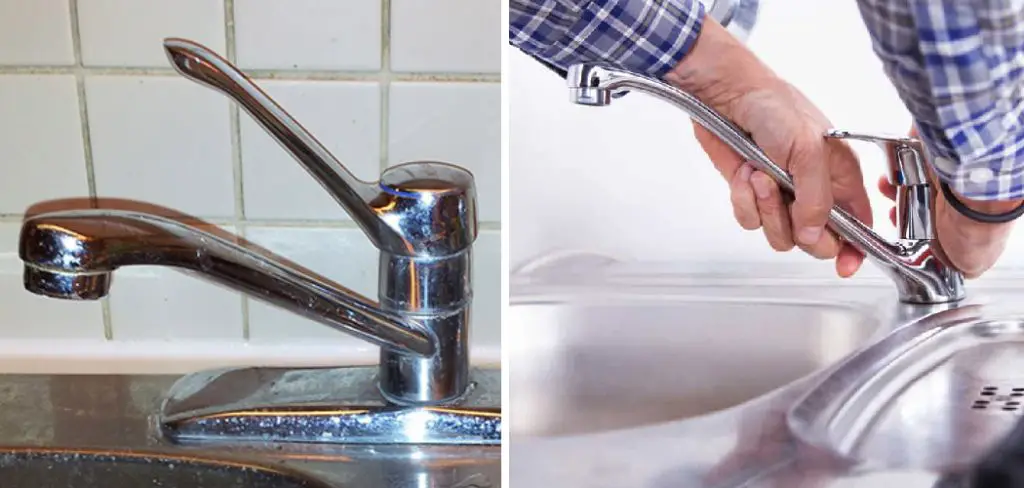
If you’re looking to give your kitchen a refresh, there’s no better way than replacing an old and outdated faucet with something fresh and modern. But what many homeowners need to realize is that it can be difficult to properly remove an old Moen kitchen faucet. Whether replacing a faulty faucet or upgrading to a new style, removing an old Moen kitchen faucet will require the same basic steps.
Fortunately, it’s not impossible — in this blog post, we’ll provide step-by-step instructions on how to remove old moen kitchen faucet so you can get the kitchen of your dreams!
What Will You Need?
Before you begin, ensure you have all the necessary tools to remove your old Moen kitchen faucet. Here is a list of items that will be helpful:
- A screw
- New Moen faucet (optional)
- Adjustable wrench
- Pliers
- Basin wrench
- Rag or towel (to catch potential dripping water)
- Bucket (for draining water from the sink pipes)
Once you have all your tools, you can move on to the actual process.
10 Easy Steps on How to Remove Old Moen Kitchen Faucet
Step 1: Shut off Water Supply & Disconnect Pipes
The first step is to shut off the water supply to your faucet. This can be done by turning off the valves underneath the sink. If you don’t have access to these valves, you may need to turn off the main water valve for your home.
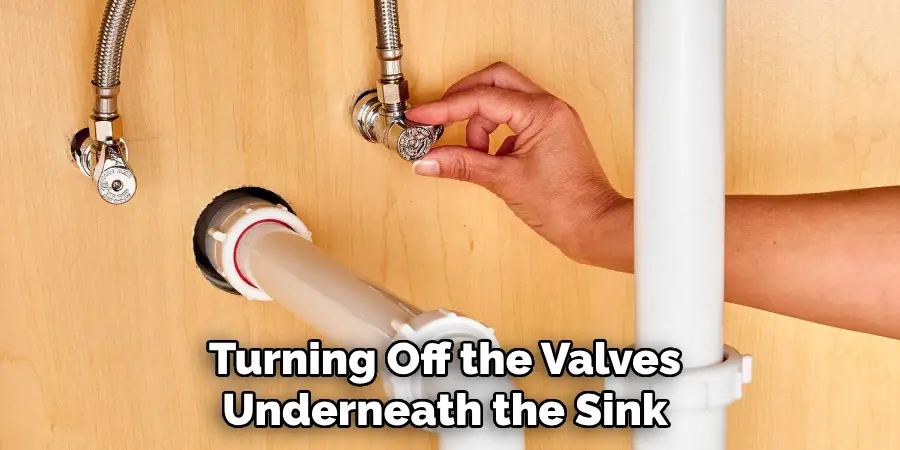
Once the water is turned off, disconnect any pipes connected to the faucet. This will require a flathead screwdriver. Be careful to keep all washers and gaskets.
Step 2: Remove the Faucet Handles
Next, use a screwdriver to remove the faucet handles. A small cap on each handle should need to be unscrewed first. Once these are removed, you can take off the handles completely.
Step 3: Unscrew Faucet Base
After the handles are removed, you’ll be able to access the mounting nuts that hold the faucet in place. Use an adjustable or basin wrench to unscrew these from underneath the sink. You may need to use some force, but don’t worry — it should come off relatively easily.
Step 4: Remove the Faucet
Once the mounting nuts are removed, you can gently lift the faucet up and away from the sink. This may require some wiggling or jostling to get it out. If the faucet is stuck, use a flathead screwdriver to loosen it before removing it.
Step 5: Clean Out Sink Hole
Once the faucet is removed, use a rag or towel to remove debris from the sinkhole. This will be important for when you install your new faucet. Additionally, you may need to use a pair of pliers or a basin wrench to remove any old gaskets or washers stuck in the sinkhole.
Step 6: Install New Faucet (optional)
If you’re installing a new faucet, now is the time. Follow the instructions included with your faucet for best results. Remember to attach the water supply pipes before securing the faucet.
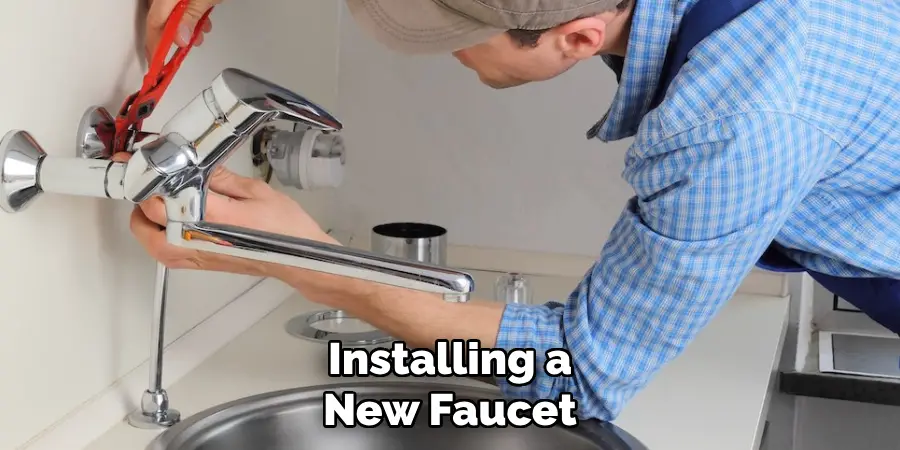
Step 7: Reattach Pipes
Once the new faucet is in place, reattach any pipes that were removed earlier. Make sure all of them are tightened securely and there are no leaks. Be careful not to overtighten the pipes, as this can cause damage.
Step 8: Replace Faucet Handles
Now it’s time to reattach the faucet handles. Put them back in place and make sure they are secure. Use a screwdriver to tighten the caps on top of each handle.
Step 9: Turn the Water Supply On
Once everything is in place, you can turn the water supply back on. Make sure there are no leaks before you turn the full flow of water on. Keep an eye on the faucet and pipes for any signs of a leak.
Step 10: Enjoy Your New Faucet
You did it! Congratulations — you’ve successfully removed your old Moen kitchen faucet and replaced it with a new one. Now enjoy your stylish, modern faucet and show off to all your friends. Remember to clean and maintain your faucet regularly for optimal performance.
Removing an old Moen kitchen faucet is a straightforward process that shouldn’t take more than a few hours. With the right tools and these instructions, you can easily give your kitchen the upgrade it deserves! Don’t be afraid to ask for help if you get stuck — most home improvement stores offer free advice and assistance with kitchen renovation projects.
5 Additional Tips and Tricks
- Before you begin, make sure to turn off the water supply and remove any hoses connected to the faucet.
- Loosen the nuts connecting the faucet to the sink using a basin or an adjustable crescent wrench.
- Once all of the nuts have been removed, carefully lift out the old kitchen faucet and set it aside.
- Make sure to check for any parts that may have gotten stuck in the sink or countertop, such as gaskets or o-rings, and remove them.
- Before you install the new faucet, take a moment to clean up the area around the sink and wipe down the sink with a damp cloth or sponge. This will ensure that the installation will go smoothly and quickly.

And, as always, use caution when handling tools and working around plumbing fixtures! Any incorrect movements could result in damage to your sink or countertop. With these tips in mind, you’ll be able to remove an old moen kitchen faucet with confidence.
5 Things You Should Avoid
- Remember to turn off the water supply before you start working.
- Avoid using pliers or other tools that may cause damage to the nut, sink, or countertop.
- Don’t over-tighten any of the connections because it could damage the new faucet and make it difficult to remove in the future.
- Try to avoid using too much force when removing the faucet—you don’t want to break any of the components.
- Remember to clean up after you’re done! This will help prevent any dirt, debris, or gunk from building up in your sink and countertop area.
By following these tips, you’ll be able to remove an old moen kitchen faucet and install a new one like a pro! Good luck and have fun with your DIY project.
How Do You Remove a Moen Cartridge Without a Puller?
Removing a Moen cartridge without a puller can be tricky, but it is possible. First, you’ll need to turn off the water supply and disconnect any hoses from the faucet. Then, use an adjustable wrench or pliers to loosen the retaining nut that holds the cartridge in place.
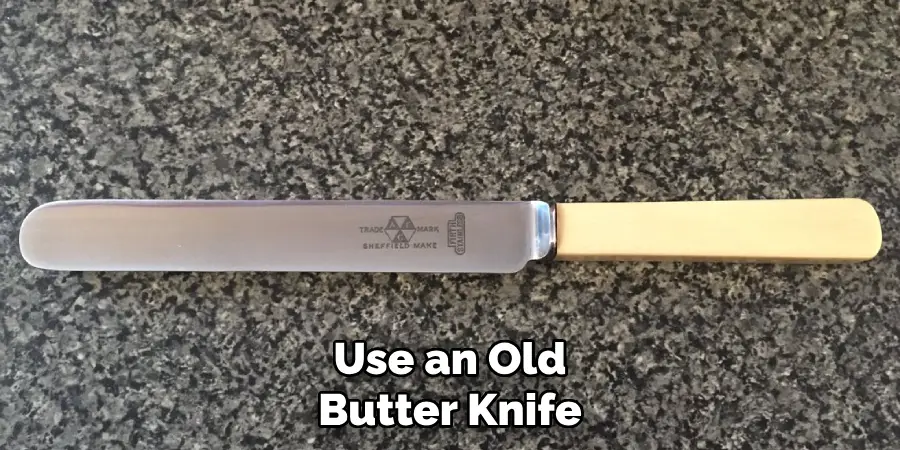
Once that has been removed, take a flathead screwdriver and gently pry up the cartridge. If it doesn’t come out easily, use an old butter knife or a skinny flathead to carefully push the edges of the cartridge until it pops out.
Finally, make sure to inspect the O-rings for any damage or wear and replace them if necessary before reinstalling a new Moen cartridge. Follow these steps, and you’ll be able to remove and replace a Moen cartridge without a puller.
How Do You Install a New Moen Faucet?
Installing a new Moen faucet is easy and doesn’t require any special tools or knowledge. Before you begin, check the packaging to make sure that all of the parts are included and that the model is compatible with your sink. Then, follow these steps:
- Locate the mounting holes in the top of your sink and attach the new faucet using a basin wrench or an adjustable crescent wrench.
- Reconnect any hoses you removed earlier to the faucet and turn on the water supply.
- Tighten all of the connections and make sure that everything is secure.
- Turn on the faucet to check for any leaks or other issues before you use it normally.
By following these steps, you’ll have a new Moen kitchen faucet installed in no time! Remember to be careful when handling tools and take all necessary safety precautions.
How Can You Maintain a Moen Faucet?
To ensure that your Moen faucet stays in good condition, it’s important to maintain it regularly. First, make sure to wipe down the surface with a damp cloth or sponge once a week. This will help keep any dirt and grime from building up on the faucet’s surface.

Additionally, make sure to inspect the O-rings and any other components for signs of wear or damage. If you notice any issues, fixing them as soon as possible is best.
Finally, if you’re having trouble with your faucet, check the manufacturer’s website for troubleshooting tips. This could save you time and money in the long run.
By following these simple steps, you’ll be able to maintain a Moen faucet in top condition for years to come! So don’t forget to keep up with your routine maintenance; your faucet will serve you well.
Conclusion
Installing a new Moen kitchen faucet is an easy task that can be completed with a few basic tools and patience. The process consists of removing the old faucet, taking precise measurements for the new one, and finally threading it onto the sink. With these simple steps, you have successfully installed your brand new Moen kitchen faucet!
Now that you know how to remove and install a new faucet, why not complete the look by learning how to plug up some of those extra sink holes in your granite countertop? By filling them with silicone or caulk, you are adding an instant upgrade to your newly installed Moen kitchen faucet – so don’t be afraid to get your handy work on it and give it a go!
Hopefully, the article on how to remove old moen kitchen faucet gave you enough insight into the process of replacing your faucet, as well as some tips and tricks on how to maintain it. With a few easy steps, you have now upgraded your kitchen sink in no time, so go ahead and enjoy all the convenience of having a brand new Moen faucet!
Happy plumbing! 🙂

