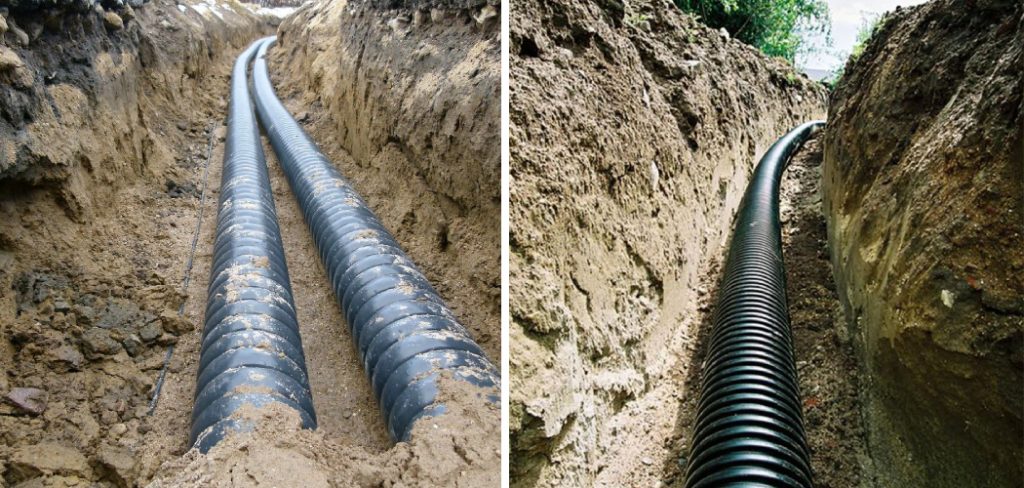
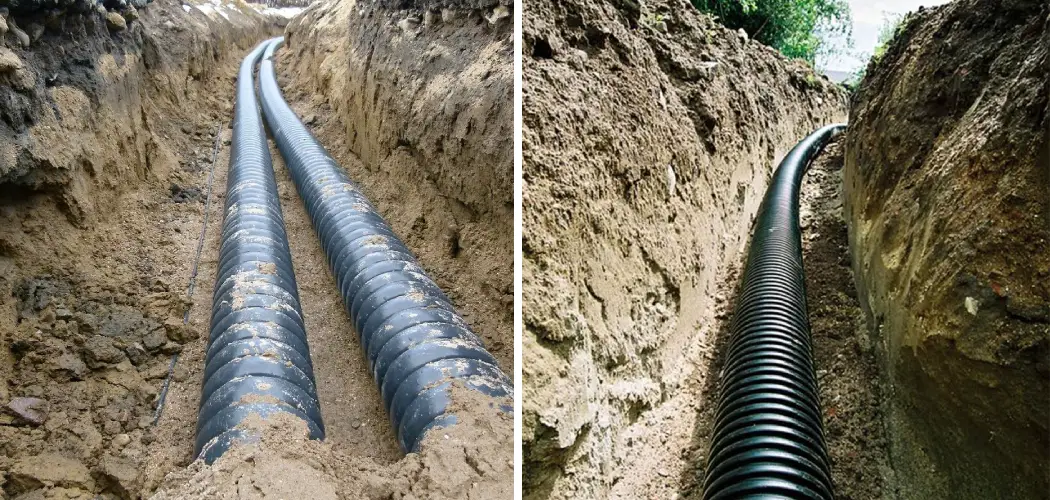
Insulating your underground water line can save you a significant amount of money in the long run. It helps prevent frozen pipes, which can lead to bursts and expensive repairs. Insulation also improves the overall efficiency of your water system by reducing heat loss and ensuring consistent water temperature.

The main advantage of insulating your underground water line is that it protects against freezing temperatures. When water freezes, it expands and can cause pipes to burst, resulting in costly repairs. By properly insulating your underground water line, you can prevent this from happening and avoid potential damage to your property. You can find step-by-step instructions on how to insulate underground water line in this blog article.
Materials You Will Need
- Foam tubing
- Waterproof tape
- Insulation blanket
- Scissors or cutter knife
- Duct tape
- Spray foam insulation
- Spare burlap or tarpaulin
- Rags or old towels
- Water-resistant gloves and coveralls
There are many benefits to insulating underground water lines. One of the main advantages is that it helps prevent freezing and bursting of the pipes during cold weather. Insulation also helps to maintain the water temperature, reducing energy costs and preventing unnecessary waste.
Step-by-step Instructions for How to Insulate Underground Water Line
Step 1: Inspect the Area
Before you start insulating your underground water line, it’s important to thoroughly inspect the area. This will help you identify any potential issues or obstacles that may affect the insulation process.
Next, gather all the necessary materials for insulating your water line. This includes foam pipe insulation tubes, duct tape, and a utility knife. You may also need to purchase additional materials if your water line is longer than standard lengths.

Step 2: Prepare the Water Line
Once you have all your materials, it’s time to prepare the water line for insulation. First, clean any dirt or debris off of the pipe using a damp cloth. Next, make sure the pipe is dry before proceeding. Using a measuring tape, measure the length of your water line. Then, using a utility knife, cut the foam tubes to match the length of your water line.
Step 3: Open Foam Tubes
Next, open up the foam tubes by slitting them down one side. This will make it easier to slide them onto the water line. Carefully slide the foam tubes onto the water line, making sure they fit snugly and cover the entire length of the pipe. Use duct tape to secure any loose ends or seams.
Step 4: Seal Joints and Fittings
Using duct tape, seal any joints or fittings in your water line to prevent air from escaping. If your water line is above-ground, it’s important to also insulate these pipes. Use foam pipe insulation tubes and duct tape to cover the exposed areas of the pipe. Once all the insulation is in place, inspect the entire length of the water line for any gaps or spots that may need additional insulation.
Step 5: Fill Gaps
If you find any gaps, use extra foam tubes or insulation material to fill them in and ensure complete coverage. For particularly cold climates, it may be beneficial to also add heat tape along the length of the water line. This will help prevent freezing even in extremely low temperatures.
Step 6: Monitor and Maintain
Regularly check the condition of your water line insulation and make any necessary repairs or adjustments. This will ensure that your underground water line remains properly insulated for maximum efficiency.
Overall, insulating your underground water line is a simple and effective way to protect it from freezing and maintain consistent water flow. By following these step-by-step instructions and regularly monitoring your insulation, you can ensure that your water line remains in top condition for years to come.
Tips for How to Insulate Underground Water Line
- Make sure to have all the necessary tools and materials before starting the project. This includes safety gear such as gloves, goggles, and protective clothing.
- Always read and follow the manufacturer’s instructions for any insulation products used.
- Before digging near your water line, call your local utility companies to ensure there are no underground cables or pipes that could be damaged during the process.
- When working with foam or spray insulation, make sure to wear a respirator to protect against any fumes.
- If using electrical heating tape, ensure it is installed correctly and according to the manufacturer’s instructions. Do not overlap or cross the tape on itself as this could cause overheating and potentially start a fire.
- Avoid using water line heat cables or heat tapes in areas with high foot traffic or where they could be easily damaged.
- In colder climates, consider burying your water line deeper than the minimum recommended depth to provide extra insulation against freezing temperatures.

Insulating underground water lines is an important task for any homeowner. It helps protect your water supply from freezing during cold winter months and can also prevent damage to your water line from shifting and settling of the ground.
How Much Does It Cost to Insulate an Underground Water Line?
The first step in determining the cost is to measure the length and diameter of the pipe. This will help determine how much insulation material is needed and give an estimate of the labor required. Generally, the longer and wider the pipe, the more insulation material will be needed, resulting in a higher cost. The cost will also depend on the type of insulation material used.
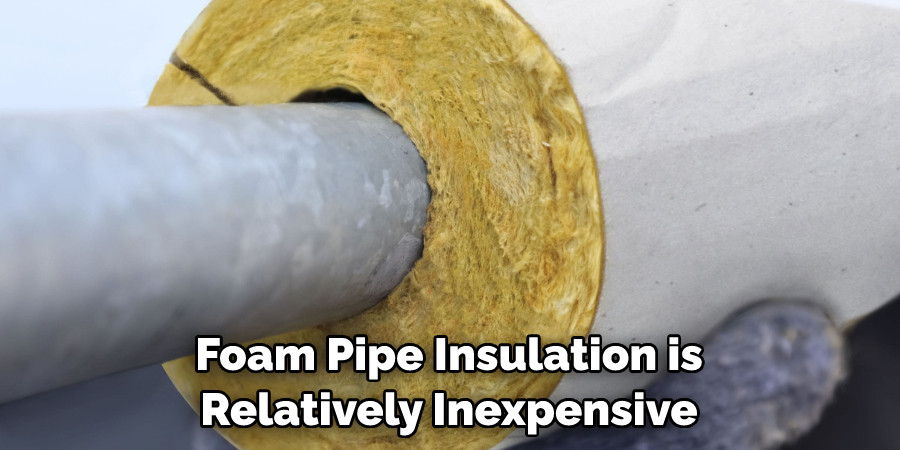
The most commonly used insulation materials for underground water lines are foam pipe insulation and heat tape. Foam pipe insulation is relatively inexpensive, with an average cost of $1-$2 per linear foot. On the other hand, heat tape can be more costly at around $0.50 per linear foot, but it provides better protection against freezing temperatures.

The labor cost for insulating an underground water line will also vary depending on the length and diameter of the pipe. On average, the labor cost can range from $50-$100 per hour. The time it takes to complete the job will depend on factors such as soil conditions and any obstacles that may need to be worked around.
Are There Any Risks or Downsides to Insulating an Underground Water Line?
Insulating an underground water line is a common practice used to protect pipes from freezing during the colder months. It involves wrapping the pipe with insulation material to prevent heat loss and maintain a consistent temperature inside the pipe.
One of the main concerns when considering insulating an underground water line is how long it will take to complete the process. The answer to this question can vary depending on factors such as the length of the pipe, accessibility of the installation site, and type of insulation used.
In general, it can take anywhere from a few hours to a couple of days to insulate an underground water line. Another common question is whether an existing underground water line can be insulated or if it has to be done during installation. The good news is that both options are possible.
If the water line is already in place, insulation can be added to keep it from freezing. However, if you’re planning to install a new underground water line, it’s recommended to insulate it during installation for maximum efficiency.
Will Insulation Prevent the Pipes From Freezing in Extremely Cold Temperatures?
Insulating underground water lines is an important step in protecting your pipes from freezing in extremely cold temperatures. While some homeowners may think that simply burying the pipes deep enough will prevent freezing, insulation plays a crucial role in maintaining the temperature of the water inside the pipes.
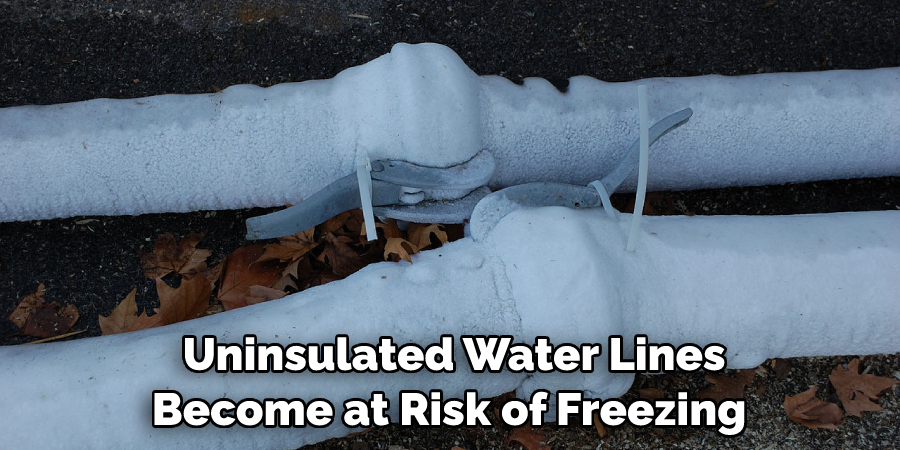
When temperatures drop well below freezing, uninsulated water lines become at risk of freezing and potentially bursting. This can lead to costly repairs and inconvenience for the homeowner. Insulation helps to maintain the heat within the pipes, preventing freezing and avoiding potential damage.

There are a few different ways to insulate underground water lines, depending on the specific circumstances of your home. One common method is by using foam pipe insulation, which is readily available at most hardware stores.
This type of insulation comes in long tubes that can easily be cut to fit the length of your water line. It is important to choose insulation with a high R-value, which measures its ability to resist heat flow. The higher the R-value, the better it will protect against freezing temperatures.
Conclusion
In conclusion, insulating an underground water line is an important step to protect it from freezing during the colder months. It not only helps maintain a steady water temperature but also prevents potential damage and costly repairs. Proper insulation techniques, such as using foam pipe sleeves or heat tape, will ensure that your water line stays functional and efficient even in extreme temperatures.
Remember to regularly check for any cracks or gaps in the insulation and make necessary repairs to maintain its effectiveness. I hope this article has been beneficial for learning how to insulate underground water line. Make Sure the precautionary measures are followed chronologically.

