Installing an outside water faucet can be a smart and practical addition to your home. It allows you to easily access water for various outdoor activities such as gardening, washing your car or filling up a swimming pool. Instead of relying on indoor faucets and dragging hoses through your house, having an outside water faucet can save you time and effort.
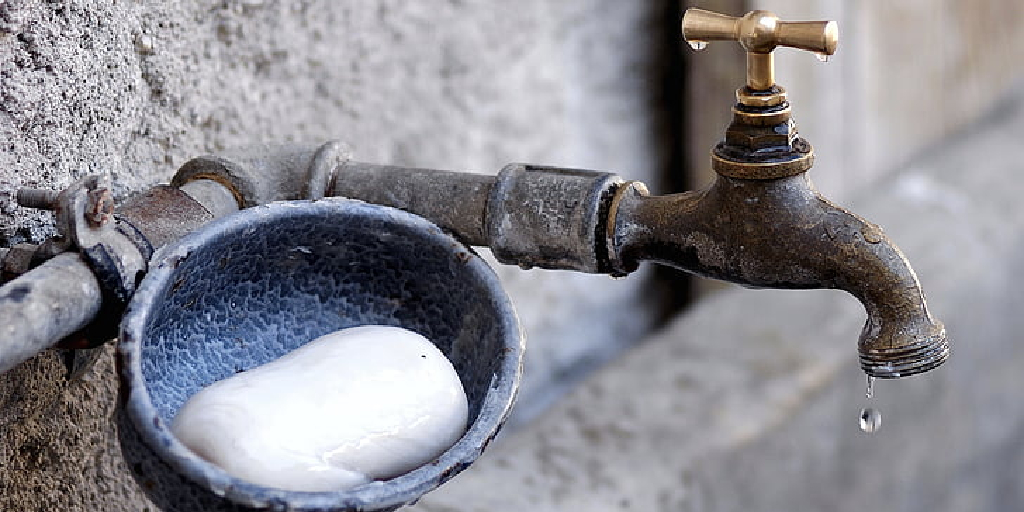
The main advantage of installing an outside water faucet is the convenience it offers. With an outdoor faucet, you can save yourself from the hassle of dragging a hose through your house and connecting it to an indoor faucet for outdoor use. This can also prevent potential damage to your indoor faucets from wear and tear caused by frequent connections and disconnections.
You can find step-by-step instructions on how to install an outside water faucet in this blog article.
Step-by-step Instructions for How to Install an Outside Water Faucet
Step 1: Inspect the Area
Before installing an outside water faucet, carefully inspect the location where you plan to install it. Make sure there is enough space for the faucet and that there are no obstructions such as pipes or electrical wires in the way.
Step 2: Gather Necessary Tools and Materials
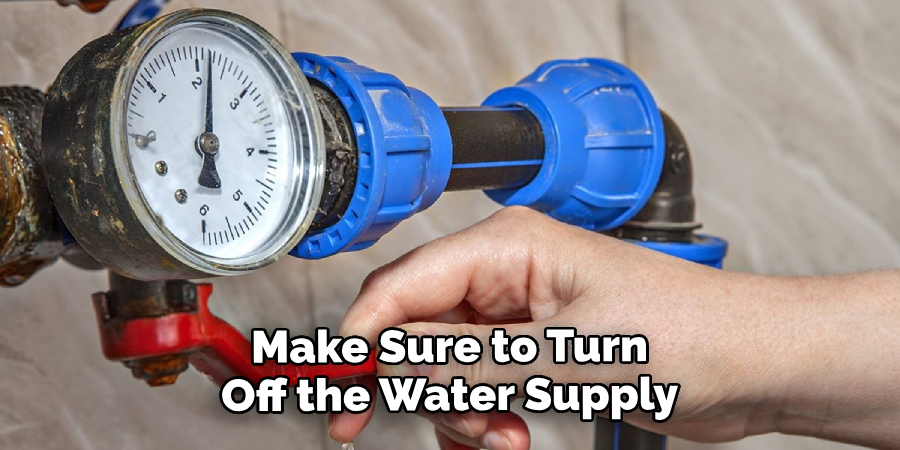
To successfully install an outside water faucet, you will need some basic tools such as a shovel, a wrench, and a drill. You will also need some materials including PVC piping, Teflon tape, and caulking. Before beginning any work on the water line, make sure to shut off the main water supply to your home. This will prevent any accidental flooding or damage while you are working.
Step 3: Dig a Trench
Using the shovel, dig a trench from the main water supply line to the location where you want to install the outside water faucet.
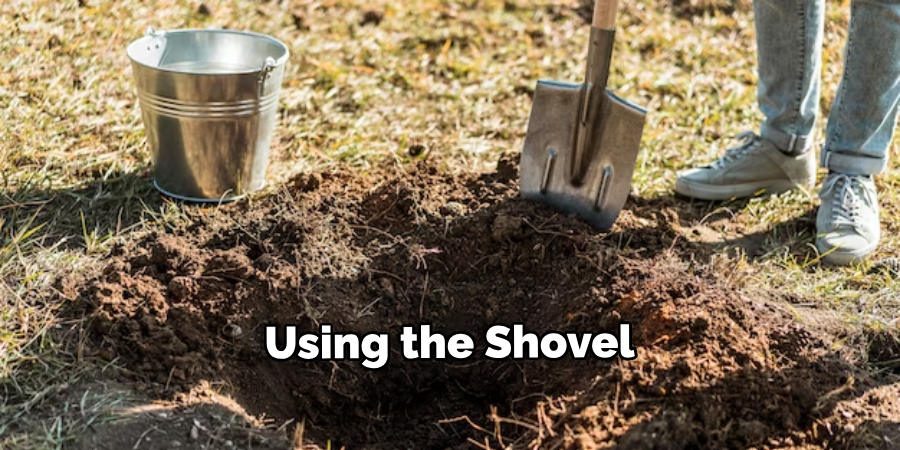
Make sure the trench is deep enough to accommodate the piping and wide enough for you to work comfortably in. At the location where you want to install the outside water faucet, use the wrench to install a shutoff valve on the main water supply line. This will allow you to control the flow of water to the faucet.
Step 4: Connect Piping
Using PVC piping and Teflon tape, connect the shutoff valve to the outside water faucet location. Make sure all connections are secure and leak-free. If your outside water faucet comes with a mounting plate, use the drill to secure it in place. This will provide a stable base for the faucet.
Step 5: Install Faucet
Attach the outside water faucet to the mounting plate, making sure all connections are tight and leak-free.
Using caulking, seal any gaps between the faucet and the mounting plate to prevent water from seeping in. Once everything is installed, turn on the main water supply and test your outside water faucet. Check for any leaks or drips, and make necessary adjustments if needed.
By following these step-by-step instructions, you can easily install an outside water faucet and enjoy the convenience it offers. Remember to always shut off the main water supply before beginning any work on your home’s water lines.
Safety Tips for How to Install an Outside Water Faucet
- Before starting the installation process, make sure you have all the necessary safety equipment. Wearing gloves, goggles and a mask will help prevent injury from debris or hazardous chemicals.
- Installing an outside water faucet may seem like a straightforward task, but it’s important to read the manufacturer’s instructions carefully before beginning. This will ensure that you have all the necessary tools and materials and that you understand the installation process.
- Before digging or drilling into walls, make sure to check for any potential hazards such as electrical wires or gas lines. This can help prevent accidents and ensure a smooth installation process.
- Using the right tools is crucial when installing an outside water faucet. Make sure to use a shovel for digging, a drill for creating holes and a wrench for tightening connections.
- Before starting the installation process, be sure to shut off the main water supply to your home. This will prevent any unexpected leaks or flooding while you are working.
- It’s important to familiarize yourself with your local building codes before installing an outside water faucet. This will ensure that your installation meets safety standards and avoids any potential fines or penalties.
- If you are unsure about the installation process or encounter any issues, it’s always best to seek professional help. Hiring a licensed plumber can ensure that the job is done correctly and safely.
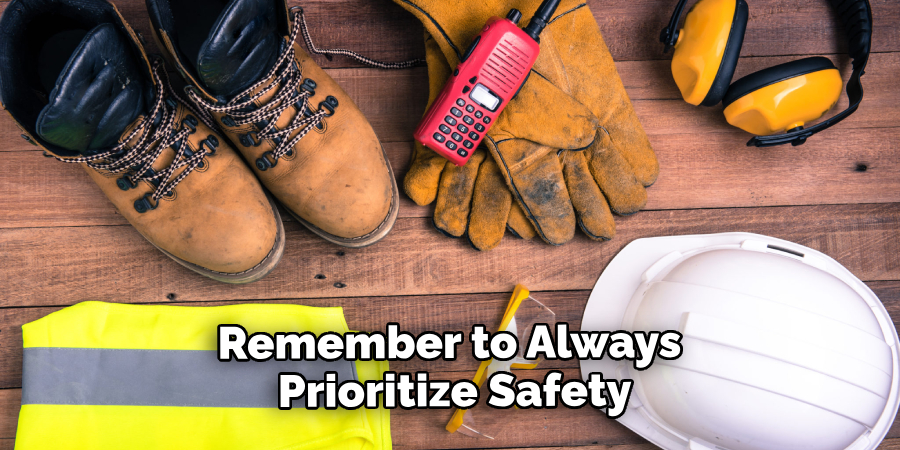
By following these safety tips and taking necessary precautions, you can successfully install an outside water faucet for your home without any accidents or mishaps. Remember to always prioritize safety when undertaking any home improvement project.
Are There Any Potential Complications or Challenges When Installing an Outdoor Faucet?
When installing an outdoor water faucet, there are several potential complications or challenges that you may encounter. These can range from minor issues to more serious problems that require professional assistance. It is important to be aware of these potential challenges so you can prepare for them and ensure a successful installation process.
One potential complication when installing an outdoor faucet is determining the proper location for the installation. This can be due to various factors such as the layout of your home, the placement of existing plumbing lines, and the location of underground utilities. It is important to carefully consider these factors and choose a location that will allow for easy access to water and proper drainage.
Another challenge when installing an outdoor faucet is ensuring proper installation and connection to existing plumbing lines. This may require cutting into existing pipes and installing new fittings, which can be tricky for those without experience or knowledge in plumbing.
It is recommended to consult a professional plumber for assistance if you are unsure about how to properly install and connect your outdoor faucet.
Importance of Regular Maintenance
Just like any other plumbing fixture, outdoor faucets are prone to wear and tear. Even though they are designed to withstand harsh weather conditions, over time they can develop leaks or become damaged due to freezing temperatures. This is why regular maintenance is crucial in preventing costly repairs or replacements.
1. Inspect the Faucet for Leaks
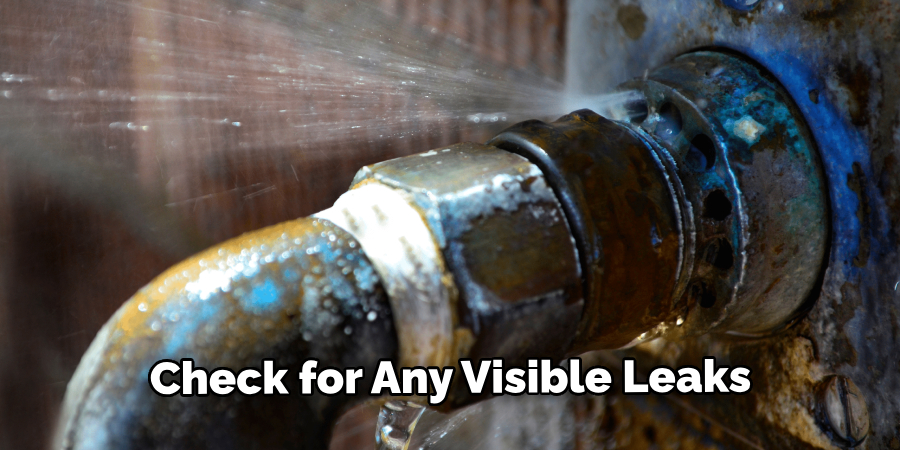
The first step to maintaining your outdoor faucet is to check for any visible leaks. This can be done by turning off the water supply and then opening the faucet. If you notice any water dripping, it may be a sign of a leaky seal or valve that needs to be replaced.
2. Clean the Faucet
Dirt, debris, and other outdoor elements can accumulate on your faucet, affecting its functionality. It is important to regularly clean your outdoor faucet using a gentle soap and water solution to remove any build-up.
3. Check for Proper Water Flow
Another important maintenance step is to make sure that there is proper water flow from the faucet. If you notice low water pressure or no water flowing at all, it could be a sign of a clogged faucet. To fix this issue, remove the aerator and clean it thoroughly before reattaching it to the faucet.
4. Protect from Freezing Temperatures
During colder months, it is important to take extra precautions to prevent your outdoor faucet from freezing. This can be done by using an insulated cover or even wrapping the faucet with towels or blankets. Additionally, make sure to disconnect and drain any hoses connected to the faucet.
Other Tips for Maintaining an Outdoor Faucet
- Check for any cracks or damage on the faucet itself and replace it if necessary.
- Insulate your outdoor pipes to prevent freezing during colder months.
- Make sure to turn off the water supply and drain the faucet before winterizing.
- Regularly check for any signs of leaks or damage and address them promptly to prevent further issues.
By following these recommended steps and additional tips, you can prolong the lifespan of your outdoor faucet and enjoy its convenience for years to come.
What Are Some Common Mistakes to Avoid When Installing an Outdoor Faucet?
While installing an outdoor faucet may seem like a simple task, there are some common mistakes that can lead to complications and costly repairs. Here are some key things to avoid when installing your outdoor water faucet:
- Choosing the wrong location: As mentioned earlier, proper placement is crucial when installing an outdoor faucet. Avoid installing it near underground utilities or in areas prone to flooding.
- Not turning off the water supply: Before beginning any installation, make sure to turn off the water supply to prevent any accidents or damage.
- Using incorrect fittings or connections: It is important to use proper fittings and connections when installing your faucet. Using incorrect ones can lead to leaks or other issues down the line.
- Forgetting to winterize: As mentioned in the maintenance section, it is important to properly winterize your outdoor faucet to prevent freezing and damage.
- Neglecting regular maintenance: Regularly checking for leaks and other issues can save you from costly repairs in the future. Make sure to incorporate faucet maintenance into your routine home maintenance tasks.
By avoiding these common mistakes and following proper installation procedures, you can ensure a smooth and successful installation of your outdoor faucet. Remember to always seek professional help if you are unsure or uncomfortable with any step of the process.
Conclusion
In conclusion, installing an outside water faucet can seem like a daunting task, but it is actually quite simple. By following the steps outlined in this blog post, you can easily install your own outside water faucet and enjoy the convenience of having access to fresh water outdoors.
Remember to select a suitable location for your faucet, gather all necessary materials, and follow all safety precautions while working with plumbing supplies. With the right tools and techniques, you can have your outside water faucet up and running in no time. Installing an outside water faucet not only adds convenience to your outdoor space, but it can also save you time and money in the long run.
So don’t hesitate to take on this DIY project and enjoy the benefits of having an outside water source at your fingertips. I hope reading this post has helped you learn how to install an outside water faucet. Make sure the safety precautions are carried out in the order listed.

