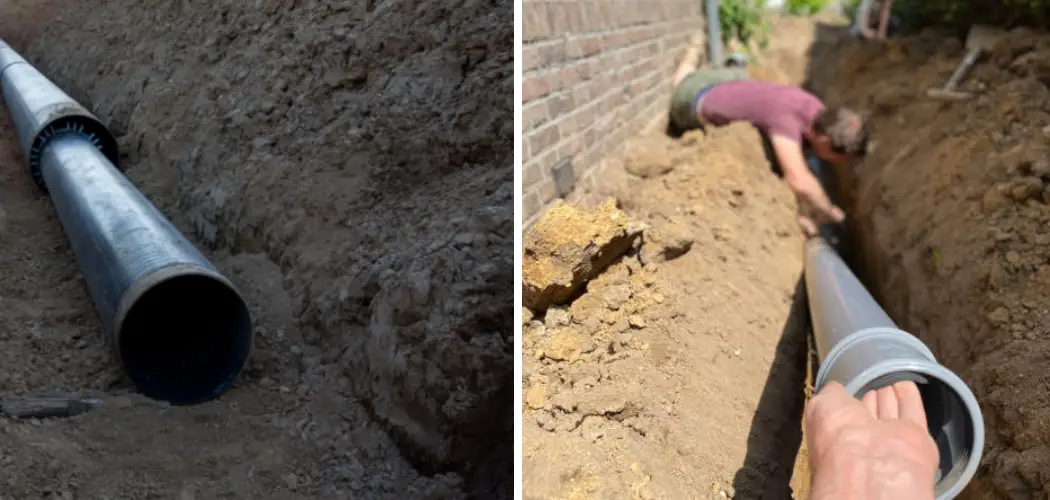
If you’re a homeowner, it’s likely that at some point you will need to know how to line a sewer pipe. Whether you already have an issue with your pipes or want to prevent any plumbing disasters from occurring down the road, learning how to correctly line a sewer pipe is essential knowledge for homeowners of all experience levels.
From understanding the necessary materials and tools needed for the job to navigating through each step of the lining process, this comprehensive guide will set you up for success! So don’t wait – learn everything there is to know about how to properly line a sewer pipe today!
What is Sewer Pipe Lining?
Sewer pipe lining is a method of repairing or rehabilitating damaged pipes without the need for costly and time-consuming excavation. This technique involves creating a new pipe within the existing one, essentially “lining” it from the inside out. It’s an efficient, cost-effective, and environmentally friendly solution for fixing cracks, leaks, and other issues in sewer pipes. It’s also known as cured-in-place pipe (CIPP) lining.
Benefits of Sewer Pipe Lining
Sewer pipe lining offers numerous benefits compared to traditional methods of repairing or replacing sewer pipes. Some of these benefits include:
Cost-Effective:
Sewer pipe lining is a more affordable option than completely replacing the sewer pipe. It requires less labor and equipment, reducing the overall cost of the project.
Less Disruptive:
Sewer pipe lining is a minimally invasive process that does not require digging up your yard or disrupting your daily routine. This makes it an ideal solution for properties with landscaping, hardscaping, or buildings above the sewer line.
Time-Saving:
Compared to traditional methods, sewer pipe lining is a faster process. It can be completed in as little as a day or two, depending on the size and condition of your pipes.
Durable:
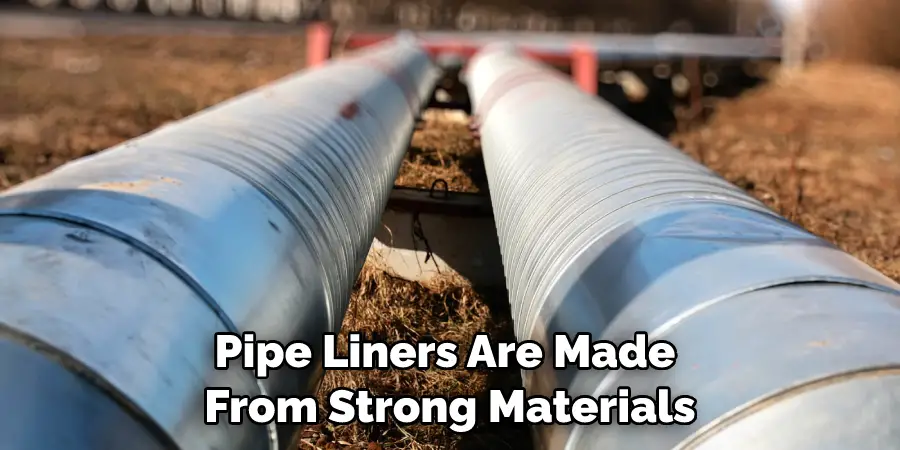
Pipe liners are made from strong materials that can withstand high pressures and extreme temperatures. This makes them resistant to cracks, leaks, and root intrusion.
Eco-Friendly:
Sewer pipe lining is a more environmentally friendly option compared to replacing the entire pipe. It reduces the amount of waste and disruption to the surrounding area.
Prevents Future Issues:
By creating a seamless barrier within your existing pipes, sewer pipe lining prevents future issues such as leaks, cracks, and blockages. This can save you time and money in the long run.
By understanding how to line a sewer pipe and the benefits it offers, you can make an informed decision when faced with sewer pipe issues. It’s always recommended to consult a professional for advice and assistance in choosing the best solution for your specific situation. With proper maintenance, sewer pipe lining can effectively extend the life of your sewer system and provide peace of mind knowing that your pipes
Materials and Tools Needed
Before you begin the lining process, it’s important to ensure you have all the necessary materials and tools on hand. Here’s a list of what you’ll need:
- Epoxy Resin or Similar Pipe Lining Material
- Pipe Cleaning Equipment (Such as a High-pressure Water Jet or Mechanical Auger)
- Liner Tube
- Bladder or Inversion Drum
- Pipe Cutter/Grinder
- Air Compressor
- Measuring Tape
10 Step-by-step Guidelines on How to Line a Sewer Pipe
Step 1: Inspect the Pipe
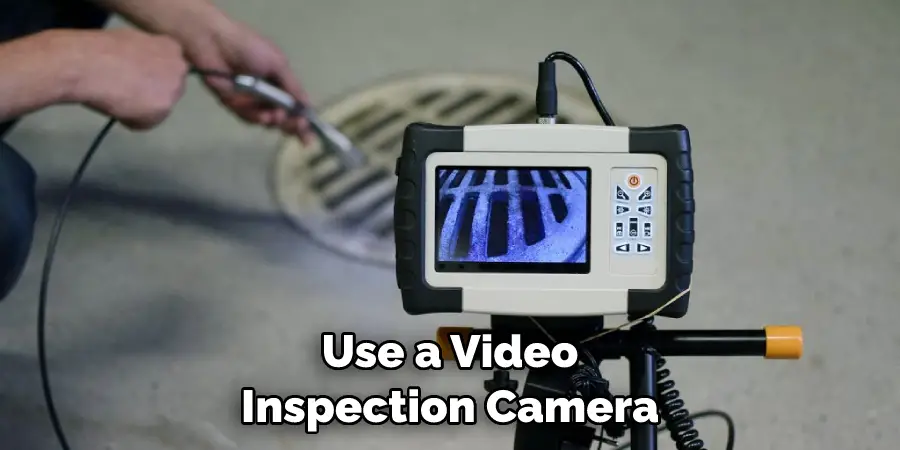
Before beginning any work, thoroughly inspect the sewer pipe for any damage or blockages that may affect the lining process. You may want to use a video inspection camera to get a better view of the inside of the pipe. But be sure to clean the pipe first as any debris or buildup could obstruct the camera’s view. It’s also essential to identify the material of your sewer pipe as this could affect which type of lining material you use.
Step 2: Clean the Pipe
Using a high-pressure water jet or mechanical auger, thoroughly clean the inside of the pipe to remove any debris or buildup. This step is crucial for ensuring proper adhesion and effectiveness of the lining material.
If there are any roots or obstructions, use a root-cutting tool to clear them out. You may need to repeat this step until the pipe is completely clean. You can also use a chemical cleaner to remove any remaining residue.
Step 3: Measure and Cut the Lining Material
Measure the length of your sewer pipe, then add an extra foot or two for overlap. This will ensure that the entire length of the pipe is lined properly. Using a cutter or grinder, cut the lining material according to your measurements. Although a pipe liner can come in different widths, for most residential applications, 4-inch liners are sufficient. It’s also recommended to have a liner with a thickness of at least 0.25 inches.
Step 4: Prepare the Lining Material
Before starting the lining process, you need to impregnate the liner material with epoxy resin or similar pipe lining material. This will create a solid and waterproof barrier within the existing pipe, sealing any cracks or leaks. Depending on the type of liner, this may involve soaking it in resin or using a special machine to spray the material onto the liner.
Step 5: Insert the Lining Material
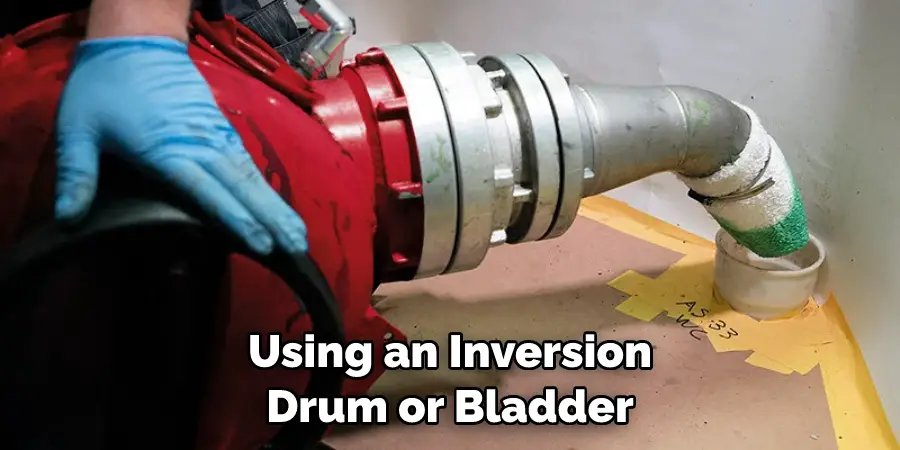
Using an inversion drum or bladder, insert the prepared lining material into the pipe. The bladder is inserted first and inflated with air to expand and secure the lining material against the inside of the pipe. The inversion drum works similarly, but it uses a combination of air and water pressure to expand the liner. It’s important to ensure that the lining material is evenly distributed along the entire length of the pipe.
Step 6: Cure the Lining Material
To complete the curing process, you’ll need to follow the manufacturer’s instructions for activating and curing the epoxy resin or similar lining material. This usually involves heating up water and circulating it through the pipe to cure and harden the lining material. The curing process can take anywhere from a few hours to a full day, depending on the type of lining material and pipe dimensions.
Step 7: Inspect the Lined Pipe
Once the curing process is complete, use a video inspection camera to inspect the newly lined pipe. Look for any areas that may not have been covered by the lining or any gaps in the material. If any issues are found, you may need to repeat the lining process. It’s also essential to check for proper flow and drainage after the lining is complete.
Step 8: Trim Excess Material
Once you’ve confirmed that the lining material has cured properly, use a pipe cutter or grinder to remove any excess liner material. This will ensure that all connections and joints are accessible and functioning correctly. But be careful not to cut into the actual pipe. This step may also involve trimming any protruding edges or wrinkles in the liner material.
Step 9: Reconnect and Test the Sewer Pipe
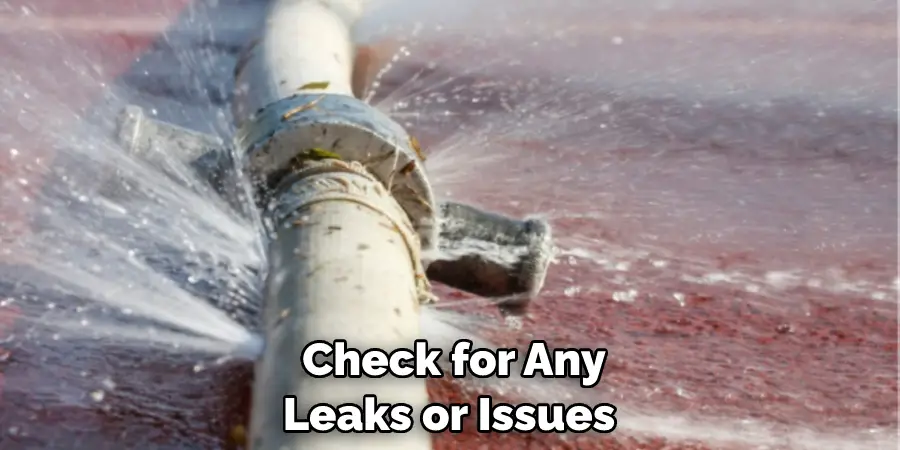
If you had to disconnect any parts of your sewer pipe before lining it, now is the time to reconnect them. Once everything is securely connected, run water through the pipes and check for any leaks or issues. You may also want to test the flow and drainage of the pipes before and after lining to ensure that they are working properly. It’s essential to address any issues before completing the lining process.
Step 10: Complete the Job
Congratulations, you’ve successfully lined your sewer pipe! To ensure that everything is in working order, it’s recommended to schedule a follow-up inspection after a few weeks or months. This will give you time to check for any potential issues and make any necessary adjustments. In most cases, sewer pipe lining can last for several decades before needing to be replaced.
Following these guidelines on how to line a sewer pipe, you can effectively line your sewer pipe and extend its lifespan without having to go through the costly and disruptive process of replacing it.
Remember to always follow safety precautions and manufacturer’s instructions when working with chemicals and equipment during the lining process. With proper maintenance and care, your lined sewer pipe will continue to function efficiently for many years to come.
Frequently Asked Questions
Q1. How Long Does It Take to Line a Sewer Pipe?
It can vary depending on the length and diameter of the pipe, but on average, it takes 6-8 hours for the lining material to cure completely. However, the entire process from cleaning to curing can take anywhere from 1-3 days.
Q2. Can I Line My Sewer Pipe Myself?
While it is possible to line your sewer pipe yourself, it’s recommended to hire a professional for this task. Improper installation or use of incorrect materials can lead to future issues and potentially costly repairs.
Q3. How Long Does Sewer Pipe Lining Last?
Sewer pipe lining can last for several decades, depending on the type of lining material and proper maintenance. Most manufacturers offer warranties of 25-50 years for their lining products.
Q4. Can I Line a Damaged Sewer Pipe?
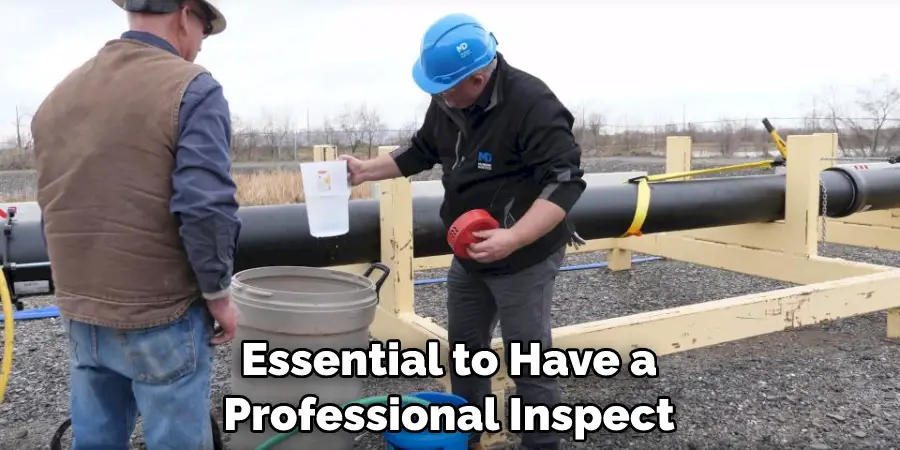
In some cases, sewer pipe lining can be used to repair minor damage and cracks in the pipe. However, it’s essential to have a professional inspect the extent of the damage and determine if lining is a viable solution.
Conclusion
With the right tools, experience, and attention to detail, everyone can learn how to line a sewer pipe. The key is to proceed with caution and take your time. While it might be a daunting task at first, proper preparation and adherence to safety protocols will give you the needed confidence to tackle any pipeline job successfully!
Remember that there’s no need to rush – take breaks if needed and don’t forget to use the right equipment for each step of the installation process. Use the tips outlined in this blog post as a guide, and you’ll be well on your way toward becoming a professional plumber in no time. So what are you waiting for? Go ahead and give sewer pipe lining a try – it could just be the best decision you ever make!

