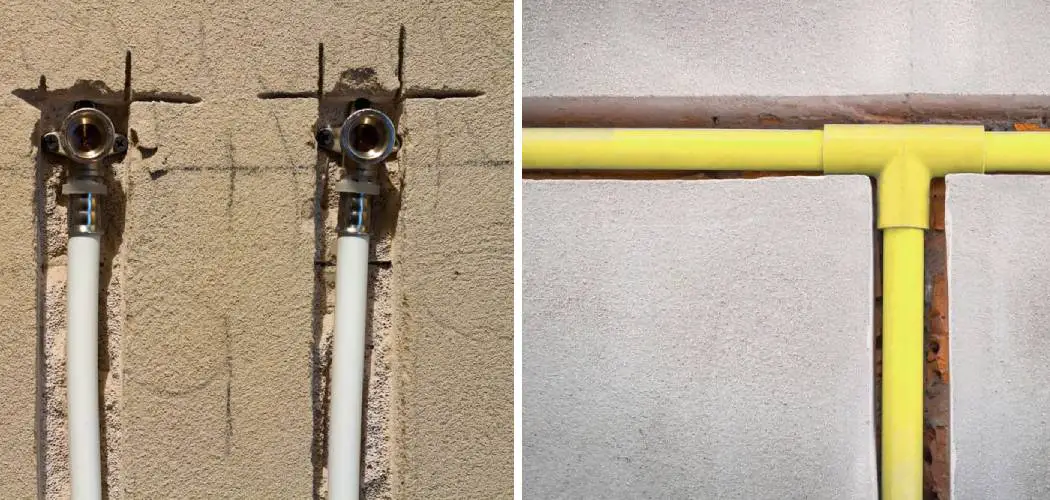
Ah, winter’s chill is here and with it the risk of freezing pipes within your walls. You might already be familiar with this issue if you’ve lived in a cold climate, but for those who haven’t – freezing temperatures can cause serious damage to anything that carries water inside walls. Unthawing frozen pipes is no easy task and can be intimidating at first glance, but don’t let that stop you from getting ahead of the game!
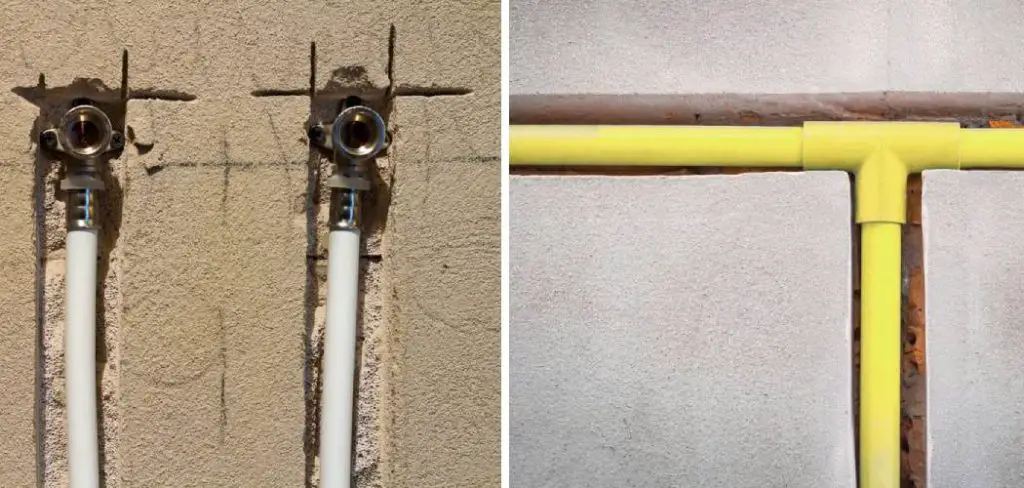
By following the simple steps we’ll share in this blog post on how to unthaw pipes in the wall, you’ll not only keep your plumbing running efficiently all through the winter season but also gain peace of mind knowing that any potential pipe-related issues have been addressed beforehand. So get ready to learn more about how to unthaw your frozen pipes!
Why Do Pipes Freeze in the First Place?
Before we jump into the steps of unthawing your frozen pipes, it’s important to understand why they actually freeze. It all boils down to temperature – when exposed to freezing temperatures for an extended period of time, water within your plumbing can easily turn into solid ice causing blockage and potential pipe bursts.
It’s important to note that pipes that are located within walls, attics and crawl spaces are more prone to freezing as they do not get enough heat from the surrounding environment. If you live in a colder climate, it’s essential to take preventive measures beforehand to avoid any potential pipe blockages and bursts.
Needed Materials for Unthawing Frozen Pipes
Here’s a list of some basic tools and materials you’ll need to get started on unthawing your frozen pipes in the wall:
- Hair Dryer or Heat Gun
- Towels or Rags
- A Bucket or Basin to Collect Water
- Warm Water
- Electrical Tape (Optional)
- Pipe Insulation (Optional)
11 Step-by-Step Guidelines on How to Unthaw Pipes in the Wall
Step 1: Identify the Location of Frozen Pipes
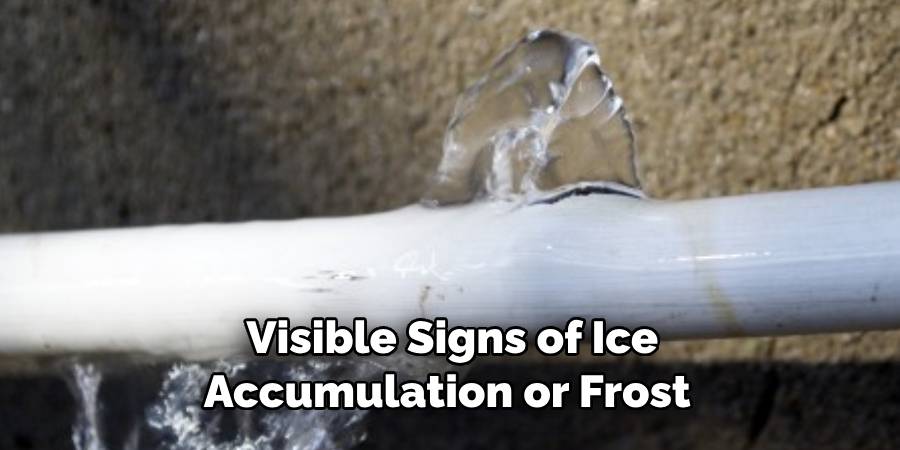
The first step in unthawing your pipes is to identify where exactly within the wall they are located. You can do this by checking for any visible signs of ice accumulation or frost on the exterior walls, ceilings or floors. It’s also helpful to know where your pipes are located within the walls, so you can focus on that specific area when unthawing.
Step 2: Keep Your Faucets Open
Turn on all the affected faucets and ensure they remain open throughout the process. This will help in releasing any pressure built up inside the pipes and prevent them from bursting once the ice begins to melt. You can also use a towel or rag to collect any dripping water. But, make sure you don’t use a cloth that’s too absorbent as it can become frozen. It’s best to use a plastic bucket or basin to collect the water instead.
Step 3: Turn Off Your Main Water Supply
As a safety measure, it’s always recommended to turn off your main water supply before beginning the unthawing process. This way, in case of any unexpected pipe bursts, you can quickly shut off the water flow and prevent further damage. It’s important to note that the main shutoff valve is usually located near where your water meter is installed – either inside or outside of your house. You can also turn off your water heater and any other appliances that require water access during this time.
Step 4: Heat Up the Frozen Pipes
Now it’s time to start unthawing your pipes! You can use a hairdryer or a heat gun, but make sure you keep them at least one foot away from the wall. Begin by heating up the area closest to the faucet and gradually move towards the frozen section. If you notice any condensation on your pipes, it means they are thawing. Continue until you no longer see any frost or ice buildup.
Step 5: Use Warm Water
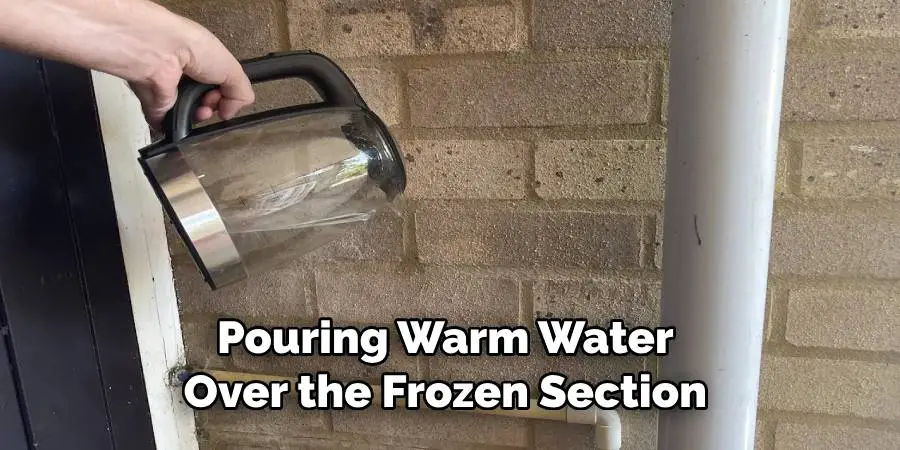
If using a hairdryer or heat gun doesn’t work, you can try pouring warm water over the frozen section of the pipe. This will help in melting the ice faster and eventually unthawing it. However, make sure you don’t use boiling water as it can damage your pipes. It’s also important to note that this method is not recommended for PVC pipes as they can easily melt with hot water. But if you have metal pipes, this can be an effective option.
Step 6: Gently Massage the Frozen Section
If your pipes are still not unthawing, you can try gently massaging the frozen area. This will help in breaking up any ice blockages and allow for better water flow. Just make sure you don’t apply too much pressure as it can cause damage to the pipes. You can also use a cloth soaked in warm water to massage the pipes. But, be careful not to use a cloth that’s too hot as it can cause burns.
Step 7: Use Electrical Tape (Optional)
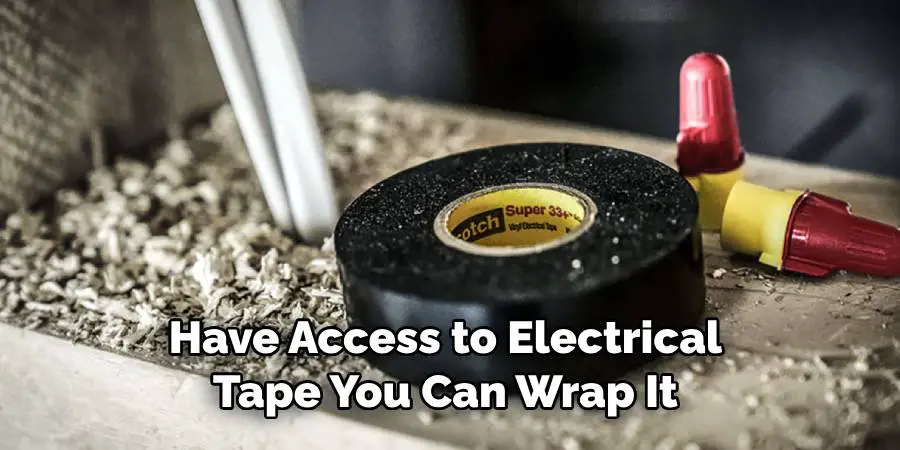
If you have access to electrical tape, you can wrap it around the frozen section of the pipe. This will help in insulating the area and prevent any heat from escaping. It’s important to note that this is only a temporary solution and should not be used as a replacement for proper pipe insulation. You can also use a space heater near the wall to provide additional warmth.
Step 8: Wait It Out
Sometimes, all you need is time. If none of the above methods seem to work, it’s best to wait for warmer temperatures to unthaw your pipes naturally. You can also try turning up the heat in your home and opening cabinets or vents that are located near the frozen pipes. This will help in providing additional warmth to the area and eventually unthawing the pipes. It’s important to be patient and avoid using any extreme measures that can cause damage.
Step 9: Check for Any Leaks
Once the pipes are fully unthawed, it’s important to check for any leaks before turning the water supply back on. You can do this by carefully inspecting the affected area and checking for any signs of water leakage. If you do notice any leaks, it’s best to call a professional plumber for further assistance.
Step 10: Turn On the Water Supply
After checking for any leaks and ensuring your pipes are fully unthawed, you can turn on the main water supply. You should start by turning on the faucet closest to where you worked on unthawing. Slowly increase the water flow and check for any irregularities. If you notice any issues, turn off the water supply immediately and call a professional plumber.
Step 11: Prevent Future Pipe Freezing
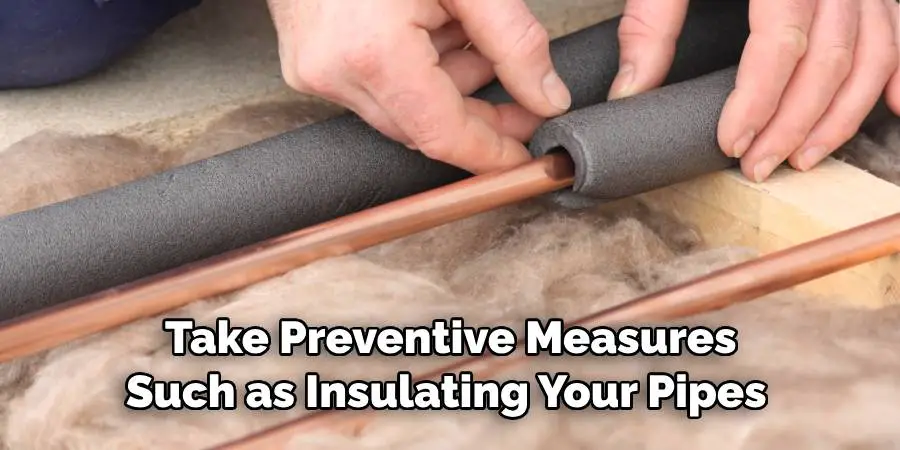
To prevent your pipes from freezing in the future, it’s important to take preventive measures such as insulating your pipes and keeping your home warm during colder temperatures. You can also leave your faucets dripping during extreme cold weather to prevent pressure buildup. It’s important to regularly check on your pipes and address any issues immediately to avoid potential damage.
By following these steps, you can successfully unthaw your frozen pipes in the wall and keep them from freezing again in the future. Remember, safety should always be a top priority when dealing with plumbing issues, so don’t hesitate to call a professional if needed. So the next time you find yourself with frozen pipes in the wall, you’ll know exactly what to do! Happy unthawing!
Following these steps on how to unthaw pipes in the wall will help you successfully unthaw your pipes in the wall and prevent any potential damage. But it’s also important to have a basic understanding of how and why pipes freeze in the first place.
Frequently Asked Questions
Q1. How Do I Know if My Pipes Are Frozen?
A1. Some signs that your pipes may be frozen include little to no water flow from faucets, strange noises coming from the pipes, and visible frost or ice buildup on the pipes. You may also notice a decrease in water pressure.
Q2. Why Do Pipes Freeze?
A2. Pipes typically freeze when the temperature drops below freezing, causing the water inside to freeze and expand. This expansion can cause the pipes to burst, leading to potential water damage.
Q3. Can I Use a Blowtorch or Open Flame to Unthaw Pipes?
A3. No, this is not recommended as it can be dangerous and cause damage to your pipes if not used properly. It’s best to stick with using safe heating methods like a hairdryer or warm water.
Q4. How Can I Prevent My Pipes from Freezing?
A4. Some preventive measures include insulating your pipes, keeping your home warm during colder temperatures, and leaving faucets dripping during extreme cold weather to prevent pressure buildup.
Conclusion
In conclusion, if your pipes freeze in the wall, it is possible to unthaw them. While it can be inconvenient and even damaging to the property, homeowners have a few options for solutions when their pipes become frozen. Prevention is always better than a cure and taking preventative steps on how to unthaw pipes in the wall such as insulation or weatherstripping on windows and doors is ideal.
If you suspect that your pipes are frozen, contact a professional plumber immediately, as they will have the tools and know-how needed to safely thaw out the frozen area without further damage to the property. It is important to take proper safety measures when dealing with frozen pipes in order to avoid additional complications or potentially hazardous situations. Don’t wait any longer – protect your home from future pipe problems by taking action now!

