Are you having a hard time getting that pesky leaky Sharkbite fitting fixed? If your home’s plumbing system is suffering from this common issue, don’t despair just yet! With a few simple steps and the right parts, you’ll be back up and running in no time.
In this blog post, we’ll walk you through how to fix a leaky Sharkbite fitting to restore your plumbing system so it works like new again. Save yourself some headaches down the road by following our easy-to-understand guide – and keep your house safe from disaster!
What is a Sharkbite fitting?
First things first, let’s start with the basics. A Sharkbite fitting is a type of push-to-connect plumbing fitting that allows for easy installation and repair without the need for soldering or special tools. These fittings are commonly used in residential plumbing systems and can be found on pipes made of copper, CPVC, PEX, and PE-RT.
Supplies You Will Need to Fix a Leaky Sharkbite Fitting
- Replacement Sharkbite fitting(s)
- Pipe cutter or hacksaw
- Deburring tool
- Emery cloth or sandpaper
- Clean rag or paper towel
- Pipe joint compound or thread seal tape
Step-by-step Guidelines on How to Fix a Leaky Sharkbite Fitting
Step 1: Identify the Leaky Fitting
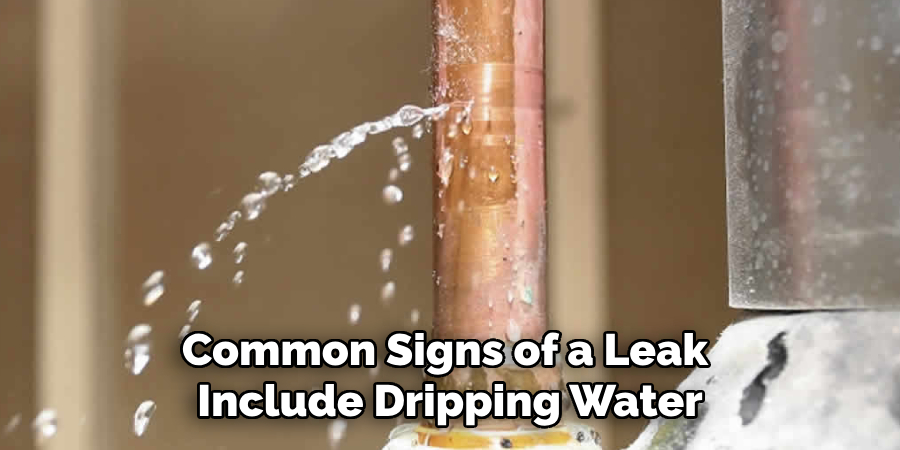
The first step in fixing a leaky Sharkbite fitting is to identify where the leak is coming from. Common signs of a leak include dripping water, pooling water, or visible moisture on the pipe and fittings. Once you have located the leak, mark the area with a pen or tape for reference. This will make it easier to find the source of the leak later on.
Step 2: Turn Off Water Supply
Before beginning any repairs, it is important to turn off the water supply to the affected area. This can usually be done by shutting off a nearby valve or turning off the main water supply for your home. Make sure to drain any remaining water in the pipes before moving on to the next step.
Step 3: Cut Out the Leaky Fitting
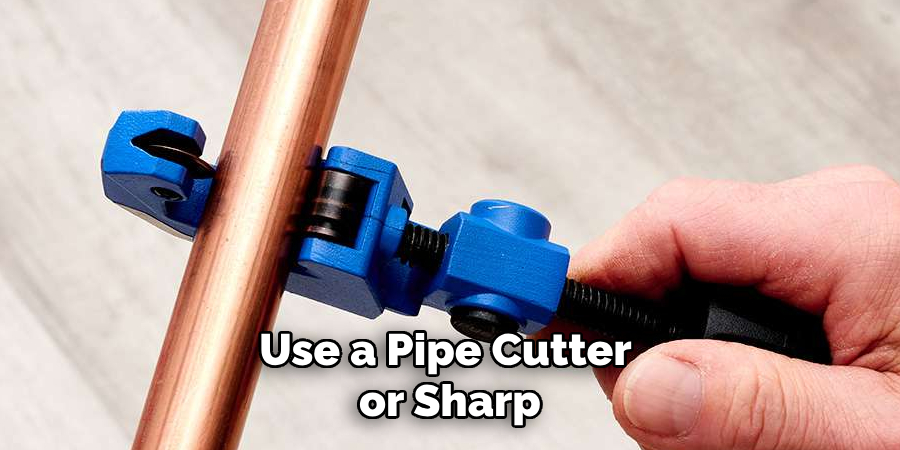
Using a pipe cutter or hacksaw, carefully cut out the leaking Sharkbite fitting. Make sure to cut at least an inch away from the leak on both sides of the fitting to ensure that you remove any damaged sections. While cutting, be sure to wear protective gloves and goggles. If you are unsure about using a pipe cutter or hacksaw, consult a professional plumber.
Step 4: Deburr and Clean the Pipes
After removing the damaged section of the pipe, use a deburring tool to smooth out any rough edges on the remaining pipes. Then, use an emery cloth or sandpaper to clean the outside of the pipes and remove any debris or residue. This will help create a better seal when installing the new fitting. While cleaning, make sure to wipe down the inside of the Sharkbite fitting with a clean rag or paper towel.
Step 5: Install the Replacement Fitting
Take your new Sharkbite fitting and push it onto one end of the pipe. Make sure that it is fully inserted and seated properly. Repeat this step for the other end of the pipe, making sure to align both fittings in a straight line. If necessary, use a Sharkbite depth gauge tool to ensure that the fittings are pushed onto the correct depth. No special tools are required for this step.
Step 6: Turn the Water Supply Back On
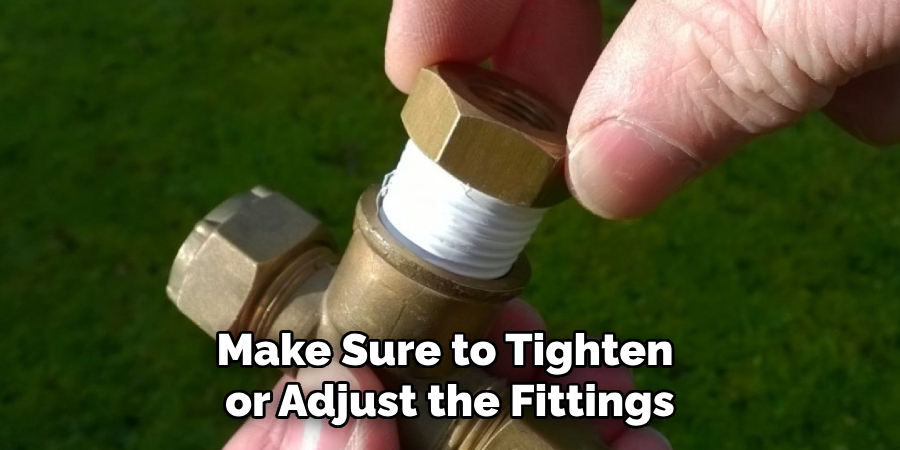
Once the replacement fitting is installed, turn the water supply back on and check for any leaks. If you notice any issues, make sure to tighten or adjust the fittings as needed. If everything looks good, congratulations! You have successfully fixed your leaky Sharkbite fitting and can now enjoy a fully functioning plumbing system once again. Make sure to periodically check for leaks in the future and address them promptly to avoid any further damage.
Following these simple steps, you can easily fix a leaky Sharkbite fitting without the need for expensive tools or professional help. Just remember to always exercise caution when working with plumbing and seek professional assistance if needed. With proper maintenance and care, your home’s plumbing system will continue to serve you well for years to come. Keep this information handy so that you can quickly refer back to it whenever needed – happy fixing!
Additional Tips and Tricks to Fix a Leaky Sharkbite Fitting
1. Firstly, make sure to properly clean and prepare the area before installing the Sharkbite fitting. Any dirt, debris, or old pipe remnants can prevent a secure and tight connection leading to leaks.
2. If you are using Sharkbite fittings on copper pipes, it is recommended to use emery cloth or sandpaper to clean the surface before installation. This will remove any oxidation and allow for better adhesion.
3. Apply a thin layer of the plumber’s grease or Teflon tape to the exterior of the Sharkbite fitting before inserting it into the pipe. This will lubricate and aid in creating a tight seal.
4. Use a pipe cutter instead of a hacksaw when cutting your pipes for installation. A clean, straight cut is crucial for achieving a leak-free connection.
5. If you are experiencing a small leak or drip, try tightening the Sharkbite fitting with an adjustable wrench. However, be careful not to over-tighten as this can damage the fitting and lead to further leaks.
6. In some cases, the Sharkbite fitting may not be the correct size for your pipe. You can use a conversion coupling to connect different sizes of pipes and fittings.
7. If the leak persists and you have ruled out any installation errors, it may be necessary to replace the Sharkbite fitting completely. Make sure to properly dispose of the old fitting and follow all safety precautions when installing the new one.
8. It is always a good idea to have spare Sharkbite fittings on hand in case of emergencies or future repairs. These fittings are easy to install and can save you time and money in the long run.
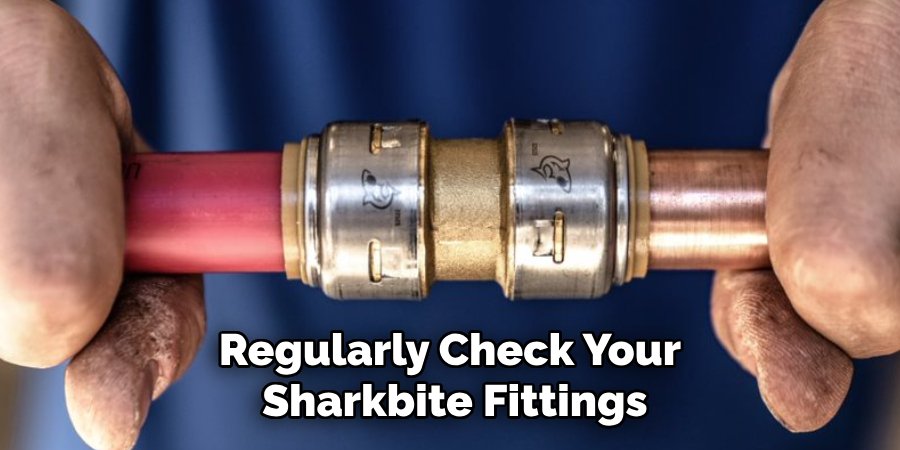
9. Regularly check your Sharkbite fittings for any signs of wear or damage, such as cracks or corrosion. If you notice any issues, it is best to replace the fitting before it becomes a bigger problem.
10. When working with Sharkbite fittings, always follow the manufacturer’s instructions and guidelines for proper installation. This will ensure a secure and leak-free connection every time.
Following these additional tips and tricks will help you fix a leaky Sharkbite fitting effectively and prevent any future leaks. Remember to always prioritize safety and proper installation techniques to ensure the best results. Happy fixing!
Precautions Need to Be Followed for Fixing a Leaky Sharkbite Fitting
1. First and foremost, before attempting to fix a leaky Sharkbite fitting, make sure you turn off the water supply to prevent any accidents or further damage.
2. It is important to note that Sharkbite fittings are not meant for permanent use and are designed for temporary repairs. Therefore, it is recommended to replace the fitting entirely instead of trying to fix it.
3. If you still want to fix the leaky fitting, ensure that you have all the necessary tools and materials before starting the process.
4. It is also crucial to carefully inspect the Sharkbite fitting and determine the source of the leak before attempting any repairs. This will help in properly addressing the issue and avoiding further damage.
5. Make sure to clean and dry the area around the leaky fitting before starting any repairs. This will ensure a better seal and prevent any potential leaks in the future.
6. When removing the Sharkbite fitting, use a disconnect clip or pliers specifically designed for Sharkbite fittings to avoid damaging them.
7. It is recommended to use Teflon tape or pipe dope on the threads of the Sharkbite fitting for a better seal and to prevent leaks.
8. If you notice any damage or cracks on the Sharkbite fitting, it is best to replace it instead of trying to fix it. This will ensure a proper and lasting repair.
Following these precautions will help ensure a safe and successful fix for your leaky Sharkbite fitting. Remember, it is always best to consult a professional plumber if you are unsure or uncomfortable with fixing the issue yourself. So, be cautious and stay safe! Happy plumbing!
Conclusion
In conclusion, fixing a leaky Sharkbite fitting can be frustrating and tricky. But by following the guidelines outlined above, you can stop the drip for good. Be sure to measure twice and only cut once when installing the Sharkbite fitting so that it’s perfectly aligned. Take extra caution when dealing with water supply lines, and always reach out to experts if you are unsure of anything.
With patience and care, you’ll be able to successfully fix a leaky Sharkbite fitting like a professional. Now that you know how to fix a leaky sharkbite Fitting, why not get started? Make sure your home’s plumbing is always in tip-top shape so that you don’t run into more issues down the road!

