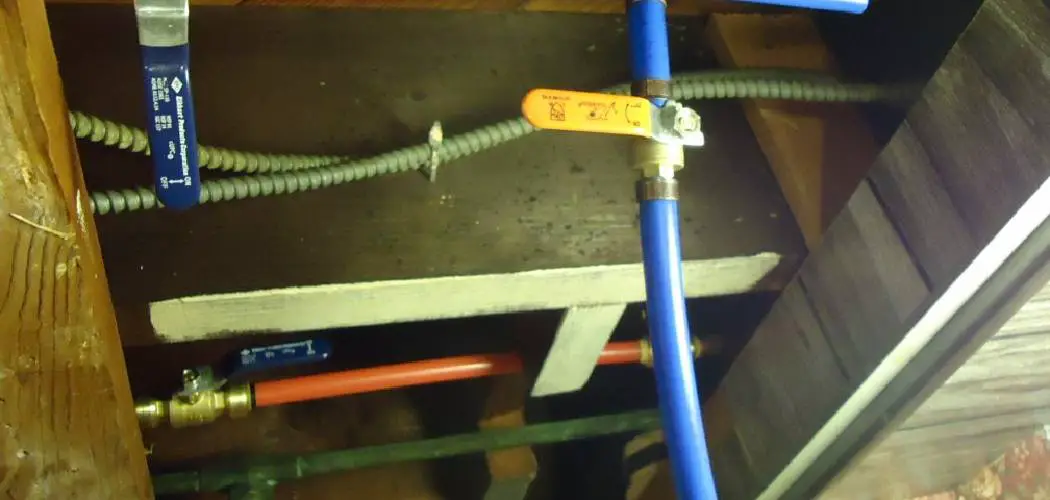
Are you a homeowner looking for a cost-effective and DIY way to update the plumbing in your house? Replumbing with PEX can be an ideal solution! In this blog post on how to replumb a house with pex, we’ll discuss why replumbing with PEX is worth considering, the steps involved in how to do it successfully, and some important tips for ensuring that everything goes smoothly.
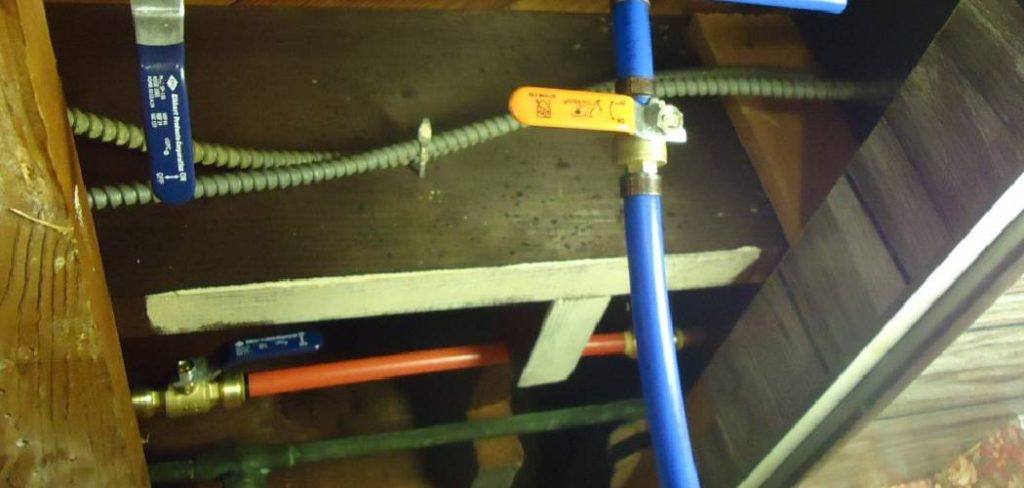
With detailed guidance from our experienced team of professionals and some helpful advice along the way, you’ll soon have a plumbed-up house that has modern features like longer lifespan pipes which reduce leaks over time. So grab those tools and get ready – let’s dive into learning about how to replumb a house using PEX!
Needed Tools and Materials
Before we jump into the step-by-step guide, it’s important to make sure you have all the necessary tools and materials ready. This will ensure that your replumbing project goes smoothly without any unwanted trips to the hardware store. Here are some of the essential items you’ll need:
- Pex Pipes (Available in Different Sizes and Lengths)
- Pex Fittings, Including Elbows, Tees, and Couplings
- Crimping Tool
- Pipe Cutter
- Measuring Tape
- Deburring Tool
- Hangers or Clamps for Securing the Pipes
- Pex Manifold (Optional but Highly Recommended for Ease of Use)
- Pex Valve (Required for Hot Water Lines)
- Pipe Insulation (Optional but Recommended for Cold Weather Climates)
- Safety Gear: Goggles, Gloves, and Dust Mask
10 Step-by-step Guidelines on How to Replumb a House With Pex
Step 1: Turn Off the Main Water Supply
This is an important safety precaution that will prevent any water from rushing out while you are working on the pipes. It’s also a good idea to drain all the remaining water in the system by opening faucets and flushing toilets. You can then move forward with the replumbing process without any water supply interruptions. But remember to turn the water back on once you’re done!
Step 2: Plan and Map Out Your New Pex System
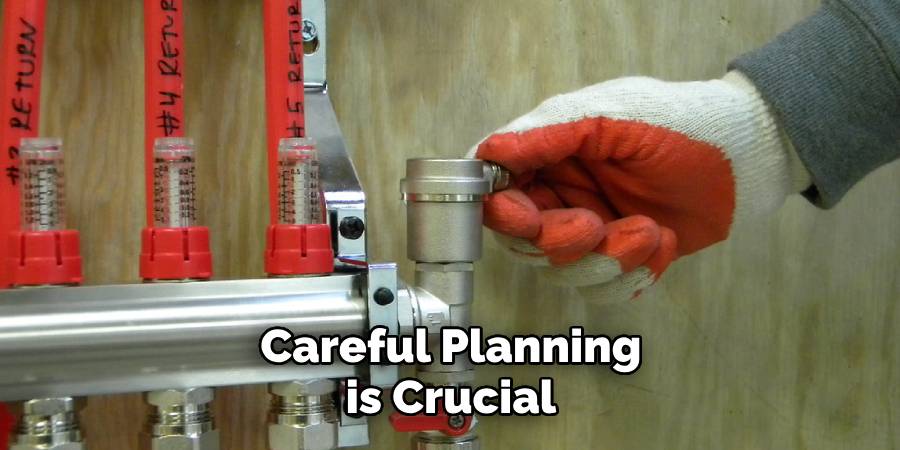
Careful planning is crucial when it comes to replumbing with PEX. Take time to map out your new system, including where the pipes will run and how they will connect to fixtures.
This will help you determine the amount of materials needed and ensure that everything is in the right place. Use a pencil and paper or a digital system like CAD for more accuracy. It’s also a good idea to label the pipes for easy identification later on.
Step 3: Remove the Existing Plumbing System
Using your pipe cutter, remove all the old pipes in your house. This includes any copper, iron or PVC pipes that are no longer needed. Make sure to cut as close to fixtures and fittings as possible to minimize damage. Dispose of these materials responsibly. Otherwise, you can recycle them if appropriate. You may need to use a reciprocating saw for larger pipes.
Step 4: Prepare the New Pex Pipes
Measure and cut your new PEX pipes according to your plan. Make sure you leave enough slack at each end for connecting fittings. Use a deburring tool to smooth out any rough edges and remove burrs that can damage the o-rings in fittings. Also, make sure you are using the right size and type of PEX pipe for each application. You can consult with a professional if unsure. You can also label each pipe to make it easier to identify later.
Step 5: Connect the New Pipes With Fittings

Start connecting the pipes using appropriate fittings as per your plan. Use a crimping tool to secure the fittings and create a tight connection. Remember to use elbows, tees, and couplings to change direction or connect multiple pipes together. You can also use a manifold system for easy distribution of water throughout your house. It’s recommended to use brass fittings for hot water lines.
Step 6: Run the Pipes to Fixtures and Appliances
Once you have connected your new PEX pipes, it’s time to run them to various fixtures and appliances. Use clamps or hangers to secure the pipes in place, making sure they are not bent or kinked. This will prevent any potential leaks or damage over time.
Make sure you run separate lines for hot and cold water and insulate them if needed. Otherwise, you can use a PEX valve to control water temperature.
Step 7: Pressure Test the System
Before turning on the water supply, it’s important to pressure test your new PEX system. This will ensure that there are no leaks or issues with the connections. You can do this by turning off all outlets and filling the entire system with air using a compressor.
Then, check for any noticeable drops in pressure over time and fix any issues before moving forward. It’s also a good idea to check for leaks using soapy water.
Step 8: Turn On the Water Supply
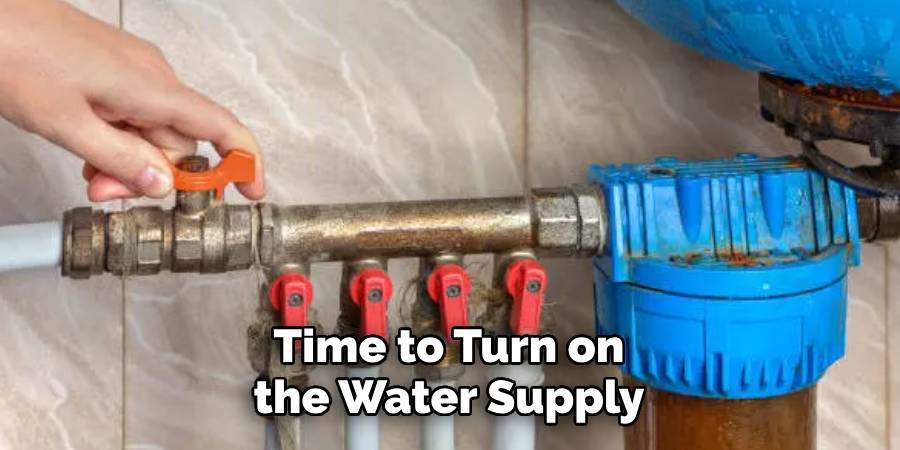
Once you are satisfied with the pressure test results, it’s time to turn on the water supply and flush out any remaining air or debris in the pipes. Check all faucets and outlets for proper flow and temperature control.
If everything is running smoothly, you can move forward with the finishing touches. You can also consult with a professional plumber for additional advice and guidance.
Step 9: Install Finishing Touches
Now that your new PEX system is fully functional, it’s time to install finishing touches like fixtures, faucet handles, and showerheads. Make sure you follow the manufacturer’s instructions for proper installation.
This will ensure that everything is connected correctly and functioning as intended. You can also add insulation or heat tape to protect pipes in cold weather climates. But remember to do this carefully and safely.
Step 10: Cleanup and Maintenance
Last but not least, it’s essential to clean up any debris or leftover materials from the replumbing process. Dispose of these materials responsibly and make sure your workspace is clean and safe.
It’s also recommended to maintain your PEX system regularly by checking for leaks, fixing any issues promptly, and insulating pipes if needed. This will help prolong the lifespan of your new plumbing system. It’s also a good idea to familiarize yourself with any local building codes and regulations for plumbing installations.
Following these step-by-step guidelines on how to replumb a house with pex, you can successfully replumb your house with PEX and enjoy the benefits of a more durable, flexible, and efficient plumbing system. Remember to always prioritize safety and consult with professionals for any complex or unfamiliar tasks. Happy replumbing!
Frequently Asked Questions
Q1. Is Pex a Suitable Material for All Climates?
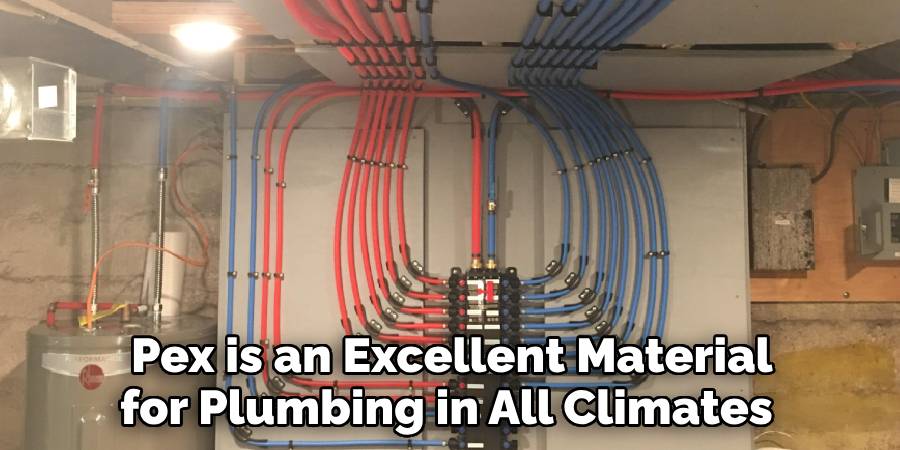
A1. PEX is an excellent material for plumbing in all climates, as long as it is installed and maintained correctly. However, in colder climates, additional insulation or heat tape may be needed to prevent freezing. It’s best to consult with a professional for specific recommendations based on your location.
Q2. How Long Does Sex Last?
A2. PEX has an expected lifespan of 50 years or more, making it a durable and long-lasting option for plumbing systems. However, this can vary depending on factors such as water quality, installation techniques, and maintenance practices. Regular checks and timely repairs can help prolong the lifespan of your PEX system.
Q3. Can I Use Pex for Both Hot and Cold Water Lines?
A3. Yes, PEX can be used for both hot and cold water lines. However, it’s essential to use the appropriate type of PEX pipe (PEX-A, PEX-B, or PEX-C) for each application to ensure optimal performance and durability. Consult with a professional plumber if unsure.
Q4. Can I Replumb My House With Pex on My Own?
A4. While it’s possible to replumb a house with PEX on your own, it can be a complex and time-consuming task. It’s best to consult with a professional plumber for guidance and assistance, especially if you have no prior experience or knowledge about plumbing systems. This will ensure that the job is done correctly and safely.
Conclusion
Overall, replacing the plumbing in a home is often a daunting and costly task. However, taking the time to investigate and understand all of the possible options can save money in the long run.
If you happen to decide that Pex tubing is the best solution for you, now you have a good understanding of what it takes to ensure successful installation and lifetime operation. Of course, any plumbing job should always be completed by a professional licensed installer or plumber.
With this knowledge on how to replumb a house with pex, you can confidently move forward in your decision-making and rest assured that you’ll have safe drinking water, waste services, and complete peace of mind. Don’t worry – give yourself some time to think about it and you will make the right choice regarding what type of piping material to use for your replumbing project.

