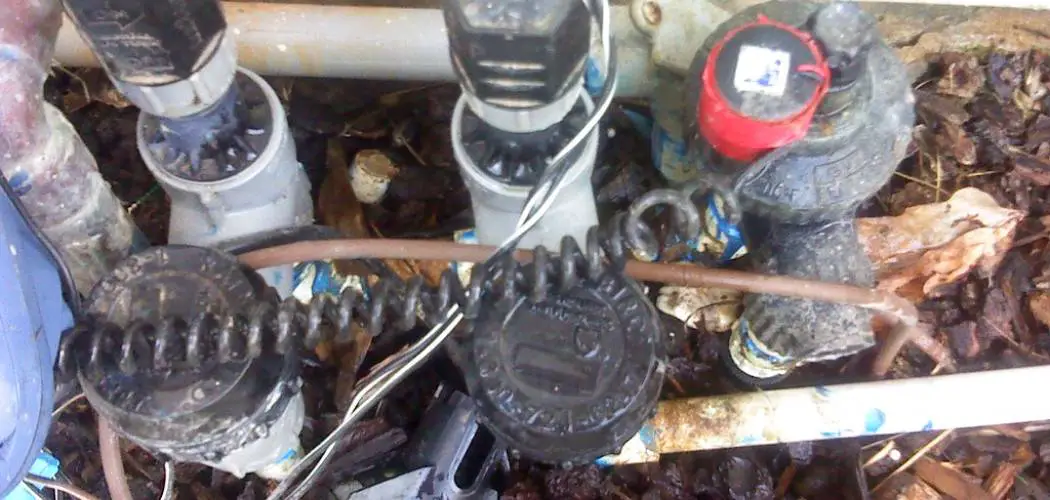
Installing sprinkler valves is a crucial step in creating an efficient and automated irrigation system for your lawn or garden. Properly installed sprinkler valves allow you to control the flow of water to different zones, ensuring that each area gets the right amount of water.
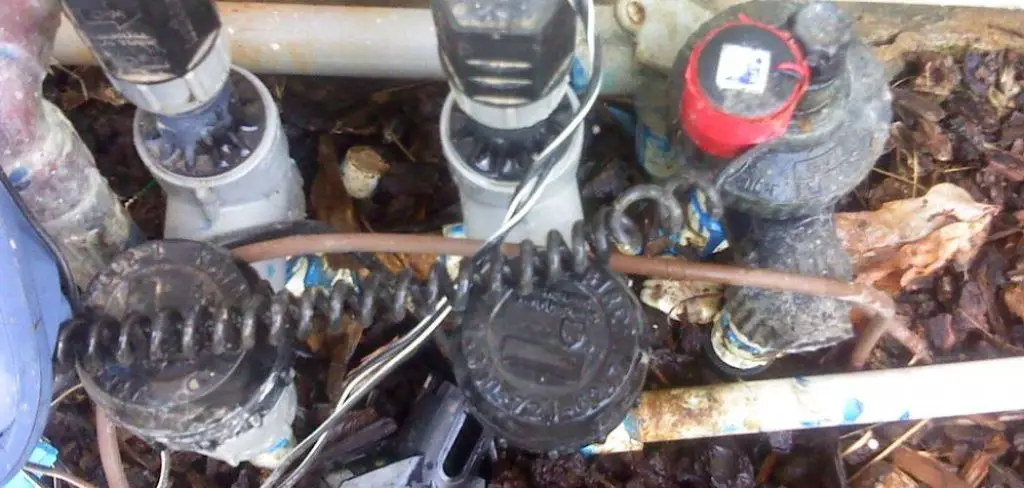
Whether you’re a seasoned DIY enthusiast or a beginner looking to enhance your landscaping, this comprehensive guide will walk you through the process of how to install sprinkler valves like a pro.
From choosing the right valve type to understanding the wiring and plumbing involved, we’ll cover all the essential steps. You’ll gain the knowledge and confidence needed to take on this project and enjoy the benefits of a lush and well-maintained outdoor space. Get ready to transform your gardening experience by mastering the art of installing sprinkler valves.
Importance of Properly Installed Sprinkler Valves
Sprinkler valves are an essential component of any sprinkler system. They act as the control center, regulating the flow of water to different sections or zones of your lawn or garden.
Without properly installed sprinkler valves, your irrigation system will not function efficiently and may even cause damage to your property. In this section, we will discuss the importance of properly installed sprinkler valves and how it affects the overall performance of your sprinkler system.
Ensures Even Water Distribution
One of the main purposes of a sprinkler valve is to distribute water evenly throughout your lawn or garden. Without a properly installed valve, you may experience uneven watering which can lead to brown spots in some areas and overwatered sections in others.
This not only wastes water but also fails to provide adequate hydration for your plants. By ensuring that your sprinkler valves are installed correctly, you can achieve even water distribution and maintain a healthy landscape.
Prevents Water Waste
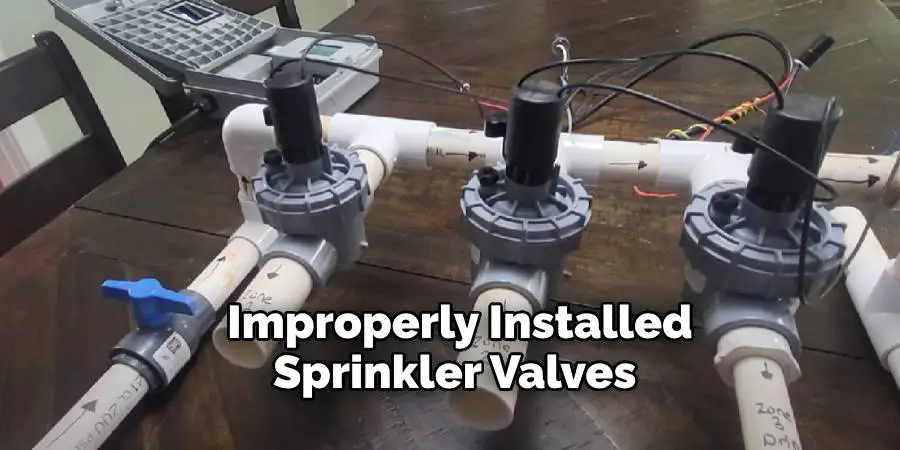
Improperly installed sprinkler valves can also lead to water waste. When the valve is not functioning correctly, it may leak or continuously release water even when the system is turned off. This not only wastes a precious resource but also increases your water bill. By installing your sprinkler valves properly, you can avoid unnecessary water waste and save money in the long run.
Protects Against Water Damage
In addition to wasting water, faulty sprinkler valves can also cause water damage to your property. If the valve is not shut off completely or if there are leaks, it can result in excess water pooling around your lawn or garden which can lead to soil erosion, mold growth, and damage to your plants and structures. Proper installation of sprinkler valves ensures that these potential risks are minimized.
10 Methods How to Install Sprinkler Valves
1. Digging a Trench
Digging a trench is the first step in installing sprinkler valves. This involves digging a shallow trench that is wide enough to accommodate the sprinkler valve and any connecting pipes. The depth of the trench should be between 6-12 inches, depending on the type of soil and climate in your area. It’s important to make sure that the trench is level, so you may need to use a shovel or garden rake to level it out before laying down any pipes or valves.
2. Laying Down Pipes
Once you have dug the trench, you can begin laying down pipes for your sprinkler system. You will need to connect two lengths of pipe together with a coupling and then run them along the length of the trench. Make sure that you leave enough slack in each pipe so that it can move freely when water pressure is applied. You should also take care not to kink or bend any of the pipes, as this could cause them to burst under pressure.
3. Installing Sprinkler Valves
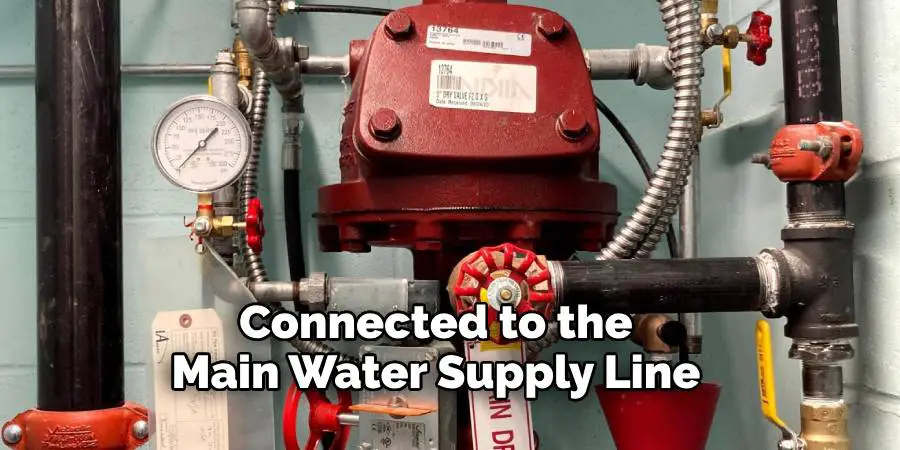
The next step is to install your sprinkler valves into the trenches. Each valve should be placed at least 8 inches away from other valves and at least 4 feet away from any other piping in order to prevent cross-contamination from one valve to another. Once all of your valves are installed, you can begin attaching them to the main water supply line using appropriate fittings and connectors.
4. Connecting Sprinklers
Once your valves are connected to the main water supply line, you can begin connecting your sprinklers. This involves attaching flexible tubing from each valve outlet and running it up above ground, where it will connect with each individual sprinkler head or nozzle. Make sure that each connection is secure and free from leaks before moving on to the next one.
5. Testing System
Once all of your sprinklers are connected and installed, it’s time to test out your system by turning on the main water supply line and allowing water pressure to build up within each valve outlet and sprinkler head or nozzle until they are fully operational. You should also check for any leaks around each connection point as well as inspect each individual component for signs of damage or wear before turning off the main water supply line again once testing is complete.
6. Installing Timers
In order for your sprinkler system to work properly, you will need to install timers onto each individual valve outlet so that they open automatically at predetermined times throughout the day or night depending on your needs and preferences for watering schedules and duration periods for each zone or area being watered by your system. Timers come in various shapes and sizes, but most have digital displays that allow for easy programming of watering times according to specific needs.
7. Adjusting Water Pressure
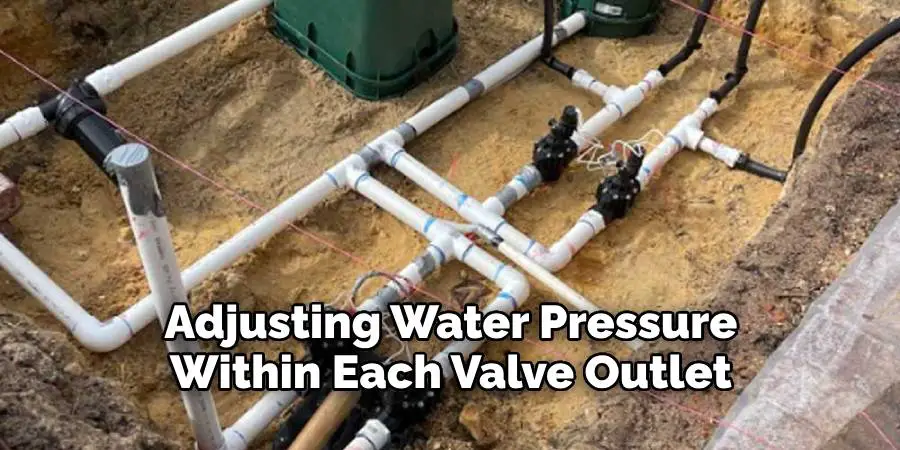
Adjusting water pressure within each valve outlet is an important step when installing a new sprinkler system, as this helps ensure even coverage across all areas being watered by your system. The best way to adjust water pressure is with a pressure gauge that attaches directly to each individual valve outlet. This allows you to measure how much pressure is coming through each outlet so adjustments can be made accordingly.
8. Setting Rain Sensors
Rain sensors help conserve water by detecting when rainfall has occurred in an area being watered by a particular zone controlled by one of its valves. This prevents unnecessary watering during rainy periods, which helps save both money on utility bills as well as conserves precious resources like clean drinking water. Most rain sensors are fairly simple devices consisting only of two wires that connect directly to a compatible timer.
9. Setting Manual Override Options
Manual override options allow users more control over their systems without having to manually adjust settings every time changes are needed. These options usually consist of switches located near timer boxes, which allow users to turn off certain zones completely while leaving others unaffected, allowing manual control over specific areas without having to manually adjust settings on timers themselves.
10. Installing Backup Power Sources
Backup power sources such as batteries or generators help keep systems running even during power outages caused by storms, natural disasters, or other unforeseen events. These sources provide the power needed to keep timers operating correctly without interruption, ensuring continuous operation even during times when electricity may not be available due to unforeseen circumstances.
Things to Consider When Installing Sprinkler Valves
When it comes to installing sprinkler valves, there are a few important things to consider. These will not only ensure that your sprinkler system runs smoothly and efficiently, but also help you avoid any potential problems or malfunctions in the future. Here are some key points to keep in mind when installing sprinkler valves:
Location
The first thing to consider is the location where you will be installing your sprinkler valves. This will depend on a few factors, such as the size and layout of your lawn or garden, as well as any existing irrigation systems. It’s important to choose a spot that is easily accessible for maintenance and repair purposes, but also not in an area that may be prone to damage or interference.
Type of Valve
There are two main types of sprinkler valves: globe valves and anti-siphon valves. Globe valves are more commonly used in residential settings, while anti-siphon valves are typically required for commercial installations. Make sure you choose the right type of valve for your specific needs and follow the manufacturer’s instructions for installation.
Water Source
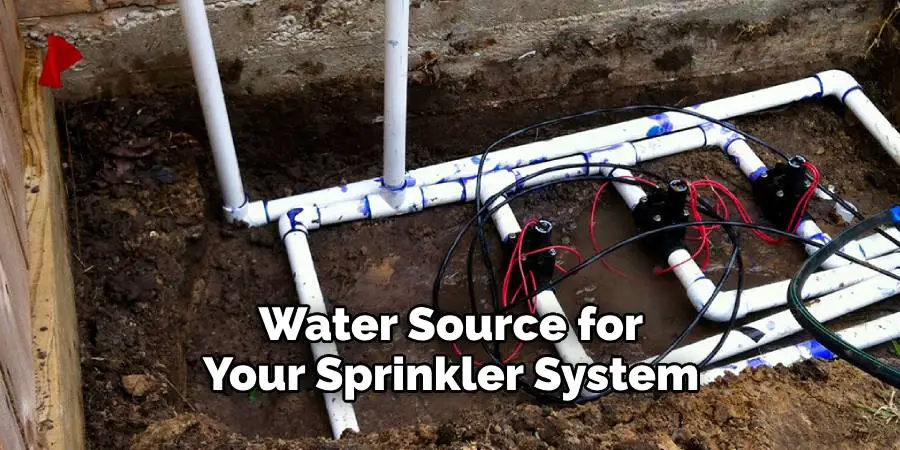
Another crucial consideration is the water source for your sprinkler system. This could be a municipal water supply, well or pond. Depending on the type of water source, you may need to take additional steps such as installing a backflow preventer to ensure that contaminated or stagnant water does not enter your system and cause damage.
Conclusion
Installing sprinkler valves may seem daunting at first, but with the right tools and following the right steps, anyone can do it easily – whether they’ve done it before or not. With this guide, you now have all the information you need to properly install sprinkler valves. Take the necessary time to research your materials, set up a schedule for yourself, and get to work.
You’ll be pleased with the results if you take your time and invest in quality supplies and materials. Be sure to always follow proper safety precautions when working, and stay alert while on the job; patience and focus are key to a successful installation of sprinkler valves. Now that you know how to install sprinkler valves, why not start today? It’s time to make those green spaces shine!

