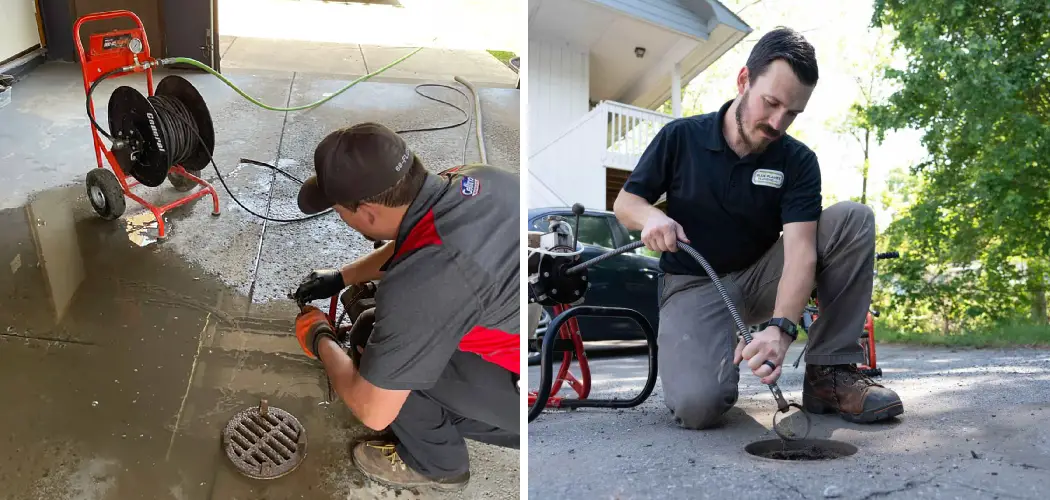
Are you tired of dealing with basement flooding and water damage but don’t know where to start? Cleaning your basement floor drain is essential in keeping your home dry and safe from water damage.
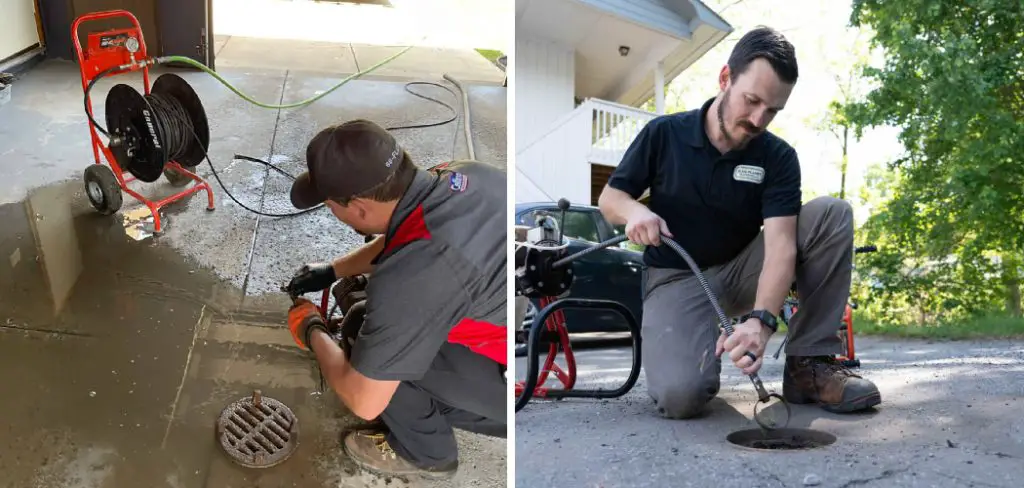
Whether you just want to maintain your drain regularly or there’s a big clog, we can help make the process easier with our comprehensive guide on cleaning a basement floor drain. From products you’ll need and potential signs of clogs to proper maintenance techniques, the answers are all here!
So buckle up as we dive deep into this crucial task that will keep your home free of moisture buildup and save you time, money, and energy in the long run. Keep reading to learn more about how to clean a basement floor drain!
What Will You Need?
To effectively clean your basement floor drain, you will need a few essential items:
- A plumber’s snake or drain auger
- A bucket and/or wet-dry vacuum
- Rubber gloves and protective eyewear
- Baking soda, vinegar, and hot water (optional)
Once you have these materials, you are ready to start cleaning your basement floor drain.
10 Easy Steps on How to Clean a Basement Floor Drain
Step 1. Prepare your equipment:
Ensure all your tools and materials are at hand. This includes your plumber’s snake or drain auger, bucket or wet-dry vacuum, rubber gloves, protective eyewear, optional baking soda, vinegar, and hot water. Remember, safety comes first!
Step 2. Get Dressed in Protective Gear:

Before you begin, it’s crucial to ensure your safety. Put on your rubber gloves and protective eyewear. Basement drains can be a breeding ground for bacteria and other harmful substances, so it’s essential to protect your skin and eyes. Furthermore, the process can get messy, so it wouldn’t hurt to wear old clothes that you don’t mind getting dirty. Now that you are ready, we can move on to cleaning.
Step 3. Locate and Expose the Drain:
The first step of the actual cleaning process is to locate your basement floor drain. It’s often located in the lowest part of the basement. Once found, remove any cover or grate over it. Depending on the design of your drain, this might require a screwdriver or other tool.
Wake sure to put any screws or small parts in a safe place so they aren’t lost. Once the drain is exposed, use your bucket or wet-dry vacuum to remove standing water around the area. This will give you a clear working space to proceed with cleaning.
Step 4. Inspect the Drain for Clogs:
Before you begin cleaning, do a preliminary check for any visible obstructions in the drain. Shine a flashlight into the drain to inspect it. If you notice any obstructions like hair, debris, or any other objects, try to remove them manually. Remember to keep your gloves on during this process. If the clog is stubborn or more profoundly in the drain, don’t worry – that’s where your plumber’s snake or drain auger comes in.
Step 5. Utilize the Plumber’s Snake or Drain Auger:
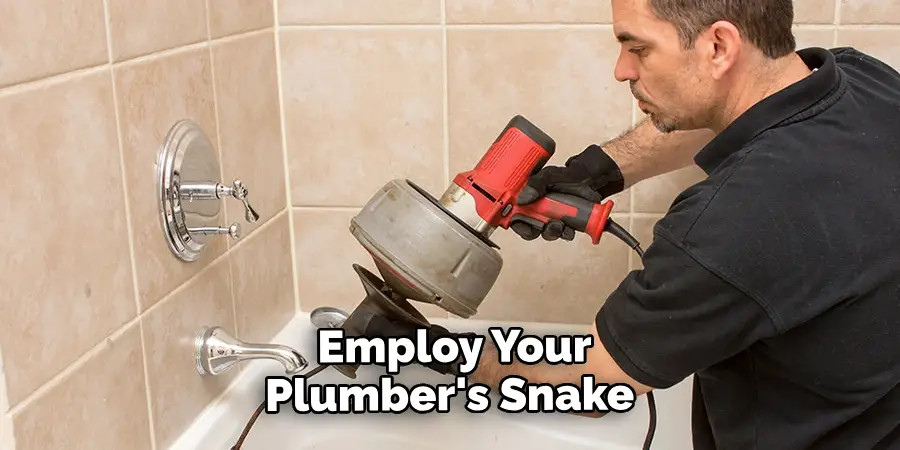
If the obstruction is deep within the drain, it’s time to employ your plumber’s snake or drain auger. Extend the drill into the drain until you encounter resistance – this is likely the clog. Turn the handle of your snake or auger clockwise to break up the blockage. You may need to repeat this process several times until the obstruction is entirely cleared. Be patient, and avoid using excessive force as this could damage your pipes.
Step 6. Flush the Drain with Hot Water:
Once you’ve cleared the obstruction using the plumber’s snake or drain auger, it’s time to flush the drain with hot water. This will help wash away any remnants of the clog. Pour a substantial amount of hot water directly into the drain.
Be careful not to scald yourself during this process. You’re done with the hard part if the water drains away smoothly. However, if the water is still draining slowly, you may need to repeat the process with the plumber’s snake or drain auger.
Step 7. Use Vinegar and Baking Soda:
If you want to perform an additional deep clean or the drain still smells unpleasant, using a mixture of vinegar and baking soda can help. Pour a half cup of baking soda into the drain, followed by a half cup of white vinegar.
Cover the drain to keep the mixture inside and let it sit for about 20-30 minutes. The chemical reaction between the vinegar and baking soda will help to break down any lingering residue and neutralize odors. After waiting, flush the drain again with hot water to wash away the mixture and any remaining debris.
Step 8. Reassemble the Drain Cover:
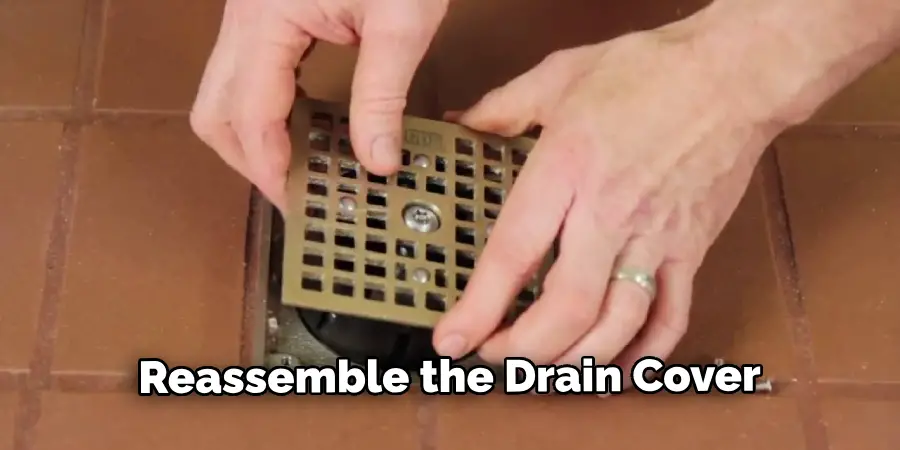
After ensuring the drain is thoroughly cleaned, and water is flowing smoothly, it’s time to reassemble the drain cover. Retrieve the cover and any screws you set aside earlier. Position the cover back to its original place and secure it with the screws if necessary. Make sure it is firmly attached to prevent any misplacement in the future. Cleaning your basement floor drain is not a task you’ll want to repeat because of a misplaced cover.
Step 9. Clean up Your Workspace:
After successfully cleaning your drain and reassembling the cover, it’s time to clean up your workspace. Dispose of any debris or residue you cleared from the drain responsibly. Clean your tools thoroughly, especially the plumber’s snake or drain auger, as it can be a breeding ground for bacteria. If you use a bucket or vacuum, empty and clean them. Finally, wash your hands thoroughly and clean the gloves you wore.
Step 10. Regular Maintenance:
Following your successful cleaning of the basement floor drain, it’s vital to establish a regular maintenance schedule to prevent future clogs and keep the drain in top working condition.
Consider cleaning it monthly or quarterly, depending on how often your drain gets used. Regular checks for visible obstructions and flushing with hot water can prevent buildups and save you from the labor of extensive cleaning. Remember, prevention is always better than cure. Following these steps, your basement floor drain should remain clean and functional, maintaining a dry and moisture-free basement for your home.
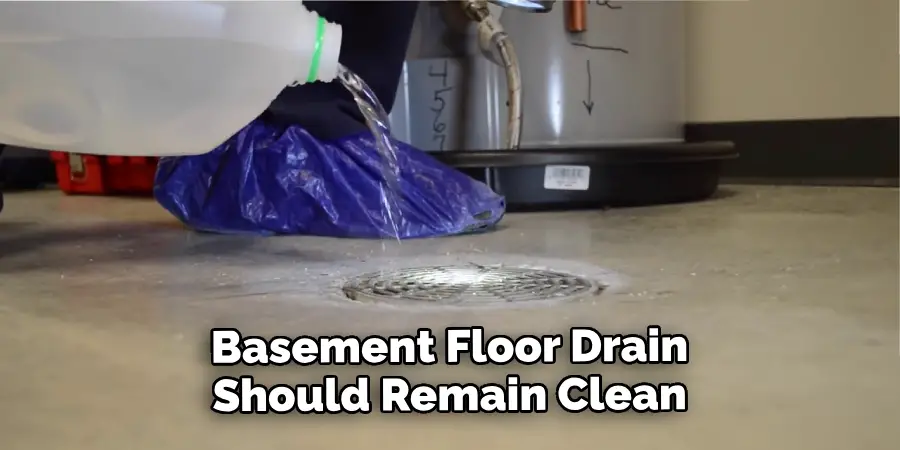
By following these steps and regularly maintaining your basement floor drain, you can ensure it remains clean and functioning correctly.
5 Additional Tips and Tricks
- Use Natural Drain Cleaners: Regularly use natural drain cleaners like baking soda and vinegar. Not only do they help in breaking down minor clogs, but they also keep your drain smelling fresh.
- Avoid Harsh Chemicals: Avoid using harsh chemical drain cleaners as they can damage your pipes and the environment.
- Check for Leaks: While cleaning, take a moment to check for any leaks or cracks in your drain. Address them promptly to prevent further damage.
- Install Drain Screens: Install screens over your basement floor drain to prevent debris and hair from clogging it. This will save you from having to clean the drain frequently.
- Use a Plumbing Snake: If you have a particularly stubborn clog, use a plumbing snake to break it up. It can reach deep into the drain and clear out any debris causing the blockage.
With these additional tips and tricks, you can keep your basement floor drain clean and free from clogs.
5 Things You Should Avoid
- Ignoring Regular Maintenance: Neglecting regular cleaning can lead to severe blockages over time. Always ensure to clean your basement floor drain periodically to avoid such issues.
- Pouring Fat or Oil Down the Drain: Fats, oil, or grease should never be poured down the drain as they solidify when cool, leading to clogs.
- Using Unfit Tools: Avoid using coat hangers or other unfit tools to unclog the drain. These can scratch your pipes or push the clog further down.
- Ignoring Slow Drains: A slow drain is often a sign of a developing clog. Don’t ignore it; instead, address the problem immediately.
- Not Calling a Professional When Needed: If the clog is persistent even after you attempt to clear it, don’t hesitate to call a professional. They have the tools and expertise to handle such situations without causing further damage.
Avoiding these common mistakes can keep your basement floor drain clean and prevent costly repairs.
Conclusion
Overall, a clogged or dirty basement floor drain can be a real pain. From unpleasant odors to water backup, simple preventive maintenance, and timely repairs can quickly solve the issue. By following these tips, your floor drain will look and function like new in no time.
Additionally, finding a good contractor to help with major repairs is always a good idea because it helps prevent damages that could result in costly repairs in the future. Besides paying attention to your basement floor drain by regularly cleaning and maintaining it, doing so will also help keep your family safe by minimizing health risks associated with contaminated water and bad smells.
Therefore, take the time now to learn how to clean a basement floor drain properly and maintain it on a regular basis—you won’t regret it!

