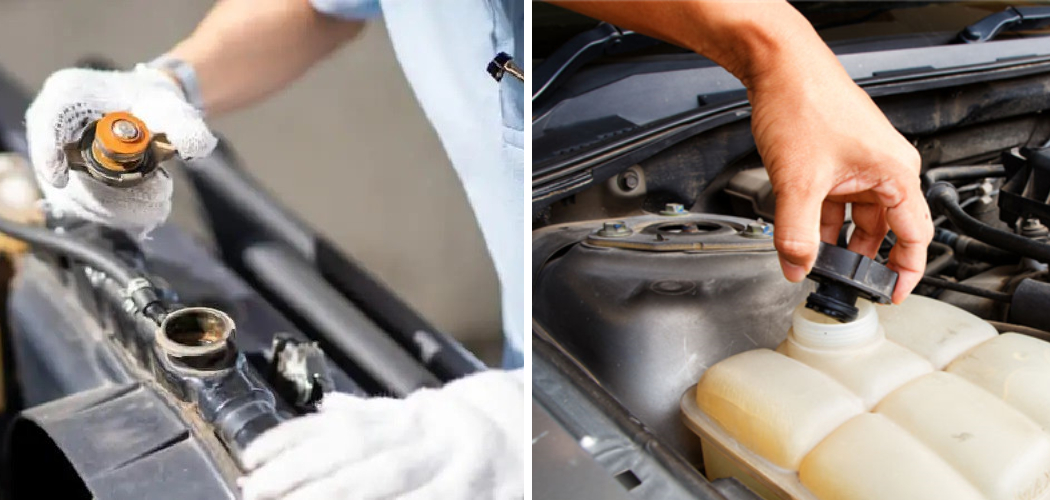
Attention all homeowners and car enthusiasts! Are you tired of experiencing mysterious puddles of coolant underneath your vehicle or noticing unusual drops in your radiator’s water level? If the answer is yes, then this blog post is for you. Today, we will delve into the world of radiator leaks and equip you with the knowledge and tools you need to identify and tackle this common automotive issue.
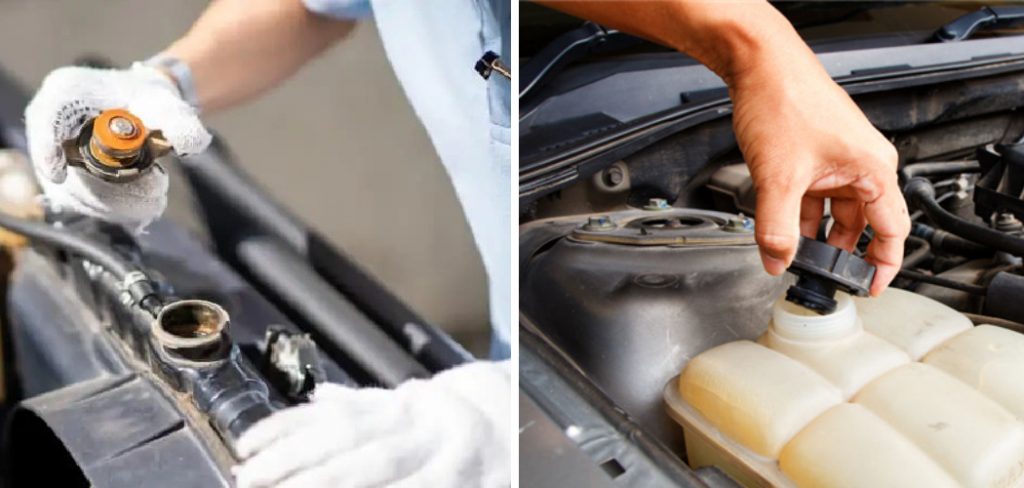
Whether you are a complete novice or a seasoned DIYer, this comprehensive guide will walk you through the signs, causes, and potential solutions for a leaking radiator. So, grab a cup of coffee, put on your thinking cap, and get ready to become a radiator detective with our step-by-step investigation on how to tell if my radiator is leaking into the world of leaks. Say goodbye to the stress and uncertainty of a faulty radiator and say hello to cool, smooth rides once again. Let’s dive in, shall we?
Why is a Radiator Leak Dangerous?
Before we dive into the specifics of identifying radiator leaks, let’s first understand why it’s crucial to address this issue promptly. As the heart of your vehicle’s cooling system, the radiator is responsible for keeping your engine at an optimal temperature to prevent overheating and potential damage.
Any leakage or loss in coolant can lead to serious repercussions, such as engine failure or costly repairs. Not to mention, a leaking radiator can also be a safety hazard if ignored for an extended period. So, it’s always better to be safe than sorry.
What You Will Need
To conduct your investigation properly, you will need some essential tools and materials. These items may vary depending on the severity of the leak and your vehicle’s make and model. However, here are some general supplies to keep handy:
- Coolant (Make Sure It is Compatible With Your Vehicle)
- Water
- A Pressure Tester
- Handheld Flashlight
- Safety Glasses
- Gloves
- A Rag or Towel
10 Simple Step-by-step Guidelines on How to Tell if My Radiator is Leaking
Step 1: Check the Coolant Level
The first and most straightforward step is to inspect your radiator’s coolant level. You can check this by looking at the coolant reservoir, which typically has “high” and “low” markings on it. If the level is below or close to the low marking, then you might have a leak.
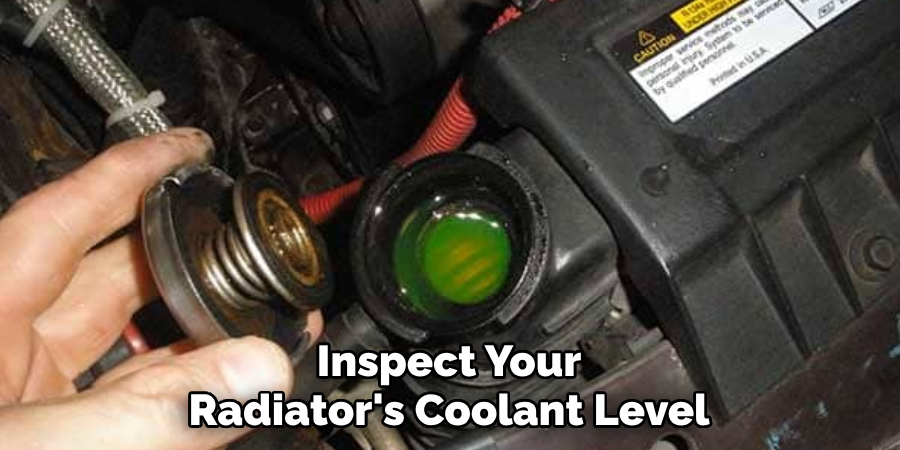
However, keep in mind that low coolant levels can also be a result of evaporation or other underlying issues, so it’s essential to continue with the following steps for confirmation.
Step 2: Look for Visible Leaks
Next, take your flashlight and inspect the radiator and its hoses for any visible leaks. Radiator leaks can occur from various areas, such as the radiator cap, hoses, or core. Look for any cracks, holes, rusted spots, or dampness around these areas. You can also check the ground underneath your vehicle for any puddles or stains.
Step 3: Check the Radiator Cap
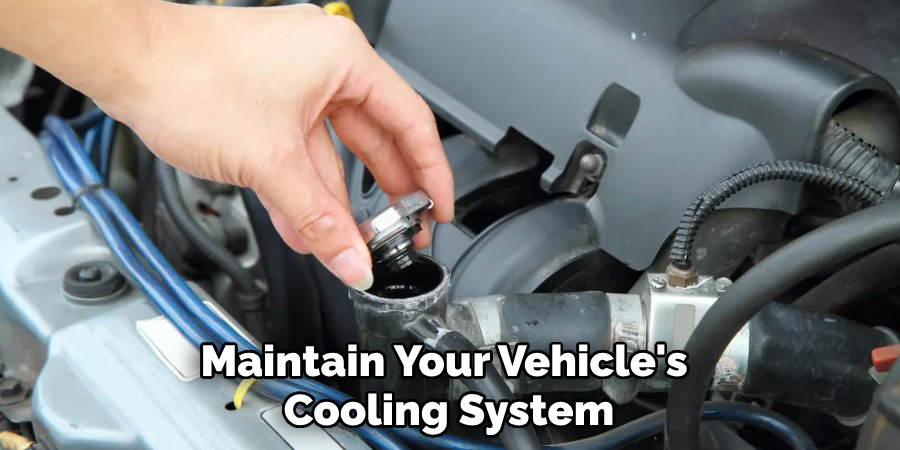
The radiator cap is another common culprit for leaks. If it’s faulty or damaged, it can cause coolant to escape and lead to low levels. Inspect the cap for any signs of wear and tear, such as cracks or worn-out seals. You can also use a pressure tester to check if the cap is holding the recommended pressure. If not, then it’s time for a replacement.
Step 4: Do a Pressure Test
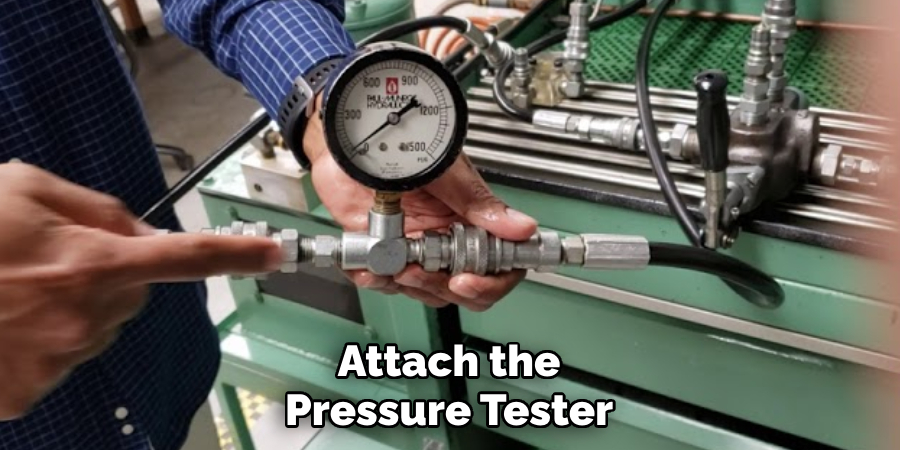
Using a pressure tester can help you pinpoint the location and severity of the leak. First, make sure your vehicle’s engine is completely cooled down before performing this test. Then, attach the pressure tester to your radiator cap opening and pump air into the system. If there is a significant drop in pressure, then you likely have a leak.
Step 5: Check the Hoses
Hoses are another common cause of radiator leaks. Over time, they can become worn out or develop holes and cracks, leading to fluid leakage. Inspect all the hoses connected to your radiator for any signs of damage or stiffness that may indicate an upcoming leak. It’s best to replace any questionable hoses as a preventative measure.
Step 6: Inspect the Drain Plug
Your radiator may have a drain plug at the bottom, which is used for flushing and draining coolant. However, this can also be a potential source of leaks if not tightly sealed. Check the plug for any signs of leakage or looseness. But be careful not to overtighten it, as this can also cause problems. It’s best to consult your vehicle’s manual for the recommended torque.
Step 7: Look for Corrosion or Rust
Rust and corrosion can eat away at your radiator’s metal components, leading to leaks and other potential issues. Look for any signs of corrosion, such as discolored or flaking metal, on the radiator and its parts. If you notice significant damage, it’s best to have your radiator replaced. This step is especially crucial for older vehicles with metal radiators.
Step 8: Check the Coolant Temperature
Another tell-tale sign of a leaking radiator is an increase in engine temperature. If your vehicle’s temperature gauge is showing a higher reading than usual, it could be due to low coolant levels caused by a leak. However, keep in mind that this can also be a result of other underlying issues, so it’s essential to continue with the following steps for confirmation.
Step 9: Look for Bubbles
If you have access to your radiator’s filler neck, you can do a quick check for bubbles. Start your vehicle and let it run until it reaches its normal operating temperature. Then, carefully open the filler neck and observe if there are any bubbles coming up from the coolant.

If so, this is a sign of a leaking head gasket or cracked engine block. It’s best to have a professional mechanic inspect this further. You can also use a combustion leak tester for confirmation.
Step 10: Leave it to the Professionals
If you’ve exhausted all previous steps and still can’t identify a leak, it’s best to leave it to the professionals. A trained mechanic will have the necessary tools and expertise to conduct a thorough inspection and repair any leaks accurately. Plus, they can also advise on any further maintenance or repairs needed to keep your radiator in top shape.
Following these simple steps can help you detect and address a leaking radiator promptly. Remember, regular maintenance and inspections are crucial to preventing leaks and other cooling system issues.
So, make sure to schedule routine radiator checks and address any problems promptly for a reliable and efficient vehicle. So, next time you wonder how to tell if your radiator is leaking, refer back to these guidelines for a smooth and hassle-free investigation. Happy driving!
Additional Tips
- It’s Essential to Only Use Coolant Compatible With Your Vehicle to Avoid Any Damage.
- If You Have a Persistent Leak That Keeps Recurring Even After Repairs, It Might Be Time to Replace Your Radiator Altogether.
- Always Wear Protective Gear, Such as Safety Glasses and Gloves, When Inspecting or Working on Your Radiator.
- If You Notice a Sweet Smell or White Smoke Coming From Your Exhaust Pipe, This Could Also Indicate a Leaking Head Gasket or Cracked Engine Block. It’s Best to Have It Checked by a Professional as Soon as Possible.
- Regularly Check and Maintain Your Vehicle’s Cooling System to Prevent Any Potential Leaks or Other Issues.
Frequently Asked Questions
Q: How Often Should I Check My Radiator for Leaks?
A: It’s best to schedule a thorough inspection every six months or during routine maintenance. You should also check for any visible leaks and low coolant levels regularly.
Q: Can I Use Water Instead of Coolant in My Radiator?
A: While water can work as a temporary solution, it’s not recommended for long-term use. Coolant contains additives that help with corrosion protection, lubrication, and maintaining the correct boiling point.
Q: Can a Leaking Radiator Cause Engine Damage?
A: Yes, if left unaddressed, a leaking radiator can lead to low coolant levels, causing your engine to overheat and potentially damaging vital components. It’s best to address any leaks promptly to avoid costly repairs in the future.
Q: How Do I Know If My Radiator Needs Replacement?
A: Signs of a failing radiator include continuous leaks despite repairs, significant corrosion or damage, and consistent overheating issues. A professional mechanic can also advise on whether it’s time the following steps for confirmation.
Conclusion
In conclusion, it is important to regularly check your radiator for any signs of leaks. Remember to keep an eye out for puddles of coolant under your car, low coolant levels, and any unusual smells or sounds coming from your radiator.
By following the steps outlined in this blog post, you can easily determine if your radiator is leaking and take the necessary steps to get it fixed. Ignoring a leak may lead to larger and more expensive issues down the road.
So be proactive and don’t hesitate to bring your car to a trusted mechanic if you suspect a leak. Remember, taking care of your car now will save you time, money, and headaches in the future. Thanks for reading this article on how to tell if my radiator is leaking.

