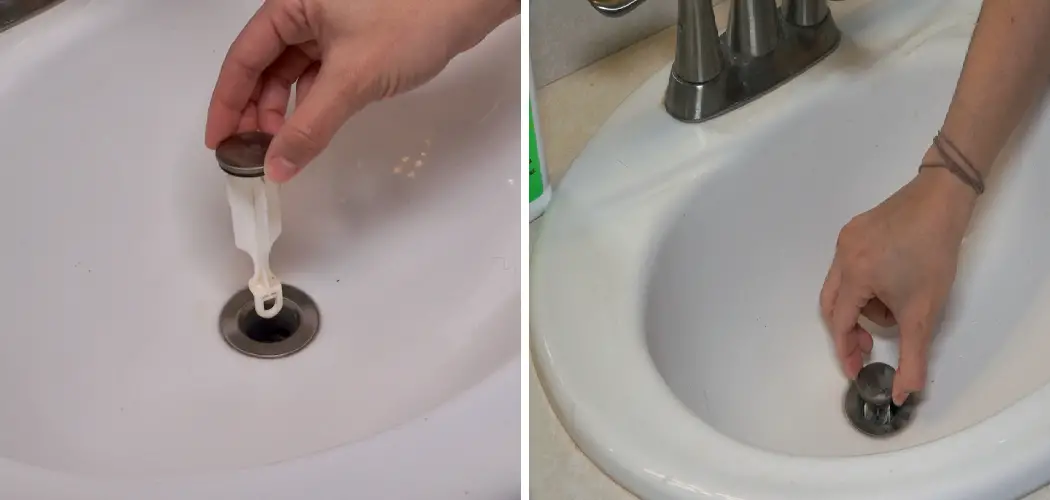
Sink stoppers are the unassuming helpers that keep our sinks from clogging and overflowing. However, over time, they themselves can become clogged with hair, food particles, and other debris. Cleaning out your sink stopper is a simple fix that can prevent a major plumbing headache down the road. But how do you go about removing the stopper?
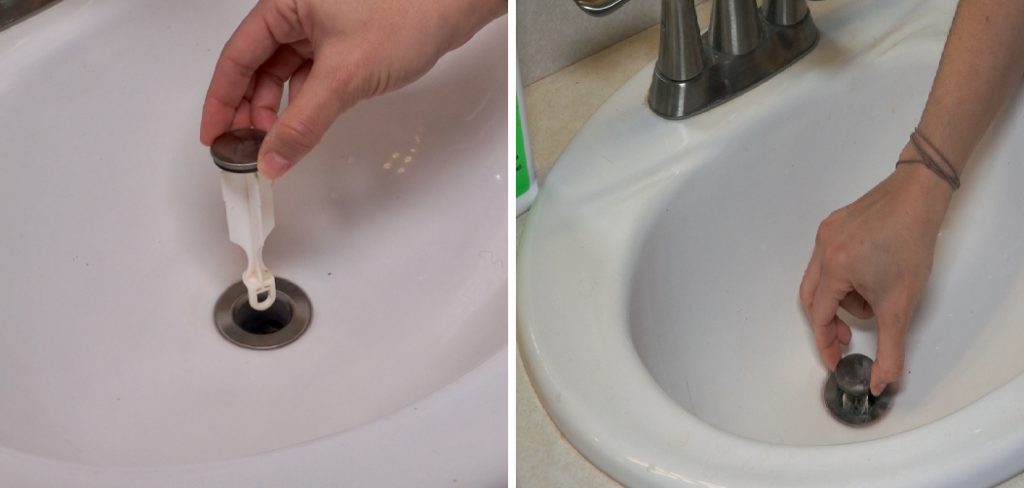
It may seem intimidating at first, but with our comprehensive guide, you’ll be well on your way to a clean, functioning sink in no time. So, keep reading for more information about how to remove sink stopper to clean drain.
Can You Remove the Sink Stopper to Clean the Drain?
Maintaining a clean and hygienic bathroom is essential to prevent the build-up of harmful bacteria. However, one area that often goes unnoticed is the sink drain. Over time, the accumulation of hair, soap scum, and other debris can clog the drain and cause unpleasant odors. Removing the sink stopper is a quick and efficient way to assess the condition of the drain and clean it out thoroughly.
It allows you to reach into the drain with a tool or your fingers and remove any accumulated debris. So, to promote a clean and healthy environment in your bathroom, consider removing the sink stopper and giving your drain a thorough cleaning.
Why Should You Remove Sink Stopper to Clean Drain?
Sink stoppers are often used to prevent water from draining out of the sink. However, over time, these stoppers can accumulate dirt, hair, and other debris that can clog the drain. Cleaning the drain can be a daunting task, but it is essential to keep your sink functioning properly. Removing the sink stopper is an easy way to access the drain and remove any blockages.
Cleaning the drain regularly can prevent costly repairs and keep the water flowing smoothly. Plus, you’ll be able to maintain a hygienic and pleasant-smelling sink. So, the next time you notice your sink isn’t draining correctly, take the time to remove the sink stopper and clean the drain.
A Comprehensive Guide on How to Remove Sink Stopper to Clean Drain
1. Identify Your Sink Stopper Type
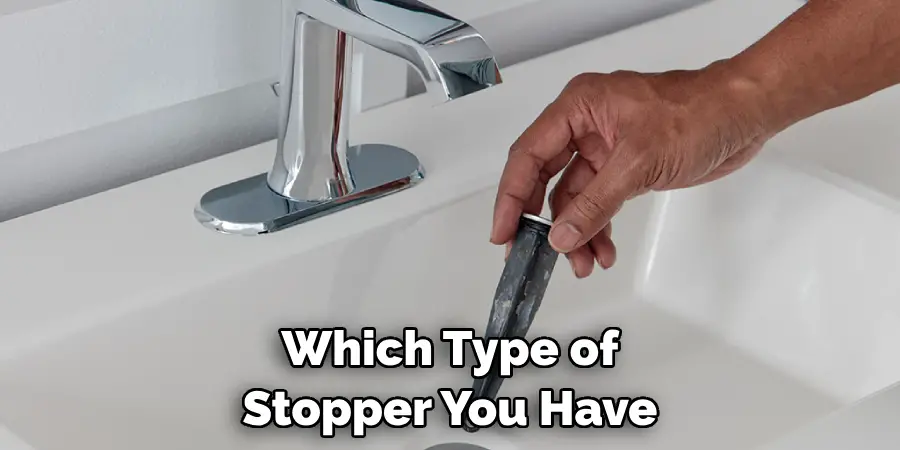
There are several types of sink stoppers, each with their own method of removal. The most common are pop-up stoppers, push-pull stoppers, and lift-and-turn stoppers. Pop-up stoppers are raised and lowered by a lever on the sink, while push-pull stoppers require manual lifting and pushing. Lift-and-turn stoppers require a twisting motion to raise or lower. Check your sink to see which type of stopper you have before proceeding.
2. Remove the Sink Stopper
After identifying the type of stopper, it’s time to remove it. For pop-up stoppers, look for a small tab underneath the sink that connects the lever to the stopper. Push this tab down and wiggle the stopper to remove it from the drain. For push-pull stoppers, you’ll need to remove the cap on the stopper and unscrew the mounting screw with a pair of pliers.
Lift-and-turn stoppers require you to turn the stopper counterclockwise to release it from the drain. If you’re having trouble with any of these steps, consult your sink’s manufacturer manual or call a plumber for guidance.
3. Clean the Sink Stopper
With the stopper removed, it’s time to clean out any accumulated debris. Use a toothbrush or small scrub brush to remove any buildup from the stopper and drain. For particularly stubborn clogs, use tweezers or a plunger to extract any hair or debris lodged in the drain. Once the area is clean, rinse thoroughly with warm water. If you’re experiencing slow drainage, consider using a drain cleaner to break down any remaining buildup.
4. Check the Sink Drain
While removing the stopper, take a moment to check the sink drain for any additional debris. Remove any visible hair or grime from this area as well. If standing water is in the sink, use a plunger to create suction and dislodge any clogs. For more persistent clogs, consider using an auger or calling a professional plumber for assistance.
5. Reattach the Sink Stopper
Once everything is clean and clear, it’s time to reattach the sink stopper. Follow the reverse steps of removal for your specific type of stopper. Ensure the stopper is securely in place and test it out by running water through the drain. If you have a pop-up stopper, adjust the linkage under the sink so that the lever properly raises and lowers the stopper.
6. Maintain Your Sink Stopper
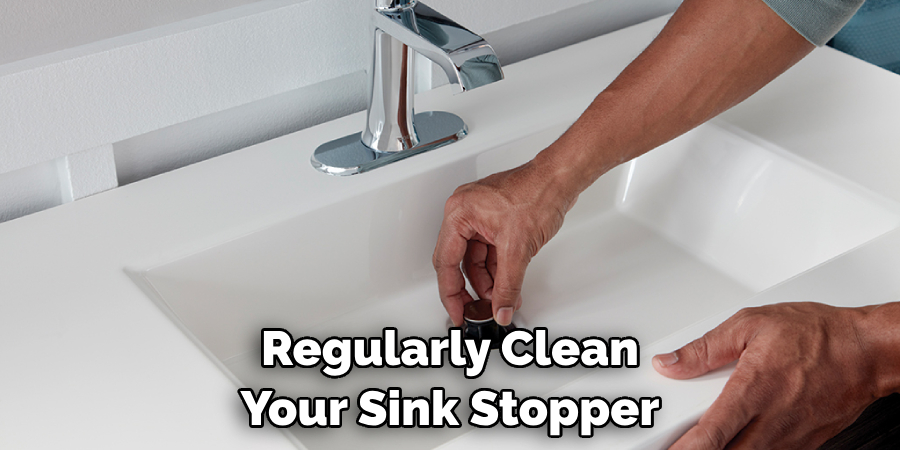
To avoid future clogs, make sure to regularly clean your sink stopper. If you have long hair, consider using a drain catcher to prevent excess hair from going down the drain. Avoid putting grease or large food particles down the sink, as these can easily cause clogs. If your stopper is not functioning properly, consider replacing it with a new one.
7. Call a Professional if Needed
If you’re still experiencing issues with your sink drainage, it may be time to call a professional plumber. They have the tools and knowledge to properly diagnose and fix any plumbing issues. It’s always best to leave complicated or stubborn clogs to the experts to prevent further damage or frustration.
So there you have it, 7 simple steps for removing your sink stopper and cleaning out your drain. By following these steps regularly, you can avoid potential clogs and keep your sink functioning properly. Remember to always consult a professional if you’re unsure or need assistance.
5 Considerations Things When You Need to Remove the Sink Stopper to Clean the Drain
1. Type of Sink Stopper
The first consideration when removing the sink stopper is identifying what type of stopper you have. There are various types, such as pop-up stoppers, twist-and-turn stoppers, and lift-and-turn stoppers. Each type requires a different method for removal, so it’s important to know which one you have before attempting to remove it.
2. Tools Needed
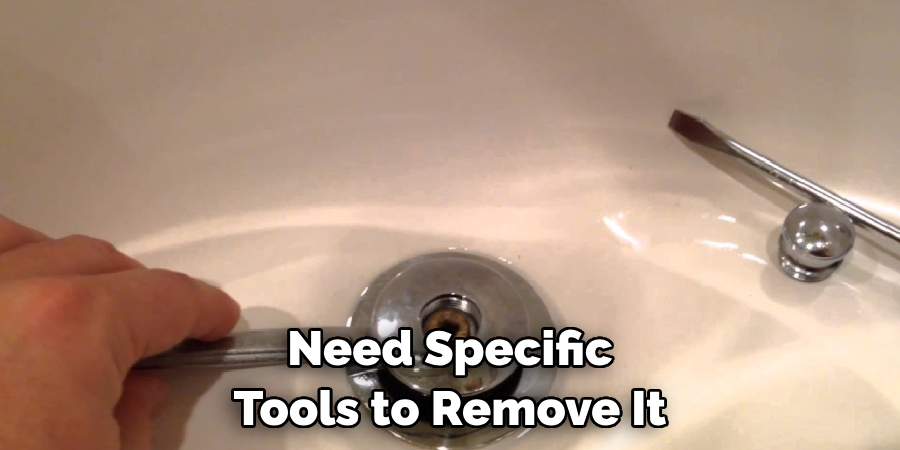
Depending on the type of sink stopper, you may need specific tools to remove it. For example, a pop-up stopper can usually be removed by hand, while a twist-and-turn stopper may require pliers or a screwdriver. It’s important to have the necessary tools on hand before attempting to remove the stopper.
3. Location of Drain Access
In some cases, accessing the drain for cleaning may require removing the sink stopper completely. Before doing so, it’s important to locate where the access point for the drain is located. This could be underneath the sink or behind a panel in the wall. Knowing where this is will make it easier to reassemble everything once you’re done cleaning.
4. Proper Disassembly and Reassembly
Removing and replacing a sink stopper may seem like a simple task, but it’s important to do it correctly to avoid any issues or leaks in the future. Make sure to carefully follow instructions for disassembling and reassembling your specific type of sink stopper, and pay attention to any seals or gaskets that need to be replaced.
5. Cleaning Products
When removing a sink stopper for cleaning purposes, it’s also important to consider what products you will use to clean the drain itself. Harsh chemicals can damage pipes and cause harm to the environment, so opting for natural or eco-friendly options is recommended. Additionally, using a drain snake or brush can help remove any buildup or clogs without harsh chemicals.

3 Common Mistakes People Make When Trying to Remove the Sink Stopper to Clean the Drain
1. Using Harsh Chemicals
One of the most common mistakes people make when trying to remove the sink stopper to clean the drain is using harsh chemicals. While these products may seem like a quick and easy solution, they can actually do more harm than good. Harsh chemicals can damage your pipes and cause them to corrode over time, leading to costly repairs.
2. Not Knowing How to Remove the Stopper Properly
Another mistake people make is not knowing how to properly remove the sink stopper. Many sinks have different types of stoppers, such as pop-up or lift-and-turn, and each requires a specific method for removal. If you try to force the stopper out without knowing how it works, you could end up damaging it or causing it to get stuck.
3. Neglecting Regular Maintenance
The biggest mistake people make when it comes to cleaning their drains is neglecting regular maintenance. It’s important to regularly clean your sink stopper and drain to prevent clogs from forming in the first place.
This can be done by simply removing any hair or debris from the stopper after each use and using a natural cleaner, such as baking soda and vinegar, on a monthly basis. By neglecting this maintenance, you may end up with a completely clogged drain that requires professional help to fix.
Conclusion
Cleaning your sink stopper is a simple task that can save you from future plumbing woes and pesky clogs. By identifying your stopper type, removing the stopper, cleaning the area, and re-installing the stopper, you’ll have a clean and functioning sink in no time.
Remember to maintain regular cleaning habits and be mindful of what you are putting down the drain to prevent future clogs. With these tips in mind, you’ll be well on your way to a clean, stress-free sink for years to come. Thanks for reading our post about how to remove sink stopper to clean drain.

