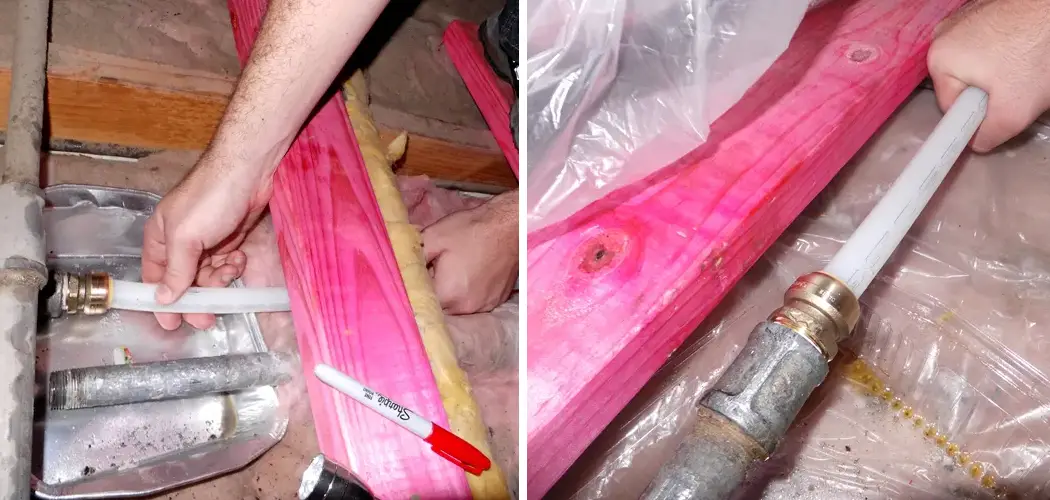
Replacing old galvanized pipes with modern Pex plumbing systems can be a great way to upgrade your home’s water supply, save yourself time and money in the long run, and make sure your water is running at peak efficiency. There are a few steps that you need to consider before swapping out an entire line of pipe, but the project itself isn’t difficult – anyone with some basic DIY skills should have no problem getting it done.
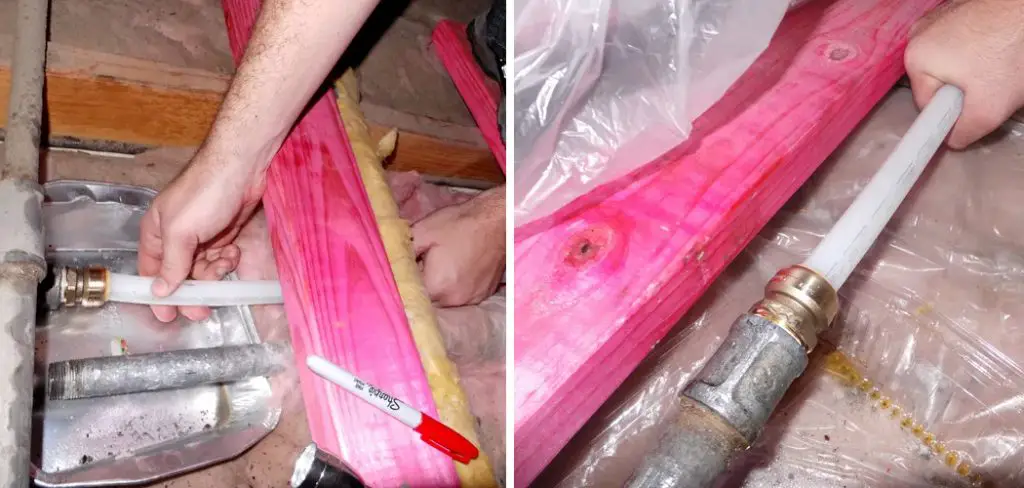
In this blog post, We’ll cover all the information you need to know about how to replace galvanized pipe with pex; everything from supplies needed, preparing the area for installation, cutting panels properly, and ultimately making sure everything is air-tight. Read on and get started!
What Should I Replace Galvanized Pipe with?
The best thing to replace the galvanized pipe with is Pex (cross-linked polyethylene) plumbing. Pex is a great choice because it’s durable, easy to install, and water-resistant. It’s also cost-effective and requires less labor time than other materials, such as copper or lead pipes.
When you’re replacing the galvanized pipe, you don’t need to worry about corrosion or rust either. Plus, it won’t be affected by freezing temperatures like copper is. Additionally, Pex tubing is available in a variety of sizes and lengths to accommodate whatever your needs may be.
10 Methods How to Replace Galvanized Pipe with PEX
1. Cut Out the Section of Galvanized Pipe:
The first step is to cut out the section of galvanized pipe that needs to be replaced. Make sure you only remove what you need, as any extra can make it difficult to install the new Pex tubing. You’ll also want to get rid of any old fittings and couplings during this process. If you’re not sure what kind of saw to use, a hack or reciprocating saw will do the job. However, the best tool to use is a pipe cutter.
2. Clean the Pipe Area:
Once the section has been removed, thoroughly clean the area around where the new pipes will be installed with a steel brush or other abrasive material like sandpaper. This is important because dirt and debris can interfere with a successful installation. While brushing, make sure to remove any sharp edges or burrs that could cause damage to the pipe.
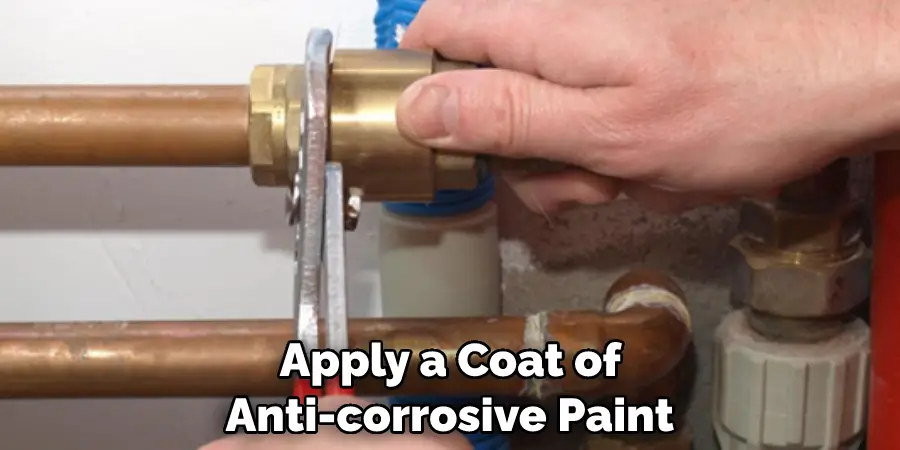
Make sure to remove any dust or debris that may have accumulated during the cutting process, as this can cause blockages in the pipe. Finally, apply a coat of anti-corrosive paint to the area of installation to protect the pipe from corrosion.
3. Measure & Cut Pieces of PEX:
Measure and mark out your pieces using a measuring tape and marker before cutting into them with a pair of scissors or a special Pex tubing cutter. Make sure the pieces you cut are slightly longer than what’s needed, as this will give you some extra room to work with during the installation process.
Try to make sure the cuts are as straight and clean as possible to ensure a good seal when you’re ready to connect the pieces together. Though, the cuts don’t have to be perfect, as PEX is flexible enough to adjust accordingly.
4. Connect Fittings & Couplings:
Once all your pieces have been cut to size, it’s time to start connecting them together using fittings and couplings. Make sure they fit snugly but not too tightly; if they don’t fit properly, then water may leak out of your system. However, be careful not to overtighten them, as this can cause damage to the fitting or your system’s pipes.
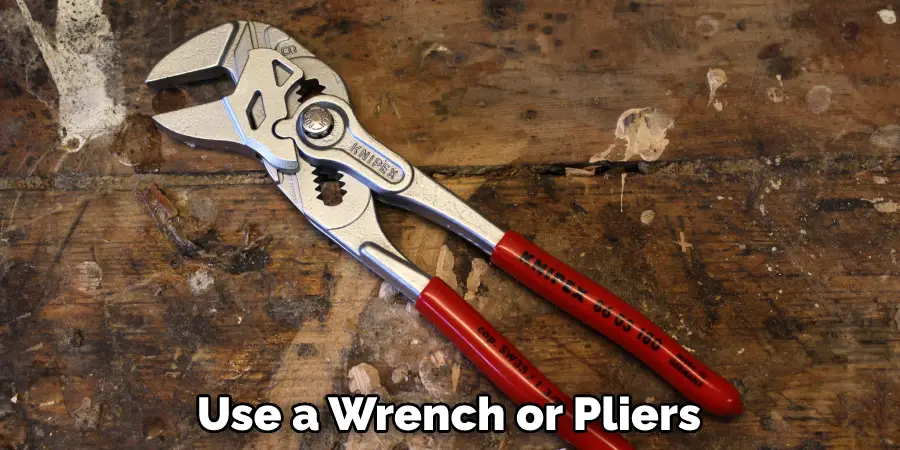
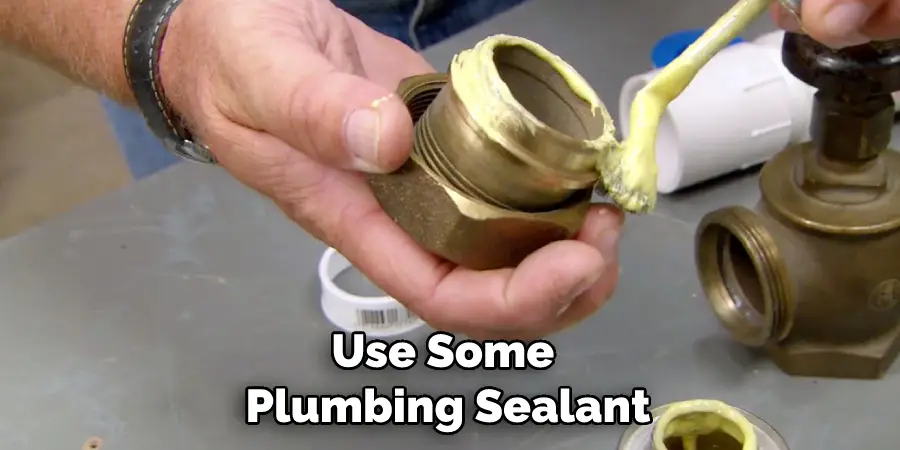
Depending on the type of fitting and coupling, you may need to use a wrench or pliers to tighten it properly. You should also apply sealant around the threads of the fitting for added protection against leaks. Once all the fittings are connected, you can begin to attach your water supply lines.
5. Insert Tubing into Fittings & Couplings:
After the fittings and couplings have been connected, insert each piece of tubing into them until it reaches the end. Make sure it’s not too tight, as this may damage the pipes or cause water to leak out.
The tubing should fit snugly without any gaps, but not so tight that it’s difficult to insert. Use a wrench or pliers if needed to ensure the tubing is securely in place. Be sure to check for any leaks and make adjustments as needed. Finally, turn on the water supply and test for proper operation.
6. Connect Tubing Pieces with Fittings & Couplings:
Once all the pieces of tubing have been inserted into their fittings and couplings, you can begin connecting them together using a special crimping tool. This is done by pressing down on the fitting until it securely binds the two pieces together. If done correctly, the joint should be airtight and watertight.
After all the pieces are securely connected together, the entire assembly can be tested for leaks. This is typically done by filling the system with water and checking for any visible signs of leakage. If there are none, then the plumbing installation has been completed successfully.
7. Check for Leaks:
After all your connections have been made, turn on your water supply to check for any leaks that may have occurred during the installation process. If there are any, then use some plumbing sealant to plug them up before continuing on to the next step. Make sure to check the entire length of your pipes – including joints and bends – to make sure that no leaks are present. If you find any, take care to fix them before proceeding.
This will help to ensure that your shower is working properly and won’t be prone to future water damage. Although it may take a bit of time, it’s worth doing in order to guarantee that your shower is safe and functioning correctly. Additionally, you can also recheck for any leaks after the shower has been used a few times to make sure that it’s working properly.
8. Insulate Pex Pipes:
Once there are no leaks present, you’ll want to insulate your pipes with foam or fiberglass insulation. This will help to protect them from freezing temperatures and prevent any water from leaking out. While this isn’t necessary for every situation, it is a good practice to keep your pipes in the best condition possible.
Make sure that you completely cover each pipe and that there are no gaps between the insulation and the pipe. Secure it in place with duct tape or zip ties as needed. Finally, use foil tape to seal the seams between pieces of insulation. That way, you can make sure that your pipes remain at an even temperature and that no water is leaking out.
9. Secure Tubing:
Once the pipes have been insulated, use zip ties or other fasteners to secure the tubing in place so that it won’t move around too much when water is flowing through the system. This will help ensure that the insulation stays in place and prevents leaks from forming. Additionally, make sure any exposed pipe is also securely fastened so that it won’t vibrate or move around when the water is running. However, be careful not to overtighten the fasteners as this can cause the pipes to become damaged or even burst.
10. Test System & Enjoy:
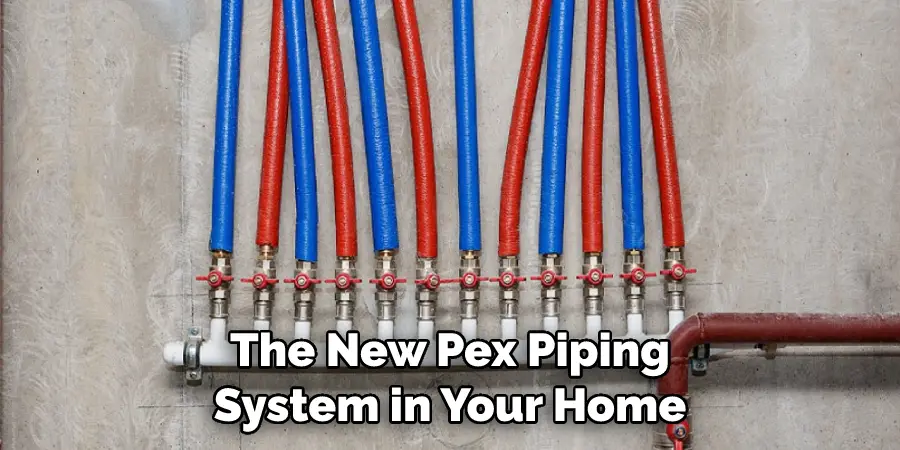
After all these steps have been completed, you can go ahead and test your system by turning on the water supply and checking for any leaks once again. If everything looks good, then turn off the water and enjoy the new Pex piping system in your home.
Then all you have to do is sit back, relax and enjoy the benefits of having a reliable water supply. Congratulations on completing such an important task. Make sure to check your system regularly to make sure everything is still in working order.
With these ten steps, replacing the galvanized pipe with PEX is not only easy but also cost-effective. It’s a great way to upgrade any plumbing system without having to break the bank. So if you’ve been looking for an affordable solution that will last for years to come, then Pex tubing is your best bet!
By following these ten steps, you can easily replace the galvanized pipe with PEX and have peace of mind knowing that everything has been done correctly. Not only will this save time and money, but it will also make sure that your plumbing system remains functional and efficient in the long run.
Things to Consider When Replacing Galvanized Pipe with PEX
1. Cost:
Galvanized pipe is generally more expensive than PEX, so you will need to consider the cost of replacement materials when making the switch.
2. Connections:
Most galvanized pipes require threaded connections, while PEX piping can be connected using push-fit fittings or barbed plastic connectors. This makes for a much faster and easier installation process when switching to PEX.
3. Pressure Rating:
Galvanized pipe is generally rated for higher pressures than PEX, so it may be necessary to install a larger diameter pipe when replacing with PEX in order to maintain pressure levels within acceptable limits.
4. Durability:
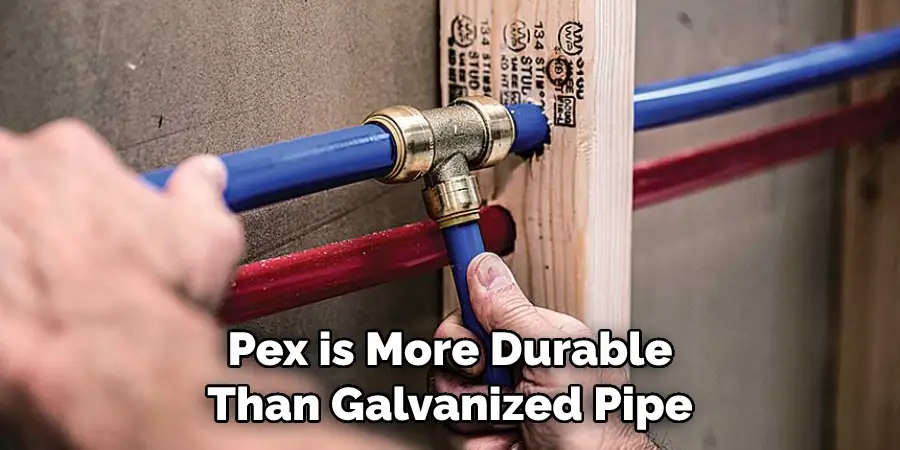
PEX is more durable than galvanized pipe and can last up to 50 years with proper maintenance, while galvanized pipe typically only lasts around 15 years before it needs to be replaced.
5. Environmental Impact:
PEX is made from recycled materials and is more environmentally friendly than the galvanized pipe, which can contain lead and other toxic chemicals. Replacing your old galvanized pipes with PEX may help you reduce your carbon footprint.
6. Maintenance:
PEX is much easier to maintain than the galvanized pipe, as it does not require special cleaners or sealants. In addition, PEX can be installed in smaller spaces and has fewer connections compared to galvanized pipes, which makes for a simpler maintenance process.
7. Flexibility:
PEX is more flexible than galvanized pipe and can be bent around corners or threaded through walls without having to make any additional connections. This makes it ideal for areas where extra flexibility is needed, such as under sinks or in tight corners. It also eliminates the need for additional joints, reducing the chances of water leakage.
8. Corrosion Resistance:
Galvanized piping tends to corrode over time, while PEX is resistant to corrosion. This makes it a better choice for areas where water pressure or temperature can fluctuate, as the increased durability of PEX means that it won’t corrode like a galvanized pipe.
9. Temperature Resistance:
PEX piping is more tolerant of extreme temperatures than the galvanized pipe, making it an ideal choice for hot water lines and outdoor installations. Galvanized pipes are susceptible to bursting in cold temperatures or, if exposed to freezing water, which can lead to costly repairs.
10. Safety:
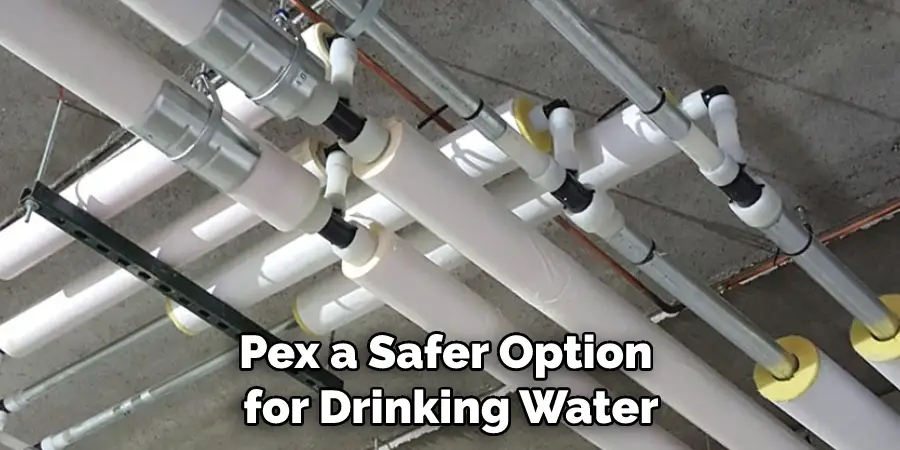
Galvanized pipes may contain lead and other toxic metals that can leach into drinking water and cause health risks, while PEX does not contain any such toxins. This makes PEX a safer option for drinking water and other applications where safety is paramount.
When Should You Not Use PEX?
PEX is not recommended for use in direct sunlight or areas where temperatures may exceed 200 degrees Fahrenheit. In addition, PEX should not be used with water that contains high levels of chlorine, as this can cause the piping to degrade over time and reduce its effectiveness. Finally, PEX should not be used in applications where pressure levels could exceed 100 PSI, as it is not designed to withstand such high levels of pressure.
Replacing your old galvanized pipes with PEX piping can be a great way to save time and money while ensuring that your plumbing system remains functional and efficient in the long run. However, you should always consider all of the potential factors before making the switch, such as pressure rating and temperature resistance, in order to ensure that the PEX piping is the right choice for your particular application.
Conclusion
If you have galvanized pipes in your home, it’s important to know how to replace them with PEX tubing. This process is not as difficult as it may seem, and it can save you a lot of money in the long run. So, there you have it – everything you need to know about replacing galvanized piping with PEX tubing.
This is a project that any seasoned do-it-yourselfer can handle, and it will definitely save you money in the long run. With these easy-to-follow instructions on how to replace galvanized pipe with PEX, you’ll have your plumbing updated in no time!

