If you’re a homeowner, you know the importance of regular maintenance and repairs to keep your house in top condition. One part of your home that is used daily but often overlooked is the toilet. As an essential fixture in any household, it’s crucial to ensure that your toilet functions correctly and efficiently at all times.
The main advantage of learning to lower toilet flange is that it can save you money. Instead of hiring a professional plumber to do the job, you can easily do it yourself with a few basic tools and some patience.
This not only saves you money in terms of labor costs but also prevents any potential damage or accidents caused by improper installation. In this blog post, You will learn in detail how to lower toilet flange.
Step-by-step Instructions for How to Lower Toilet Flange
Step 1: Inspect the Flange
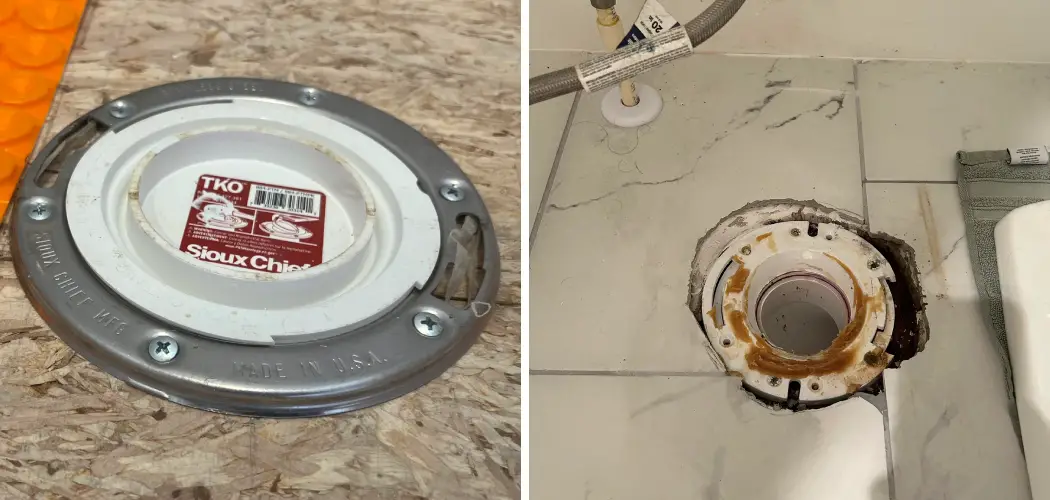
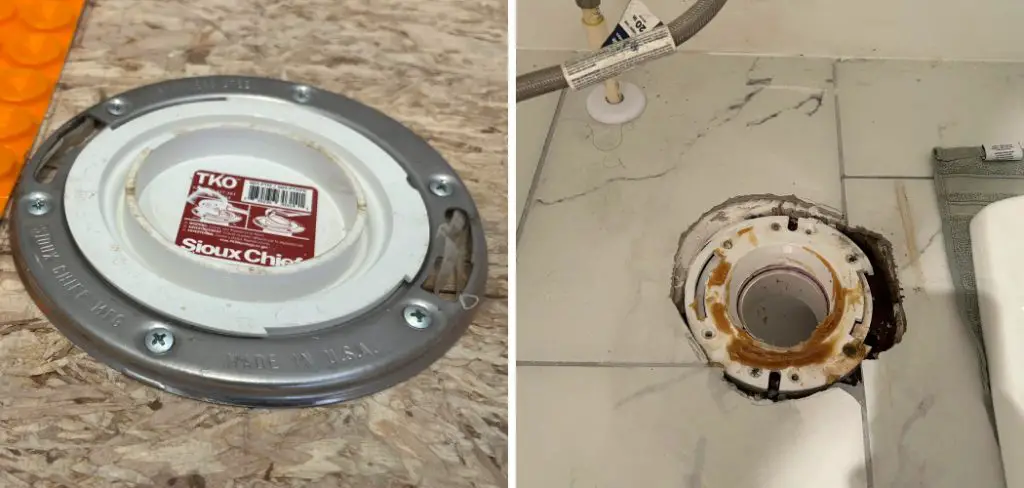
Start by inspecting your toilet flange. It is important to make sure that there are no cracks or damage, as this could cause leaks and other issues in the future. If you notice any damage, it is best to replace the entire flange.
Step 2: Shut Off Water Supply
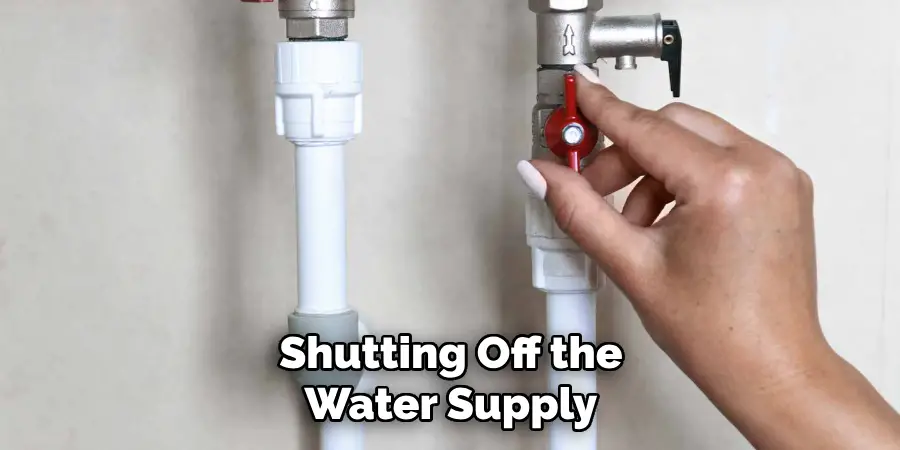
Before starting any work on your toilet, shutting off the water supply is essential. This will prevent accidental spills or leakage and make it easier to work on the flange. Next, you need to empty the toilet bowl and tank. Flush the toilet a few times until most of the water has drained out. You can use a cup or sponge to remove any remaining water.
Step 3: Remove Toilet
Carefully remove the toilet from its position by unscrewing the bolts at the base. Disconnect any water supply lines and lift the toilet off the flange. With the toilet removed, you can see the old wax ring that seals the connection between the toilet and flange. Use a putty knife to remove any remaining wax and thoroughly clean the area.
Step 4: Loosen Bolts
With the exposed flange, you can loosen the bolts that secure it to the floor. These bolts are typically located on either side of the flange and may be covered with plastic caps. If you need to lower the flange, now is the time to do so. Use a hacksaw or reciprocating saw to remove any excess length from the flange’s bottom. Make sure to wear protective gear and follow all safety precautions.
Step 5: Install New Wax Ring
Place a new wax ring on top of the flange, making sure it is centered and fits snugly. You can also add a small amount of plumber’s putty to help create a better seal. Carefully lower the toilet back onto the flange, making sure to line up the bolts with holes on the toilet’s base. Press down to compress the wax ring and secure the toilet with the bolts.
Step 6: Test and Seal
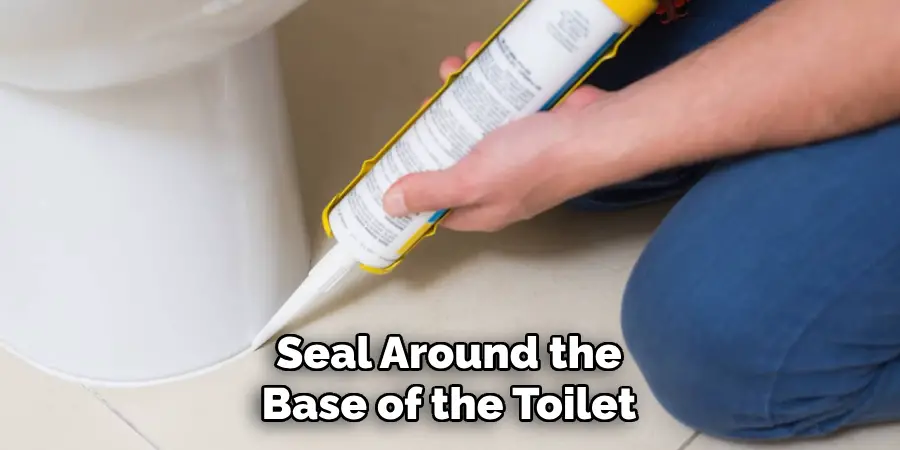
Once the toilet is securely in place, turn the water supply back on and flush it a few times to check for leaks. If everything looks good, you can seal around the base of the toilet with caulk for added protection against leaks.
By following these step-by-step instructions, you can successfully lower your toilet flange and ensure a secure and leak-free connection. Remember to always take necessary safety precautions and consult a professional if needed.
Safety Tips for How to Lower Toilet Flange
- Always shut off the water supply before starting any work on your toilet.
- Wear protective gear, such as gloves and eye goggles, when using tools to cut or adjust the flange.
- Use caution when handling the toilet, as it can be heavy and fragile.
- Thoroughly clean the area around the flange before installing a new wax ring. This will ensure a proper seal and prevent leaks.
- If you are unsure or uncomfortable with lowering the flange yourself, it is best to consult a professional plumber.
- Double-check that the bolts securing the toilet to the flange are tightened properly to avoid any movement or instability.
- Regularly inspect your toilet flange for any signs of damage or wear and tear.
By keeping these safety tips in mind, you can successfully lower your toilet flange without any accidents or mishaps. Remember to always prioritize safety and consult a professional if needed.
Signs That the Toilet Flange Needs to Be Lowered
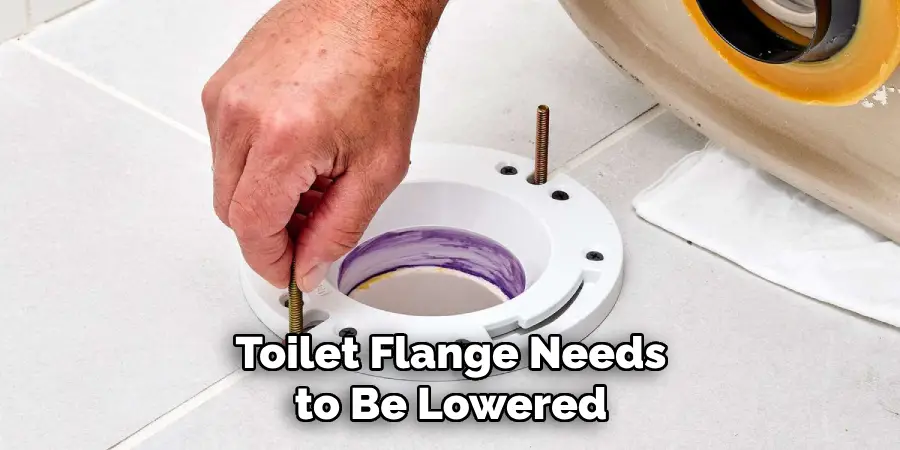
- The Toilet is Wobbly: A common sign that the toilet flange needs to be lowered is when the toilet feels unstable or unsafe. This can indicate that the flange is not securely attached to the floor, causing the toilet to rock back and forth.
- Leaks Around the Base of the Toilet: If you notice water leaking around the base of your toilet, it could be a sign that the flange is not properly sealed. If left unchecked, this can lead to water damage and potential mold growth.
- Difficulty Flushing: A lower toilet flange can cause problems with your toilet’s flushing mechanism. If you notice that your toilet is having trouble fully flushing or requires multiple attempts to flush, it could be due to a low flange preventing proper water flow.
- Uneven Toilet Bowl: If your toilet bowl appears uneven or tilted, it could be a sign that the flange needs to be leveled. This can cause issues with the seal between the toilet and the floor, leading to leaks and instability.
- Movement of the Wax Ring: The wax ring is an essential component of a properly functioning toilet, as it creates a watertight seal between the toilet and the flange. If you notice that the wax ring is moving or becoming dislodged, it could indicate a low flange.
- Cracked Toilet Base: A lower toilet flange can put additional stress on the base of your toilet, leading to cracks or damage over time. If you notice any cracks or chips in the base of your toilet, it’s important to have the flange checked and potentially lowered.
- Previous Installation Error: In some cases, a low toilet flange may be the result of an incorrect installation during a previous renovation or repair. If you’ve recently had work done on your toilet and are experiencing issues, it could be due to a lower-than-normal flange.
If you are experiencing any of these signs, it’s important to address the issue sooner rather than later. A low toilet flange can cause potential damage and lead to more extensive repairs down the line. It’s best to contact a professional plumber to assess the situation and determine if the flange needs to be lowered.
Methods for Lowering a Toilet Flange
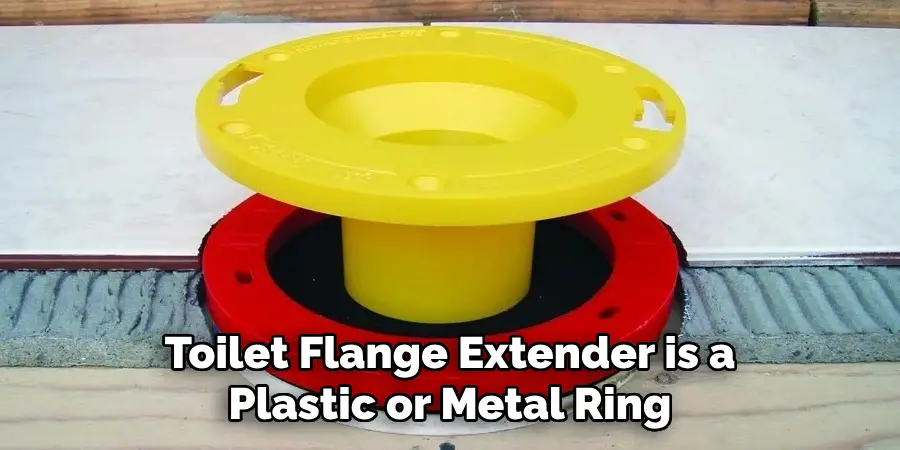
- Use a Toilet Flange Extender: A toilet flange extender is a plastic or metal ring that fits on top of the existing flange, raising it higher to the desired level. This is a quick and easy fix for a low flange.
- Replace the Wax Ring: If the wax ring is damaged or not creating a proper seal, replacing it can often solve the issue of a low flange. Be sure to use a new, high-quality wax ring for best results.
- Add Flange Shims: Flange shims are small plastic or metal spacers that can be placed between the toilet and the flange to raise it up. This is another relatively simple fix for a low flange.
- Install a New Toilet Flange: If the existing flange is damaged or too low to be fixed with other methods, it may need to be replaced entirely. This should only be attempted by a professional plumber.
- Use a Toilet Flange Riser Kit: Similar to a flange extender; this kit includes all the necessary components to raise the flange and create a proper seal.
- Build a New Subfloor: In some extreme cases, a low flange may be due to an uneven subfloor. If this is the case, it may be necessary to build a new subfloor before installing a new toilet flange.
- Hire a Professional Plumber: While homeowners can do some of these methods, it’s always best to consult with a professional plumber for any issues related to your toilet flange. They have the necessary experience and tools to properly fix a low flange without causing further damage.
Remember, if you notice any signs that your toilet flange may be too low, it’s important to address the issue as soon as possible. Delaying repairs can lead to more extensive damage and costly repairs down the line. By knowing the signs and methods for lowering a toilet flange, you can ensure your toilet stays securely attached to the floor and properly functioning for years to come.
Troubleshooting Common Issues for Lowering Toilet Flange
1. The Flange is Too High
If the toilet flange is too high, it can cause problems with installing or sealing the toilet. To lower the flange, you can use a specialized tool called a “toilet flange extender,” which fits over the existing flange and provides a smaller opening on which the toilet can sit.
2. Flange is Too Low
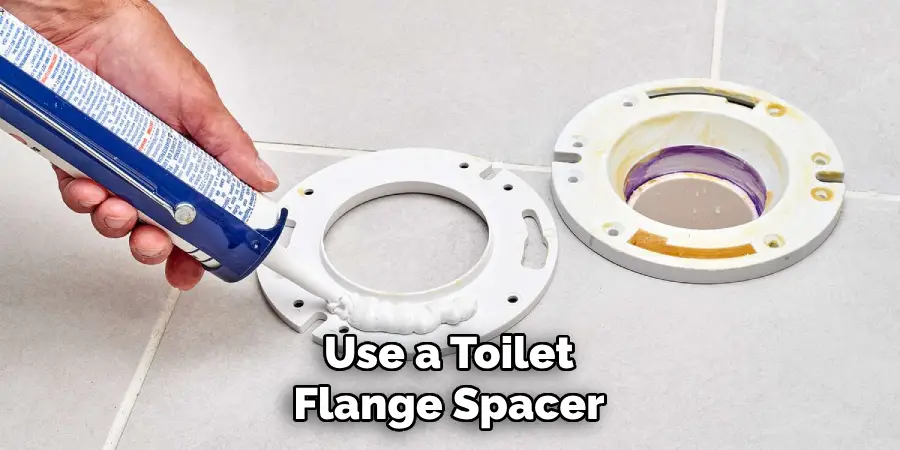
Similarly, if the flange is too low, it can result in a poor seal between the toilet and the floor. To fix this issue, you can use a “toilet flange spacer” which sits on top of the existing flange to raise it to the correct height.
3. Flange is Not Level
If the toilet flange is not level, it can cause the toilet to wobble or leak. This can be fixed by using shims or adjusting the bolts that secure the flange to the floor.
4. Flange is Cracked
A cracked flange should be replaced immediately as it can lead to serious leaks and damage. To replace a cracked flange, you will need to remove the toilet and replace the entire flange.
5. Flange is Corroded
If the flange is corroded, it may need to be replaced, as it can affect the seal and stability of the toilet. You can try cleaning off any corrosion using a wire brush or sandpaper, but replacement may be necessary if it is too damaged.
6. Flange is Loose
A loose flange can cause the toilet to rock or leak. To fix this, you will need to tighten the bolts that secure the flange to the floor. If they are stripped or damaged, they will need to be replaced.
7. Flange is Not Secured Properly
If the flange is not secured correctly, it may result in a poor seal or a wobbly toilet. To fix this, ensure the bolts are securely tightened and the flange is properly anchored to the floor.
Safety Considerations for Lowering Toilet Flange
- Always wear protective gear, such as gloves and safety goggles, when working with tools or chemicals.
- Before attempting to lower the toilet flange, turn off the water supply and drain the toilet tank and bowl.
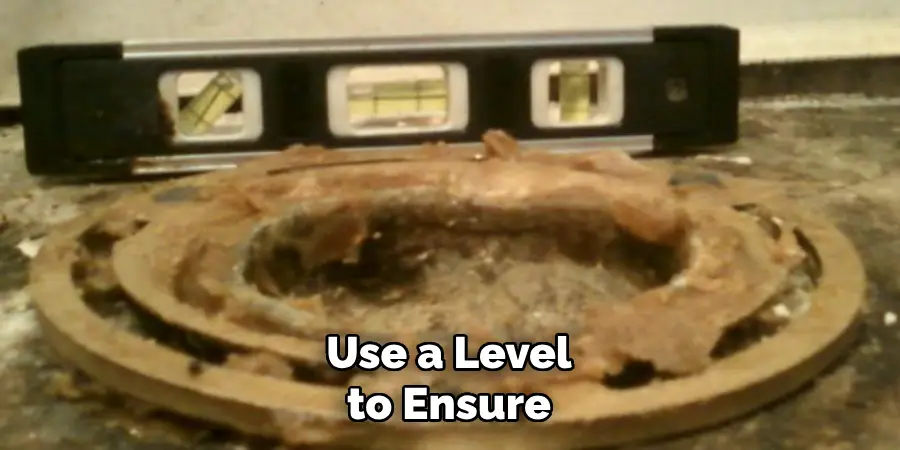
- Use a level to ensure that the flange is properly aligned before securing it to the floor.
- When using shims or spacers, ensure they are placed evenly and securely to avoid wobbling or leaks.
- Do not use excessive force when tightening bolts, as this can damage or cause the flange to crack.
- If cleaning off corrosion, make sure to properly dispose of any chemicals used and wash your hands thoroughly afterward.
- If replacing a cracked or corroded flange, consider hiring a professional plumber for proper installation and to ensure safety.
By following these safety considerations, you can lower your toilet flange safely and effectively without damaging yourself or your bathroom. Remember to always prioritize safety when working on any home improvement project.
Should You Seek Professional Help When Attempting to Lower a Toilet Flange?
When it comes to plumbing repairs, homeowners can tackle many tasks themselves. However, when it comes to something as essential as your toilet flange, it’s important to consider whether seeking professional help would be a better option.
First and foremost, it’s important to understand a toilet flange and its role in your toilet’s overall function. The toilet flange is the piece of piping that connects your toilet to the floor drain and also helps secure the toilet to the floor. It’s an essential part of your toilet’s plumbing system, and any issues with it can result in serious problems.
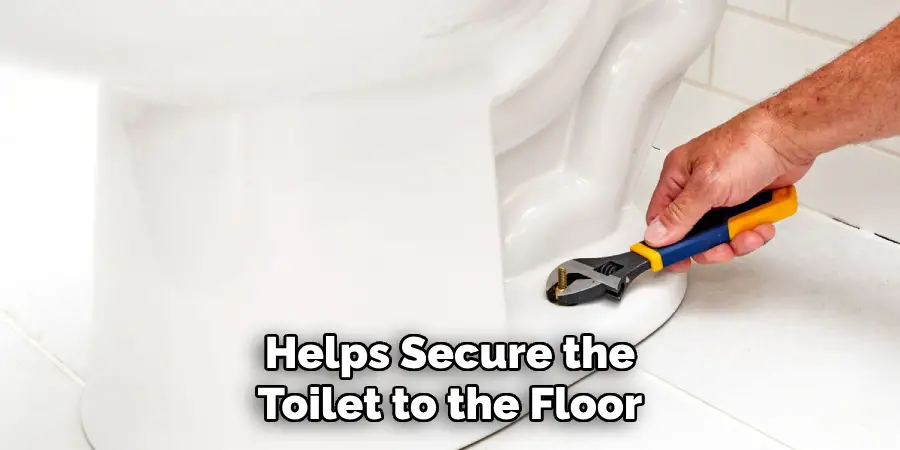
One common issue with a toilet flange is when it becomes loose or damaged over time. This can be caused by various factors, such as general wear and tear, improper installation, or the use of the wrong materials. If left untreated, a loose or damaged flange can lead to toilet leaks, clogs, and even damage to your bathroom floor.
What is the Best Method for Removing Excess Wax From the Old Wax Ring?
After removing an old toilet, you may find that an excess wax ring remains on the flange. This can be tricky to remove, as it is sticky and can leave residue if not properly cleaned. However, it is important to completely remove all of the old wax rings before installing a new one, as any leftover residue can affect the seal and cause leaks.
One of the best methods for removing excess wax from the old wax ring is to use a putty knife or scraper. Start by scraping off as much wax as you can with the tool, being gentle so as not to damage the flange. Then, take a rag or paper towel and wipe away any remaining residue. You may need to use a bit of force and cleaning solution to completely remove all of the wax.
Another effective method is to use a heat gun or hair dryer to melt the wax. Hold the heat source over the wax for a few minutes until it softens, then use a rag or paper towel to wipe away the melted wax. Be careful not to burn yourself with the heat source, and make sure to properly dispose of the used rag or paper towel.
Conclusion
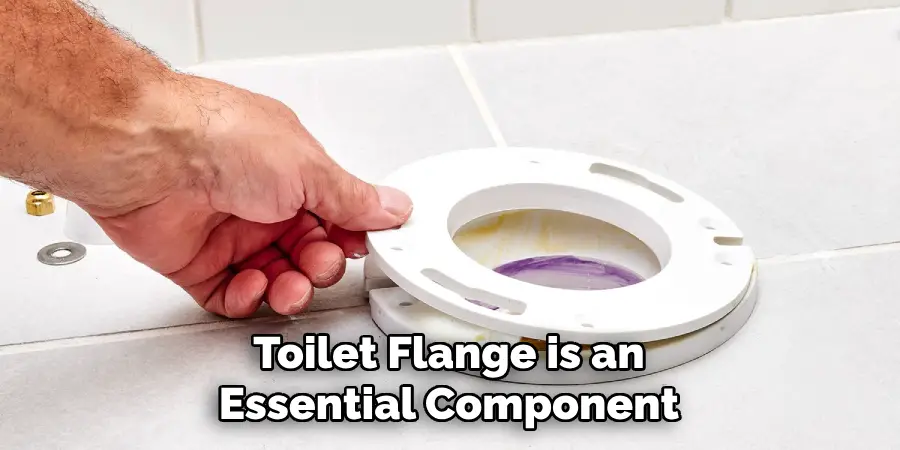
In conclusion, the toilet flange is an essential component of any functioning toilet. It connects the toilet to the drainage system and ensures a secure and leak-free seal. However, the flange may become damaged or uneven over time, causing problems such as leaks, odors, and unstable toilets.
If you are experiencing any of these issues, taking immediate action and lowering your toilet flange is important. This process may seem daunting, but it can be a simple DIY project with the right tools and techniques. This article has been beneficial for learning how to lower toilet flange. Make Sure the preventive measures are followed chronologically.

