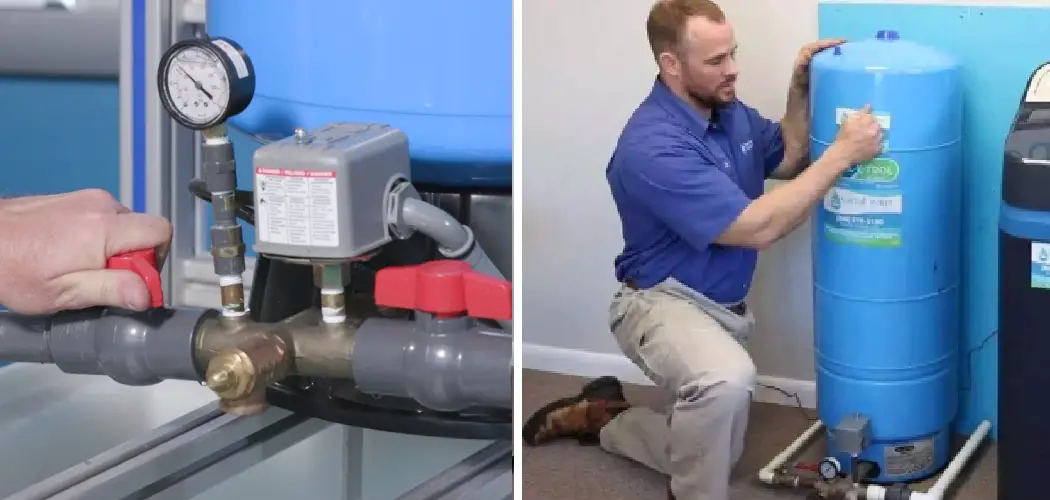
Checking the pressure tank is an essential maintenance task for homeowners relying on well water systems or those with pressure tanks in their plumbing setups. The pressure tank plays a crucial role in maintaining water pressure, ensuring a steady flow of water throughout the household.
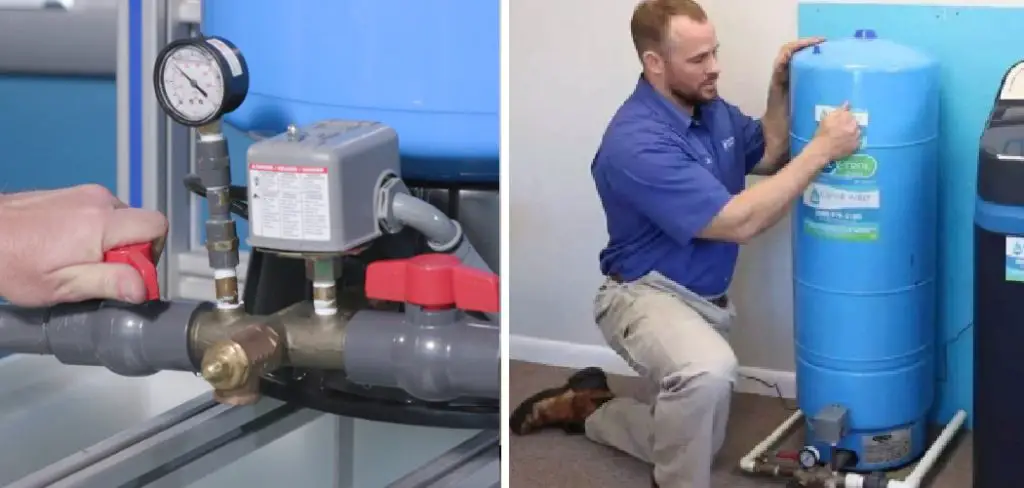
Regular inspection of the pressure tank helps detect any issues that could affect its performance, such as leaks, pressure fluctuations, or structural damage. In this guide, we explore the step-by-step process of how to check pressure tank.
From inspecting for signs of corrosion and leaks to monitoring pressure levels and assessing the condition of the tank’s components, we provide homeowners with the knowledge and tools needed to conduct thorough inspections and address any potential problems promptly.
By incorporating pressure tank checks into their regular maintenance routine, homeowners can prolong the lifespan of their water systems and avoid costly repairs down the line.
Importance of Pressure Tanks
Pressure tanks serve a pivotal role in both well water systems and general home plumbing setups. They are designed to maintain an optimal balance of air and water pressure, ensuring that water is efficiently delivered to all parts of a home with consistent pressure.

This not only contributes to the convenience of having constant water flow but also significantly reduces the wear and tear on the water pump. By storing water under pressure, the tank reduces the need for the pump to cycle on and off each time water is used, which can prolong the life of the pump and reduce energy consumption.
Furthermore, a well-functioning pressure tank helps to prevent issues such as water hammer, where pipes can be damaged from sudden changes in water pressure. In essence, pressure tanks are indispensable for the durability of a home’s water system, conserving energy, and ensuring a seamless water supply.
Understanding Pressure Tanks
Understanding pressure tanks requires a grasp of their basic function and components. At its core, a pressure tank is a container designed to hold water under pressure, acting as a reservoir.
The key to its functionality is the air charge within the tank, which compresses as water is pumped in, creating pressure that is then used to push water through the plumbing system. The tank is divided into two sections by a rubber diaphragm or bladder. One side of this diaphragm holds pressurized air, while the other contains water.

This separation is vital as it prevents waterlogging by ensuring the water does not absorb the air, maintaining consistent pressure and efficiency in water delivery. The proper functioning of these components is critical for the effectiveness and efficiency of a home’s water supply system. Regular monitoring and maintenance of the air pressure are necessary to keep the pressure tank operating at its best.
What Is a Pressure Tank?
A pressure tank is a vital component of a home’s water supply system, especially in households that rely on well water. It is essentially a vessel that holds water under pressure, enabling the water system to distribute water evenly throughout the property at a consistent pressure level.
The main purpose of a pressure tank is to minimize the workload on the water pump, extending its lifespan and reducing energy consumption. By storing a quantity of water within the tank under pressure, the tank allows for immediate water access without needing to activate the pump for every use.
This prevents the pump from turning on and off frequently, a process that can wear out its components prematurely. Additionally, pressure tanks help in preventing fluctuations in water pressure, ensuring that water flows steadily without sudden changes that could potentially damage the plumbing system or result in an inconsistent water supply.
Function and Role in Water Systems
The function and role of pressure tanks extend beyond simply storing water under pressure; they are integral to the smooth operation of water systems, particularly in well systems and other specialized applications.
In well systems, pressure tanks work alongside the well pump to regulate water pressure throughout the home. They ensure that the water pumped from the well is stored under sufficient pressure, making it readily available for use without the need for the pump to run constantly.

This on-demand availability of water is not only convenient but also crucial for the longevity of the pump, as it helps in avoiding the wear and tear associated with frequent cycling.
In larger water systems, such as those used in agricultural or industrial settings, pressure tanks serve a similar role but on a much larger scale. They help in maintaining constant water pressure across extensive irrigation networks or in processes that require a steady water supply.
The role of pressure tanks in these systems is vital for the efficient allocation of water, ensuring that all areas receive a consistent supply without overburdening the pumping mechanism.
Beyond well and large-scale water systems, pressure tanks also find applications in residential plumbing to mitigate the effects of water hammer. This phenomenon, characterized by loud noises in the pipes due to sudden changes in water pressure, can be significantly reduced with the proper installation and maintenance of pressure tanks.
By providing a buffer that absorbs sudden pressure changes, pressure tanks protect the integrity of plumbing systems, reducing the risk of damage and leaks.
In summary, the functional role of pressure tanks across these diverse applications is rooted in their ability to store water under pressure, thereby stabilizing water flow and pressure within systems.
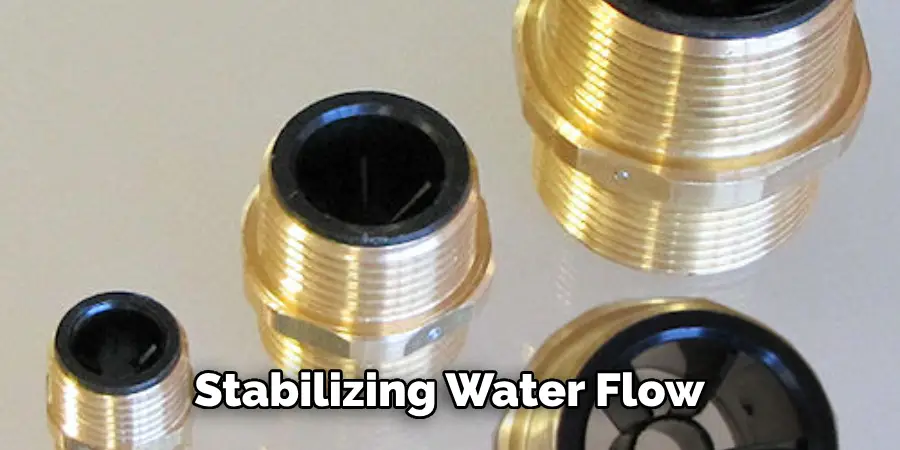
This leads to enhanced efficiency, prolonged equipment lifespan, and improved water use, making pressure tanks a crucial component not only in home water systems but also in specialized and large-scale applications.
Types of Pressure Tanks Available
Pressure tanks can be categorized into several types based on their design and the mechanism they use to maintain pressure. Each type has its characteristics and applications, making it suitable for specific requirements.
- Diaphragm Tanks: These tanks separate water and air with a diaphragm. The diaphragm is a rubber membrane that moves in response to water volume changes, maintaining pressure within the system. They are highly durable and reduce the possibility of waterlogging.
- Bladder Tanks: Similar to diaphragm tanks, bladder tanks contain a rubber bladder or bag that separates the water and air. The bladder fully encloses the water, ensuring no air is absorbed by the water and maintaining consistent pressure. These tanks are easy to maintain since the air charge can be checked and adjusted without draining the tank.
- Galvanized Steel Tanks: Traditional pressure tanks made from galvanized steel do not have a diaphragm or bladder. Water and air are in direct contact, with air naturally dissolving into the water over time, which can lead to waterlogging. These tanks require more maintenance, including regular draining to replenish lost air.
- Composite Tanks: These are made from materials like fiberglass or plastic, designed to be corrosion-resistant and lightweight. Composite tanks often come with a bladder or diaphragm and are known for their longevity and minimal maintenance requirements.

Choosing the right type of pressure tank involves considering factors such as the water system’s size, the desired maintenance level, and specific system requirements. Each type offers unique advantages that can enhance the efficiency and reliability of a water supply system.
Preparing for Inspection
Regular inspection and maintenance are crucial for ensuring the optimal performance of your pressure tank and the overall efficiency of your water supply system.
Preparing your system for inspection can help identify potential issues before they escalate into costly repairs. Here are key steps to prepare your pressure tank for a thorough inspection:
- Visual Inspection: Begin with a visual check of the tank’s exterior for signs of rust, corrosion, or damage. Pay special attention to connections and fittings for any visible leaks or wear.
- Check the Pressure Settings: Confirm that the pressure settings of the tank align with the manufacturer’s specifications. An incorrect pressure setting can lead to system inefficiencies and increased wear on the pump.
- Inspect the Air Valve: Use a standard air pressure gauge to check the air charge in the tank. This step should be performed when the tank is empty of water to ensure accuracy. The air pressure should be 2 psi below the cut-in pressure of the pump.
- Listen for Unusual Noises: During operation, listen for any abnormal sounds, such as continuous clicking or banging, which may indicate issues with the pump, the tank, or water hammer effects.
- Professional Assessment: If possible, schedule a professional inspection to assess the internal components, such as the diaphragm or bladder, which may not be accessible for visual inspection. Professionals can also provide a more detailed assessment of the tank’s overall condition and the efficiency of the system.

Preparing for inspection not only safeguards the functionality and longevity of your pressure tank but also ensures a reliable and consistent water supply. Taking these steps can help avoid unexpected system failures and ensure your system is operating as efficiently as possible.
Ensuring Safety Precautions Are in Place
To ensure the safety and longevity of both the pressure tank and the water supply system, certain safety precautions should be rigorously followed. Safety measures not only protect the equipment but also prevent potential hazards to users and the environment. Here are critical safety precautions to consider:
- Pressure Relief Valve Installation: It is essential to have a properly functioning pressure relief valve installed. This valve is crucial for preventing tank over-pressurization, which can lead to tank rupture or explosion. The valve should be inspected regularly to ensure it operates correctly.
- Avoid Altering Pressure Settings Without Expertise: Changing the pressure settings of the tank without a proper understanding of the system can cause damage and inefficiency. Alterations should only be done by professionals who can correctly balance the system’s requirements.
- Regular Leak Detection: Regularly checking for leaks in and around the tank can prevent water damage and the growth of mold or bacteria. Early detection of leaks can also save water and reduce the risk of structural damage.
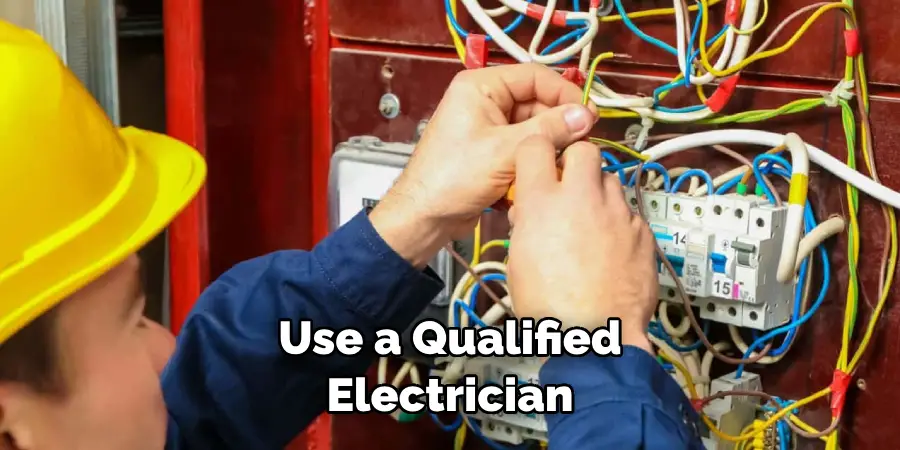
- Electrical Safety: Since many pressure tank systems are used in conjunction with electrical pumps, ensure all electrical connections are secure and comply with local electrical codes. Use a qualified electrician to perform any electrical work related to the system.
- Follow Manufacturer’s Guidelines for Installation and Maintenance: Each pressure tank has specific installation and maintenance guidelines provided by the manufacturer. Adhering to these guidelines is crucial for safe operation and to prevent voiding the warranty.
- Use of Personal Protective Equipment (PPE): When inspecting or maintaining the tank, use appropriate PPE, such as gloves and eye protection, to safeguard against potential hazards like sharp edges or pressurized water.
Ensuring these safety precautions are in place and followed can significantly reduce the risk of accidents, prolong the lifespan of the pressure tank, and maintain the efficiency of the water supply system.
10 Methods How to Check Pressure Tank
01.Visual Inspection:
Begin by conducting a visual inspection of the pressure tank. Look for any signs of external damage, such as dents, cracks, or rust. Pay attention to the tank’s overall condition and ensure that it is securely mounted in place. Additionally, inspect the tank’s fittings, valves, and pressure gauge for any signs of leaks or corrosion.
02.Check Pressure Gauge Reading:
The pressure gauge attached to the pressure tank provides valuable information about the tank’s pressure levels. Use a pressure gauge to check the current pressure reading of the tank.
Compare this reading to the recommended operating pressure range specified by the manufacturer. If the pressure reading falls outside of this range, it may indicate a problem with the tank or the pressure switch.
03.Perform a Tap Test:
Tap lightly on the exterior of the pressure tank with a non-metallic object, such as a rubber mallet or the handle of a screwdriver. Listen for any hollow or metallic sounds, which could indicate that the tank is waterlogged or has developed internal corrosion.
A properly functioning pressure tank should produce a solid, dull sound when tapped.
04.Inspect for Leaks:
Check the area surrounding the pressure tank for any signs of water leaks. Look for puddles of water, dampness, or water stains on the floor or walls near the tank.
Inspect the tank’s fittings, connections, and valves for visible signs of leakage. Even small leaks can indicate underlying issues with the tank or its components and should be addressed promptly to prevent further damage.
05.Check Air Pressure in the Tank:
Pressure tanks are typically equipped with an air bladder or diaphragm that separates the water from the air inside the tank. Use a tire pressure gauge to check the air pressure inside the tank.
Depress the air valve stem on the top of the tank to release any excess air before taking the pressure reading. Compare the air pressure reading to the manufacturer’s recommended pressure level.
If the air pressure is too low or too high, it can affect the tank’s performance and may indicate a problem with the tank’s bladder or the air valve.
06.Monitor Cycling Frequency:
Pay attention to how frequently the pump cycles on and off during normal operation. A properly functioning pressure tank should allow the pump to cycle on and off smoothly without excessive short cycling or rapid cycling.
Short cycling, where the pump turns on and off frequently in quick succession, can indicate that the pressure tank is waterlogged or that the pressure switch is malfunctioning.
07.Check for Waterlogging:
Waterlogging occurs when the air bladder or diaphragm inside the pressure tank becomes saturated with water, reducing the tank’s efficiency and capacity.
To check for waterlogging, shut off the power to the pump and drain all water from the tank by opening a faucet or drain valve. Once the tank is empty, use a tire pressure gauge to measure the air pressure inside the tank.
If the air pressure is significantly lower than the recommended pressure level, it may indicate that the tank is waterlogged and needs to be drained and recharged with air.
08.Inspect Pressure Switch Operation:
The pressure switch is responsible for turning the pump on and off in response to changes in water pressure. Inspect the pressure switch for any signs of damage or malfunction, such as burnt contacts, loose wiring, or corrosion.
Test the operation of the pressure switch by manually adjusting the pressure setting and observing how it affects the pump’s behavior. If the pressure switch fails to activate or deactivate the pump reliably, it may need to be replaced.
09.Check for Sediment Buildup:
Over time, sediment and debris can accumulate inside the pressure tank, reducing its efficiency and lifespan. To check for sediment buildup, drain the tank completely and inspect the interior for any signs of sediment or scale deposits.
If sediment is present, flush the tank thoroughly with clean water to remove any buildup. Regular flushing and maintenance can help prevent sediment-related issues and prolong the life of the pressure tank.
10.Consult with a Professional:
If you encounter any difficulties or are unsure about how to properly check your pressure tank, consider consulting with a qualified professional or technician.
A professional inspection can provide valuable insights into the condition of your pressure tank and help identify any underlying issues that may require attention.
Additionally, a professional can offer guidance on proper maintenance procedures and recommend any necessary repairs or replacements to ensure the continued reliability and efficiency of your water system.
Conclusion
In conclusion, mastering the art of checking pressure tanks is crucial for maintaining the efficiency and longevity of various systems, including water systems and well systems. By following the step-by-step inspection process outlined in this guide and employing diagnostic techniques, individuals can identify potential issues early on and take proactive measures to address them.
Regular maintenance and vigilance play key roles in ensuring pressure tanks function optimally, thereby preventing disruptions in operation and potential hazards. Remember, a thorough inspection involves visual checks, pressure gauge readings, and testing for leaks and corrosion.
Trusting in preventive maintenance and seeking professional assistance when needed empowers individuals to safeguard their systems and maintain peace of mind. Stay proactive, stay informed, and keep your pressure tanks in optimal condition for reliable performance and uninterrupted operation. Thanks for reading, and we hope this has given you some inspiration on how to check pressure tank!

