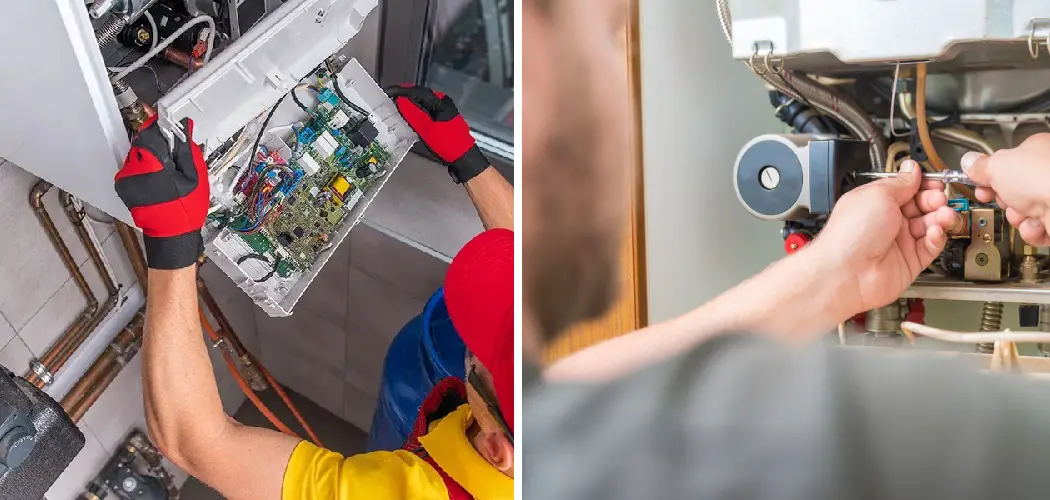
Addressing short cycling in furnaces is crucial for maintaining a comfortable, safe, and energy-efficient home environment.
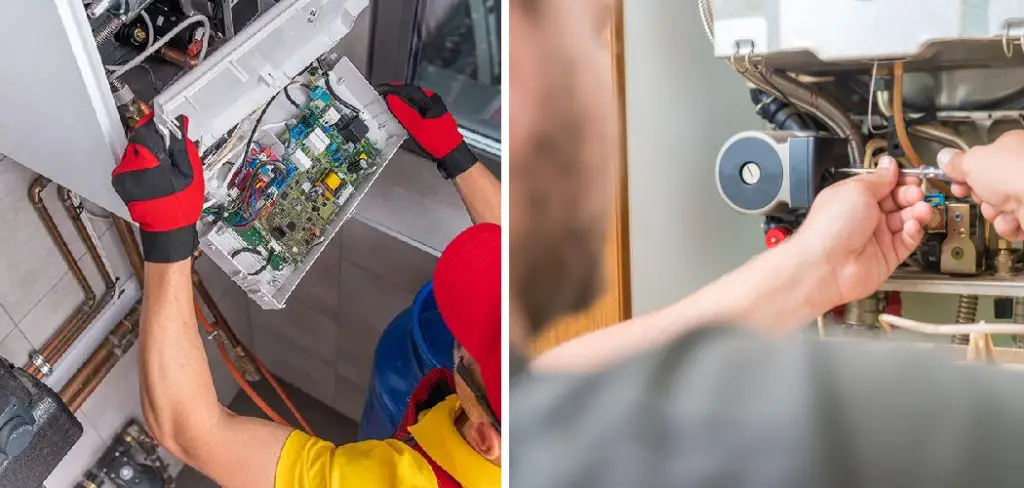
Short cycling, a condition where the furnace turns on and off more frequently than normal, can significantly reduce the efficiency of your heating system, lead to higher utility bills, and decrease the furnace’s lifespan.
Understanding how to fix short cycling furnace issues is essential for homeowners to prevent these negative impacts.
This article will explore the phenomenon of short cycling, its causes, and effects, and provide comprehensive guidance on troubleshooting and rectifying the problem.
With a focus on practical solutions, the purpose of this guide is to equip readers with the knowledge needed to ensure their furnaces operate efficiently and reliably, enhancing home comfort and contributing to energy conservation.
Understanding Short Cycling
Short cycling in furnaces is a common issue that can undermine the efficiency and longevity of your heating system.
This section will define short cycling, explore its causes, discuss its impact on furnace efficiency and lifespan, and help homeowners identify the signs of this problem.
A. Definition and Causes of Short Cycling
Short cycling refers to the furnace turning on and off more frequently than is required to maintain your home’s desired temperature.
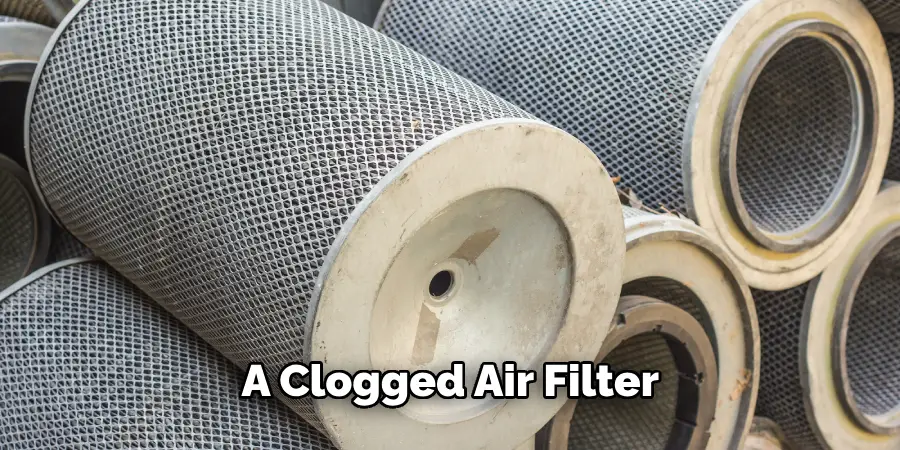
This erratic behavior is not just a nuisance; it’s a sign of underlying issues that need immediate attention. Common causes of short cycling include an oversized furnace, a clogged air filter, incorrect thermostat settings, or a malfunctioning flame sensor.
Each of these causes disrupts the normal operation of the furnace, leading it to shut off prematurely to prevent overheating or damage.
B. Effects of Short Cycling on Furnace Efficiency and Lifespan
The effects of short cycling are detrimental to both the efficiency and the lifespan of the furnace. When the furnace cycles on and off excessively, it consumes more fuel or electricity, leading to higher energy bills.
Furthermore, short cycling puts added stress on the furnace components, particularly the heat exchanger, which can lead to cracks or damage due to the constant expansion and contraction.
Over time, this increased wear and tear can significantly reduce the furnace’s lifespan, necessitating costly repairs or premature replacement.
C. Identifying Symptoms of Short Cycling
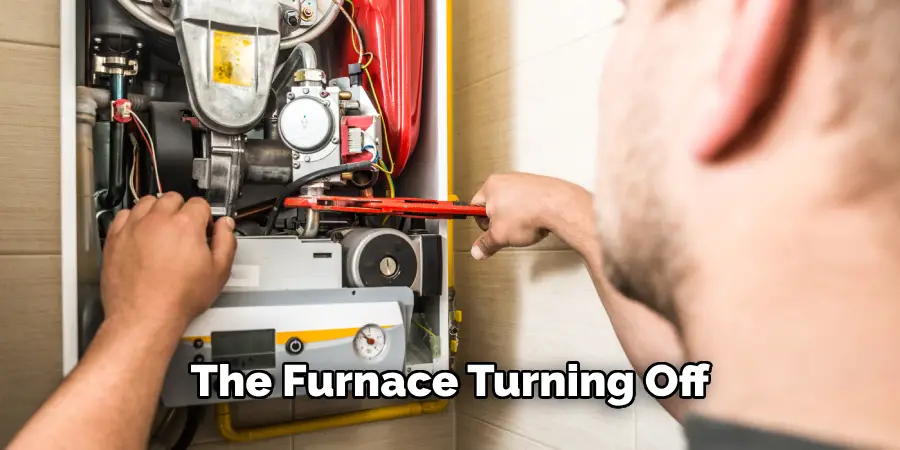
Identifying short cycling early can save homeowners from future headaches and expenses. Symptoms of short cycling include the furnace turning off before the home reaches the set temperature, frequent restarts of the furnace without a noticeable increase in indoor comfort, and unusually high energy bills. Additionally, if the furnace’s exhaust fans seem to be running more often than they should or if you notice erratic behavior from your thermostat, these could also be signs of a short cycling issue.
Checking Air Filters
One of the primary steps in addressing and preventing short cycling in your furnace is to check the air filters. Air filters are critical in maintaining air quality and ensuring efficient furnace operation.
They trap dust, pollen, and other airborne particles, preventing them from entering the furnace and circulating through your home.
A. Importance of Clean Air Filters
Clean air filters are essential for the health and efficiency of your furnace. They allow for a smooth airflow, ensuring that your heating system operates without overexertion.
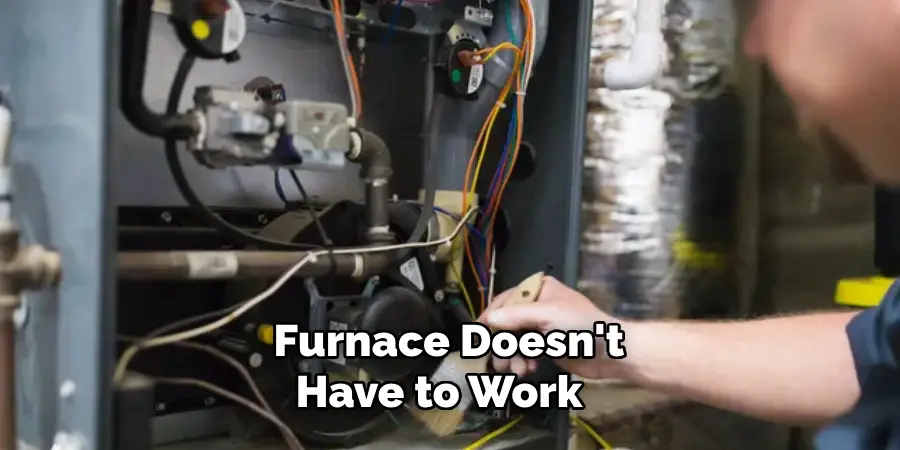
When filters are clean, the furnace doesn’t have to work as hard to circulate air, leading to improved efficiency and lower energy costs. Additionally, clean air filters contribute to better indoor air quality, which is beneficial for the health of the home’s occupants.
B. Inspection and Replacement of Air Filters
Regular inspection and replacement of air filters are crucial maintenance tasks. Homeowners should check their furnace air filters at least once a month, especially during high-use seasons like winter and summer.
If the filter appears dirty, clogged, or damaged, it should be replaced immediately.
The frequency of filter changes can depend on various factors, including the type of filter, the size of the household, pet ownership, and the external air quality.
C. Impact of Dirty Filters on Furnace Operation
Dirty or clogged air filters can have a significant adverse impact on furnace operation, leading to issues such as short cycling.
Restricted airflow forces the furnace to work harder, which can cause overheating and automatic shutdowns. Continuous operation in such conditions can not only reduce the furnace’s efficiency, leading to increased heating costs but also cause wear and tear on its components, potentially resulting in costly repairs or even premature replacement.
Therefore, a simple step like keeping the air filters clean can play a pivotal role in preventing short cycling and maintaining an efficient and reliable heating system.
How to Fix Short Cycling Furnace: Checking Thermostat Settings
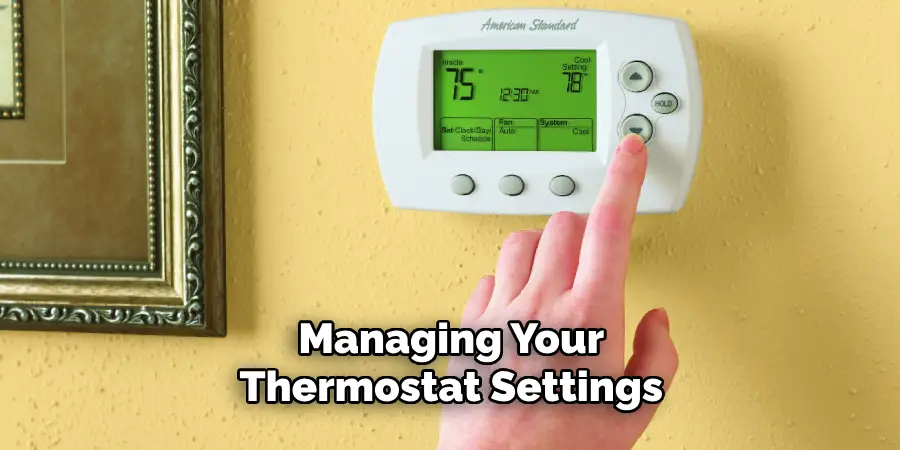
Understanding and correctly managing your thermostat settings is crucial in preventing furnace short cycling.
The thermostat acts as the control center for your heating system, directing the furnace to start or stop based on room temperature.
Incorrect settings, malfunctions, or improper programming can all lead to short cycling.
A. Verifying Thermostat Settings and Programming
It’s essential to verify that your thermostat settings are accurate and programmed according to your heating needs.
Ensure that the thermostat is set to “Heat” mode and that the set temperature is appropriate for the season. Programmable thermostats offer the convenience of setting different temperatures for different times of the day.
Taking the time to program your thermostat can optimize heating efficiency and prevent unnecessary furnace cycling.
B. Calibration and Adjustment of Thermostat
Thermostat calibration is crucial for accurate temperature detection and furnace operation.
An improperly calibrated thermostat may misread the actual room temperature, causing the furnace to turn on or off prematurely. If you suspect your thermostat is incorrectly calibrated, consult the manual for calibration instructions or contact a professional.
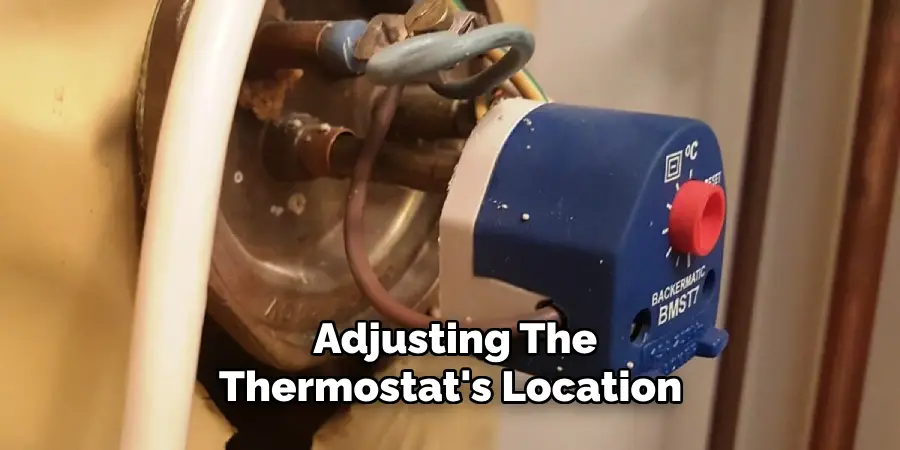
Sometimes, adjusting the thermostat’s location away from drafts, direct sunlight, or other heat sources can improve its accuracy and performance.
C. Ensuring Proper Temperature Differential
Temperature differential refers to the difference between the thermostat setting and the temperature at which the furnace turns off.
A very narrow differential can cause the furnace to cycle on and off too frequently, leading to short cycling. Conversely, a too-broad differential may result in noticeable temperature swings within your home.
Most modern thermostats allow you to adjust the temperature differential. Ensuring it is set correctly can prevent short cycling and maintain a more consistent and comfortable indoor environment.
Properly monitoring and adjusting your thermostat settings can significantly impact your furnace’s efficiency and longevity. Homeowners can mitigate short cycling issues by verifying the programming, calibrating the device, and ensuring a proper temperature differential, leading to a more comfortable, energy-efficient, and durable heating system.
How to Fix Short Cycling Furnace: Checking Airflow
Ensuring proper airflow throughout your home is essential in preventing furnace short cycling and maintaining efficient heating.
Airflow issues can significantly impact the furnace’s ability to distribute warm air, leading to temperature discrepancies, increased energy usage, and unnecessary strain on the heating system. Below are critical steps to verify and improve airflow.
A. Inspecting Air Vents and Registers for Obstructions
Begin by inspecting all air vents and registers in your home. Ensure that they are open, unblocked by furniture, curtains, or rugs, and free of dust and debris. Blocked or closed vents can restrict air movement, causing the furnace to overwork and potentially overheat.
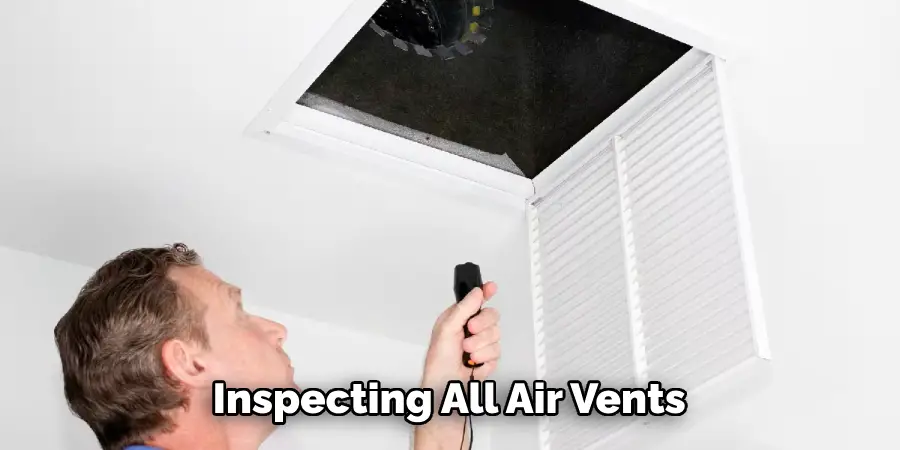
Regular cleaning and keeping vents unobstructed allow for optimal air circulation, reducing the risk of short cycling.
B. Checking Ductwork for Blockages or Leaks
Ductwork is the backbone of your home’s heating system, guiding warm air from the furnace to various rooms.
However, ducts can sometimes become blocked by debris or suffer from leaks and disconnections, significantly hampering airflow. Inspect accessible ducts for any signs of blockage or damage, paying particular attention to joints and connections.
Hiring a professional to inspect and clean ductwork thoroughly can ensure it is operating efficiently and free from obstructions or leaks that could affect furnace performance.
C. Improving Airflow with Proper Ventilation
Proper ventilation is crucial in maintaining a balanced and efficient heating system. An imbalance in ventilation can lead to pressure issues within your home, affecting furnace operation and air distribution.
Ensure that your home’s ventilation system, including exhaust fans in bathrooms and kitchens, functions correctly.
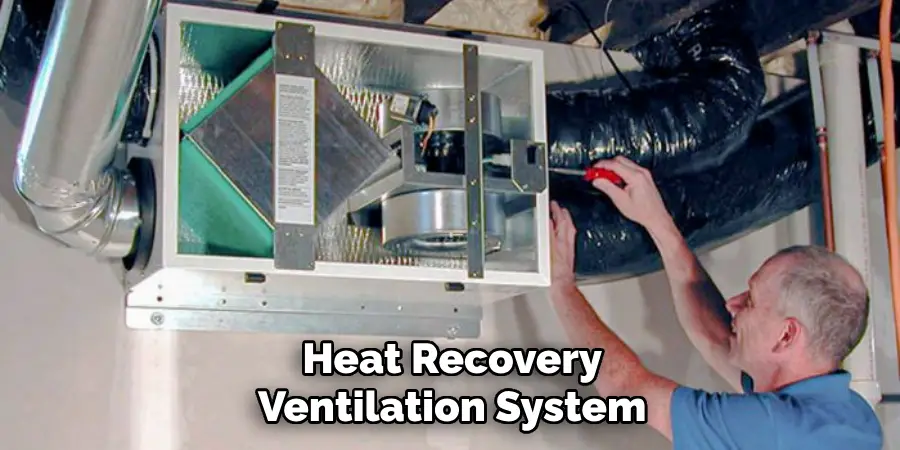
Consider incorporating a heat recovery ventilation system, which can improve energy efficiency by pre-heating incoming air with the heat from outgoing air, thus maintaining a more consistent temperature and airflow throughout your home.
Inspecting Flame Sensor
The flame sensor is a critical safety feature in your furnace that detects whether a flame is present when the gas valve opens.
Ensuring that your flame sensor is functioning correctly is vital for the safe operation of your furnace. Below, we outline how to identify its location, clean and test it, and replace it if necessary.
A. Identifying Flame Sensor Location
The flame sensor is typically located in the burner assembly of your furnace. It’s a thin, metallic rod positioned in the path of the flame, often made of stainless steel or a similar conductive material.
To find the flame sensor, you should first turn off the power to your furnace for safety. Then, remove the furnace’s access cover and locate the burner assembly. The flame sensor is usually mounted on a bracket near the pilot light or ignition system.
B. Cleaning and Testing Flame Sensor
Over time, the flame sensor can become coated with soot or debris, which can prevent it from accurately detecting the flame, leading to furnace malfunction. Cleaning the flame sensor is a simple task that can significantly improve your furnace’s operation. After locating the flame sensor:
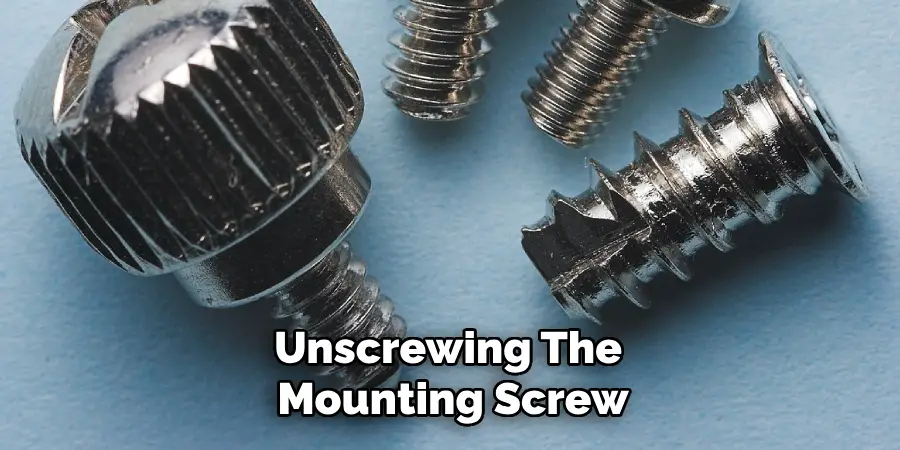
- Carefully remove it by unscrewing the mounting screw.
- Gently clean the rod with fine-grit sandpaper, steel wool, or an emery cloth to remove any buildup.
- Wipe the sensor clean with a dry cloth and reinstall it.
After cleaning, the furnace should be tested to ensure it operates correctly. Turn the power back on and observe the furnace cycle. If the furnace runs without shutting off prematurely, the cleaning was successful.
C. Replacing Flame Sensor if Necessary
If your furnace still fails to operate correctly after cleaning and testing the flame sensor, it may need to be replaced. Flame sensors are relatively inexpensive and widely available at HVAC supply stores or online.
To replace the sensor:
- Turn off the power to the furnace for safety.
- Disconnect the flame sensor by removing the mounting screw and disconnecting the wire.
- When purchasing a new one, take the old sensor with you to ensure you get the correct replacement.
- Install the new sensor by connecting the wire and securing it with the mounting screw.

Regularly inspecting, cleaning, or replacing the flame sensor as needed can prevent furnace malfunctions and ensure your heating system operates safely and efficiently.
Checking Gas Pressure
Proper gas pressure is critical for the efficient and safe operation of your furnace. It ensures that the fuel is burning correctly, preventing issues such as short cycling, incomplete combustion, and even the production of dangerous carbon monoxide levels.
Below, we discuss the importance of maintaining proper gas pressure, how to inspect and adjust it, and the impact incorrect gas pressure can have on furnace cycling.
A. Importance of Proper Gas Pressure
The right gas pressure ensures that your furnace operates at peak efficiency. Too much pressure can lead to excessive heat and potential damage to furnace components.
At the same time, too little pressure can cause incomplete combustion, resulting in soot buildup and a risk of carbon monoxide poisoning. Maintaining the correct gas pressure is also crucial for extending the lifespan of your furnace and keeping energy costs in check.
B. Inspection and Adjustment of Gas Pressure
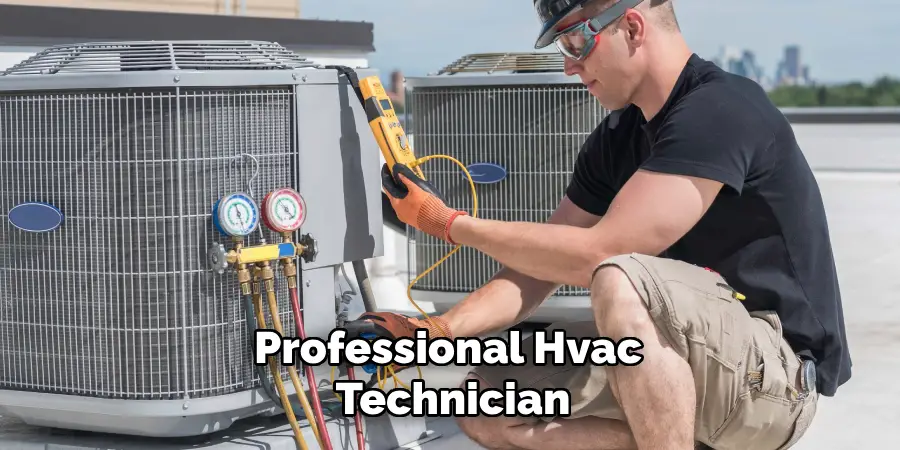
Hiring a professional HVAC technician is strongly recommended to inspect and adjust the gas pressure. They will use a manometer to measure the pressure of the gas flowing into your furnace.
If the pressure deviates from the furnace manufacturer’s specifications, the technician will adjust the pressure regulator on the gas valve. This process requires specific tools and knowledge of the furnace system to ensure safety and accuracy.
C. Impact of Incorrect Gas Pressure on Furnace Cycling
Incorrect gas pressure can lead to furnace short cycling, where the furnace turns on and off more frequently than normal. This not only reduces the efficiency of your heating system but can also lead to significant wear and tear on the furnace components.
In extreme cases, incorrect gas pressure can cause overheating or even a furnace lockout, where the furnace shuts down completely as a safety measure. Regularly checking and adjusting gas pressure is essential to prevent these issues and ensure your furnace operates smoothly and efficiently.
Inspecting Ignition System
Ensuring your furnace’s ignition system functions properly is key to maintaining a reliable and safe heating system. The ignition system is responsible for igniting the gas to produce heat, and any faults within this system can cause the furnace to fail to start or to operate unsafely.
Here, we detail how to check the ignition components for wear or damage, clean and test the system, and repair or replace faulty components.
A. Checking Ignition Components for Wear or Damage
Start by visually inspecting all components of the ignition system, including the igniter, flame sensor (discussed in the previous section), and any associated wiring. Look for signs of wear, such as cracks, burns, or corrosion.
Pay particular attention to the igniter, as it is a common failure point in modern furnaces. A damaged igniter can prevent the furnace from starting. Ensure that the furnace is powered off before touching or inspecting any electrical components to avoid electric shock.
B. Cleaning and Testing Ignition System
After inspecting and ensuring that all components are free from visible damage, proceed to clean the parts. Use a soft brush or compressed air to remove any dust, dirt, or debris from the ignition components.
This includes gently cleaning the igniter and its surrounding area and avoiding damaging the fragile components. Once cleaned, the system should be tested.
Turn the power back on to the furnace and initiate a heating cycle to ensure that the igniter properly ignites the gas. If the furnace does not start or if the igniter fails to glow, it may need to be replaced.
C. Repairing or Replacing Faulty Ignition Components
If, during your inspection or testing, you find that any ignition components are faulty or damaged, it is vital to repair or replace them immediately to ensure the safe operation of your furnace.
Replacing the igniter, for example, is a task that many homeowners can do themselves with little guidance.
Always ensure the power to the furnace is turned off before attempting any repairs. Remove the faulty igniter by unscrewing it from its mount and disconnecting the wiring. Install the new igniter by reversing the removal process.
For other complex components or if you are unsure about performing the task, it is advisable to contact a professional HVAC technician to ensure the repairs are done safely and correctly.
Inspecting Heat Exchanger
The heat exchanger in your furnace plays a critical role in safely heating your home. It separates the combustion process from the indoor air, ensuring that only clean, warm air is circulated.
A damaged heat exchanger can release harmful gases, such as carbon monoxide, into your home. Thus, regular inspection and maintenance are essential for safety and efficiency.
A. Identifying Heat Exchanger Location
The heat exchanger is typically located inside the furnace’s cabinet. The combustion gases pass through a series of tubes or coils. The furnace blower pushes air across the outside of the heat exchanger, warming the air before it is circulated through the ductwork into your home.
To inspect it, you’ll likely need to remove the furnace’s outer panels. Always ensure the power to the furnace is turned off at the breaker before doing so to prevent injury.
B. Inspecting Heat Exchanger for Cracks or Damage
Visibly inspect the heat exchanger for any signs of cracks, corrosion, or damage. This can be challenging, as not all parts of the heat exchanger are easily accessible. Use a flashlight to look for obvious signs of wear or damage.
Some HVAC technicians use inspection cameras to check hard-to-see areas. Cracks or holes in the heat exchanger are serious issues, as they can allow toxic combustion gases to mix with the heated air distributed through your home.
C. Repairing or Replacing Damaged Heat Exchanger
If you discover any damage to your heat exchanger, it is crucial to address it immediately. A qualified technician may sometimes repair minor cracks or damage.
Still, due to the critical safety function of the heat exchanger and the potential for harmful gas leaks, replacement is often the safer option. Replacing a heat exchanger is a complex task that a professional HVAC technician should perform.
They will have the necessary tools, parts, and expertise to ensure the job is done safely and efficiently. In some cases, if the furnace is old or the damage is extensive, replacing the entire furnace might be more cost-effective.
Professional Assistance
Seeking professional assistance to maintain and repair your furnace can ensure it operates safely, efficiently, and effectively. While many homeowners are capable of performing basic maintenance tasks, certain situations necessitate the expertise of qualified HVAC technicians.
Here, we break down the key considerations for when and how to enlist professional help, as well as the value of getting expert advice for preventative maintenance.
A. Knowing When to Seek Professional Help
Understanding the limits of DIY furnace maintenance and recognizing when to call in a professional is crucial for both safety and functionality. If you encounter any of the following situations, it’s wise to seek professional assistance:
- You smell gas or suspect a leak.
- The furnace makes unusual noises during startup or operation.
- You notice a significant decrease in heating efficiency or uneven heating.
- There are visible signs of damage or wear to crucial components.
- Your attempts at troubleshooting fail to resolve the issue.
In such cases, professional intervention can prevent minor issues from escalating into major repairs or safety hazards.
B. Hiring Qualified HVAC Technicians for Diagnosis and Repair
Selecting the right professional is as important as deciding to seek help. Here are several tips to ensure you hire a qualified HVAC technician:
- Look for certifications and memberships in respected industry associations, such as North American Technician Excellence (NATE).
- Check online reviews and ask for references to gauge past customer satisfaction.
- Ensure the technician is licensed and insured to protect yourself against liability.
- Ask about their experience with your specific furnace model and the issue at hand.
A skilled technician can accurately diagnose problems and carry out repairs or component replacements, ensuring your furnace is in top condition.
C. Consulting Experts for Preventative Maintenance Advice
Beyond repairs, a professional HVAC technician can offer invaluable advice on preventative maintenance. This guidance can help extend the lifespan of your furnace, improve its efficiency, and avoid future breakdowns.
Consider scheduling annual maintenance visits where a technician can inspect your furnace, perform routine maintenance tasks, and advise you on best practices for upkeep.
This proactive approach can significantly reduce the likelihood of emergency repairs and help maintain a comfortable, safe home environment.
Conclusion
Throughout this guide, we have detailed the steps necessary for identifying and rectifying issues that cause a furnace to short cycle. From checking the thermostat and cleaning or replacing the air filter to inspecting the flame sensor and heat exchanger for damage, each step plays a pivotal role in maintaining furnace efficiency and safety.
We’ve highlighted how to fix short cycling furnace issues by ensuring proper maintenance and addressing repair needs promptly.
Regular maintenance and timely repairs are essential to prevent short cycling and other furnace problems. By adhering to a consistent maintenance schedule and acting swiftly at the first sign of trouble, homeowners can significantly reduce the risk of unexpected furnace failures and ensure the longevity of their heating system.
The ultimate goal of this guide is to empower homeowners with the knowledge to ensure efficient and reliable furnace operation.
Understanding how to fix short cycling furnace issues, along with committing to regular maintenance, positions your heating system for optimal performance.
You can enjoy a warm, comfortable home environment during the colder months through proactive care and professional assistance when needed.

