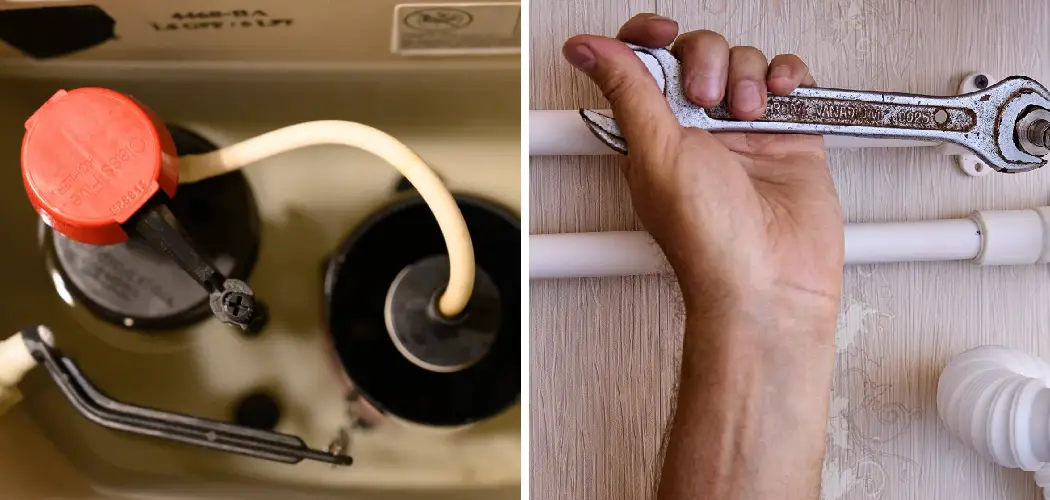
Are you constantly annoyed by the loud banging noise when you flush your toilet? This is a common plumbing issue known as a water hammer, and it can be fixed easily with a few simple steps.
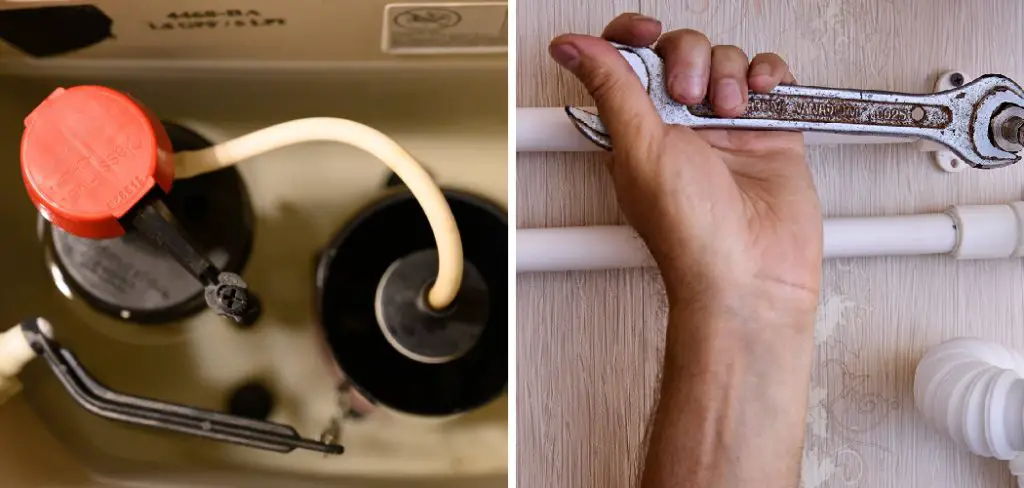
A water hammer is a common plumbing issue when the water flow is suddenly stopped or changed, leading to a banging or vibrating noise in the pipes. This can be particularly noticeable when a toilet refills after flushing. While it may seem minor, water hammer can cause wear and tear on your plumbing system over time, potentially leading to more significant problems. Understanding how to fix toilet water hammer can help you maintain a quieter and more efficient plumbing system.
In this guide, we will explore the causes of this phenomenon and provide step-by-step instructions on how to resolve it effectively.
What are the Causes of Water Hammer?
A water hammer is typically caused by a sudden change in water flow, such as when a toilet valve closes quickly after flushing. This abrupt water stoppage increases pressure, causing the pipes to vibrate and produce a loud banging noise.
Water hammer can also be caused by poorly secured pipes that are not properly cushioned, allowing them to move freely and create more force when water flow is stopped. In some cases, it may also be due to high water pressure within your plumbing system.
Overall, the key to fixing a water hammer is to address the root cause and prevent sudden changes in water flow from occurring.

What Will You Need?
Before you begin fixing the toilet water hammer, make sure you have the following materials:
- Adjustable wrench
- Pipe insulation or cushioning material
- Plumbing tape
Once you have gathered these materials, you can eliminate the water hammer in your toilet.
10 Easy Steps on How to Fix Toilet Water Hammer
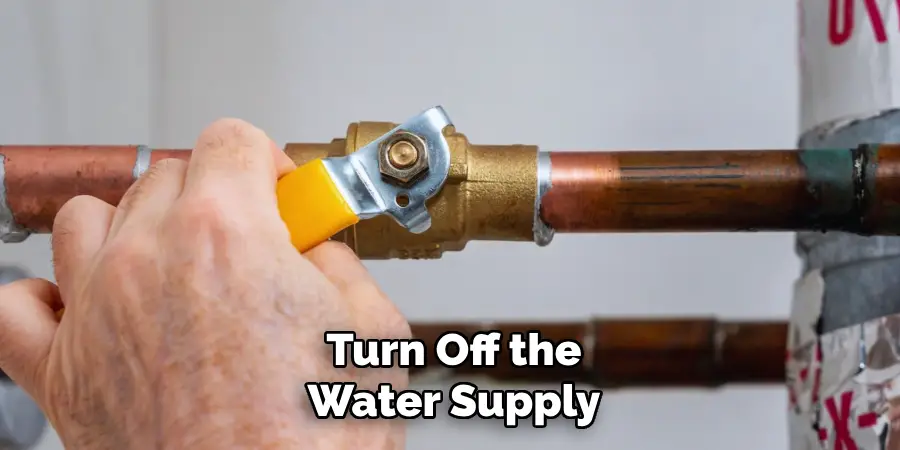
Step 1. Turn Off the Water Supply
Before you embark on any plumbing repair, it’s crucial to ensure that the water supply to your toilet is turned off. The shut-off valve is usually located on the wall behind the toilet, close to the floor. Turn the valve clockwise until it stops to prevent any water from entering the tank as you work on fixing the water hammer issue.
Step 2. Flush the Toilet
Once the water supply is turned off, the next step is to flush the toilet to empty the tank. This action will remove excess water and help you inspect the tank and its components more quickly. As you flush, keep an eye on the flushing mechanism to ensure everything is functioning correctly. If there are any unusual sounds or malfunctions, take note of them, as they may contribute to the water hammer issue.
After emptying the tank, you will have unobstructed access to the toilet’s fill valve and additional components that need your attention in the following steps. With the tank empty, you’re ready to proceed to fix the issue more comprehensively.
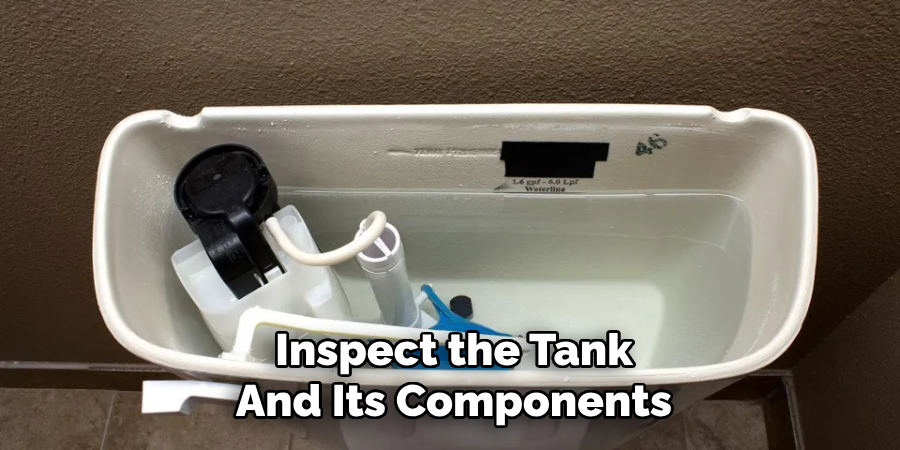
Step 3. Check the Fill Valve
With the tank now empty, examine the fill valve for any signs of wear or damage. The fill valve is responsible for controlling the flow of water into the tank after flushing. Ensure that the valve opens and closes smoothly when you manually operate it. If you notice any issues, such as cracks or leaks, it may be necessary to replace the valve. Additionally, check for any obstructions in the valve that could restrict water flow, as these could contribute to the water hammer. If everything appears in good condition, proceed to the next step.
Step 4. Secure Loose Pipes
One common cause of water hammer is loose or unsecured pipes that can move and vibrate when water flow is abruptly stopped. Inspect the visible pipes connected to your toilet and throughout your plumbing system to tackle this issue. If you identify any pipes that are loosely attached, you can secure them using pipe clamps or brackets. Attach these supports to the wall or floor to prevent the pipes from moving. If necessary, you can also wrap the pipes with cushioning material or foam insulation to absorb some of the vibrations.
Taking these steps can significantly reduce the banging noise associated with a water hammer and prolong the life of your plumbing system. After securing the pipes, it’s essential to check all the connections and fittings to confirm they are tight and leak-free, which will help ensure optimal performance and safety in your plumbing system.
Step 5. Install a Water Hammer Arrestor
If the previous steps have not resolved the issue, consider installing a water hammer arrestor. This device acts as a cushion, absorbing the shock caused by sudden changes in water flow. To install, locate a straight section of pipe near the toilet or the main supply line. Turn off the water supply, cut the pipe, and insert the arrestor, securing it with appropriate fittings. Make sure to follow the manufacturer’s instructions for best results.
Step 6. Adjust the Water Pressure
High water pressure can exacerbate water hammer problems. Use a pressure gauge to check your home’s water pressure, ideally between 40-60 psi. If it exceeds this range, you may need to adjust the pressure regulator, typically found at the main water supply line. Turning the adjustment screw can help lower the pressure, thereby reducing the likelihood of water hammer.
Step 7. Replace Old Pipes
If you continue to experience water hammer issues despite trying the previous steps, consider replacing old, worn-out pipes. Over time, pipes can corrode or degrade, leading to structural weaknesses that contribute to water hammering. Look for signs of wear, such as rust, leaks, or bulges, which indicate that the pipes are no longer in good condition. When replacing pipes, choosing materials that are durable and suited for your plumbing system is important, such as CPVC, PEX, or copper.
These materials not only improve water flow and reduce noise but can also enhance the overall efficiency of your plumbing system. Ensure that the new pipes are installed with proper supports and fittings to minimize movement and vibrations. This investment can ultimately save you from repeated water hammer issues and extend your plumbing system’s lifespan considerably. Remember to consult a professional plumber if you are unsure about the process or if the scope of work exceeds your capabilities.
Step 8. Inspect and Repair the Toilet Tank
After addressing potential plumbing issues, it’s time to inspect the toilet tank itself. Look for any signs of damage, such as cracks in the tank or problems with the flush valve. A worn or malfunctioning flush valve can cause rapid water flow, contributing to a water hammer. If you find any cracks in the tank, it may need to be replaced entirely. If the flush valve appears damaged, replacing it can restore proper function and help prevent further water hammer issues. Be sure also to check the tank’s gasket for leaks; if it is worn, replacing it can ensure a better seal and proper operation of the toilet.
Step 9. Test the System
After completing all inspections, repairs, and installations, testing the entire system is crucial to ensure that the water hammer issue has been resolved. First, turn the water supply back on and allow the toilet tank to refill. Pay close attention to any unusual noises or vibrations during the refilling process. Once the tank fills, flush the toilet several times to simulate typical usage. Monitor for the presence of a water hammer—if you notice any banging or thumping, further adjustments may be required.
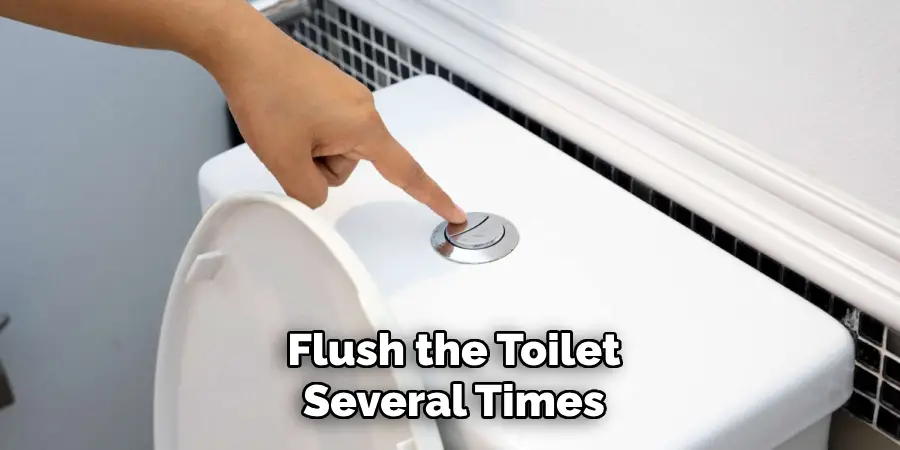
Sometimes, revisiting the earlier steps may be necessary to fine-tune your fixes. Once you confirm that the water hammer has been effectively addressed, inspecting the system periodically to maintain optimal performance and prevent future issues is a good idea.
Step 10. Regular Maintenance
To prevent future occurrences of water hammer, establish a regular maintenance routine for your plumbing system. This includes checking for leaks, securing pipes, and ensuring all connections are tight. Additionally, consider monitoring your home’s water pressure periodically to ensure it remains within the ideal 40-60 psi range.
If your plumbing system contains older pipes, inspecting them annually for signs of wear or corrosion is beneficial. Keeping track of changes in water flow or unusual sounds can also help you identify potential issues early on. By staying proactive with maintenance, you can extend the lifespan of your plumbing and avoid the frustration of water hammer problems in the future.
By following these steps and implementing proper maintenance, you can effectively address the water hammer in your toilet and plumbing system.
Conclusion
How to fix toilet water hammer can seem daunting, but by following the outlined steps, you can effectively resolve the issue and maintain a quieter plumbing system.
Start with identifying the root cause of the water hammer, whether it be high water pressure, loose pipes, or inadequate insulation. Implement preventive measures like securing pipes and installing a water hammer arrestor if needed. Regular maintenance and prompt repairs will ensure the longevity of your plumbing and help you avoid recurring problems.
By taking these proactive steps, you can enjoy a smooth-running toilet and a peaceful household environment free from the disruptive noise of a water hammer.

