Converting a propane heater to natural gas can be advantageous for many homeowners, primarily due to increased fuel availability and potential cost savings. With the rising prices of propane, natural gas often presents a more economical and accessible alternative.
However, it is crucial to understand that safety is paramount during this conversion process, as working with gas systems carries inherent risks. Mishandling can lead to gas leaks or hazardous situations, making it essential for anyone considering this switch to take the necessary precautions.
This article aims to guide readers through the steps involved in how to convert propane heater to natural gas, as well as important considerations that should inform their decision to carry out the conversion themselves or to seek the expertise of a professional. Understanding the conversion process can empower homeowners to make informed choices, whether for financial reasons or practical advantages.
Understanding the Differences Between Propane and Natural Gas
Gas Characteristics
Propane: Propane is a hydrocarbon gas that is known for its high energy content, providing approximately 2,500 British thermal units (BTUs) per cubic foot. This makes it an efficient fuel choice for heating applications. Propane is typically stored in liquid form under pressure in portable tanks, allowing for easy transport and use in areas without access to gas lines. This versatility makes it popular for residential heating and applications like outdoor grills, camping equipment, and agricultural heating.
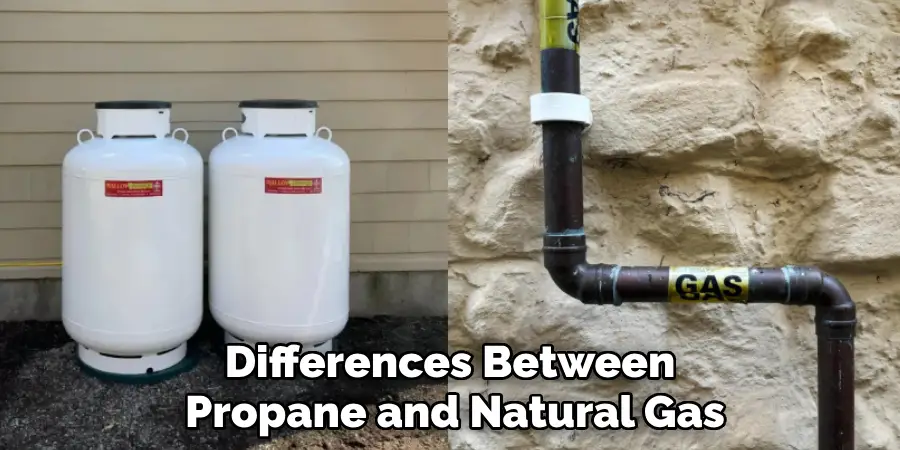
Natural Gas: In contrast, natural gas has a lower energy density, providing about 1,000 BTUs per cubic foot. It is delivered directly through an extensive network of pipelines, making it an abundant and reliable energy source, especially in urban areas. Natural gas primarily comprises methane and is favored for residential heating, cooking, and hot water applications due to its convenience and constant supply. The widespread infrastructure for natural gas allows homes and businesses to benefit from its relatively lower costs compared to propane.
Key Differences: When comparing the two gases, it’s essential to note their differences in pressure requirements, energy output, and delivery methods. Propane operates at a higher pressure than natural gas, which affects how each fuel interacts with heating appliances. Additionally, while propane’s energy output is higher, natural gas’s pipeline delivery makes it more accessible for many users.
Why Conversion is Necessary
Different Pressure Requirements: One key reason for converting a propane heater to natural gas is the difference in operating pressures. Propane appliances typically require higher pressure settings to function properly, while natural gas operates at a lower pressure. This discrepancy necessitates changes to vital components, such as regulators, orifices, and gas valves, to ensure safe and efficient operation.
Compatibility Issues: Another critical factor to consider is the size of gas jets and burners. Propane jets and burners are designed differently than those used for natural gas, which means modifications or replacements may be required during the conversion process. Proper adjustments must be made to maintain safety and efficiency, ensuring that the heating system performs optimally after the conversion. Understanding these differences is crucial for any homeowner looking to switch fuel sources.
Checking Heater Compatibility and Requirements
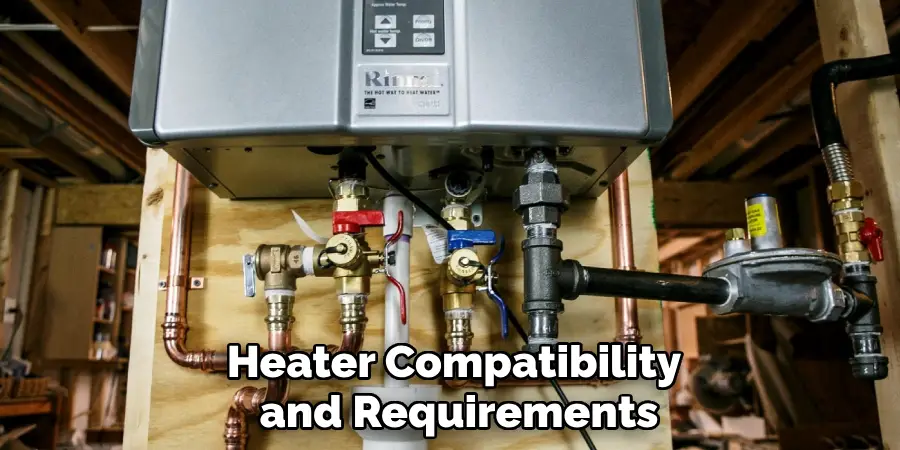
Before proceeding with converting your propane heater to natural gas, it is essential to check its compatibility with the required components for a safe transition.
Step 1: Review Manufacturer’s Guidelines
The first step in ensuring a successful conversion is to consult the heater’s product manual or visit the manufacturer’s website. This documentation provides crucial information on whether your specific model is convertible from propane to natural gas. Some manufacturers offer dedicated conversion kits designed specifically for their models, which contain the necessary components to facilitate the changeover safely.
The product manual often outlines the steps and safety measures to take, ensuring adherence to the manufacturer’s specifications. Utilizing these resources can save time and potential hazards, paving the way for a smooth conversion process.
Step 2: Identify Necessary Parts and Tools
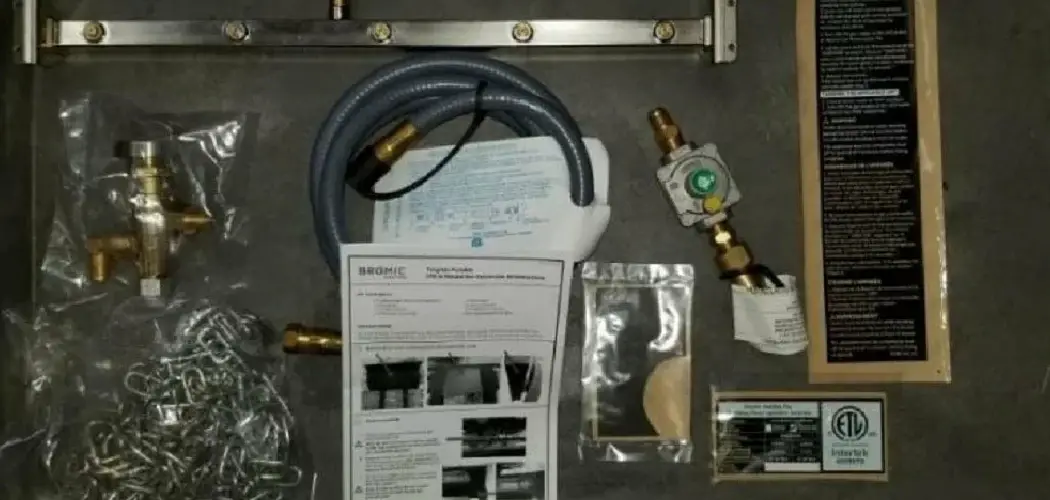
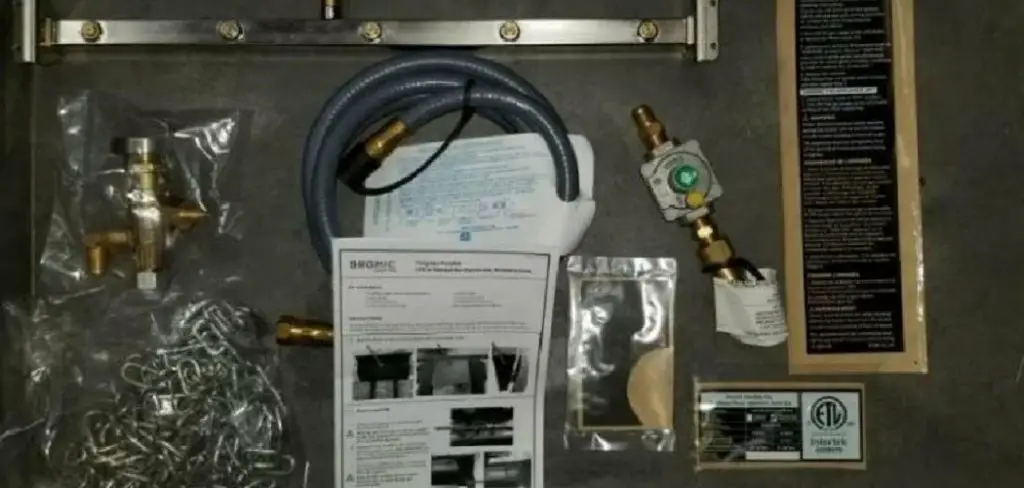
Once you’ve confirmed that your heater is convertible, the next phase involves identifying the parts and tools required for the conversion. Typical components found in a conversion kit may include new orifices, regulators, and gas valves tailored for natural gas.
These parts work together to ensure that the heater operates efficiently and safely at the lower natural gas pressure. In addition to the conversion kit, you will need several essential tools to facilitate the process. These include wrenches, screwdrivers, and a gas leak detector solution to check for any leaks after the conversion is complete. The necessary equipment will streamline the conversion process and enhance safety.
Step 3: Check Local Codes and Permits
Before commencing the conversion, it is crucial to check local building codes and regulations for gas installations in your area. Compliance with these codes ensures that the conversion is legal and adheres to current safety standards. Additionally, obtaining a permit for any modifications made to the gas line may be necessary.
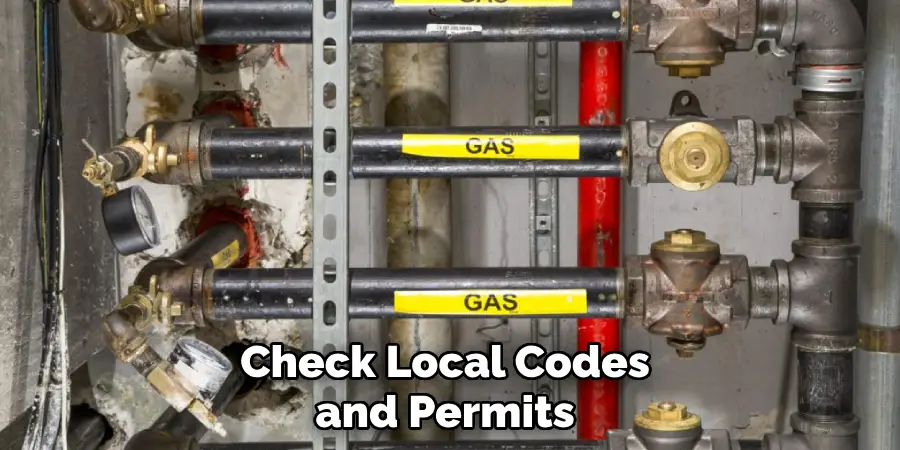
Consulting with your local building authority can clarify required permits and inspections. Professional inspections are often recommended, as they ensure that the conversion is performed correctly and safely, protecting you and your home from potential hazards associated with gas systems. Familiarity with local regulations helps ensure that your conversion is efficient and compliant with safety requirements.
How to Convert Propane Heater to Natural Gas: Step-by-Step Conversion Process
Step 1: Turn Off Gas Supply
Before embarking on the conversion process, safety must be your top priority. Start by turning off the main propane gas supply to prevent any accidental gas leaks during the procedure. If your propane heater is connected to a portable tank, disconnect it before proceeding.
Additionally, ensure that the workspace is well-ventilated, as this will help dissipate any residual gas in the area and reduce the risk of gas buildup while you work.
Step 2: Replace the Orifices
The next step involves replacing the existing propane orifices with those designed for natural gas. Begin by locating the burner assembly of your heater and carefully removing the propane orifices using a wrench. It’s important to handle these components gently to avoid damaging them. Once the old orifices have been removed, take the new natural gas orifices from your conversion kit.
Install the natural gas orifices by securely threading them into place, ensuring they are properly aligned and tight to prevent any leaks. After replacement, double-check that all connections are secure before moving on to the next step.
Step 3: Adjust or Replace the Regulator
After installing the new orifices, the next crucial task is to address the regulator. If your heater’s current regulator is designed for propane, you must remove it completely. Follow the manufacturer’s instructions to take out the propane regulator, being cautious to avoid any damage to surrounding components.
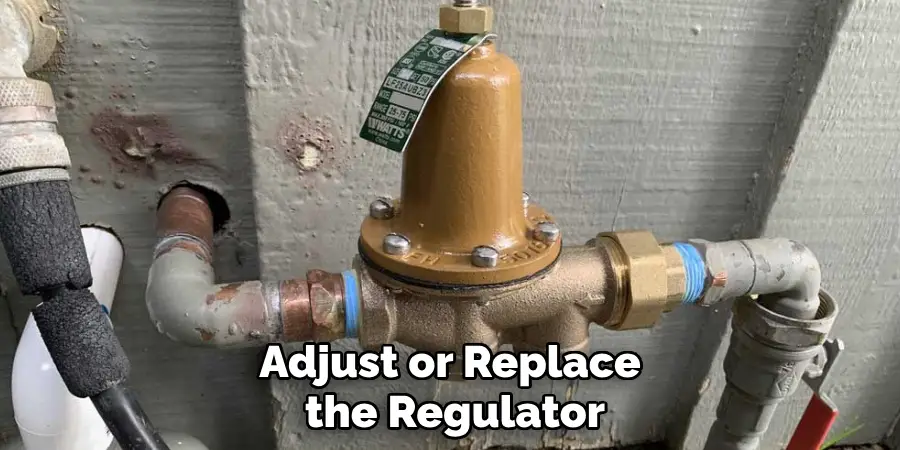
Once removed, install the new natural gas regulator from your conversion kit. It is crucial to use a regulator that matches the pressure requirements for natural gas, which is generally lower than that of propane. If your existing regulator is adjustable, check the manufacturer’s guidelines on correctly setting it for natural gas operation, ensuring that it operates safely and efficiently.
Step 4: Modify the Gas Valve (if necessary)
In some cases, you may need to replace the gas valve if it is incompatible with natural gas. Start by identifying the valve connected to your heater and determining if a replacement is necessary based on compatibility checks from the manufacturer’s guidelines.
If a replacement is required, carefully remove the old valve, taking note of how it is connected to properly install the new one. Position the new gas valve in alignment with the gas line and ensure all connections are tightened securely. Following these steps will help ensure the efficient operation of your heating system after the conversion is complete.
Testing and Safety Checks
Check for Leaks
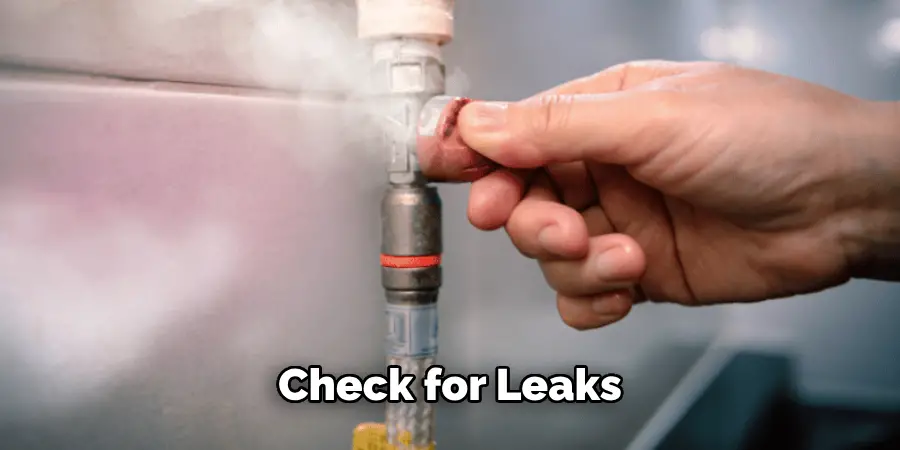
After completing the conversion, it’s essential to check for any gas leaks to ensure safety. Start by applying a gas leak detection solution, which can usually be purchased at hardware stores. Generously apply the solution to all connections and joints you worked on during the conversion process. Watch for any bubbling which indicates a gas leak.
Additionally, perform a smell test; natural gas is typically odorless but is scented to give it a distinct sulphur-like smell. If you detect any unusual odors, immediately shut off the gas supply and rectify the issue before proceeding.
Test the Heater
Once you’ve verified that there are no leaks, you can safely ignite the heater for the first time after conversion. Follow the manufacturer’s instructions for ignition, ensuring you are in a well-ventilated area. Observe the flame characteristics—natural gas flames should be predominantly blue with minimal yellow tipping. After ignition, let the heater run briefly to monitor its performance.
Pay attention to any unusual noises or odors, as these may indicate underlying issues if everything operates smoothly; congratulations on successfully converting your heater! Always watch during initial runs and consult a professional if you experience any irregularities.
Professional Assistance and When to Call an Expert
While many homeowners may feel comfortable undertaking a gas conversion on their own, there are specific circumstances where seeking professional help is advisable. It may be best to consult an expert if you are dealing with complex systems or multiple gas lines or if the manufacturer’s instructions are unclear. Professional technicians possess the knowledge and experience to navigate these complexities safely, ensuring the conversion is performed correctly.
Hiring a licensed technician enhances safety and ensures compliance with local codes and regulations, which can prevent potential legal issues. Furthermore, utilizing a professional’s services can help protect your warranty; many manufacturers require installation by a licensed expert to maintain warranty coverage. Ultimately, enlisting professional assistance for your gas conversion can provide peace of mind and help guarantee that all aspects of the job are completed to the highest standards.
Conclusion
Converting a propane heater to natural gas involves several critical steps that ensure safety and efficiency. Begin by understanding the differences between propane and natural gas, and then carefully turn off the gas supply and replace the orifices. Adjust or replace the regulator as needed, and modify the gas valve if necessary. Once the conversion is complete, conducting thorough leak checks and testing the heater is essential.
Always remember that safety protocols should be at the forefront of this process, ensuring all modifications are verified before use. If at any point you feel uncertain about how to convert propane heater to natural gas effectively and safely, do not hesitate to consult with a licensed professional. Their expertise can help safeguard your home and guarantee the conversion is executed according to all regulatory standards.

