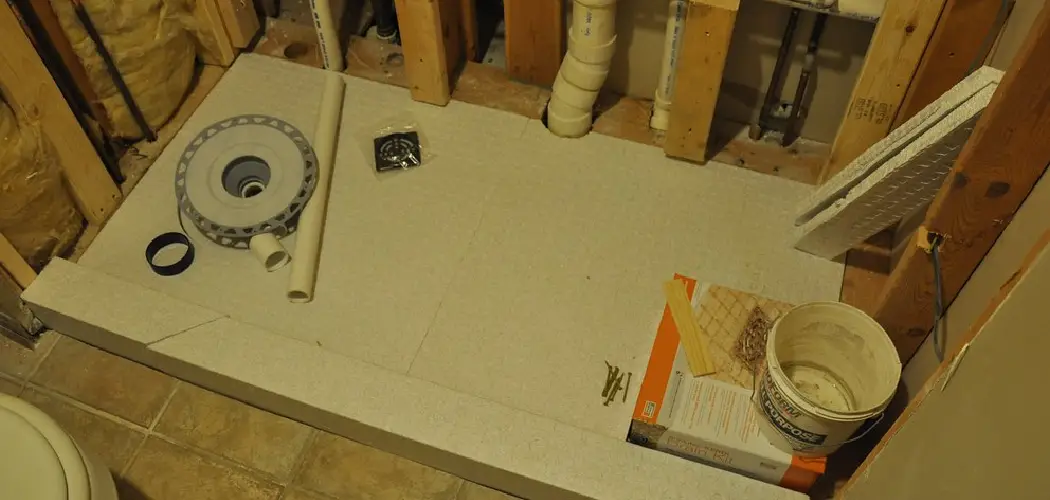
A leaking shower pan can be a homeowner’s nightmare, leading to water damage, mold growth, and increased repair costs. Recognizing the importance of a watertight shower pan is crucial, as it serves as the first line of defense against water seeping into your home’s structure.
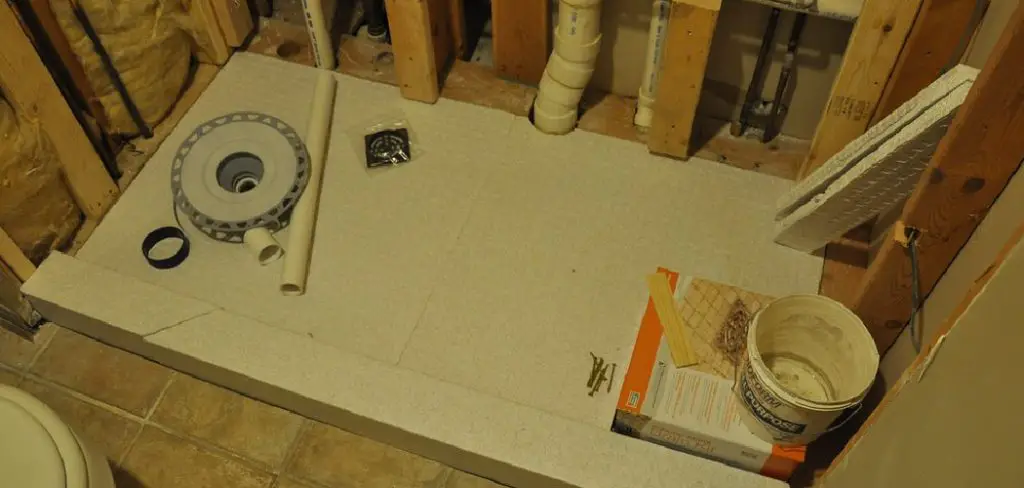
This guide aims to provide a step-by-step approach on how to fix a leaking shower pan. By addressing these problems promptly and effectively, you can extend the life of your shower and maintain a healthy, safe home environment.
What is a Shower Pan and Its Function
A shower pan, also known as a shower basin or shower floor, is a vital component of a shower enclosure. Typically made from materials such as acrylic, fiberglass, or tile, its primary function is to collect and channel water that drains from the shower area into the drainage system. The shower pan is designed to slope gently towards the drain, ensuring that water does not pool and effectively prevents leaks that could cause damage to the underlying structure.
Additionally, it serves to contain water within the designated shower space, providing a clean and efficient area for bathing while protecting surrounding surfaces from moisture exposure.
Identifying the Source of the Leak
Before attempting to fix a leaking shower pan, it is essential to accurately identify where the leak is originating. Start by inspecting the visible areas of the shower pan, including seams, joints, and any cracks or surface damage. Look for signs of water stains or dampness around the base of the shower and on adjacent walls or flooring, as these can indicate the location of the leak.
Sometimes, the source may not be immediately apparent; therefore, it might be helpful to conduct a simple test by filling the shower pan with water and observing for any drainage or seepage around the edges. Additionally, check the plumbing fixtures, such as faucets and showerheads, as these can also contribute to water leakage if they are not properly sealed or have damaged connections.
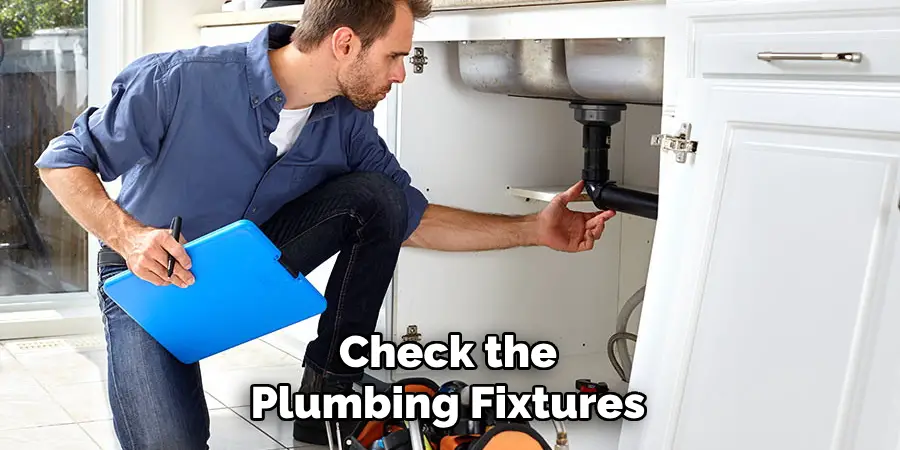
Taking the time to thoroughly investigate all potential sources of the leak will ensure more effective repairs and prevent future issues.
10 Methods How to Fix a Leaking Shower Pan
1. Identify the Leak Source
Before jumping into the repair process, it is essential to pinpoint the exact source of the leak. Shower leaks can originate from the pan, the drain, grout, or even from improperly sealed joints around the shower. The first method is, therefore, a diagnostic one. Run water in your shower and watch closely to see where the water begins to pool or leak. You may need to remove the shower drain cover or tiles near the pan to inspect thoroughly.
In some cases, a dye test can be performed by pouring colored water down the drain or across the shower surface to see if it escapes through a crack or joint. Understanding the source of the leak is vital, as it determines the next steps you will take.
2. Resealing the Grout or Caulk
Once you identify that the leak is due to damaged grout or caulking around the shower pan, resealing it can be an effective fix. Over time, grout and caulk may crack or erode, allowing water to seep through. To reseal, remove old and damaged caulk using a utility knife or a caulk removal tool. Clean the area thoroughly to ensure that new caulk will adhere properly.
After cleaning and drying the joints, apply a high-quality, mold-resistant silicone caulk to seal the edges of the shower pan. Ensure a watertight seal by smoothing the caulk with a caulking tool or your finger dipped in water. Allow it to cure for the recommended time before testing the shower again.
3. Install a Shower Pan Liner
If the leak is traced to a damaged or improperly installed shower pan liner, replacing or installing a new liner can resolve the issue. A shower pan liner is a waterproof barrier that prevents water from penetrating through the base of the shower. To install a new liner, you’ll need to remove the existing shower tiles and the shower pan to access the liner.
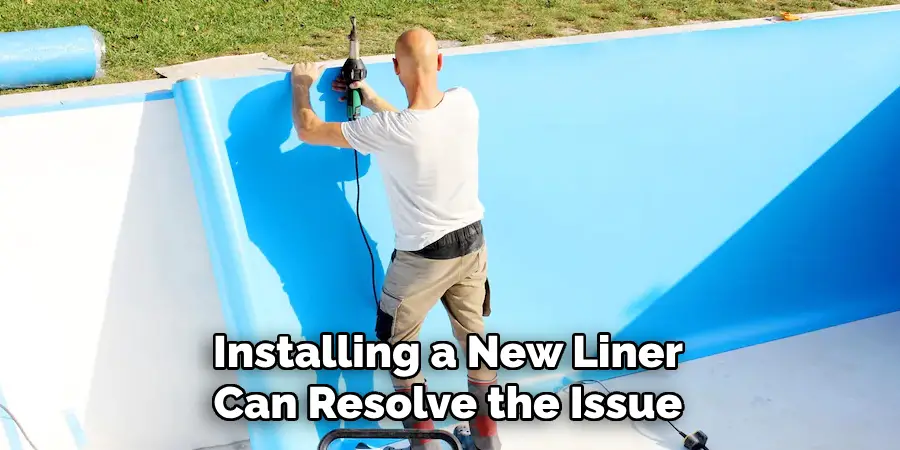
Once removed, inspect the liner for tears or gaps, and replace it if necessary. Install the new liner securely, ensuring it covers all necessary areas and overlaps any seams to create a watertight seal. After installation, replace the pan and tiles, and test the shower for leaks.
4. Epoxy Injection
For minor cracks or leaks in the shower pan, epoxy injection can provide an effective solution. This method involves injecting epoxy resin directly into the crack to seal it from the inside. To start, clean the area around the crack thoroughly and ensure it is dry. Then, inject the epoxy resin using a specialized tool or applicator designed for this purpose.
The resin will seep into the crack, filling the void and hardening to create a durable, waterproof seal. Allow the epoxy to cure fully before testing the shower. This method works best for small cracks that are visible and easily accessible.
5. Patch with Fiberglass Repair Kit
A fiberglass repair kit is another excellent option for patching small cracks or holes in the shower pan. The kit typically includes a fiberglass mesh and a waterproof adhesive. Begin by cleaning and drying the cracked area, then apply the adhesive over the damaged section. Lay the fiberglass mesh over the adhesive, pressing it down firmly to ensure it sticks.
Add more adhesive over the top of the mesh and smooth it out using a putty knife. Once the patch has cured, sand it lightly to create a smooth, even surface. Test the repair by running water over the patch to ensure the leak is fixed.
6. Replace the Shower Pan
If the shower pan is severely damaged or beyond repair, replacing it entirely is the most comprehensive solution. Replacing a shower pan is a more involved process, but it guarantees long-term protection against leaks. To replace the pan, you’ll need to remove the tiles, disconnect the drain, and carefully lift out the old pan. Ensure the subfloor and walls are in good condition before installing the new pan.
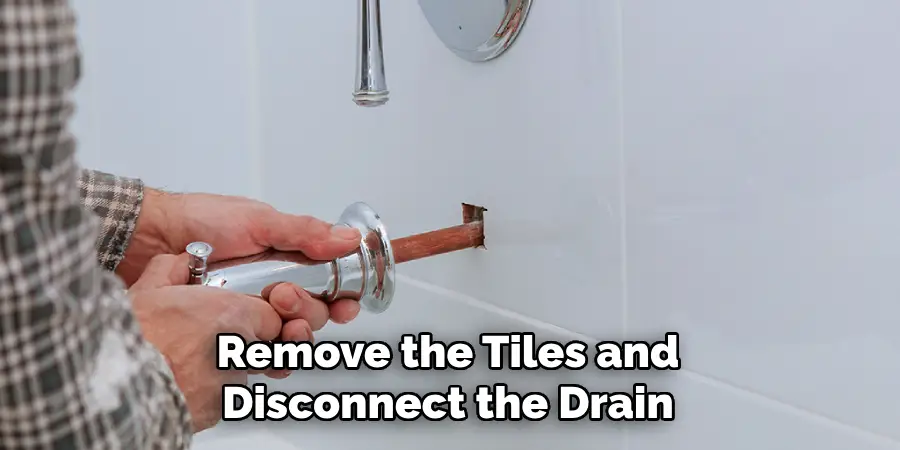
Choose a high-quality, waterproof pan that fits your shower dimensions. Install the new pan according to the manufacturer’s instructions, reconnect the drain, and replace the tiles.
7. Use a Waterproof Membrane
Installing a waterproof membrane beneath the shower pan adds an extra layer of protection against leaks. This method is particularly useful for preventing future leaks if you’re replacing the shower pan or remodeling the shower. A waterproof membrane, such as a liquid-applied waterproofing product, can be painted or rolled onto the subfloor and walls before installing the pan. It creates a continuous, impermeable barrier that prevents water from seeping through. After applying the membrane, allow it to dry thoroughly before proceeding with the pan installation.
8. Check and Tighten the Shower Drain Flange
Leaks around the drain can often be caused by a loose or improperly sealed drain flange. To fix this, remove the drain cover and inspect the flange to see if it’s securely attached. If it’s loose, use a wrench to tighten the bolts or screws securing the flange to the shower pan. You may also need to remove and reapply plumber’s putty or silicone around the flange to ensure a proper seal. Once tightened and resealed, replace the drain cover and test the shower to ensure the leak has stopped.
9. Install a Drain Repair Kit
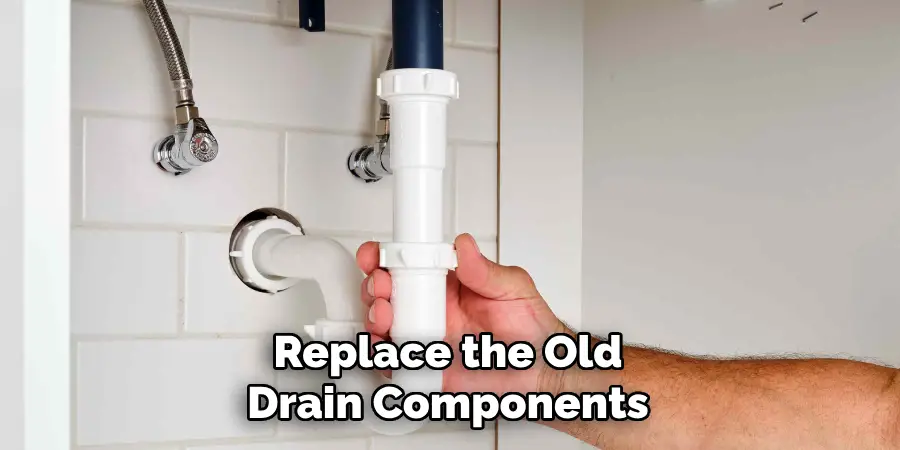
If the leak originates from the shower drain itself and tightening the flange doesn’t resolve the issue, installing a drain repair kit might be necessary. Drain repair kits are available for different types of drains and are designed to replace damaged components without removing the entire shower pan. These kits usually include a new drain assembly, gaskets, and sealing materials.
Follow the instructions provided with the kit to replace the old drain components, ensuring a watertight seal around the new parts.
10. Reinforce the Shower Pan with Mortar
In some cases, a leaking shower pan might be due to poor installation or lack of proper support. Reinforcing the shower pan with mortar can help provide additional stability and prevent leaks caused by movement or sagging. To reinforce the pan, remove the tiles and shower pan to expose the subfloor.
Mix and apply a layer of mortar to the subfloor, then press the shower pan back into place, ensuring it sits evenly on the mortar bed. Allow the mortar to dry before reinstalling the tiles and testing the shower.
Conclusion
In conclusion, fixing a leaking shower pan can be approached through several methods depending on the severity and location of the leak. By properly diagnosing the issue and selecting the appropriate repair technique, you can prevent further water damage and ensure your shower remains watertight. Thanks for reading, and we hope this has given you some inspiration on how to fix a leaking shower pan!

