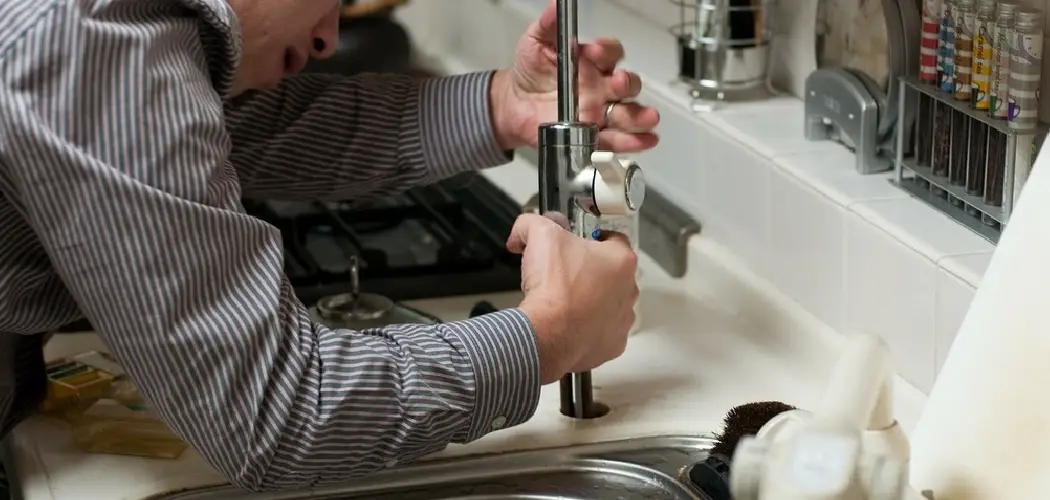
Removing a faucet handle from a sink may seem like a daunting task, but with the right tools and a bit of guidance, it can be accomplished easily. Whether you’re looking to fix a leak, replace an old handle, or simply perform maintenance, understanding the steps involved will help you proceed with confidence.
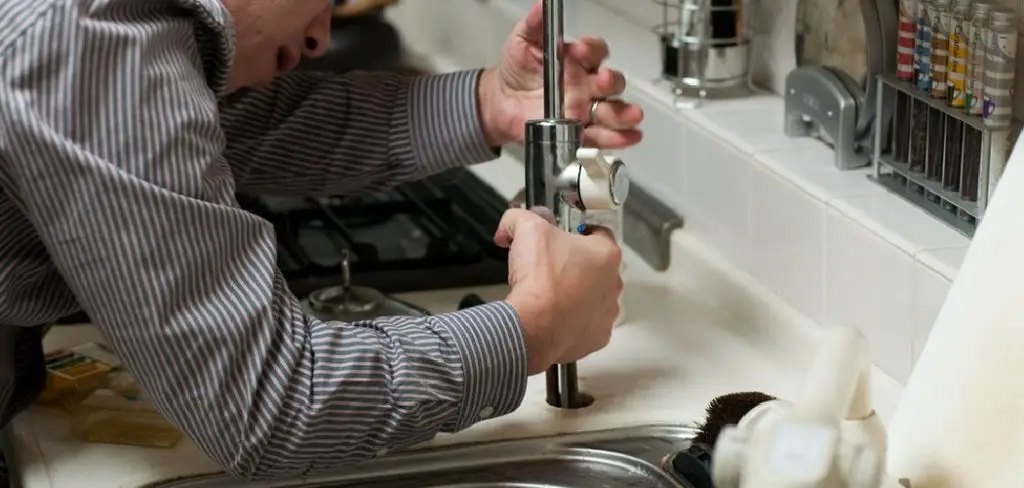
This guide on how to remove faucet handle from sink will walk you through the necessary preparations, tools required, and the step-by-step process to successfully detach the faucet handle without damaging the sink or plumbing components. Let’s get started on this straightforward DIY project.
Types of Faucet Handles
Faucet handles come in various styles and designs, each catering to different functional and aesthetic preferences. Here are some common types:
- Ball Handles: These handles feature a rounded ball design and typically require one lever to control both water temperature and flow. They are commonly found in single-handle faucets.
- Disc Handles: Characterised by a sleek, modern look, disc handles consist of two levers (one for hot and one for cold water) mounted on a plate. They are known for their durability and precise temperature control.
- Compression Handles: Often seen in older faucets, these handles operate like a screw. Turning the handle compresses or releases rubber washers to control water flow, resulting in a simple yet effective design.
- Lever Handles: These are the most common type, typically found on single-handle faucets. They require a simple upward or downward motion to adjust water flow and temperature.
- Knob Handles: These handles are round or cylindrical and require turning to operate the faucet. They can be used in pairs for hot and cold water taps or as a single handle on a combination faucet.
Understanding the different types of faucet handles can help you choose the right one for your needs during removal or replacement tasks.
10 Methods How to Remove Faucet Handle from Sink
1. Turn Off the Water Supply
Before attempting to remove a faucet handle, it’s crucial to turn off the water supply to the sink. Locate the shutoff valves, typically found beneath the sink, and turn them clockwise to stop the water flow. This precaution prevents accidental water discharge and potential flooding while you work. Once the water supply is off, turn on the faucet to release any remaining water pressure. With the water supply off, you can now safely proceed with removing the faucet handle.
2. Identify the Type of Faucet Handle
Faucet handles come in different designs, such as lever handles, knob handles, and cross handles. Identifying the type of handle you are dealing with will help you understand how it’s attached to the faucet.
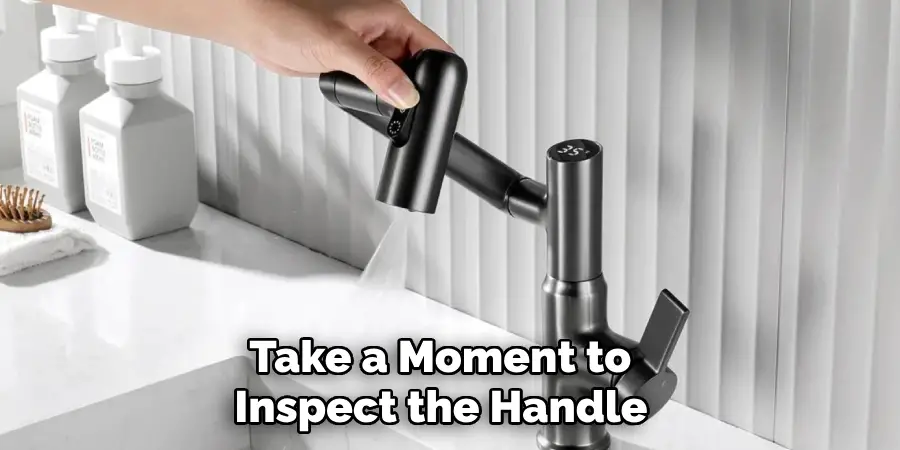
Some handles are secured with visible screws, while others may have hidden screws concealed under decorative caps or covers. Before proceeding, take a moment to inspect the handle to determine the most appropriate removal method.
3. Remove the Decorative Cap
Many faucet handles, particularly knob and lever styles, feature a decorative cap that conceals the screw holding the handle in place. To remove this cap, gently pry it off using a flathead screwdriver or a utility knife.
Insert the tool into the small gap between the cap and the handle, then twist it to pop the cap off. Be careful not to scratch or damage the surface of the handle. Once the cap is removed, you should see the screw that secures the handle to the faucet stem.
4. Unscrew the Handle
Once you’ve located the screw under the decorative cap, use an appropriately sized screwdriver to remove it. Most faucet handles are secured with a Phillips-head or flathead screw, but some may use hex screws or Allen screws.
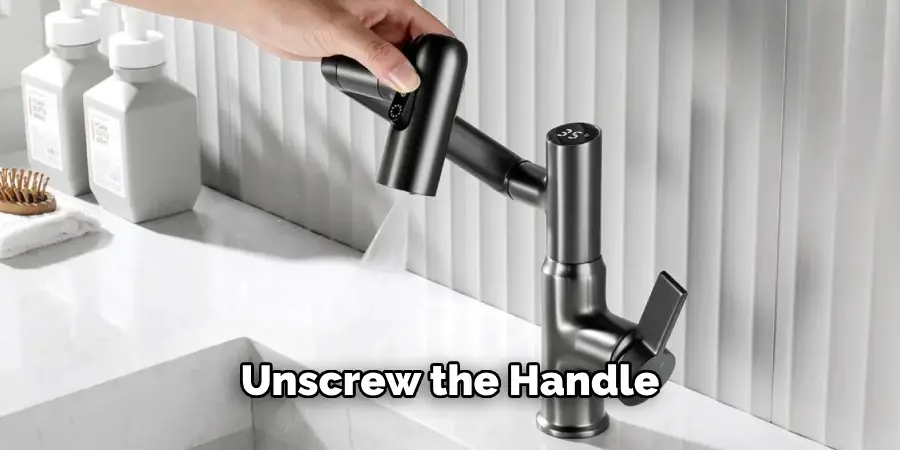
If the handle has an Allen screw, use an Allen wrench of the correct size to loosen and remove the screw. Be sure to keep the screw and any washers or caps in a safe place for reassembly later. Once the screw is removed, the handle should slide off easily.
5. Use a Handle Puller Tool
If the faucet handle doesn’t slide off easily after removing the screw, it may be stuck due to corrosion or mineral deposits. In this case, a handle puller tool can help. A handle puller is a specialized tool designed to grip the faucet handle and apply even pressure to lift it off the faucet stem without damaging the fixture. Position the tool around the base of the handle and turn the handle on the puller to gently pull the faucet handle upward. This method is particularly useful for older faucets where the handle has become stuck over time.
6. Apply Penetrating Oil
If the faucet handle is stuck due to rust or mineral buildup, applying penetrating oil can help loosen it. Spray a generous amount of penetrating oil, such as WD-40, around the base of the handle where it meets the faucet stem. Allow the oil to sit for 10 to 15 minutes, giving it time to penetrate and dissolve the corrosion. Afterward, try removing the handle again using a screwdriver or handle puller tool. The penetrating oil should make the handle easier to remove without excessive force.
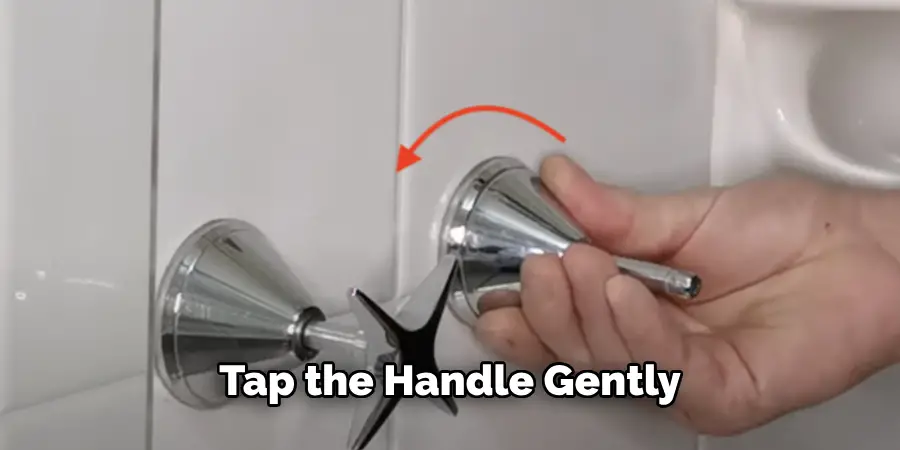
7. Tap the Handle Gently
Sometimes, gently tapping the faucet handle can help loosen it, especially if it’s stuck due to buildup or corrosion. Use a rubber mallet or a wooden block to lightly tap the base of the handle in various directions. Avoid using a metal hammer, as it may damage the finish or crack the handle.
The goal is to break the bond between the handle and the faucet stem without applying too much force. After tapping the handle, try pulling it off or unscrewing it again.
8. Remove Set Screws
Certain faucet handles, particularly lever-style or designer models, may have set screws hidden at the base or side of the handle. These screws are often small and can be difficult to spot without careful inspection. Use a flashlight to locate any set screws, which may be secured with a hex wrench or small Allen key. Once located, loosen the set screw and gently slide the handle off the faucet stem. Be sure to keep track of the set screw for reassembly.
9. Use Heat to Loosen the Handle
If mineral deposits or corrosion have caused the faucet handle to seize, applying heat can help expand the metal and loosen the bond. You can use a hairdryer or heat gun to apply heat to the base of the handle for several minutes. Be cautious not to overheat the area, as excessive heat may damage plastic components or discolor the finish. After applying heat, try removing the handle using a screwdriver, handle puller, or your hands. The expansion caused by the heat should make the handle easier to remove.
10. Call a Professional Plumber
If you’ve tried multiple methods and still cannot remove the faucet handle, or if you’re concerned about damaging your faucet, it may be time to call a professional plumber. Plumbers have specialized tools and experience to handle difficult situations, such as removing handles that are corroded, stuck, or damaged. While this may seem like a last resort, calling a professional can prevent accidental damage to your faucet or sink, saving you time and money in the long run.

Things to Consider When Removing a Faucet Handle
When removing a faucet handle, there are several important factors to keep in mind to ensure a smooth and successful process. Firstly, always assess the condition of the faucet and handle; if there are signs of severe rust or damage, it may be prudent to consult a professional to avoid further complications.
Additionally, consider the type of faucet and handle you are dealing with, as different designs might require specific tools or approaches for removal. Make sure to have the appropriate tools on hand, such as screwdrivers, a handle puller, or penetrating oil, as this will streamline the process and reduce the risk of damaging the components. Finally, take your time and work patiently; rushing can lead to mistakes that might require costly repairs.
Common Mistakes to Avoid
When attempting to remove a faucet handle, there are several common pitfalls to be aware of to ensure the process goes smoothly. First, failing to turn off the water supply before starting can lead to unexpected water leaks and messes. Additionally, using the wrong size or type of screwdriver on screws can strip them, making removal more difficult. Avoid using excessive force when trying to remove a stuck handle, as this can damage the handle or faucet body.
Another mistake is neglecting to keep track of screws and washers, which can hinder reassembly later. Lastly, underestimate the importance of inspecting the handle and faucet type—skipping this step could lead to using incorrect removal methods. Being mindful of these common mistakes can facilitate a more efficient and less frustrating experience.
Conclusion
In conclusion, removing a faucet handle from a sink can be a simple or slightly challenging task, depending on the type of handle and the condition of the faucet. By following these methods, such as identifying the type of handle, using the correct tools, and applying techniques like penetrating oil or heat, you can successfully remove the faucet handle without causing damage.
Hopefully, this article gave you some helpful tips about how to remove faucet handle from sink successfully, so now that you have the proper knowledge on how to get the job done, why not give it a try today?

