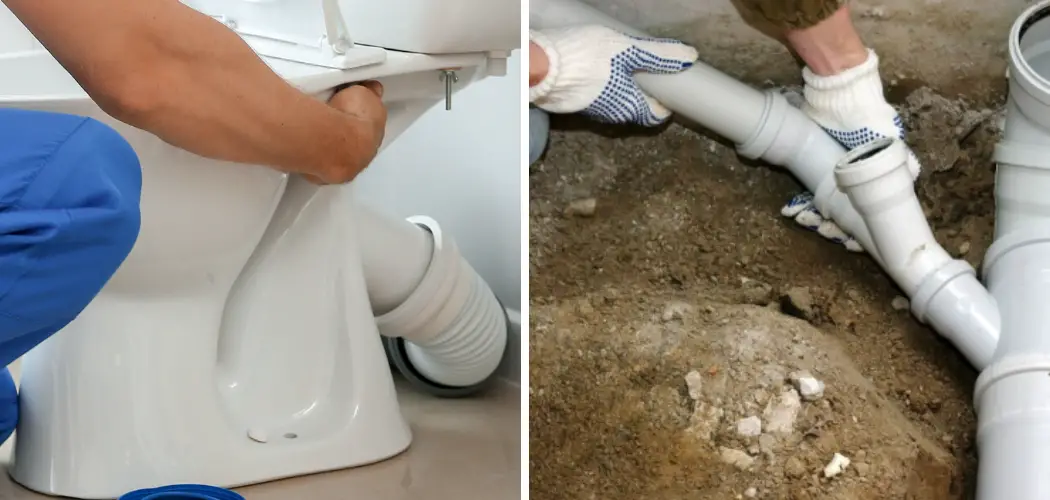
Connecting a toilet to a waste pipe is a fundamental task in plumbing that ensures proper waste management and sanitation in residential and commercial settings. Understanding the process involved is crucial for both professional plumbers and DIY enthusiasts, as it can prevent common issues like leaks and clogs.
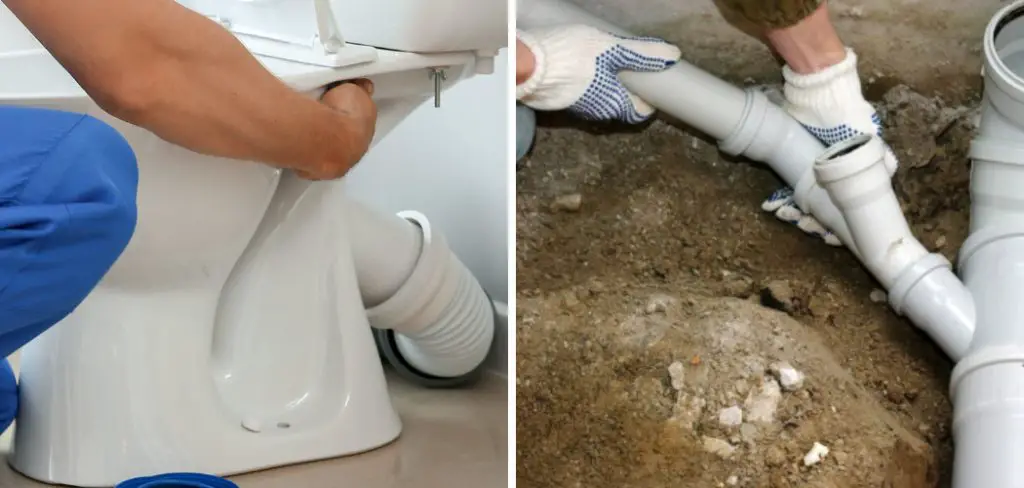
This guide on how to connect a toilet to a waste pipe will outline the steps needed to successfully connect a toilet to a waste pipe, including necessary tools, materials, and best practices to ensure a secure and effective installation. Whether you are replacing an old toilet or installing a new one, following these guidelines will help you achieve a seamless connection and maintain optimal plumbing functionality.
Why is It Important to Connect a Toilet to a Waste Pipe?
Connecting a toilet to a waste pipe is essential for maintaining a clean and hygienic environment. Properly installed waste connections prevent unpleasant odors and potential health hazards by ensuring that waste is efficiently channeled away from the living space.
Moreover, a secure connection helps avoid leaks that can lead to water damage, mold growth, and costly repairs. Additionally, a well-connected waste pipe system enhances the overall efficiency of plumbing, promoting effective drainage and reducing the risk of clogs.
In summary, ensuring that a toilet is correctly connected to a waste pipe is vital for functionality, sanitation, and the longevity of plumbing systems.
Needed Materials
Toilet:
The toilet is the primary fixture that needs to be connected to the waste pipe. When purchasing a new toilet, make sure it comes with all necessary parts, including bolts, a wax ring seal, and a flexible hose for connecting the tank to the water supply.
Waste Pipe:
The waste pipe is responsible for transporting waste and wastewater from the toilet to the main sewer line or septic tank. It is typically made of PVC or cast iron and comes in various sizes, so it’s crucial to choose one that matches your toilet’s outlet size.
Toilet Flange:
A flange is a ring-shaped fitting installed on top of the waste pipe opening. Its purpose is to secure the toilet to the floor and provide a tight seal between the toilet and the waste pipe.
Wax Ring Seal:
The wax ring seal is a crucial component that ensures a watertight connection between the toilet and the waste pipe. It sits between the bottom of the toilet bowl and the flange, providing a barrier against leaks and odors.
Tools Needed
Adjustable Wrench:
An adjustable wrench will come in handy for tightening bolts and making adjustments to the toilet’s connections.
Hacksaw:
A hacksaw is necessary for cutting the waste pipe to the correct size if needed.
Screwdriver:
A screwdriver may be necessary for installing or adjusting certain parts of the toilet, such as the tank lid or seat.
Plumber’s Putty:
Plumber’s putty is a sealant used to create a tight bond between fixtures and their connecting parts. It is often applied around the base of the toilet before securing it to the floor with bolts.
8 Step-by-step Guides on How to Connect a Toilet to a Waste Pipe
Step 1: Turn Off Water Supply
Before starting the installation process, it is crucial to turn off the water supply to the toilet. Locate the shut-off valve, which is typically found on the wall behind the toilet or near the base of the cistern.
Turn the valve clockwise until it is fully closed to prevent any unwanted water flow during the installation. Once the water supply is shut off, flush the toilet to empty the tank and bowl. This will not only minimize mess but also make the installation process safer and more manageable.
Step 2: Remove Old Toilet
If you are replacing an old toilet, the first step is to remove it from its current location. Start by unscrewing and removing the tank lid, followed by loosening and removing the bolts that secure the base of the toilet to the floor. Carefully lift the toilet off the flange and set it aside.
You may also need to scrape off any old wax residue from the flange and inspect it for any damage or cracks.
Step 3: Install Wax Ring Seal
Once the old toilet has been removed and the flange is clean, it’s time to install the wax ring seal. Begin by taking the wax ring and positioning it over the toilet flange, ensuring that it is centred properly.
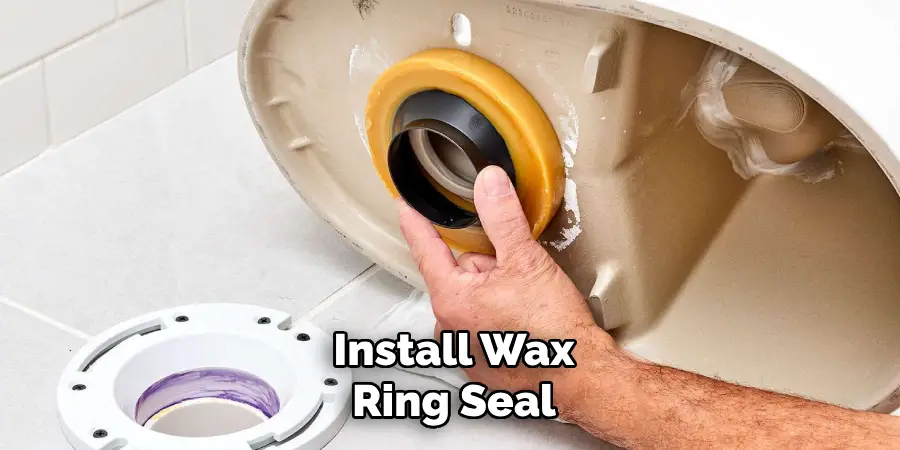
The thicker side of the wax ring should be facing down toward the flange, as this will create a watertight seal when the toilet is installed. If your wax ring includes a sleeve, simply place the sleeve in the center of the ring. After positioning the wax ring, hold it in place while you prepare to install the new toilet. Ensure that the surface is clean and dry to provide the best possible adhesion for the wax seal.
Step 4: Prepare the Toilet
Before installing the toilet, it’s important to prepare it properly to ensure a smooth installation. Start by placing the toilet bowl on a flat, stable surface, such as a clean floor or a soft cloth, to prevent scratches. Next, attach the tank to the bowl if it’s a two-piece toilet; this usually requires aligning the tank’s holes with the corresponding studs on the back of the bowl.
Securely fasten the tank using the provided bolts and nuts, taking care not to overtighten, as this may crack the porcelain. Once the tank is in place, check that the flush mechanism is correctly installed and operates smoothly. After assembly, carefully lift the toilet and position it over the wax ring seal, ensuring the bolts on the flange align with the holes in the toilet base.
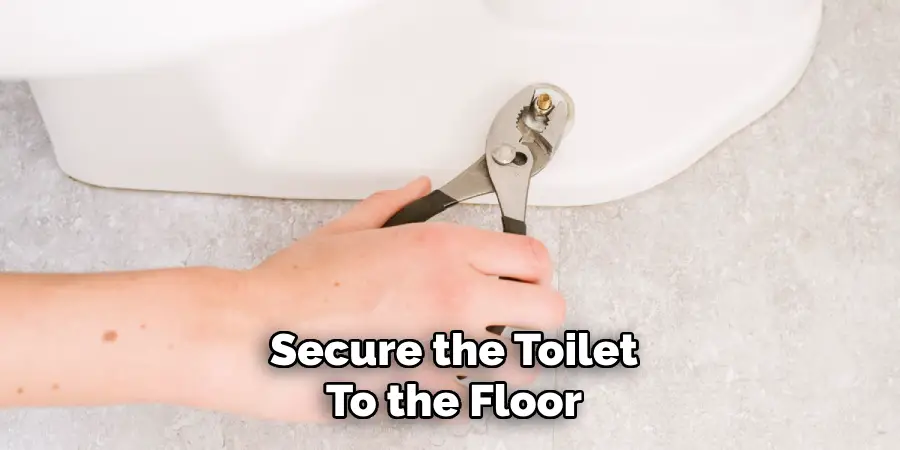
Step 5: Secure the Toilet
With the toilet positioned over the wax ring seal and the flange bolts aligned with the holes in the base of the toilet, it’s time to secure the toilet in place. Start by carefully pressing down on the toilet bowl to compress the wax ring and create a watertight seal. Next, place washers over each flange bolt and then screw on the nuts, tightening them by hand initially to ensure they are not cross-threaded.
Once the nuts are finger-tight, use the adjustable wrench to gently tighten them further, alternating between the bolts to maintain an even pressure. Be cautious not to overtighten, as this can lead to cracks in the porcelain. Once securely fastened, check that the toilet is stable and does not rock, ensuring a proper fit and alignment.
Step 6: Cut and Connect the Waste Pipe
If your new toilet requires a waste pipe of a different size than the old one, you will need to cut the pipe to length using a hacksaw before connecting it. Measure and mark the appropriate length on the pipe, then use a hacksaw to make a clean, straight cut. Once cut, remove any burrs or rough edges with sandpaper or a file.
Next, apply the plumber’s putty around the toilet flange opening and slip the flexible hose onto it. Ensure that the hose is firmly attached and securely fastened with a clamp if necessary. Finally, slide the other end of the hose over the waste pipe outlet and tighten the clamp using a screwdriver.
Step 7: Reconnect Water Supply
After securely connecting the toilet to the waste pipe, it’s time to reconnect the water supply. Start by turning the shut-off valve counterclockwise to restore the water flow. Once turned on, check for any leaks around the base and connections of the toilet while it fills with water.
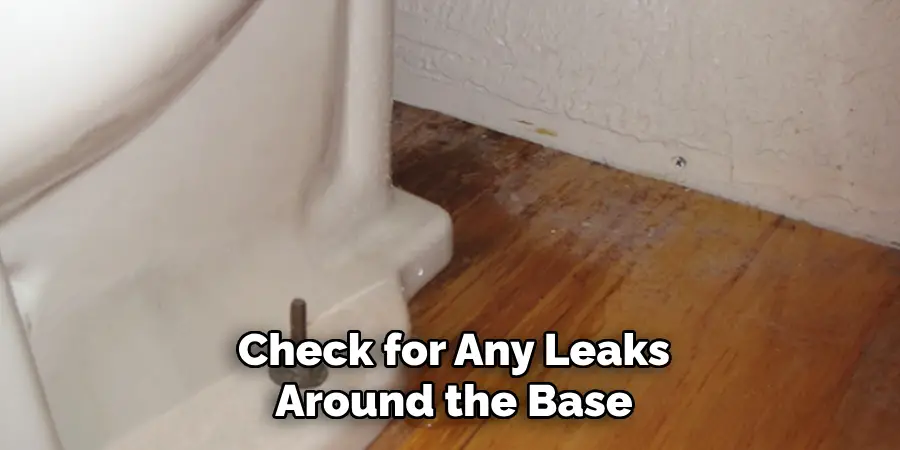
If you notice any leaks, tighten them further or reapply the plumber’s putty as needed.
Step 8: Test and Finishing Touches
Once everything is connected and secured, flush the new toilet a few times to ensure proper operation and check for any leaks. If everything looks good, replace the tank lid and any other removable parts, such as the seat, to complete the installation.
You can also caulk around the base of the toilet for a more finished look and added stability. Finally, dispose of all packaging materials and old fixtures responsibly, and enjoy your newly installed toilet!
Additional Tips for Installing a Toilet
- Always use caution when handling heavy or fragile parts of the toilet, such as the tank or bowl.
- It may be helpful to have an assistant during installation to hold parts in place while you work.
- Double-check that all connections are secure before turning on the water supply to prevent potential leaks.
- If using a plumber’s putty, make sure to follow manufacturer instructions and properly dispose of any excess putty.
- Take the time to properly clean and prepare the installation area before beginning, as this can help ensure a smooth and successful installation.
- If you are unsure about any steps or aspects of the installation process, consult a professional plumber for assistance.
Remember to always follow manufacturer’s instructions and guidelines on how to connect a toilet to a waste pipe when installing any fixtures in your home. By following these steps and tips, you can successfully install a new toilet and have it functioning in no time! And don’t forget to take pride in your DIY skills while saving money by doing it yourself.
Conclusion
Installing a new toilet can seem like a daunting task, but by following the outlined steps and tips on how to connect a toilet to a waste pipe, it can be accomplished with ease and confidence. Proper preparation, careful handling, and attention to detail are key to ensuring a successful installation. Not only will a well-installed toilet function efficiently, but it will also provide long-lasting reliability, enhancing the comfort of your bathroom space.
Whether you are a seasoned DIY enthusiast or a first-time installer, taking the time to understand the process will help you to take pride in your work and achieve satisfying results. Should you encounter any challenges along the way, remember that consulting a professional is always an option to ensure your bathroom remains functional and up to standard. Happy installing!

