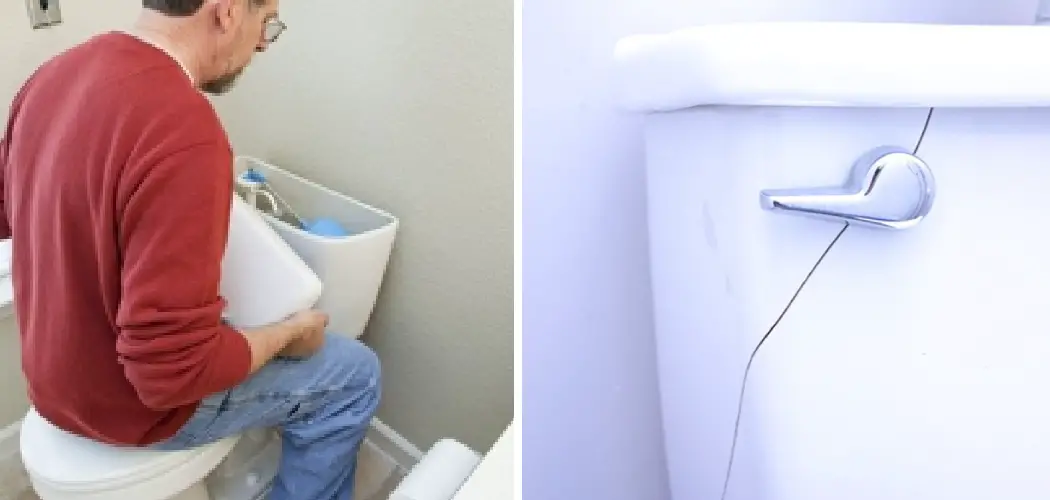
Repairing a cracked toilet tank may seem daunting, but with the right tools and techniques, it can be a manageable DIY project. A cracked tank can lead to water leaks, wasted resources, and potential damage to your bathroom floor.
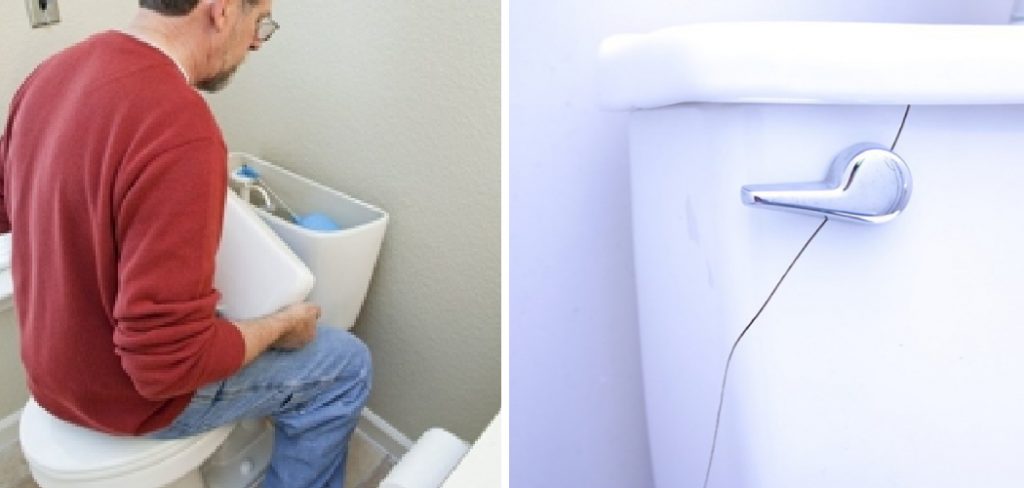
Understanding the causes of the cracks, whether it be due to age, temperature fluctuations, or improper installation, is crucial for an effective repair. In this guide, we will walk you through how to repair cracked toilet tank, choose the appropriate repair method, and ensure that your toilet runs efficiently again.
The Problem of a Cracked Toilet Tank
A cracked toilet tank poses several issues that can disrupt your daily life and lead to unexpected expenses. Firstly, the most immediate concern is water leakage, which can cause increased water bills and, if left unaddressed, may lead to significant damage to your bathroom flooring and substructures.
Additionally, the presence of water pooled around the base of the toilet can create an unsightly and hazardous environment, increasing the risk of slips and falls.
Furthermore, a compromised tank can lead to inefficiencies in your toilet’s flushing mechanism, resulting in incomplete flushes and further inconvenience. Addressing a cracked toilet tank promptly is essential not only for maintaining hygiene and safety but also for ensuring the longevity of your plumbing fixtures.
Understanding Toilet Tank Cracks
Toilet tank cracks can arise from various factors, and understanding these causes is vital for effective repair and prevention. Aging materials, particularly porcelain, can become brittle over time, leading to cracks from regular wear and tear. Additionally, significant temperature fluctuations—such as a sudden drop in temperature or exposure to direct sunlight—can create stress on the tank’s surface, increasing the likelihood of cracking.
Improper installation, including overtightening bolts or misaligning components, can also contribute to structural weaknesses. Lastly, external impacts, such as a heavy object accidentally hitting the tank, can result in physical damage. By recognising these potential causes, homeowners can take proactive measures to avoid future issues and maintain the integrity of their toilet systems.
10 Methods How to Repair Cracked Toilet Tank
1. Identify the Crack and Assess the Damage
Before attempting any repairs, it’s crucial to identify the exact location and extent of the crack. Thoroughly inspect the toilet tank to determine whether the crack is superficial or if it has compromised the tank’s structural integrity.
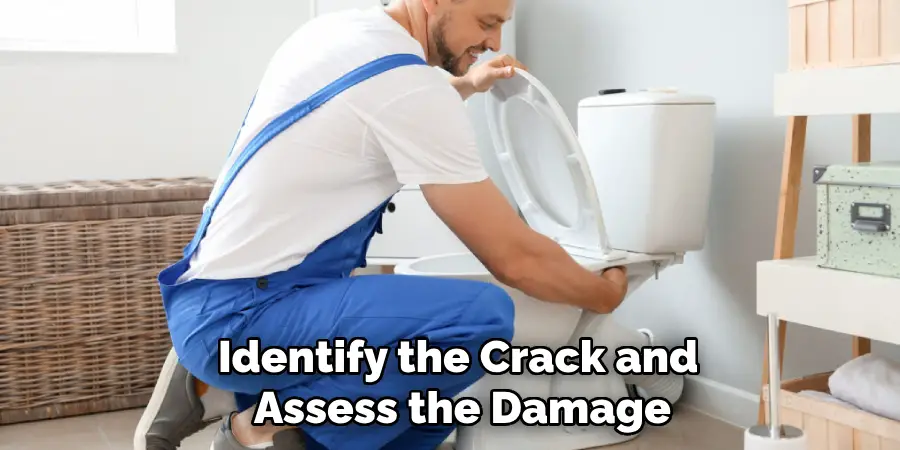
If the crack is small and isolated, it may be possible to repair it with less invasive methods. However, if the crack is large or spreading, it may indicate a more serious issue that could require replacing the entire tank.
2. Drain and Clean the Toilet Tank
To effectively repair a cracked toilet tank, you must first drain the tank and clean it thoroughly. Turn off the water supply to the toilet and flush it to empty the tank. Use a sponge or towel to remove any remaining water from the tank. Next, clean the area around the crack with a mild detergent to remove dirt, grime, and mineral deposits. Allow the tank to dry completely before proceeding with any repairs, as moisture can interfere with adhesive applications.
3. Apply Epoxy Resin
Epoxy resin is a popular and effective material for sealing cracks in toilet tanks. It creates a strong, waterproof bond that can withstand the pressure of the water. To use epoxy resin, mix it according to the manufacturer’s instructions.
Apply the mixed epoxy directly to the crack, ensuring that it fills the entire length and width of the crack. Smooth the surface with a putty knife and allow it to cure for the recommended time, usually 24 hours, before refilling the tank. Epoxy resin is ideal for small to medium cracks and provides a durable, long-lasting repair.
4. Use a Plumbing Sealant Tape
Plumbing sealant tape is another method for addressing cracks in a toilet tank. This tape is designed to provide a watertight seal and can be a quick, temporary fix. Start by applying a primer to the area around the crack if the tape manufacturer recommends it. Then, wrap the sealant tape tightly around the crack, overlapping each layer slightly to ensure full coverage.
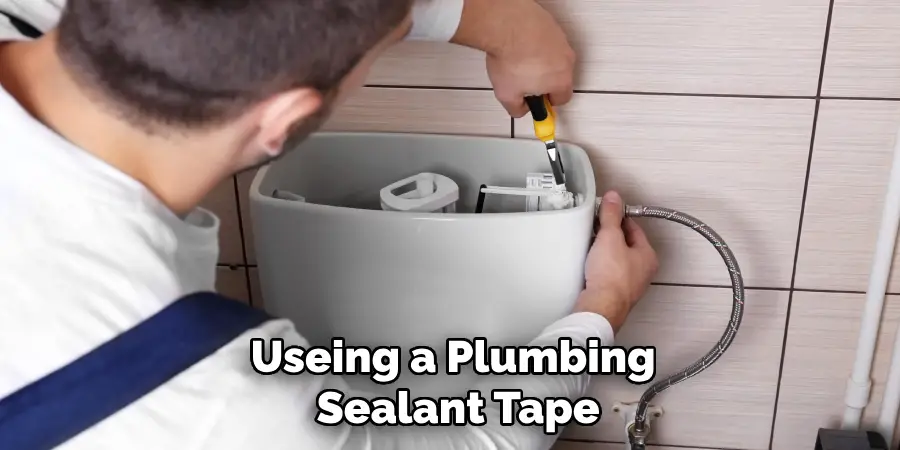
Press the tape firmly to ensure it adheres well to the tank surface. Sealant tape is particularly useful for emergency repairs, but it may not be as durable as other methods for long-term use.
5. Install a Repair Kit
Toilet tank repair kits are available at hardware stores and are specifically designed for fixing cracks and leaks. These kits typically include a combination of adhesive, reinforcement patches, and instructions. Follow the instructions provided in the kit, which generally involve cleaning the crack, applying the adhesive, and then placing a reinforcement patch over the crack. These kits are a comprehensive solution and are effective for both small and moderate cracks, providing a more permanent repair than tape alone.
6. Use a Fiberglass Repair Kit
For larger or more severe cracks, a fiberglass repair kit can provide a robust solution. These kits typically include fiberglass cloth or mesh and resin. To use a fiberglass repair kit, first clean and dry the cracked area. Cut a piece of fiberglass cloth to cover the crack and apply a layer of resin to the area. Place the cloth over the crack and then apply additional resin on top, ensuring that the cloth is fully saturated. Smooth the surface and allow the resin to cure as directed. Fiberglass repair is highly durable and can withstand significant stress and pressure.
7. Apply a Plastic Tank Repair Kit
Plastic tank repair kits are designed specifically for plastic toilet tanks and can be an effective solution for cracks. These kits usually include a plastic patch and adhesive. Clean and dry the cracked area before applying the adhesive to the tank surface. Press the plastic patch firmly onto the crack and allow the adhesive to set according to the manufacturer’s instructions. Plastic tank repair kits are ideal for plastic tanks and can provide a strong, flexible repair.
8. Replace the Tank’s Flush Valve
In some cases, the crack may be associated with or exacerbated by a faulty flush valve. If the crack is near the flush valve, replacing the valve might resolve both the crack and the underlying issue.
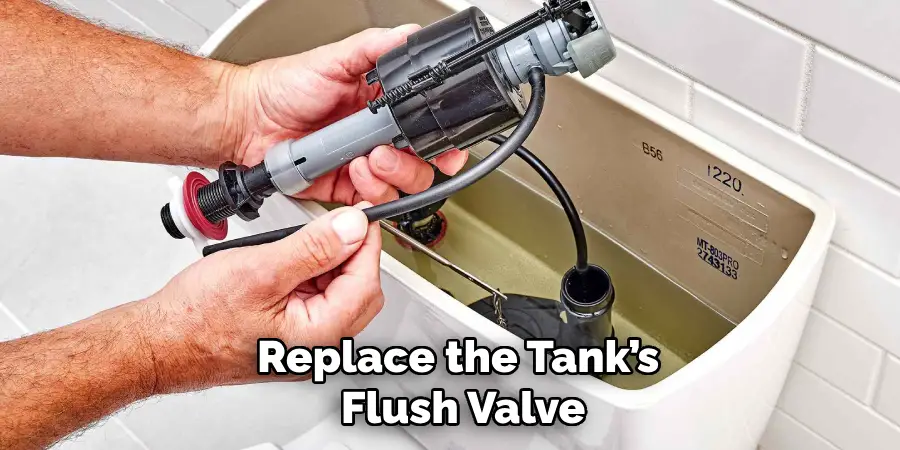
Turn off the water supply, drain the tank, and remove the old flush valve by disconnecting it from the tank and the overflow tube. Install a new flush valve, making sure it fits securely and does not contribute to further cracking. After replacing the valve, check for leaks and test the tank’s functionality.
9. Consider a Professional Repair Service
If you are unsure about the best method for repairing a cracked toilet tank or if previous repairs have failed, consider hiring a professional plumber or repair service. Professionals have access to specialized tools and materials and can provide a more reliable assessment of the damage. They can also ensure that the repair is performed correctly, preventing future leaks or issues. Professional repair may be particularly necessary for large cracks or if the damage extends beyond the tank.
10. Replace the Toilet Tank
In cases where the crack is extensive or if repair attempts have been unsuccessful, replacing the toilet tank might be the most practical solution. While this option involves more cost and effort, it ensures that you have a fully functional and leak-free toilet. To replace the tank, turn off the water supply, remove the old tank by disconnecting it from the bowl and the water supply line, and install the new tank following the manufacturer’s instructions. A new tank will provide a fresh start and eliminate any ongoing issues related to the crack.
Things to Consider When Repairing a Cracked Toilet Tank
When undertaking repairs on a cracked toilet tank, there are several factors to keep in mind to ensure a successful outcome. Firstly, assess the severity of the crack; minor cracks may be easily managed with adhesives or sealants, while more extensive damage may require replacement or professional intervention. Additionally, consider the type of material your toilet tank is made from, as different materials—ceramic, plastic, or fiberglass—may necessitate specific repair methods or products.
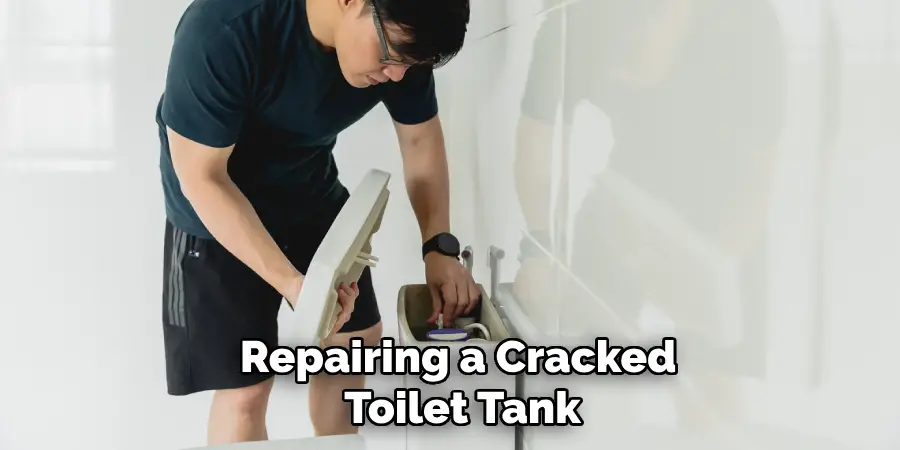
Another important consideration is the age and condition of the toilet. If the tank is considerably old or if other parts are also failing, it might be more cost-effective and efficient to replace the entire toilet rather than investing in repairs. Lastly, think about your skill level and confidence with plumbing tasks; if you’re uncertain or have had previous unsuccessful repair attempts, enlisting the help of a professional might save you time, money, and frustration in the long run.
Conclusion
Repairing a cracked toilet tank can be a complex task, but with the right methods and materials, it is often possible to resolve the issue effectively. From applying epoxy resin and using plumbing sealant tape to employing specialized repair kits and fiberglass, there are various approaches to fixing cracks. For severe damage or persistent problems, professional repair services or replacing the tank may be necessary. Thanks for reading, and we hope this has given you some inspiration on how to repair cracked toilet tank!

