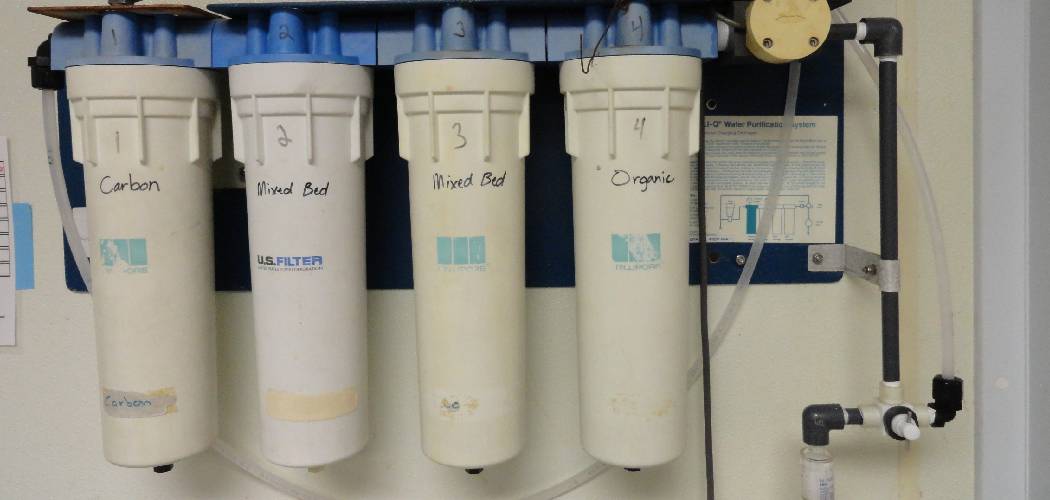
A whole house water filter system is designed to provide clean and safe water throughout your entire home, ensuring that every tap and appliance receives filtered water.
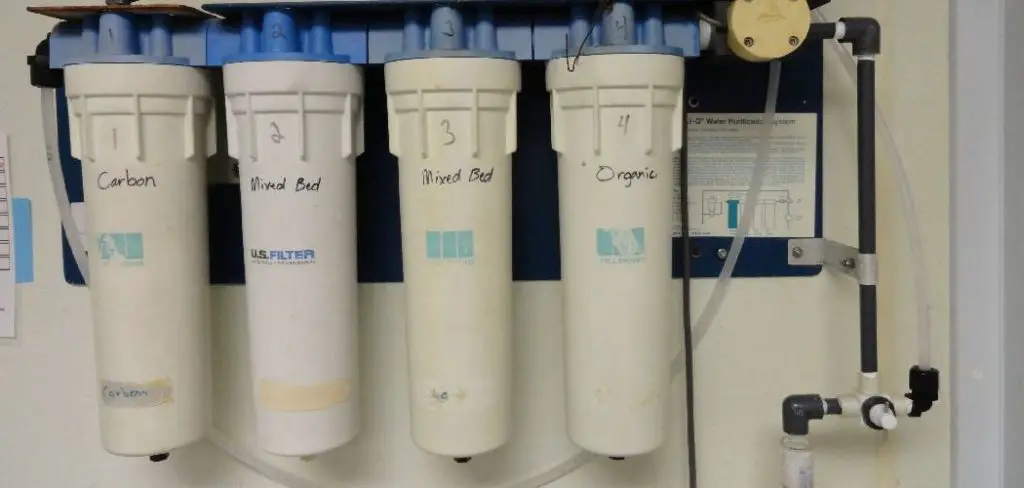
Unlike point-of-use filters that target specific fixtures, whole house systems connect directly to your main water supply and are capable of removing contaminants such as chlorine, sediment, heavy metals, and even harmful microorganisms.
This comprehensive approach not only improves the quality of drinking water but also enhances the performance and longevity of plumbing fixtures and appliances. As concerns about water quality continue to rise, understanding how these systems operate and their benefits becomes increasingly important for homeowners seeking to invest in their health and well-being. In this blog post on “How Does a Whole House Water Filter Work,” we will explore the technology behind these systems and their advantages.
How Does It Filter Water?
A whole-house water filter system works by passing water through a series of filtration stages that target different types of contaminants. The exact process may vary depending on the specific system, but most follow a similar pattern.
Sediment Filtration
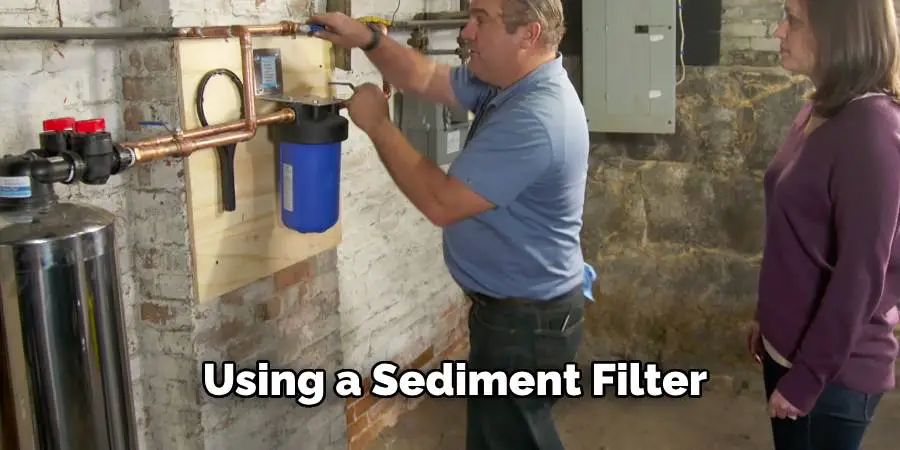
The first stage of the filtration process involves removing large particles such as sand, dirt, and rust from the water. This is typically done using a sediment filter, which traps these particles in its porous material and prevents them from entering your home’s plumbing system. This step not only helps improve water clarity but also prevents damage to appliances and pipes from sediment buildup.
Chemical Adsorption
The next stage of filtration involves removing chemicals such as chlorine, pesticides, and herbicides from the water. This is achieved using an activated carbon filter which works by adsorbing these substances onto its surface. The porous structure of the filter provides a large surface area for contaminants to bind with, effectively removing them from the water.
Reverse Osmosis
Some whole-house water filter systems also include a reverse osmosis (RO) stage. RO is a highly effective filtration process that uses a semi-permeable membrane to remove up to 99% of dissolved solids, including heavy metals, bacteria, and viruses. This stage is especially beneficial for those living in areas with high levels of contamination.
UV Disinfection
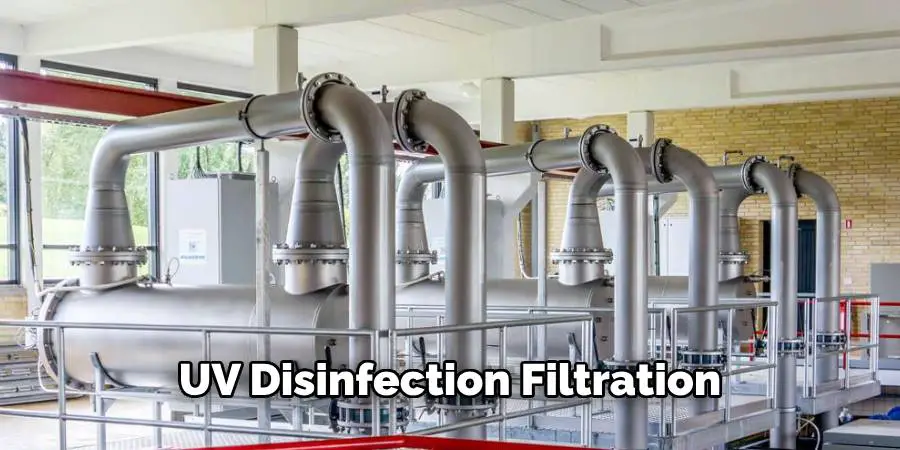
Another common feature in whole-house water filters is UV disinfection. This process uses ultraviolet light to destroy harmful microorganisms such as bacteria, viruses, and parasites that may have survived the previous filtration stages. It is a powerful and chemical-free method of ensuring that your water is safe to drink.
Benefits of a Whole House Water Filter
Improved Water Quality
By targeting multiple contaminants, whole-house water filters provide the highest standard of water quality for your home. This means healthier and better-tasting water for drinking, cooking, and bathing.
Protects Plumbing
The removal of sediment and chemicals not only improves water quality but also helps protect your plumbing system from damage. Sediment buildup can clog pipes and reduce water flow, while chemicals can corrode fixtures over time.
Cost Savings
Investing in a whole house water filter can provide long-term cost savings. By eliminating the need to purchase bottled water and reducing the risk of costly plumbing repairs, these systems can save homeowners money in the long run.
Environmentally Friendly
Using a whole house water filter reduces plastic waste from single-use bottles while also decreasing the amount of harmful substances that enter the environment through wastewater.

Convenience
With a whole house water filter, you no longer need to worry about buying and replacing multiple filters for different fixtures. You also have the peace of mind knowing that every tap in your home is delivering clean and safe water.
Things to Consider Before Purchasing a Whole House Water Filter
- Water quality in your area
- Contaminants you want to target
- Maintenance and replacement costs
- Installation requirement and space availability
- Additional features such as UV disinfection or reverse osmosis
7 Step-by-step Guidelines on How Does a Whole House Water Filter Work
Step 1: Prepare Your Water Supply
Before installing a whole house water filter system, it’s essential to prepare your water supply. First, turn off the main water supply to your home to ensure a safe installation process. This usually involves locating the main shut-off valve, which is typically found near where the water line enters your home. Once the main supply is turned off, open all faucets in the house, beginning with the highest faucet and working your way down to the lowest.

This will help drain the remaining water in the pipes, minimizing any spillage during the installation of the filtration system. Additionally, inspect your current plumbing for any signs of leaks or corrosion, as these could affect the performance of the new system. Taking these preparatory steps will create a cleaner and more efficient environment for the installation of your whole house water filter.
Step 2: Install the Pre-Filter
Once your water supply is adequately prepared, the next step is to install the pre-filter. This component is crucial for the overall performance of your whole house water filter system, as it serves as the first line of defense against larger particles and sediment. To begin, identify the appropriate location for the pre-filter, typically situated just after the main shut-off valve and before the main filter unit. Use a wrench to loosen the existing plumbing connections, and then insert the pre-filter according to the manufacturer’s guidelines.
Ensure that the filter is securely fastened and that all connections are tight to prevent leaks. After installation, turn the main water supply back on slowly to pressurize the system, and check for any leaks around the new connections. Once confirmed that everything is functioning properly, your pre-filter will effectively remove larger contaminants, setting the stage for a more efficient water filtration process.
Step 3: Install the Main Filter
Following the installation of the pre-filter, it’s time to install the main filter unit. This component is responsible for removing chemicals and other smaller particles from your water supply. Similar to installing the pre-filter, identify an appropriate location for the main filter, usually after the pre-filter and before any additional features such as reverse osmosis or UV disinfection.
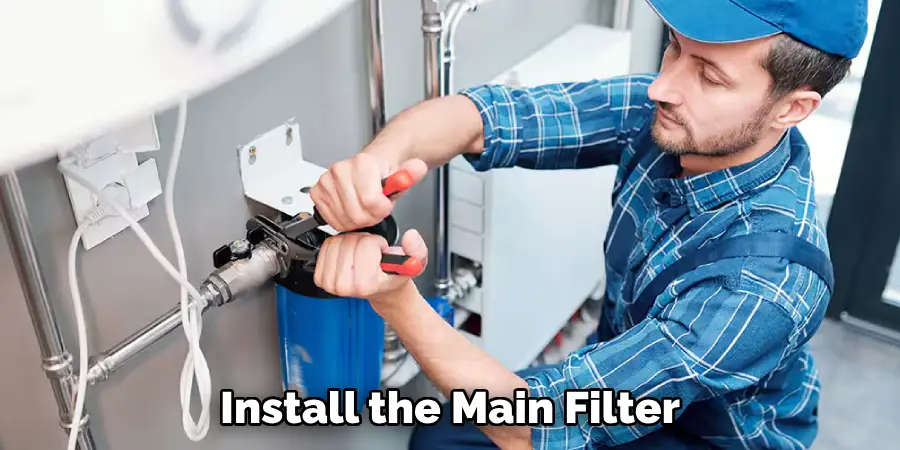
Follow the manufacturer’s instructions carefully when connecting all necessary plumbing connections. Once installed, turn on your main water supply and check for any leaks. If everything appears normal, your main filter is ready to begin its job of providing clean and safe water throughout your home.
Step 4: Install Reverse Osmosis (Optional)
If your whole house water filter system includes a reverse osmosis (RO) stage, the next step is to install this component. First, choose a suitable location for the RO unit, preferably under a sink or in a utility area where the water supply is accessible. Begin by connecting the unit to your well or municipal water supply according to the manufacturer’s instructions. This typically involves attaching the feed water line and ensuring all connections are secure to prevent leaks.
After everything is connected, turn on the water supply and begin the initial flush of the system as recommended by the manufacturer to remove any contaminants or dust accumulated during packaging. Once the RO system has been flushed, check for leaks at each connection point before finishing the installation. With the reverse osmosis system in place, you’ll enjoy an additional layer of protection against dissolved solids and impurities, enhancing your overall water quality.
Step 5: Install UV Disinfection (Optional)
For homeowners looking to eliminate bacteria and other microorganisms from their water supply, the installation of a UV disinfection stage may be necessary. Similar to installing reverse osmosis, choose an appropriate location for the UV unit before connecting it to your main water supply line.
Again, carefully follow the manufacturer’s instructions when making all necessary plumbing connections, and remember to check for leaks once everything is installed. With a UV disinfection system in place, you can have peace of mind knowing that your water is free from harmful microorganisms.
Step 6: Bypass Valves
After installing the main filtration components, the next crucial step is to set up the bypass valves. Bypass valves allow you to divert the water supply around the filtration system in case of maintenance, repairs, or filter replacements. To begin, identify the appropriate locations for the bypass valves, which are typically installed near the main filter unit.
Follow the manufacturer’s instructions for connecting the valves to ensure a secure fit and proper functionality. Once installed, test the bypass valves by turning on the water supply and adjusting the valves to confirm that water can flow through them without any leaks. This step is essential for maintaining your whole house water filter system’s efficiency and ensuring uninterrupted access to water when required.
Step 7: Regular Maintenance
After successfully installing your whole house water filter system, it’s essential to establish a routine maintenance schedule. This includes replacing the filters at recommended intervals and performing any necessary maintenance or repairs on the system.
Following a regular maintenance schedule will ensure that your filtration system continues to provide clean and safe water for you and your family. Additionally, regularly testing your water supply can help identify any potential issues or changes in the quality of the water coming into your home. By staying on top of maintenance, you can extend the lifespan of your whole house water filter and continue enjoying clean and healthy water for years to come.
Additional Tips for Maintaining Clean Water
Regular Water Testing
Conduct periodic testing of your water to check for contaminants such as chlorine, lead, and bacteria. Home testing kits are available, or you can send samples to a certified laboratory for more comprehensive analysis.
Monitor Filter Performance
Keep an eye on the performance indicators for your filters, such as pressure drops or changes in water taste and odor. If you notice any irregularities, it may be time to replace or maintain your filters sooner than scheduled.
Flush Your System
Periodically flush your water filtration system to clear out any accumulated sediment and debris. This is especially important after long periods of non-use, as stagnant water can lead to contamination.
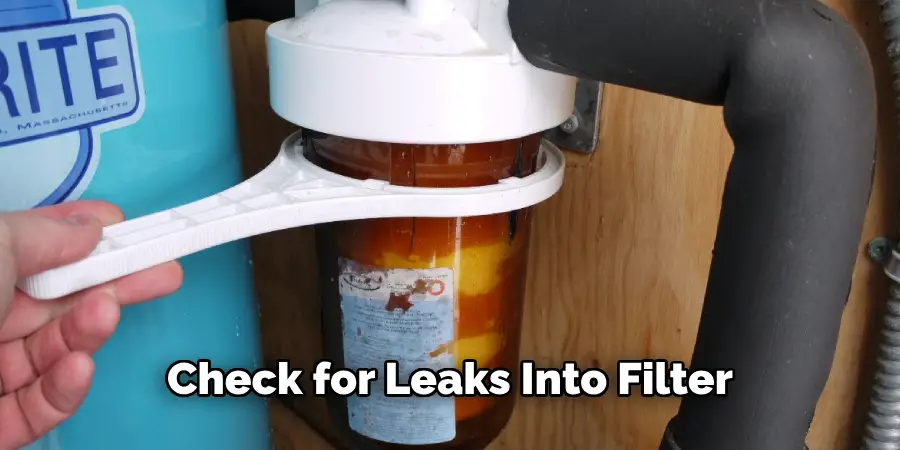
Check for Leaks
Routinely inspect the installation points of your filtration system for leaks. Addressing leaks promptly can help prevent potential damage to your plumbing and fixtures.
Keep Components Clean
Ensure that all components of your filtration system, including pre-filters and storage tanks (if applicable), are kept clean and free from buildup to maintain optimal performance.
Know Your Water Source
Understand the characteristics of your water supply, such as whether it is well or municipal water. Different sources may have different contaminants, and knowing this helps you choose the right filtration solution.
Educate Your Family
Make sure all household members understand the importance of clean water and how to use the filtration system effectively. Shared responsibility helps maintain the system more effectively.
By adhering to these additional tips on how does a whole house water filter work, you can ensure that your whole house water filter system operates efficiently and continues to provide safe and clean water for your home.
Frequently Asked Questions
Q: How Often Should I Replace the Filters on My Whole House Water Filter System?
A: This depends on the specific filtration system and your water usage, but typically, every 6-12 months is recommended for optimal performance.
Q: Can a Whole House Water Filter Remove All Contaminants from My Water?
A: While whole-house water filters can effectively remove many contaminants, it is essential to understand what your specific system can filter and regularly test your water to ensure its quality.
Q: Is Professional Installation Necessary for a Whole House Water Filter System?
A: It is recommended to have a professional install your whole house water filter system to ensure proper installation and avoid any potential issues or damage in the future. However, some systems may be DIY-friendly, so carefully follow the manufacturer’s instructions if choosing this route.
Conclusion
In summary, a whole-house water filter system is an invaluable investment for any homeowner looking to improve their water quality and overall health. By efficiently removing a wide range of contaminants through various filtration processes, these systems not only provide safe and clean water for drinking and daily use but also extend the lifespan of the plumbing infrastructure.
The benefits, including cost savings, convenience, and environmental sustainability, make whole-house water filters an appealing choice in today’s health-conscious world. As awareness of water quality issues continues to grow, embracing such systems can significantly enhance the quality of life for families, ensuring that everyone enjoys the peace of mind that comes with clean water. Thanks for reading this article on how does a whole house water filter work.

