In this article, we will guide you through the process of safely removing an anti-scald valve from a bathtub, a crucial skill for repairs, replacements, or adjusting water temperature settings.
Anti-scald valves are essential to regulate water temperature, preventing potentially severe burns, especially in households with children or elderly residents who may be more vulnerable to sudden hot water exposure.
Understanding how to remove anti scald valve bathtub is important for maintaining a safe bathing environment. The process involves several key steps: first, turning off the water supply; then, accessing the valve assembly; and finally, removing the valve while taking care to preserve all components for reassembly. By following these instructions, you can ensure that your bathtub remains both functional and safe for all users.
Safety Precautions and Tools Needed
Safety First
Before starting the process, it’s crucial to ensure safety by taking a few precautions. First and foremost, turn off the bathtub’s water supply to prevent water flow while you work on the valve. This will help avoid unnecessary mess and potential injury. Additionally, wearing protective gloves and eyewear is strongly recommended to guard against sharp edges and any debris that may be present during the removal process.
Tools and Materials
Gathering the right tools and materials is essential for a smooth operation. You will need a screwdriver, an adjustable wrench, and pliers to help with valve disassembly. It’s also wise to have a plumber’s tape on hand for reassembly to ensure tight seals and prevent leaks. Lastly, consider using a flashlight for better visibility in the work area, especially if you are working in a confined space.
Turn Off the Water Supply
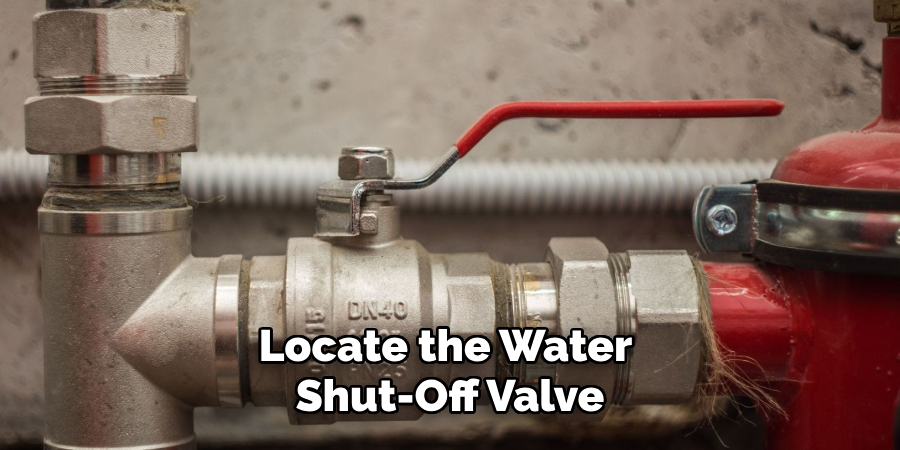
Locate the Water Shut-Off Valve
To begin the process of removing the anti-scald valve, you must first locate the water shut-off valve. This valve can typically be found at the main water supply line leading into your home or at a local shut-off valve situated near the bathroom.
Once located, turn off the water supply by rotating the shut-off valve clockwise until it’s fully closed. This action will effectively prevent any water flow while you work on the bathtub’s plumbing.
Test the Faucets
After you’ve turned off the water supply, it’s important to ensure that water is indeed shut off before proceeding further. To do this, turn on the bathtub faucet and check if any water flows. If no water comes out, you can proceed with confidence, knowing that the supply has been successfully cut off. This step is crucial for avoiding unexpected water flow during the valve removal process, contributing to a safer and cleaner work environment.
Access the Anti-Scald Valve
Remove the Handle and Trim
To begin accessing the anti-scald valve, you must first remove the bathtub handle and the trim surrounding it. Start by using a screwdriver to carefully unscrew the handle. Ensure that you are cautious during this step to avoid damaging the handle or the trim. After successfully removing the handle, focus on the trim plate behind it. This plate may be secured with additional screws, which you will need to unscrew, or you may need to gently pry it off. Once the trim plate is removed, you should have a clear view of the valve assembly, allowing you to proceed with the next steps.
Locate the Anti-Scald Valve
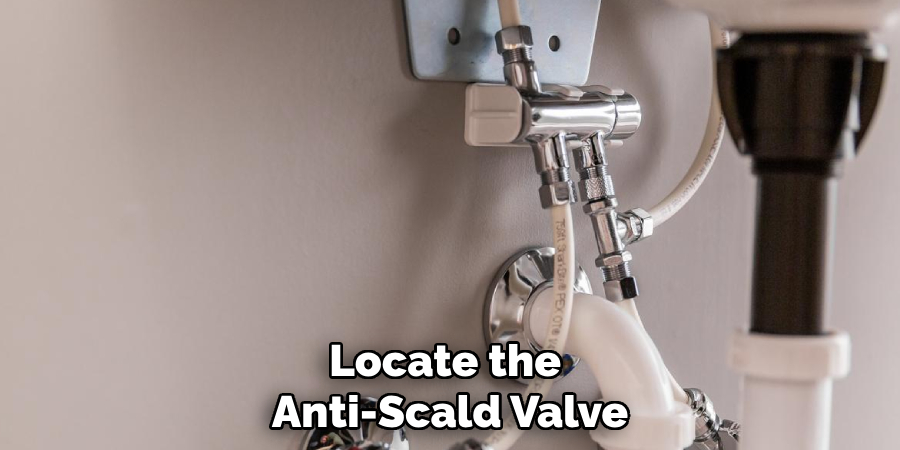
With the trim plate removed, the next task is to identify the anti-scald valve within the exposed valve assembly. Typically, the anti-scald valve is a small, round device connected to the system’s hot water supply side. This valve plays a critical role in regulating water temperature and ensuring safety.
To ensure you correctly identify the part, it’s highly recommended to consult the manufacturer’s manual for your bathtub or valve. These manuals often provide specific diagrams and instructions tailored to your model, which can be invaluable during this process.
Additional Considerations for Different Valve Types
When accessing the anti-scald valve, keep in mind that the setup may vary depending on the type of valve installed.
- Single-Handle Valves: If your bathtub features a single-handle setup, you may need to disassemble additional components to gain full access to the anti-scald valve. This could include removing any decorative caps or unscrewing other fixtures connected to the handle that may impede your access to the valve itself.
- Two-Handle Valves: For bathtubs equipped with two-handle valves note that each handle typically controls a separate water supply—one for hot and one for cold. The anti-scald valve is usually located on the hot side, so focus your attention there. Depending on the design, you might need to remove and trim the hot water handle to reveal the valve underneath.
By following these detailed instructions and considerations, you will be well on your way to successfully accessing and working on the anti-scald valve, ensuring a seamless and safer plumbing repair process.
How to Remove Anti Scald Valve Bathtub: Remove the Anti-Scald Valve
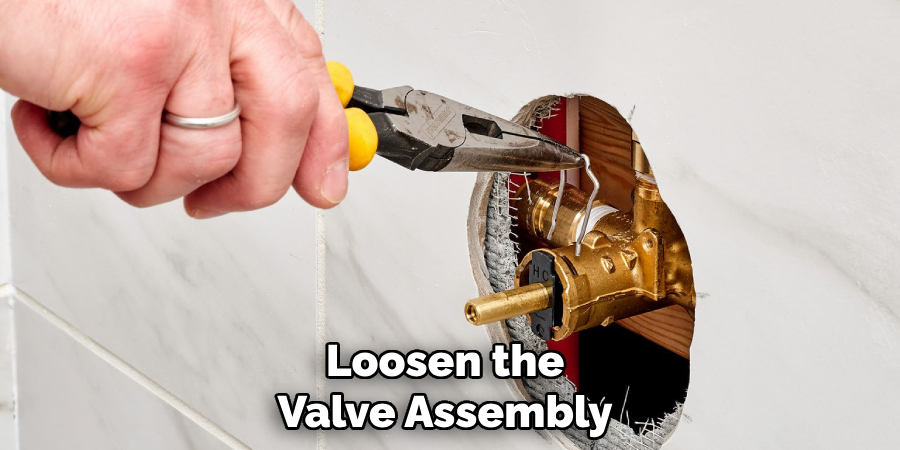
Loosen the Valve Assembly
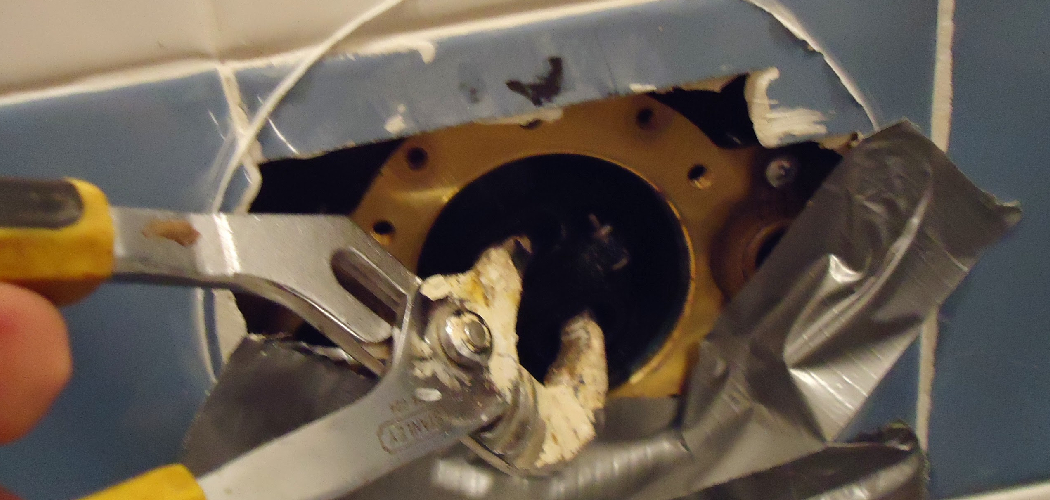
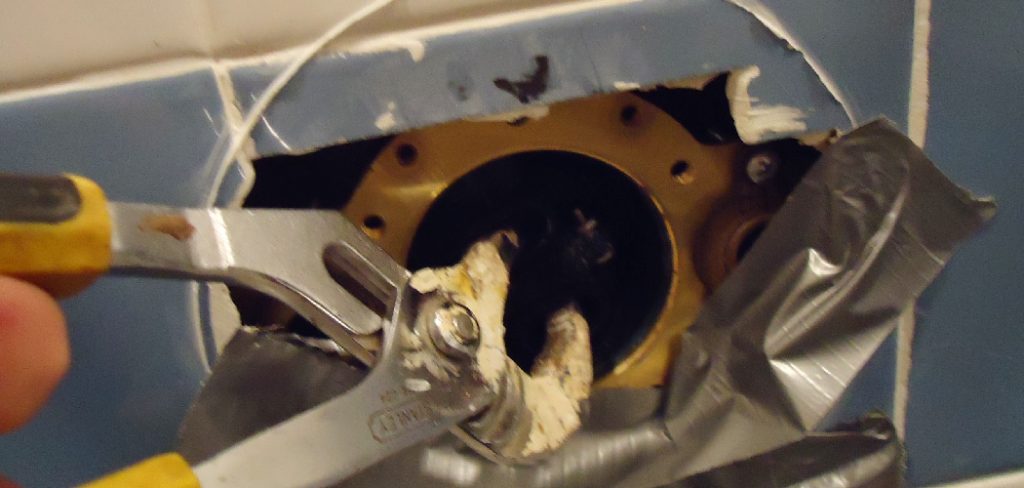
To remove the anti-scald valve, you need to loosen the valve assembly. Use an adjustable wrench or pliers for this task by placing the tool around the valve fitting. Turn the wrench or pliers counterclockwise gently. It’s important to apply steady pressure without forcing the valve, as overtightening can damage the surrounding pipes or fittings.
If the valve feels stubborn or difficult to turn, it could be due to corrosion. In this case, consider applying a penetrating oil to the valve and wait a few minutes to allow the oil to seep into the corroded areas. This can help ease the removal process and reduce the risk of damaging any components.
Extract the Valve
Once you’ve successfully loosened the valve, the next step is to extract the anti-scald valve from the assembly. Carefully grip the valve and pull it out, paying close attention to its orientation and any attached components, as this information will be useful when you need to install a new valve or reassemble the existing one. While extracting, inspect the valve and surrounding area for any signs of damage or wear, particularly if you plan to replace the valve. Look for cracks, rust, or other issues indicating underlying problems needing attention before a new valve is installed.
Handle Valve Components
As you remove the anti-scald valve, retaining all parts for reassembly is crucial. Keep screws and components organized and nearby, especially if you intend to reinstall a new valve or make adjustments to the current one. Some anti-scald valves may also contain additional elements such as springs, O-rings, or small clips.
Ensure these components are also removed or preserved in a safe place, as they are vital for the valve’s operation and effectiveness. Properly handling these parts will streamline the installation process and help maintain the valve’s functionality, ensuring consistent safety in your bathtub’s water temperature control.
Install a Replacement Valve or Reassemble Without It
Install a New Valve
If you are installing a new valve, begin by reversing the removal steps you followed earlier. Ensure that all connections are secure and properly aligned for optimal performance. Apply the plumber’s tape over the new valve’s threads to create a tight seal, which will help prevent leaks when the system is back in operation.
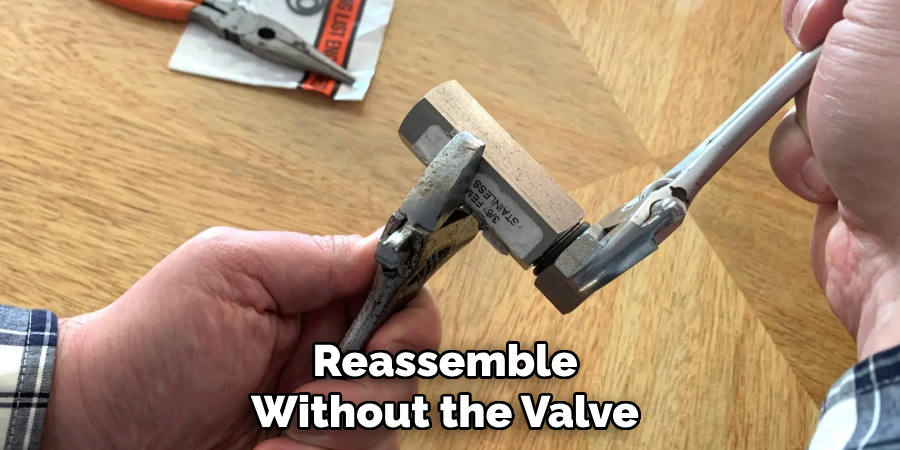
Reassemble Without the Valve
Should you choose not to replace the anti-scald valve, carefully reassemble the valve assembly components. Follow the same order of disassembly to guarantee all parts fit correctly back into place. After reassembling, it is crucial to test the system for leaks or issues. Turn on the water supply and check for secure connections to ensure everything is functioning smoothly and safely.
Turn the Water Back On and Test
Restore Water Supply
To restore the water supply, locate the shut-off valve that controls water flow to the bathtub. Rotate the valve counterclockwise until it is fully open, ensuring that water can flow freely. After turning the valve, take a moment to check around the area where the anti-scald valve was installed for any signs of leaks or water dripping. Confirming that all connections are secure is essential to avoid future issues.
Test the Temperature and Pressure
Once the water supply is restored, run the bathtub faucet to check the water temperature and pressure. Allow the water to flow for a few moments, observing the temperature and ensuring it reaches the desired level. If you have replaced the anti-scald valve, closely monitor its function during this process to confirm that it effectively regulates temperature, providing both safety and comfort during use. Adjust as necessary to achieve optimal performance.
Common Issues and Troubleshooting
Difficulty Removing Valve
Sometimes, you may encounter difficulties when trying to remove the anti-scald valve. If the valve is stuck, consider applying localized heat using a heat gun or hairdryer to expand the metal slightly, which may help loosen it. Additionally, using a valve removal tool designed for this purpose can provide the necessary leverage to get a firm grip and turn the valve without damaging the surrounding components.
Leaking After Reassembly
If you experience leaks after reassembling the valve, it’s crucial to address the issue promptly. Begin by checking all connections for tightness. If any areas appear loose, ensure they are properly tightened. You may need to apply additional plumber’s tape around the threads of the connections to create a better seal. This simple step can effectively prevent leaks and ensure that the system functions correctly, maintaining safety and comfort in your bathtub.
You Can Also Check Connect Wireless Thermostat to Boiler

Conclusion
In summary, the process of how to remove anti scald valve bathtub involves several key steps to ensure safety and efficiency. Start by loosening the valve assembly carefully, then extract the existing valve while keeping track of all components. If replacing the valve, reverse the disassembly steps, apply the plumber’s tape for a secure fit, or reassemble the existing elements if opting not to replace them.
Proper installation is crucial to prevent leaks and maintain the safe operation of your bathtub. Always double-check connections and functionality before concluding the task. If at any point you feel uncertain about the steps or encounter difficulties, it’s advisable to seek professional help. This ensures the plumbing system is properly managed, reducing risks and potential issues in the future.

