Passing a plumbing inspection is crucial for any property owner, whether it involves new construction, renovation, or routine maintenance. These inspections are designed to ensure that plumbing systems are safe, up to code, and fully functional, ultimately protecting both the property and its occupants.
Plumbing inspections matter because they verify compliance with local regulations, preventing potential hazards such as leaks, flooding, and water supply contamination.
This article will provide a comprehensive guide on how to pass plumbing inspection, outlining essential steps to prepare effectively. Key areas of focus will include verifying the proper installation of fixtures, checking for leaks, ensuring adequate ventilation, and maintaining appropriate drainage slopes. With careful preparation and attention to detail, homeowners can facilitate a smooth inspection process and avoid the costly consequences of non-compliance.
Understand Local Plumbing Codes and Regulations
Know the Requirements
Familiarizing yourself with local plumbing codes and regulations is essential, as these standards can differ significantly between regions. These codes dictate the minimum acceptable standards for plumbing installation and maintenance, ensuring the safety and efficiency of plumbing systems.
Obtaining necessary permits before undertaking any plumbing work is crucial, as failing to do so can result in fines or required alterations to the installation. Additionally, having all required documentation—such as permits, inspection reports, and system plans—ready for the inspection can streamline the process and demonstrate compliance.
Common Code Violations
Understanding common code violations is vital for avoiding failed plumbing inspections. Some frequent issues include improper pipe slope, which can lead to drainage problems; incorrect fittings or materials that do not meet local standards; and inadequate venting, which can cause pressure issues and improper drainage.
Staying informed about these potential pitfalls will help ensure that your plumbing system adheres to all relevant regulations, enhancing the likelihood of a successful inspection.
How to Pass Plumbing Inspection: Ensure Proper Pipe Installation and Sizing
Step 1: Check Pipe Sizing
Using the correct pipe sizes for both water supply and drainage systems is crucial to ensuring optimal performance and compliance with plumbing codes. Undersized pipes can lead to inadequate flow, potentially resulting in low water pressure or clogs, which may violate code standards. It is essential to consult local plumbing codes or a qualified professional to determine the appropriate sizing for the various components of your plumbing system.
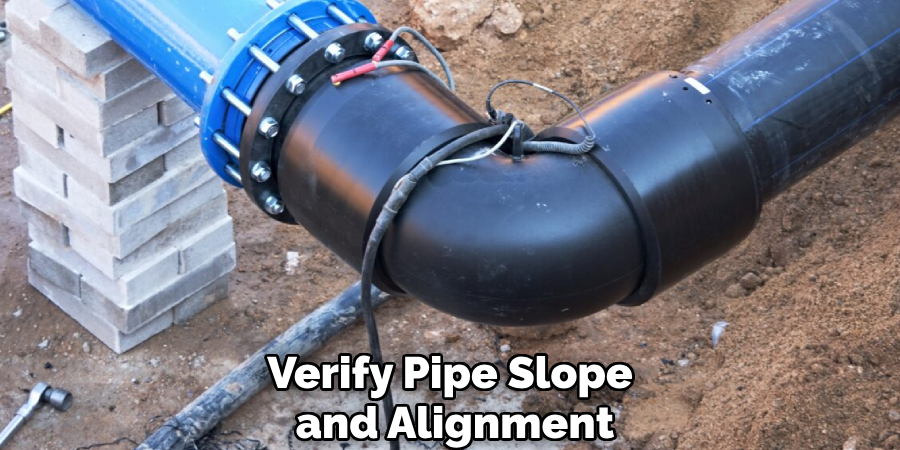
Step 2: Verify Pipe Slope and Alignment
Maintaining a proper slope for drainage pipes—typically 1/4 inch per foot—is necessary for effective wastewater flow. This slope minimizes the risk of backups and ensures that waste is efficiently directed away from fixtures.
Additionally, check that all pipes are straight, properly aligned, and securely fastened to their supports. This alignment prevents leaks and mitigates the potential for pipe movement over time, which could lead to further issues.
Step 3: Avoid Cross-Connections
Cross-connections occur when clean water lines become improperly linked to wastewater or contaminated sources, posing a significant risk of contamination. Understanding and preventing such connections is critical for compliance with plumbing codes and the safety of potable water supplies. To effectively mitigate the risk of cross-connections, installing backflow preventers at key points in the plumbing system is advisable. These devices ensure that water flows in one direction, protecting the integrity of clean water systems from potential pollutants.
Check for Proper Venting and Drainage
Step 1: Verify Vent Pipe Installation
Proper venting is essential in plumbing systems. It allows air to enter and exit, facilitating smooth drainage and preventing the buildup of harmful sewer gases within the home. Vent pipes should be strategically placed, ensuring that all fixtures are effectively vented. Additionally, these vent pipes must extend above the roofline, as specified by local plumbing codes, to maintain effective airflow and prevent any negative pressure from affecting the system.
Step 2: Test Drainage Efficiency
Run water through all drains to check for slow drainage. Systems that fail to empty quickly may indicate blockages, improper slopes, or other potential issues that could lead to plumbing failures. Inspecting all traps, such as P-traps, is equally important as they are designed to hold water and create a seal against sewer gases. Properly installing these traps is essential in maintaining a healthy indoor environment and ensuring compliance with plumbing codes.
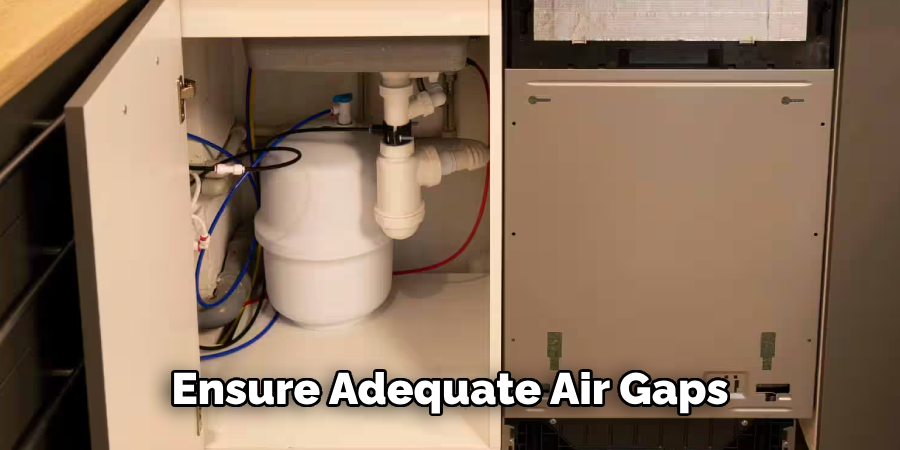
Step 3: Ensure Adequate Air Gaps
Air gaps play a crucial role in preventing the siphoning of wastewater back into clean water supplies, thereby protecting public health and safety. This is particularly significant for appliances like dishwashers and sinks.
Ensure that all air gaps are installed according to code and test their functionality by observing whether wastewater is able to drain freely without backflow. Maintaining these air gaps is imperative for compliance and to safeguard against contamination of potable water systems.
Test for Leaks and Pressure
Step 1: Conduct a Pressure Test
Checking for proper water pressure is critical in ensuring the plumbing system operates efficiently. A pressure gauge measures the water pressure within the system, aiming for a range of 40-60 psi (pounds per square inch), which is considered ideal for most residential plumbing.
If the pressure falls outside this range, adjustments can be made using a pressure regulator. Additionally, it’s essential to investigate any water supply issues that may impact pressure levels.
Step 2: Inspect for Leaks
A thorough visual inspection identifies potential leaks throughout the plumbing system. Inspect all pipes, joints, and connections for any signs of moisture, including water stains, dripping, or corrosion.
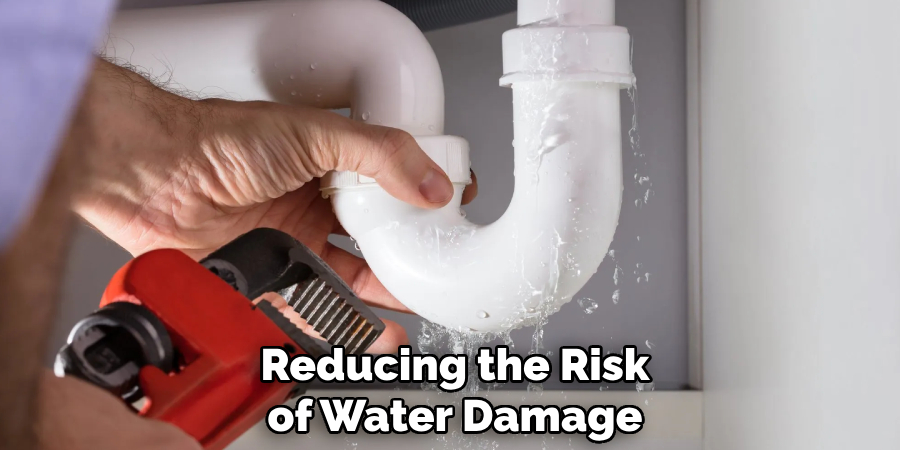
For areas that are hard to see, employ dye testing by adding food coloring to the water or conduct air pressure testing to reveal hidden leaks. These methods enable proactive detection and facilitate timely repairs, reducing the risk of water damage and costly repairs.
Step 3: Check Fixture Connections
Ensure that all connections for fixtures, such as faucets, toilets, and showerheads, are securely fastened and free from leaks. Inspecting seals and gaskets is equally important, as wear or damage can lead to water loss. To maintain efficiency, replace any compromised seals or gaskets during inspection to prevent leaks. By confirming the integrity of these connections, you contribute to an overall more reliable and compliant plumbing system.
Ensure Compliance with Water Heater Regulations
Ensuring compliance with water heater regulations is essential for safety and efficiency. Water heaters must meet specific plumbing codes that dictate installation, maintenance, and safety features. Familiarise yourself with local and national regulations to avoid potential hazards and penalties. This includes understanding the requirements for venting and clearances and incorporating temperature and pressure relief valves (T&P valves). Regular inspections and adherence to these regulations promote safe operation and extend the unit’s lifespan.
Water Heater Placement
Correct Location
Confirm that the water heater is installed in an accessible location, away from combustible materials, and with adequate clearance as required by code. It should also be located in a space that allows for proper ventilation and is protected from freezing temperatures to ensure optimal functionality and safety.
Proper Venting
Ensure the water heater’s venting system is installed correctly to safely expel exhaust gases. The venting must conform to local building codes, maintaining proper height and distance from openings to prevent the risk of carbon monoxide buildup in living spaces.
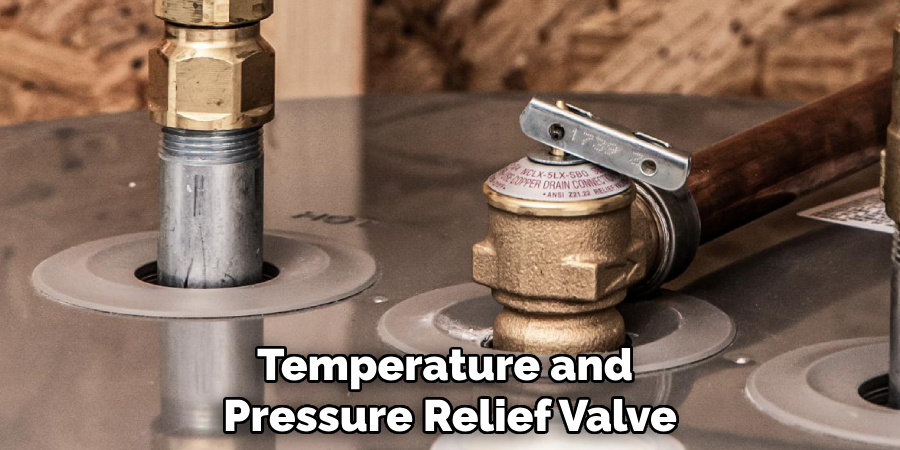
Temperature and Pressure Relief Valve
Check the T&P Valve
Verify that the temperature and pressure relief (T&P) valve is installed correctly and has a proper discharge pipe that terminates at a safe location. This valve is crucial for releasing excess pressure and temperature, preventing potential tank ruptures. Ensure that the discharge pipe is appropriately positioned, directing excess water safely away from the unit and not allowing backflow.
Discharge Pipe Location
Confirm that the discharge pipe extends to a safe area, such as a floor drain or outside, where hot water cannot cause harm or damage. Proper installation and maintenance of the T&P valve are critical for compliance with plumbing codes and the overall safety of the water heater system.
Inspect Fixtures and Appliances
Fixture Installation
Correct Installation
Ensure that all fixtures, such as sinks, toilets, and bathtubs, are properly installed, securely fastened, and leveled. This not only enhances functionality but also ensures compliance with plumbing standards. Insufficiently installed fixtures can lead to leaks or structural damage over time.
Check Functionality
Test each fixture to ensure it operates correctly without leaks or issues. Turn on faucets, flush toilets, and run the bathtub to confirm proper water flow and drainage. Address any anomalies immediately to prevent further complications.
Appliance Connections
Inspect Connections
Check connections for appliances like dishwashers, washing machines, and ice makers to ensure they are secure and compliant with the code. Loose or improperly installed connections can lead to significant leaks and water damage.
Verify Drainage
Make sure appliances drain properly and don’t cause backflow or leaks. Inspect hoses and drain lines for kinks or blockages to maintain effective drainage and prevent overflow issues.
Common Issues That Lead to Failed Inspections
Improper Pipe Slope
Correctly sloping pipes are critical for ensuring efficient drainage. An inadequate slope can result in slow drainage or even blockages, which may cause sewer gasses to back up or lead to non-compliance with plumbing codes. An established gradient—typically 1/4 inch per foot for drainage pipes—should be maintained to facilitate proper flow and prevent potential inspection failures.
Ventilation Problems
Inadequate or missing vents are a frequent cause of failed plumbing inspections. Proper venting equalizes air pressure within the plumbing system, preventing issues like siphoning and ensuring that wastewater flows smoothly. To rectify the issue, assess the venting layout and add or repair vents as necessary to meet code requirements.
Leaky Connections
Even minor leaks can lead to significant issues during inspection, making it crucial to address them promptly. Inspect all connections for signs of moisture or dripping and take the necessary steps to make repairs. Neglecting these leaks can result in water damage and non-compliance penalties, thus reinforcing the necessity of maintaining watertight connections.
Final Checklist Before Inspection
Review the System
Conduct a final walkthrough of the entire plumbing system, utilizing a checklist to confirm that all components meet code requirements. Run water through each fixture one last time to ensure there are no leaks, and that drainage is functioning properly. This thorough review helps identify any overlooked issues and boosts the confidence that the system is ready for inspection.
Organize Documentation
Prepare all necessary permits, plans, and inspection records for the inspector’s review. Ensure that these documents are easily accessible and clearly organized. Additionally, I need to be ready to communicate effectively with the inspector, answering any questions they may have about the system or previous work performed. This preparation can help facilitate a smoother inspection process and demonstrate your commitment to maintaining compliance.
Conclusion
In summary, preparing for a plumbing inspection involves several essential steps, including understanding local codes, ensuring proper installation of fixtures and appliances, and thoroughly testing for leaks and pressure. Conducting a final review of the plumbing system and organizing all necessary documentation is vital to facilitate a smooth inspection process.
Thorough preparation significantly reduces the risk of delays and costly re-inspections, making it a crucial aspect of any plumbing project. For those who find the task daunting or overwhelming, hiring a professional plumber can provide peace of mind and expert guidance on how to pass plumbing inspection effectively. A qualified professional will ensure that every aspect of the plumbing system complies with code requirements, enhancing the chances of a successful inspection outcome.

