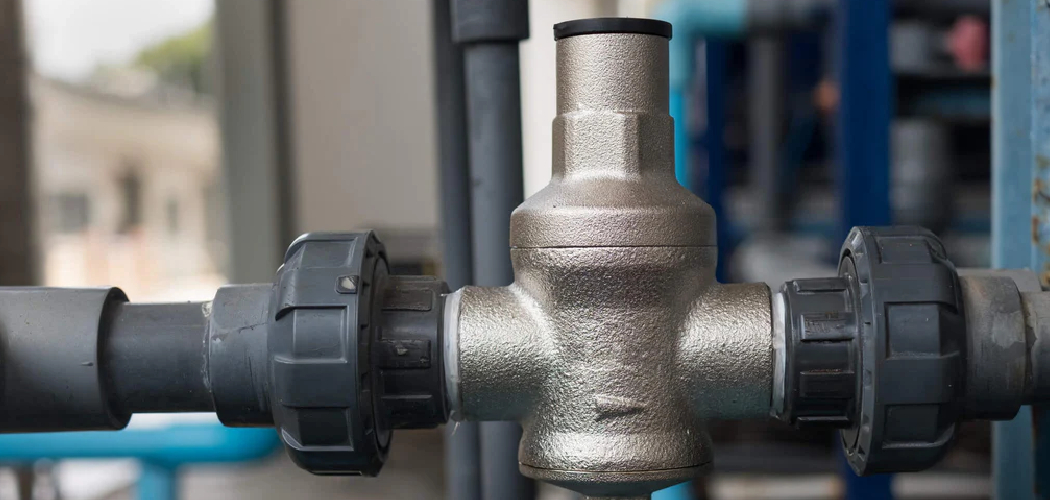
Installing a pressure regulator at the water meter is vital for maintaining optimal water pressure throughout your home. A pressure regulator helps control high water pressure, ensuring that it remains within safe limits, essential for protecting your plumbing system and appliances from damage.
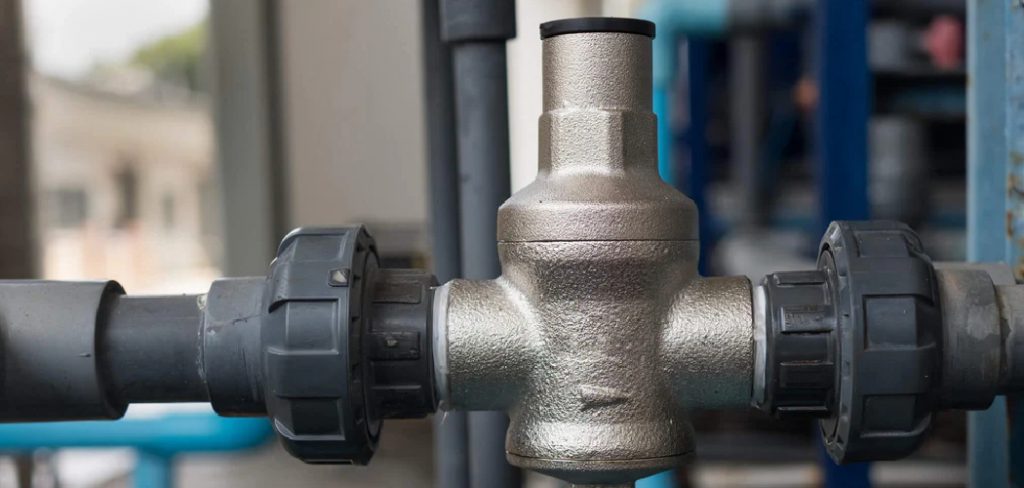
Regulating water pressure prevents potential leaks and bursts in pipes and enhances water efficiency by minimizing wastage and reducing strain on fixtures, thereby prolonging their lifespan. This article will provide a comprehensive guide on how to install a pressure regulator at the water meter, outlining key steps from preparation to final adjustments.
Homeowners can effectively shield their plumbing systems from the adverse effects of uncontrolled water pressure by understanding the importance of proper pressure regulation and the installation process.
Understanding Pressure Regulators
Definition and Function
A pressure regulator is vital to controlling and maintaining consistent water pressure in plumbing systems. Its primary purpose is to reduce and regulate incoming high water pressure from the main supply line, ensuring that it remains within safe levels. By doing so, the pressure regulator protects your plumbing fixtures and appliances from potential damage caused by high pressure, thus facilitating efficient water use and preventing leaks.
Benefits
Installing a pressure regulator offers numerous benefits, including safeguarding your plumbing system against the adverse effects of high water pressure. By regulating water flow, it reduces water wastage and enhances the longevity of fixtures like faucets and toilets.
Additionally, a pressure regulator minimizes the risk of leaks or bursts in pipes, which can lead to costly repairs and significant water damage in your home. Overall, the use of a pressure regulator leads to improved water efficiency, making it an essential investment for any homeowner concerned about maintaining their plumbing system.
Types of Pressure Regulators
There are several types of pressure regulators, with the most common being adjustable and non-adjustable models. Adjustable pressure regulators allow homeowners to set their desired pressure levels, making them suitable for various applications and preferences.
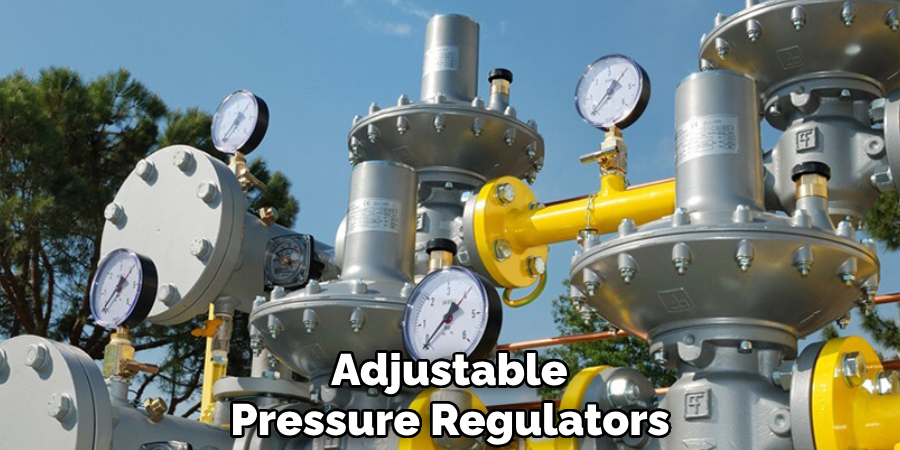
On the other hand, non-adjustable models maintain a fixed pressure and are ideal for situations where consistent performance is required. When selecting the right pressure regulator, consider factors such as your home’s existing water pressure, flow requirements, and the specific needs of your plumbing fixtures, ensuring optimal performance and compatibility with your system.
Preparing for Installation
Step 1: Gather Tools and Materials
Before starting the pressure regulator installation, ensure you have all the necessary tools and materials at hand. Tools Required: You will need a pipe wrench for gripping and turning the pipes, an adjustable wrench for tightening fittings, a pipe cutter for making precise cuts, and Teflon tape to ensure leak-proof connections. Materials Needed: Gather the pressure regulator itself, compatible pipe fittings, and any necessary adapters that may be required for your plumbing configuration.
Step 2: Turn Off Water Supply
To begin, locate the main shut-off valve for your water supply, which is typically found near the water meter or where the water line enters your home. Turn this valve clockwise to stop the flow of water. Once the water supply is shut off, it’s crucial to drain the system to avoid any leaks during installation. Open the faucets in your home, starting from the highest floor down to the lowest, allowing any remaining water in the pipes to exit completely.
Step 3: Prepare the Pipe
Inspect the section of the pipe where the pressure regulator will be installed. Ensure that it is clean and in good condition, free from corrosion or damage. Use a pipe cutter to carefully cut the pipe at the designated location, ensuring that the cut is straight for a proper fit.
How to Install a Pressure Regulator at The Water Meter: Installing the Pressure Regulator
Step 1: Install the Regulator
Positioning the pressure regulator is a crucial step in the installation process. Ensure that it is located in the correct place on the pipe, following the manufacturer’s instructions, which typically specify the flow direction arrow should point in the same direction as the water flow.
This correct orientation is essential for optimal performance and effectiveness. Once positioned, secure the regulator to the pipe using appropriate pipe fittings. It’s important to wrap Teflon tape around the threads of the fittings to create a watertight seal, preventing any potential leaks that could arise from improper connections.
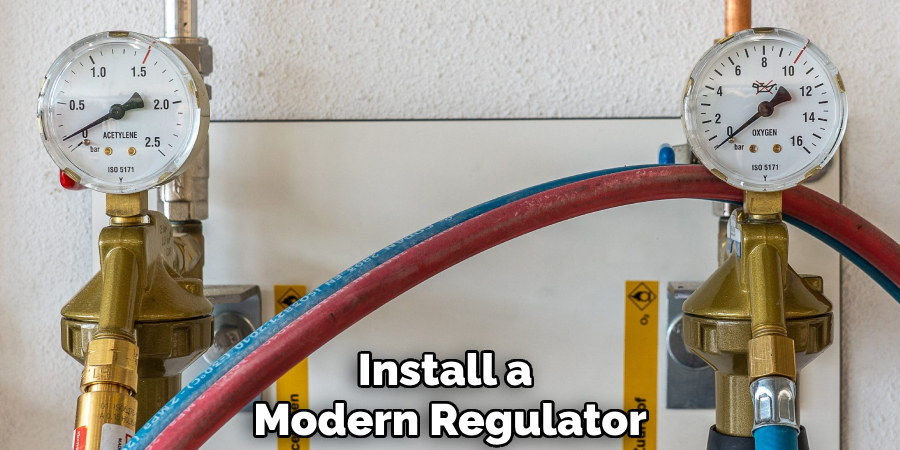
Step 2: Connect Pipe Fittings
After the regulator is securely attached, turn your attention to connecting the necessary pipe fittings. These fittings will link the pressure regulator to your existing plumbing system. Ensure all connections are tight and secure to avoid any leaks. As a precaution, apply pipe sealant or additional Teflon tape to threaded connections; this will help fortify the seals and enhance leak prevention.
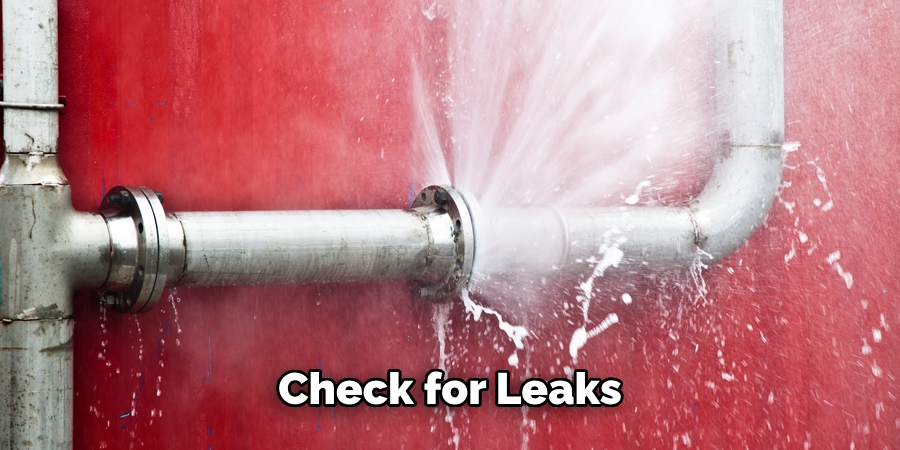
Step 3: Check for Leaks
Once all fittings are connected, it’s time to gradually turn the main water supply back on. This allows you to monitor for any leaks that may occur around the pressure regulator and the newly attached pipe fittings.
After enabling the water supply, check all connections carefully. Additionally, the functionality of the pressure regulator will be tested by observing the water pressure at various fixtures throughout the house.
This will ensure that the regulator is working correctly, maintaining the safe water pressure levels necessary for the protection of your plumbing system and appliances.
Adjusting and Testing the Regulator
Adjust Pressure Settings
Once the pressure regulator is installed, the next step is to adjust the pressure settings to meet your preferences or adhere to local building codes. Locate the adjustment screw or dial on the pressure regulator; turning this mechanism adjusts the water pressure flowing through your plumbing system.
It’s essential to consult the manufacturer’s instructions to ensure you are following the specific guidelines for proper adjustment and calibration. Incorrect settings may lead to either excessive pressure, which can damage your plumbing, or insufficient pressure, which can affect water delivery to fixtures.
Test System Performance
After adjusting the pressure settings, it’s crucial to test the performance of your plumbing system. Begin by checking various fixtures in your home, such as sinks, showers, and appliances, to confirm that consistent water pressure is maintained throughout.
Keep an eye on the performance of the pressure regulator over time; monitor for any fluctuations or issues that may arise, such as sudden changes in pressure or leaks. Addressing these concerns promptly ensures that your plumbing system operates efficiently, maintaining optimal water flow and safeguarding your fixtures from potential damage.
Finalizing the Installation
Secure and Clean Up
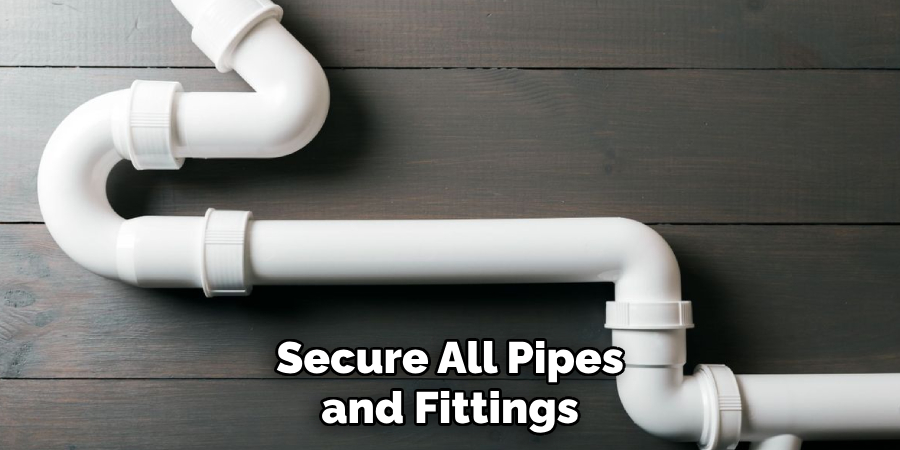
Secure Pipes: After completing the installation, double-check that all pipes and fittings are tightly connected, with no loose or exposed sections. This ensures a safe and efficient plumbing system. Clean Work Area: Take time to clean the work area thoroughly, removing all debris, tools, and any leftover materials from the installation. Keeping the site tidy not only enhances safety but also helps prevent any potential hazards.
Documentation and Maintenance
Document Installation: It’s essential to document the installation details, including the configured pressure settings and any adjustments made during the process. This information will be useful for future reference or maintenance. Regular Maintenance: Advise homeowners on the importance of conducting regular maintenance checks on the pressure regulator. Periodically inspecting for leaks and verifying pressure readings ensures continued functionality and longevity of the unit, protecting plumbing fixtures from potential damage.
Frequently Asked Questions (FAQs)
1. What Is a Pressure Regulator, and Why Do I Need One?
A pressure regulator is a device that controls the water pressure in your plumbing system. It ensures that water pressure remains at safe levels, protecting your plumbing fixtures and appliances from damage caused by excessive pressure.
2. How Can I Tell if My Pressure Regulator Is Malfunctioning?
Signs of a malfunctioning regulator may include fluctuating water pressure, inconsistent faucet flow, or visible leaks around the regulator and connections. If you notice any of these issues, it may be time to inspect or replace your regulator.
3. Can I Install a Pressure Regulator Myself, or Should I Hire a Professional?
While DIY installation is possible if you have some plumbing knowledge and skills, hiring a professional is often recommended for those unfamiliar with plumbing work. This ensures proper installation and reduces the risk of leaks or other issues.
4. How Often Should I Check My Pressure Regulator?
It’s advisable to check your pressure regulator at least annually or more frequently if you notice changes in water pressure. Regular maintenance can help identify potential issues before they result in significant problems.
5. What Is the Ideal Water Pressure for A Residential Home?
The optimal water pressure for most residential systems typically ranges from 40 to 60 psi (pounds per square inch). However, for specific requirements, it’s essential to refer to local building codes and manufacturer recommendations.
6. What Should I Do if My Water Pressure Is Too High or Too Low?
If your water pressure is too high, adjust the pressure regulator according to the manufacturer’s instructions. If it’s too low, ensure that the regulator is functioning correctly, check for clogs in your plumbing, or consult a professional for further assistance.
Conclusion
In summary, installing a pressure regulator at the water meter involves several key steps: first, turning off the water supply and draining the system; second, preparing and cutting the pipe for the regulator’s placement; next, securely installing the regulator and connecting the necessary fittings; and finally, adjusting the pressure settings and testing the system’s performance.
Proper installation is crucial for effective pressure regulation and to prevent potential plumbing issues, ensuring your water flow remains consistent and safe. If you are unsure about any aspect of the installation, or if complications arise, it is advisable to seek professional help.
Remember, knowing how to install a pressure regulator at the water meter can save you time and stress, but professional guidance can provide peace of mind and ensure everything is done correctly.

