Are you tired of getting scalded in the shower whenever someone flushes a toilet or turns on a sink? It may be time to adjust the anti-scald valve in your bathtub. This simple fix can make your bathing experience much more comfortable and safe.
How to adjust anti scald valve bathtub is an essential task that ensures safe and comfortable water temperatures while bathing. This valve is a safety mechanism designed to prevent scalding by limiting the maximum temperature of the water from the faucet. Whether you’re looking to maintain the valve for better performance or make adjustments after plumbing or water heater changes, understanding how to adjust this component properly can enhance your bathing experience.
This guide will walk you through the steps necessary to adjust your anti-scald valve safely and effectively.
What Will You Need?
Before we get started, make sure you have the following tools on hand:
- Adjustable wrench
- Phillips head screwdriver or Allen key (depending on valve type)
- Towels or rags
- Hot water thermometer
Once you have gathered the necessary tools, it’s time to begin adjusting your anti-scald valve.
10 Easy Steps on How to Adjust Anti Scald Valve Bathtub
Step 1: Prepare the Area
Begin by ensuring the bathtub area is clean and free from any items that may obstruct your work. Clearing the space will make it easier to access the plumbing fixtures and help prevent accidents. You should lay down towels or rags around the bathtub to catch any water that may spill during the adjustment process.

It’s also a good idea to let others in your home know that you’re working on plumbing so they can avoid using the bathroom for a while. Lastly, before you start, identify the anti-scald valve’s location, typically found behind the handle or within the wall near the faucet, ensuring you know exactly where to direct your efforts.
Step 2: Turn Off the Water Supply
Before adjusting the anti-scald valve, it’s crucial to turn off the water supply to your bathtub. Locate the shut-off valves, typically found near the water heater or under the sink. Turn these valves clockwise until fully closed to prevent water flow while you work. Once the water supply is off, turn on the faucet to release any remaining water in the pipes and relieve pressure, making the adjustment process safer and cleaner.
Step 3: Access the Anti-Scald Valve
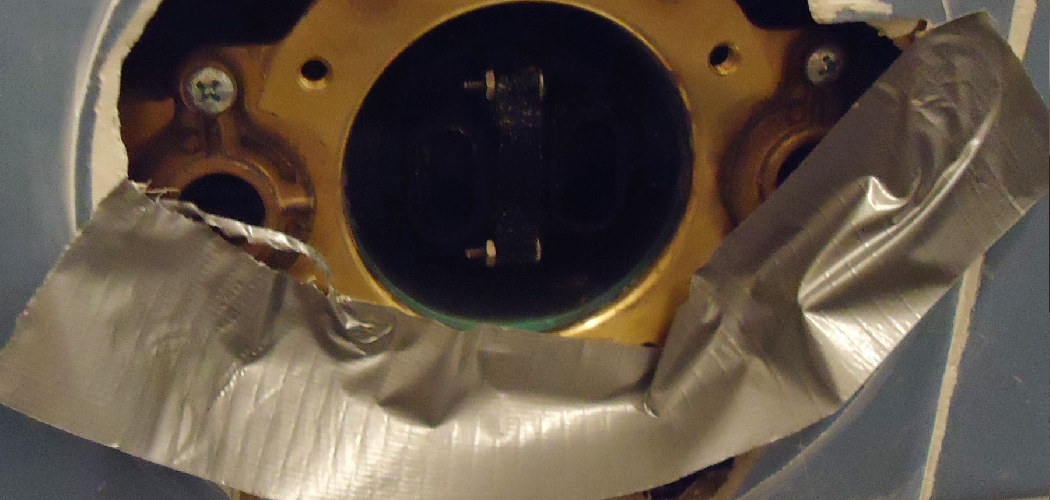
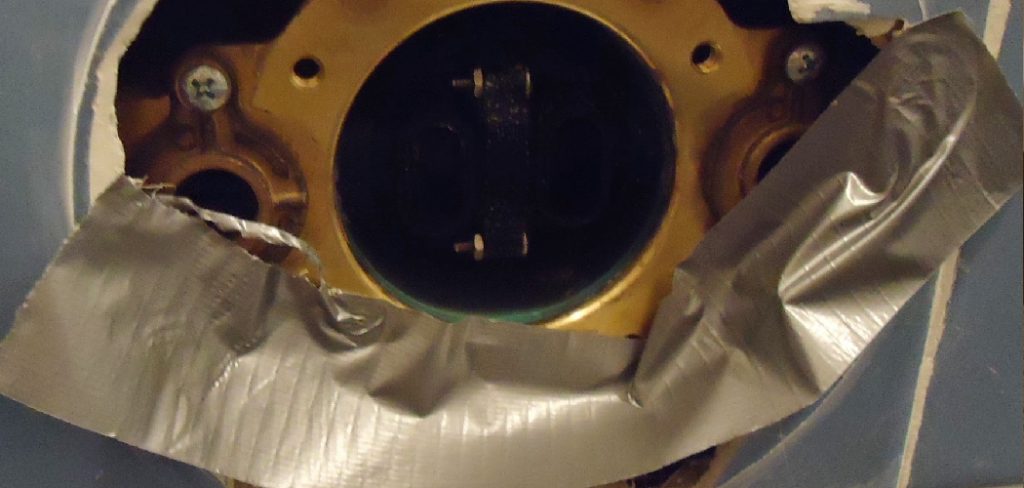
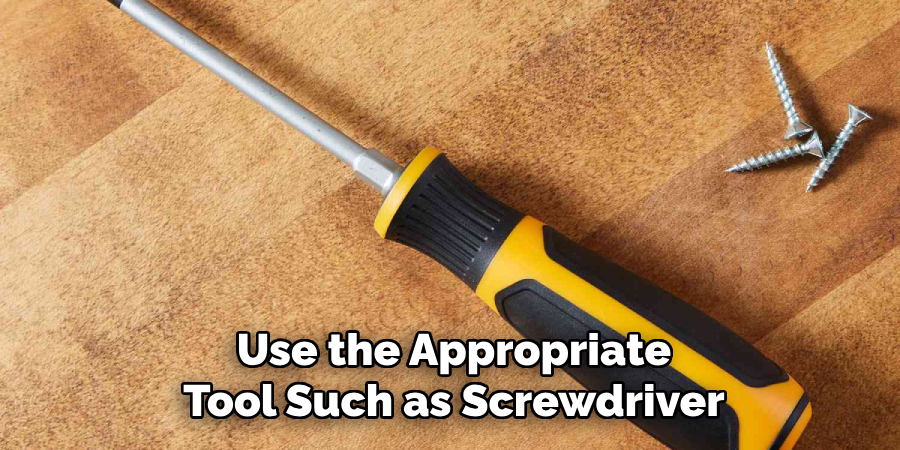
It’s time to access the anti-scald valve with the water supply turned off. Depending on your bathtub’s design, you may need to remove the handle or a decorative cover to reach the valve. Use the appropriate tool, such as a Phillips head screwdriver or Allen key, to carefully loosen and remove any screws. You should see the valve mechanism once the handle or cover is off.
Take a moment to inspect it for any visible signs of wear or damage, as this can affect its performance in regulating water temperature. Keep track of any small parts you remove to ensure a smooth reassembly later.
Step 4: Check Temperature Setting
After accessing the anti-scald valve, the next step is to check the existing temperature setting. Most anti-scald valves have a temperature adjustment mechanism, which could be a limit stop or a rotational adjustment. To identify the adjustment method, consult the manufacturer’s instructions, as this can vary by brand. Typically, you’ll find a dial or screw that controls the maximum temperature.
If a scale indicates temperatures, use a hot water thermometer to measure the current water temperature at the faucet. This step is crucial as it helps you establish a baseline and ensures that any adjustments you make will lead to safer, more comfortable water temperatures. Take note of the measured temperature and the current position of the adjustment mechanism, as this will aid in recalibrating it later. If necessary, note which direction to turn the adjustment to increase or decrease the temperature setting.
Step 5: Adjust the Temperature Setting
Once you have determined the current temperature setting, you can adjust the anti-scald valve to achieve your desired water temperature. If you need to decrease the maximum temperature, turn the adjustment mechanism counterclockwise; to increase it, turn it clockwise. Make minor adjustments—typically, a quarter of a turn is sufficient—and then recheck the temperature at the faucet using your thermometer.
Continue this process until you reach the safe and comfortable temperature range for your household, usually around 100°F to 120°F (38°C to 49°C). Remember that safety is paramount, so avoid setting too high to prevent scalding risks, especially for children or elderly individuals who may be more sensitive to heat.
Step 6: Reassemble the Faucet
Once you have achieved the desired temperature setting, it’s time to reassemble the faucet. Carefully place the handle or decorative cover back where it belongs, ensuring all components align correctly. Secure it in place by tightening any screws you removed earlier, but avoid overtightening, as this can damage the fittings.
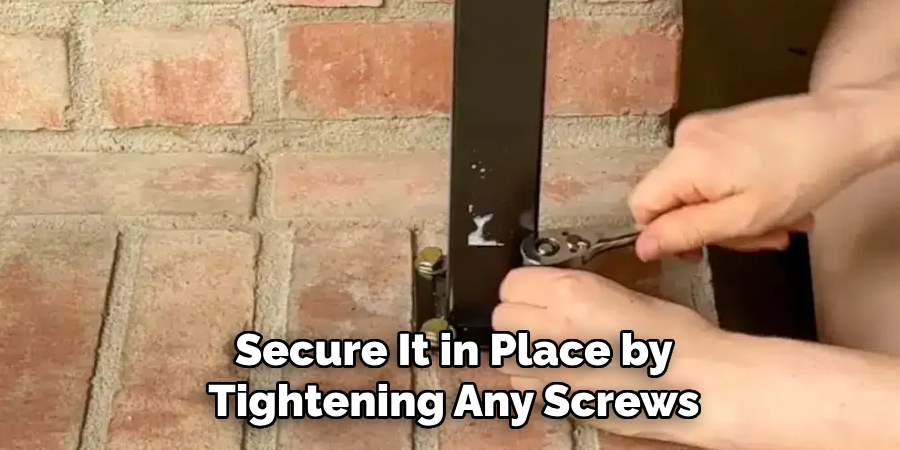
Ensure that everything is firmly in position, as this will help maintain the valve’s functionality and prevent future leaks. After reassembling, take a moment to double-check that no parts were left out and that everything appears intact before moving on to the next step.
Step 7: Turn On the Water Supply
Now that the faucet has been reassembled, it’s time to turn the water supply back on. Locate the shut-off valves you closed earlier and turn them counterclockwise until fully open. This will restore water flow to your bathtub. To ensure everything works correctly, turn on the faucet slowly and let the water run momentarily. Watch for leaks around the handle or the valve area, as this may indicate that something wasn’t reassembled correctly.
If you notice any leaks, turn the water supply off again and double-check your work before proceeding.
Step 8: Test the Water Temperature
With the water supply restored, testing the water temperature to ensure it’s within the desired range is essential. Allow the water to run for a few moments, then use your hot water thermometer to check the temperature at the faucet. If the temperature is too high or too low, you may need to repeat the previous steps to adjust the anti-scald valve accordingly. Remember to prioritize safety and keep within a comfortable range (100°F to 120°F or 38°C to 49°C) to prevent any risk of scalding.
Step 9: Final Checks
After confirming the water temperature is safe and comfortable, perform final checks on your work. Inspect the area around the faucet and anti-scald valve for any signs of leaks. Ensure the handle operates smoothly and the temperature adjustment feature functions as intended. If everything looks good and operates correctly, you’ve successfully adjusted your anti-scald valve and enhanced your bathing experience.
Step 10: Clean Up
Finally, it’s time to clean up your work area. Remove any towels or rags to catch spills, and ensure the floor is dry to prevent slips or falls. Store your tools in their designated places, and if you have extra parts or old components from the valve, dispose of them properly. Take a moment to admire your handiwork and enjoy knowing your anti-scald valve is now set correctly for a safer bathing environment.
Following these steps, you can confidently adjust your anti-scald valve and ensure that your household’s water temperature is safe and comfortable for everyone.
5 Things You Should Avoid
- Neglecting Safety Precautions: Always prioritize safety when working with plumbing fixtures. Wear protective gear, gloves, and safety goggles to prevent injuries. Ensure the water supply is off before adjusting to avoid accidental burns or leaks.
- Overtightening Components: It’s easy to assume that tighter is better, but overtightening screws and fittings can damage the valve and create future leaks. Use only moderate force when securing components during reassembly.
- Ignoring Manufacturer Instructions: Each anti-scald valve may function differently based on the brand and model. Failing to consult the manufacturer’s guidelines can lead to incorrect adjustments, making it vital to refer to the specific instructions provided with your valve.
- Making Large Adjustments: Avoid making large adjustments simultaneously when adjusting the temperature setting. Instead, make small increments to ensure you move toward the desired temperature incrementally, reducing the risk of scalding or discomfort.
- Don’t Ignore Leaks: If you notice any leaks during or after the adjustment process, don’t ignore them. Addressing leaks promptly can prevent water damage and costly repairs down the road. Double-check your work and ensure all components are correctly reassembled to stop further leakage.
Conclusion
In conclusion, how to adjust anti scald valve bathtub is an essential process for ensuring safe and comfortable water temperatures for all users, especially for children and the elderly.
By diligently following the outlined steps—from turning off the water supply to conducting final checks—you can effectively set the valve to your desired temperature. Remember to prioritize safety, make gradual adjustments, and refer to the manufacturer’s instructions for your valve model.
With careful attention to detail and routine maintenance, you can enjoy peace of mind knowing your bathing experience is safe and pleasurable. Always promptly address any leaks or issues to maintain your plumbing system’s integrity.

