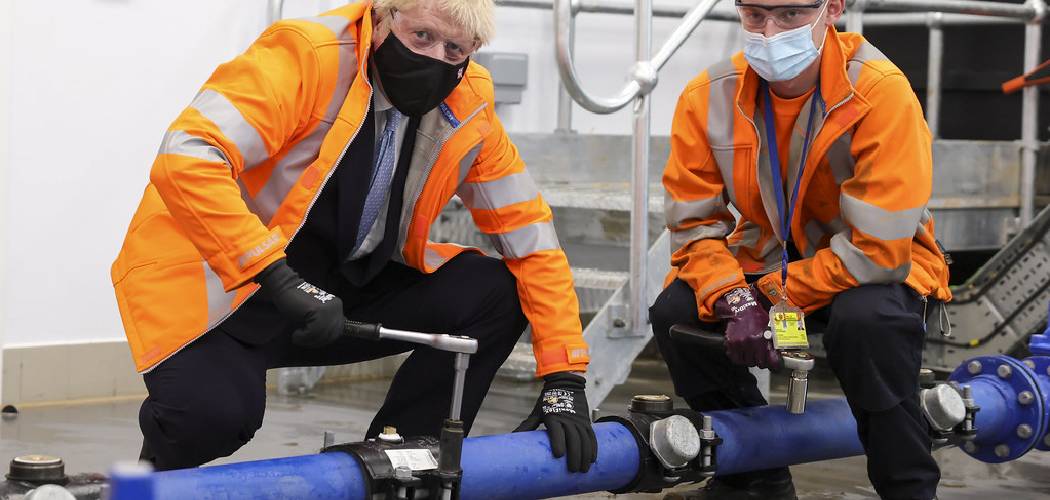
A water main break can lead to significant disruptions in water supply and create a multitude of issues, from property damage to public health concerns. Understanding how to properly address a water main break is essential for homeowners and municipal workers alike.
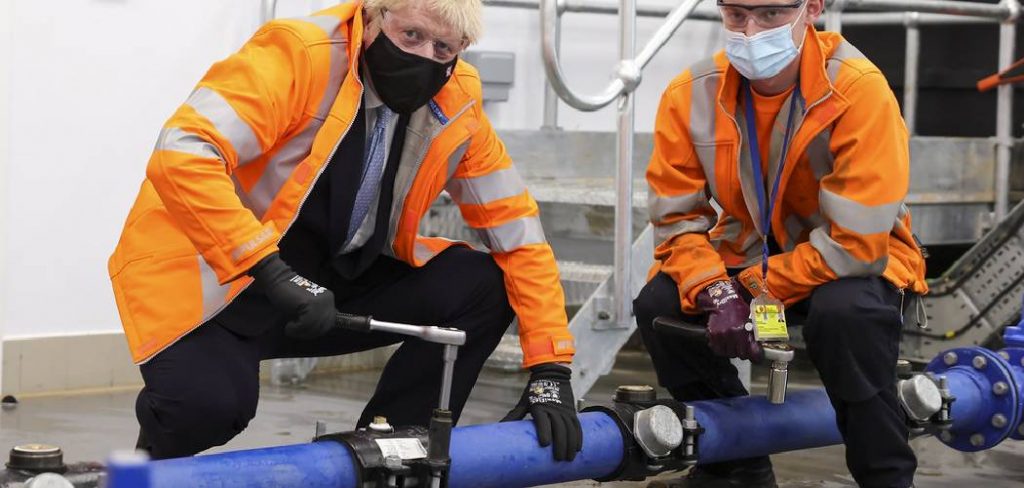
This guide on how to fix a water main break will provide an overview of the causes, signs, and steps to take when encountering a water main break, ensuring that you are prepared to handle such emergencies effectively and efficiently.
Why Do Water Main Breaks happen?
Water main breaks can happen for various reasons, including:
- Age and Deterioration of Pipes
- Freezing and Thawing of the Ground
- Shifting Soil or Earth Movement
- Corrosion Due to Chemical Reactions in the Water Supply
- Damage From Construction Work or Other External Factors
It’s important to note that water main breaks can occur in both old and new pipes, making it crucial to regularly maintain and inspect the water supply system.
Needed Materials
Before attempting to fix a water main break, it’s important to gather all the necessary materials and equipment. These may include:
- Shovels
- Backhoe or Excavator (for larger breaks)
- Pipe wrenches
- Pipe cutter
- Repair clamps or sleeves
- PVC pipes and fittings (if replacement is necessary)
- Couplings and connectors
- Concrete mix (if needed for repairs)
Having these materials on hand can save time and prevent further damage during the repair process.
8 Simple Step-by-step Guidelines on How to Fix a Water Main Break
Step 1: Identify the Location of the Break
The first step in addressing a water main break is to accurately locate the source of the leak. Look for signs of water pooling on the surface, unusual wet spots in your yard, or significant drops in water pressure within your home. Listening for hissing sounds or observing areas where water flows erratically can also help identify the break’s position.
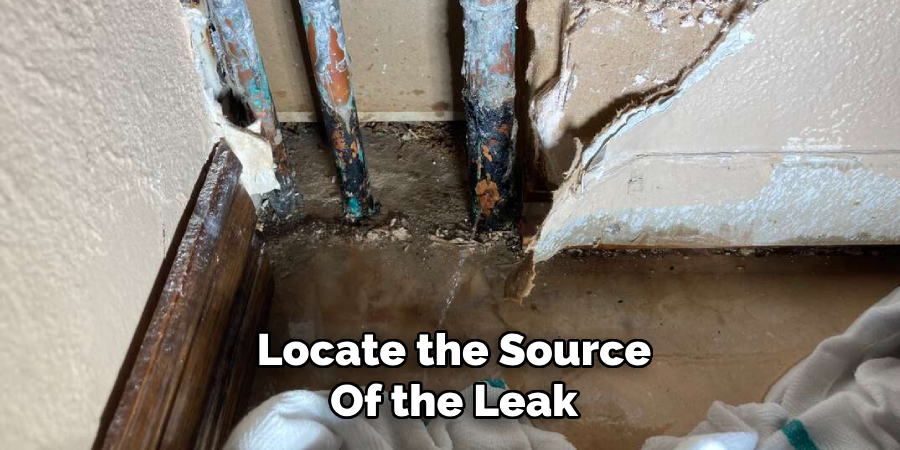
It’s crucial to mark the area around the break to ensure safety during the repair process, as this location will guide your excavating efforts and provide a clear point of reference for any additional assistance you might require.
Step 2: Turn Off the Water Supply
Once you have identified the location of the water main break, the next critical step is to turn off the water supply to prevent further damage and reduce water loss. Locate the main shut-off valve for your property, which is typically found near the water meter or where the main line enters your home. If your property is connected to a municipal water system, you may also need to contact your local water authority to assist in shutting off the main supply if the break is significant.
Turning off the water supply will help ensure a safer work environment and facilitate the repair process by minimizing water flow at the break site. After the water is shut off, open a few faucets in your home to relieve any remaining pressure in the pipes.
Step 3: Excavate the Area
Once the water supply has been turned off, the next step is to excavate the area around the water main break to access the damaged pipe. Carefully remove soil and debris using shovels or a backhoe/excavator if the break is substantial. Be mindful of the surrounding environment and other utilities that may be buried nearby.

Aim to create a trench about 2-3 feet wide and deep enough to expose the damaged section of the pipe, typically around 18-24 inches below the surface. Ensure that the excavation is stable and consider using supports if the walls are steep to prevent cave-ins. Proper excavation will allow for a thorough inspection of the break and facilitate effective repairs.
Step 4: Inspect the Damaged Pipe
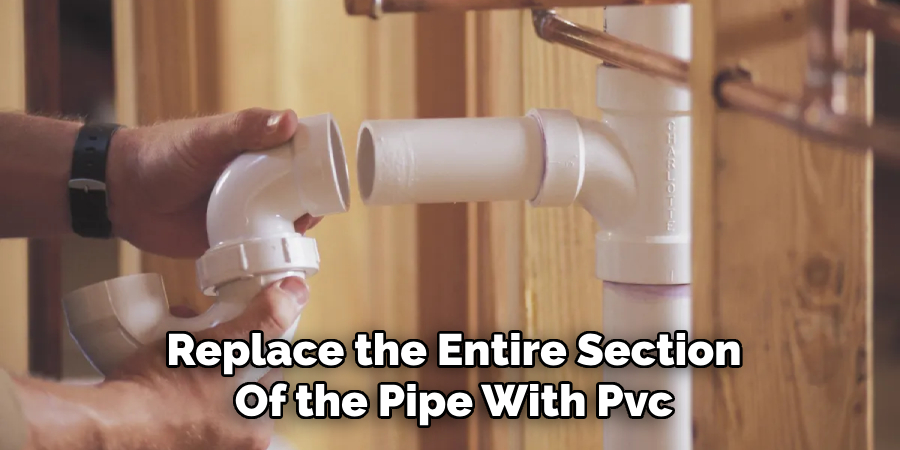
Once the damaged pipe is exposed, it’s essential to inspect its condition and determine what type of repair or replacement is needed. If the damage is minimal, you may be able to fix it with a simple repair clamp or sleeve. However, if the break is more severe or extensive corrosion is found in surrounding areas, you may need to replace the entire section of the pipe with PVC pipes and fittings.
You may also need to inspect the surrounding soil for any signs of damage or potential causes of the break, such as shifting ground or external forces. Identifying and addressing these issues can help prevent future breaks.
Step 5: Cut Out the Damaged Section
After thoroughly inspecting the damaged pipe, the next step is to carefully cut out the affected section. Using a pipe cutter, mark the pipe approximately 1-2 inches away from the damage on both sides to ensure adequate space for new fittings. Once marked, use the pipe cutter to make precise cuts, ensuring the cut edges are clean and smooth to facilitate a proper connection with replacement sections.
If you’re working with a large-diameter pipe, a reciprocating saw may also be used, but caution should be exercised to avoid causing further damage. It’s important to collect and dispose of the old pipe segments properly, as they may pose hazards if left exposed in the work area. Once the damaged section is removed, you are ready to prepare to install the new pipe or repair fittings.
Step 6: Install Replacement Pipe or Fittings
If you are using PVC pipes and fittings to replace the damaged section, carefully measure and cut the new pipe to match the size of the gap left by the old one. Use couplings and connectors to join the new pipe sections, ensuring a secure fit. If you are using repair clamps or sleeves, follow their specific installation instructions for proper placement and tightening. Pay close attention to ensure that all connections are watertight to prevent future leaks.
It’s also a good idea to check the rest of the water supply system for any other potential issues or weak spots while you have it exposed. This can save you from future repairs and ensure the overall system’s stability.
Step 7: Fill in the Trench
Once you have completed the repairs and checked for any additional issues, it’s time to fill in the excavated area. Carefully backfill the trench with the previously removed soil, ensuring that it is well-compacted around the new pipe sections or fittings. If needed, use a concrete mix around any connections to provide added stability and prevent future shifting.
You may also want to add a layer of topsoil and grass seed to restore the area’s appearance if the break was in your yard. This will help mitigate any damage caused by the excavation and blend it into its surroundings.

Step 8: Restore the Water Supply and Monitor for Any Leaks
Once the trench is filled in, you can carefully turn on the water supply again. Observe the repaired section closely for any signs of leaks, such as dripping or hissing sounds. If everything looks good, slowly open all faucets in your home to let air out of the system, then close them back up. Check your water pressure to ensure it has returned to normal levels, indicating that there are no further issues with the repaired section.
Following these steps on how to fix a water main break will help guide your water main break repair process and ensure a successful outcome. Remember to always prioritize safety and take necessary precautions while performing any excavation work. If you encounter any challenges or are unsure about the repair process, it’s best to seek professional assistance to avoid causing further damage. With proper repairs and maintenance, your water supply system can continue to function efficiently for years to come.
Additional Tips for Preventing Water Main Breaks
While some water main breaks are unavoidable due to aging infrastructure or external factors, there are steps you can take to help prevent them from occurring in the future:
- Regularly inspect your pipes and look out for signs of corrosion or damage.
- Avoid planting trees or large plants near your water supply lines, as their roots can grow and damage the pipes.
- During cold weather, take precautions to prevent frozen pipes by insulating them properly or allowing faucets to drip to relieve pressure.
- Be mindful of any construction or excavation work being done in your area that may pose a risk to your water supply system.
- If you notice any changes in your water pressure or see signs of a potential leak, address it promptly before it becomes a more significant issue.
By following these tips and steps on how to fix a water main break for repairing a water main break, you can minimize the likelihood of future breaks and ensure the uninterrupted flow of clean water into your home.
Frequently Asked Questions
Q: How Long Does It Take to Repair a Water Main Break?
A: The time it takes to repair a water main break can vary depending on the severity of the break and the location of the damaged pipe. In most cases, repairs can be completed within a few hours or in one day. However, if the break is more extensive or affects a larger area, it may take longer to repair.
Q: How Much Does It Cost to Repair a Water Main Break?
A: The cost of repairing a water main break can also vary depending on the extent of the damage and the materials needed for repairs. On average, homeowners can expect to pay anywhere from $500 to $3,000 for water main break repairs.
Q: Can I Fix a Water Main Break Myself?
A: While some minor breaks may be fixable with DIY methods, it’s usually best to seek professional assistance to repair a water main break. This ensures that proper techniques and materials are used to prevent further damage and ensure the safety of your water supply system. It’s also important to check with your local government or utility company, as they may have specific guidelines or regulations for repairing water main breaks in your area.
Conclusion
In conclusion, addressing a water main break swiftly and effectively is crucial for maintaining the integrity of your home’s water supply system. By following the outlined steps—from proper excavation and inspection to replacing damaged sections and restoring water flow—you can ensure a successful repair while minimizing disruption.
Moreover, adopting preventive measures and being vigilant about the condition of your pipes will help avert future issues. Remember, while some situations may require professional intervention, being proactive and informed empowers you to handle many repairs on your own, safeguarding the continuous delivery of safe and clean water to your home.

