Are you tired of the old, worn-out bathtub liner in your bathroom? Do you want to replace it with a new one but need to know how?

How to replace bathtub liner can be a cost-effective way to rejuvenate the look of your bathroom without the need for a complete remodel. Over time, bathtub liners can become discolored, scratched, or damaged, detracting from the overall aesthetic of your space. This process involves carefully removing the old liner, prepping the surface, and properly installing a new one. With the right tools and patience, you can achieve a fresh, clean look that enhances your bathing area.
In this guide, we will walk you through the steps to successfully replace your bathtub liner, ensuring a smooth and satisfying transformation for your bathroom.
What Will You Need?
Before diving into the replacement process, gathering all the necessary tools and materials is important. These include:
- Measuring tape
- Utility knife
- Pry bar
- Caulk gun
- Construction adhesive
- Bathtub liner kit (includes new liner, adhesive, and caulk)
It’s essential to have these items on hand before you start to ensure the project runs smoothly. Additionally, make sure to use safety equipment such as gloves and goggles when handling sharp objects or chemicals.
10 Easy Steps on How to Replace Bathtub Liner
Step 1: Remove the Old Bathtub Liner
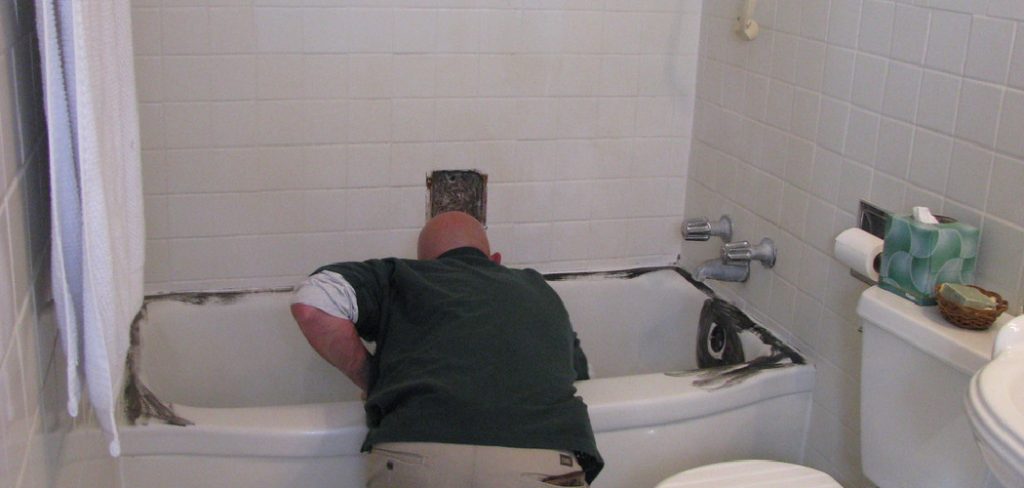
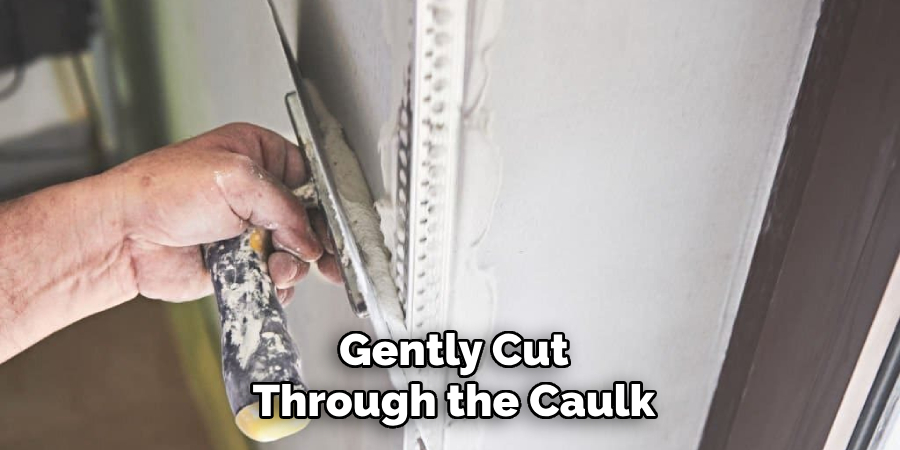
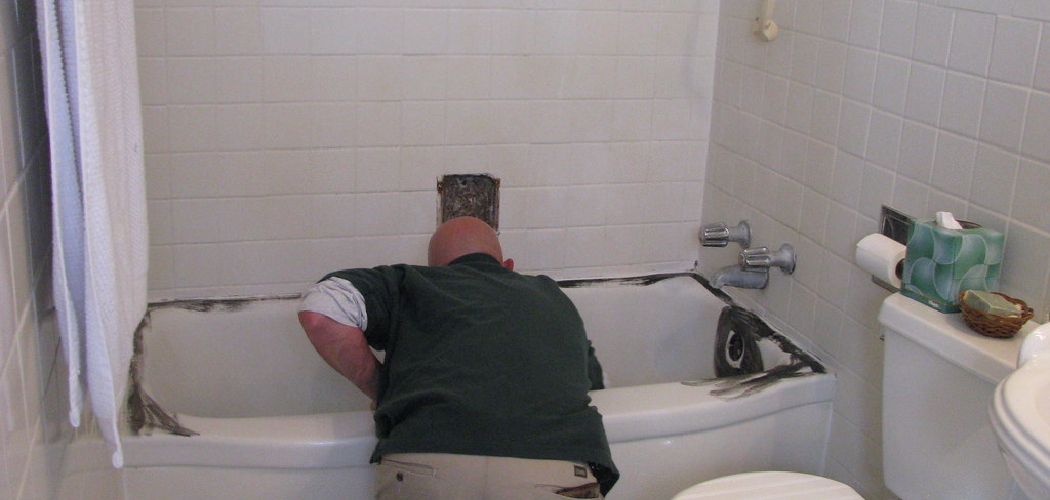
The first step in replacing your bathtub liner is carefully removing the existing one. Start by inspecting the edges of the liner, where it is typically caulked or adhered to the tub. Use a utility knife to gently cut through the caulk to avoid damaging the bathtub surface underneath. Once the caulk is cut, prying off the liner is time. Insert a pry bar between the old liner and the bathtub, applying gentle pressure to loosen the liner.

Work your way around the bathtub, not damaging the tub’s finish. Once you have sufficiently loosened it, carefully pull the liner away from the tub. If it resists, double-check for any remaining adhesive or caulk that may need additional cutting. After removing the liner, inspect the bathtub for any signs of damage or mold, as these should be addressed prior to installing the new liner for a flawless finish.
Step 2: Prepare the Bathtub Surface
Once the old liner has been removed, you’ll need to prepare the bathtub’s surface for the new liner. Start by thoroughly cleaning the tub to eliminate any lingering adhesive or caulk residue. You can use a strong cleaning solution and a scrub brush to ensure immaculate surfaces. After scrubbing, rinse the bathtub with water and allow it to dry completely.
Next, inspect the tub for cracks, chips, or surface imperfections. If you find any, it’s essential to repair these areas using an appropriate epoxy or repair kit for bathtubs. Follow the manufacturer’s instructions for application and curing times to ensure a smooth, even surface for the new liner. Once the repairs are cured and the surface is prepared, you can proceed to the next step.
Step 3: Measure for the New Bathtub Liner
Accurate measurements ensure a proper fit for your new bathtub liner. Use a measuring tape to determine the length and width of your bathtub. Measure from the top edge of the tub to the bottom, making note of any irregularities or unique features, such as curves or corners. It’s a good idea to measure in multiple locations to account for any variations in size.
Once you have your measurements, double-check them to avoid any errors before ordering your new liner. If using a kit, compare your measurements to the manufacturer’s guidelines to ensure compatibility.

Step 4: Apply the Adhesive
With your bathtub surface cleaned and measured, applying the construction adhesive is time. A generous but even layer of glue was applied to the back side of the new bathtub liner using a caulk gun. Make sure to cover all edges and the surface area that will make contact with the tub.
It’s crucial to follow the manufacturer’s recommendations regarding the type and amount of adhesive to use and any specific application techniques they suggest. This step ensures a strong bond between the liner and the bathtub.
Step 5: Install the New Bathtub Liner
Carefully position the new bathtub liner over the adhesive-coated surface. Care to align it properly, ensuring all edges fit snugly against the bathtub. Press firmly on the liner, starting from the center and working your way outwards to eliminate any air bubbles. This helps to secure the liner in place and promotes an even adhesion throughout. If your liner has cutouts for fixtures or drains, ensure these are accurately positioned before fully pressing the liner down.
Step 6: Caulk the Edges
After the liner is firmly in place, it’s essential to seal the edges to prevent water from seeping behind the liner. Use a caulk gun to apply a bead along the perimeter where the liner meets the tub. Smooth the caulk with a caulking tool or finger to create a clean, watertight seal. Pay special attention to any seams or corners to ensure complete coverage. Allow the caulk to dry completely according to the manufacturer’s instructions before using the bathtub.
Step 7: Final Inspection and Clean-Up
Once the caulk has thoroughly dried, conduct a final inspection of your new bathtub liner. Check for any imperfections or areas where the seal may not have been applied correctly. If everything looks good, clean any excess adhesive or caulk from the surfaces of your bathtub. Dispose of any debris or leftover materials in an environmentally responsible manner. Finally, take a moment to admire your work; your new bathtub liner should now offer a fresh and rejuvenated look to your bathroom.

Step 8: Test the Bathtub
Before thoroughly enjoying your newly installed bathtub liner, testing its integrity is crucial. Fill the tub with water about three to four inches deep and let it sit for several hours. This will help you identify leaks that may have developed around the edges or seams. While the tub is filled, closely inspect the area where the liner meets the bathtub. Look for any signs of water seeping out or damp spots forming on the tub’s exterior.
If you notice leaks, applying additional caulk or adhesive may be necessary to seal those areas properly. Once you’re confident everything is watertight and secure, drain the water and clean the tub’s surface. This final testing step is vital to ensure the functionality of your new liner and provide peace of mind that your project was completed successfully.
Step 9: Enjoy Your New Bathtub
After ensuring that your new bathtub liner is securely installed and has passed the leak test, it’s time to enjoy all the benefits of your updated bathroom feature. Fill the tub with warm water, add your favorite bath products or scents, and take a moment to relax in your newly revitalized space.
Make sure to maintain the liner by cleaning it regularly with non-abrasive cleaners, which will help preserve its appearance and longevity. Remember to periodically check the seals and overall condition of the liner to ensure it remains in good shape for years to come.
Step 10: Regular Maintenance
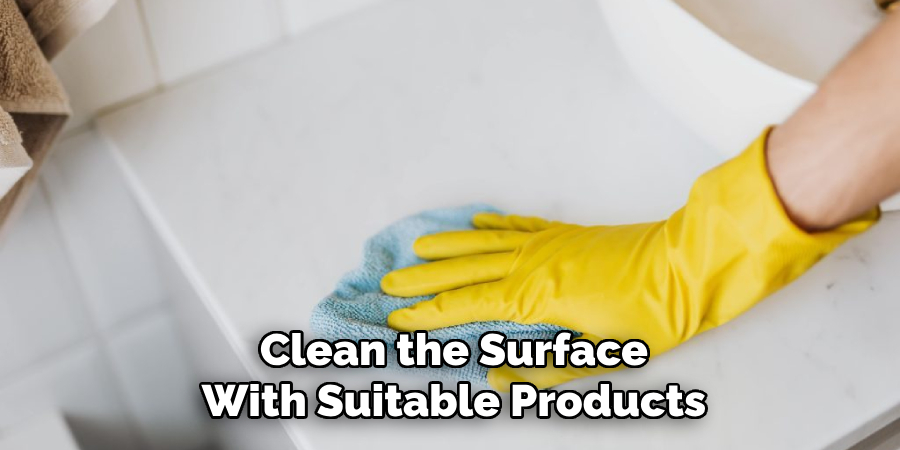
Establish a routine maintenance schedule to extend the lifespan of your bathtub liner. Regularly inspect the caulking, paying close attention to areas where water could potentially seep behind the liner. Reapply caulk if you notice cracking or peeling, and clean the surface with suitable products to prevent mold and mildew build-up. By taking these proactive measures, you will continue to enjoy a clean and attractive bathtub for all your bathing needs.
Following these steps, you can install a new bathtub liner and give your bathroom a much-needed update without the cost or hassle of a full renovation.

5 Things You Should Avoid
- Rushing the Preparation Process: Skipping thorough cleaning and proper measurements can lead to poor adhesion and fit issues. Always take your time to prepare the bathtub surface correctly to ensure optimal results.
- Neglecting Manufacturer Guidelines: Different bathtub liners and adhesives may have specific requirements. Failing to follow the manufacturer’s instructions regarding adhesive types, application methods, and drying times can compromise the installation.
- Using the Wrong Tools: Utilizing improper tools or equipment can lead to mistakes and damage. Ensure you have the right tools, such as a caulk gun, measuring tape, and smoothing tools, to achieve a professional finish.
- Ignoring the Importance of Sealing: Skipping the caulking step or applying it incorrectly can result in water seepage, which can lead to mold and damage over time. Make sure to caulk all edges thoroughly for a watertight seal.
- Don’t Use the Bathtub Too Soon: While it may be tempting to use your newly updated bathtub immediately, it’s essential to allow sufficient time for the adhesive and caulk to dry.
Conclusion
How to replace bathtub liner can significantly enhance the aesthetic and functional qualities of your bathroom, providing a fresh and updated look without the need for a complete renovation.
By following the outlined steps—from proper preparation to careful installation, caulking, and maintenance—you can ensure that the process is successful and that your new liner remains in excellent condition for years. Remember to take your time, adhere to manufacturer instructions, and conduct regular maintenance checks to preserve the quality and longevity of your bathtub liner.
With a little effort, you can enjoy a beautiful bathing environment that meets your needs and reflects your style.

