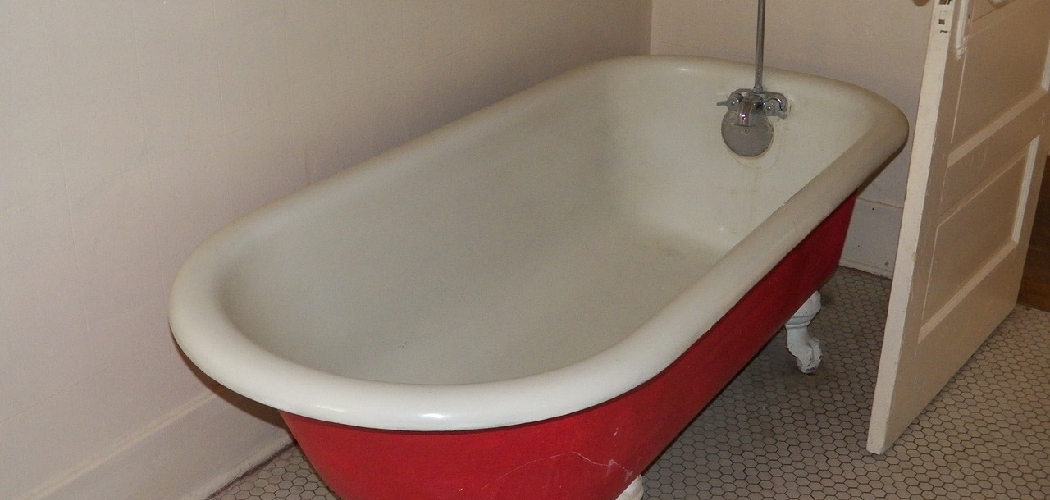
Are you tired of your old bathtub? Does it have stains, chips, or cracks that make it look unsightly? If so, it may be time to update it and give your bathroom a fresh new look.
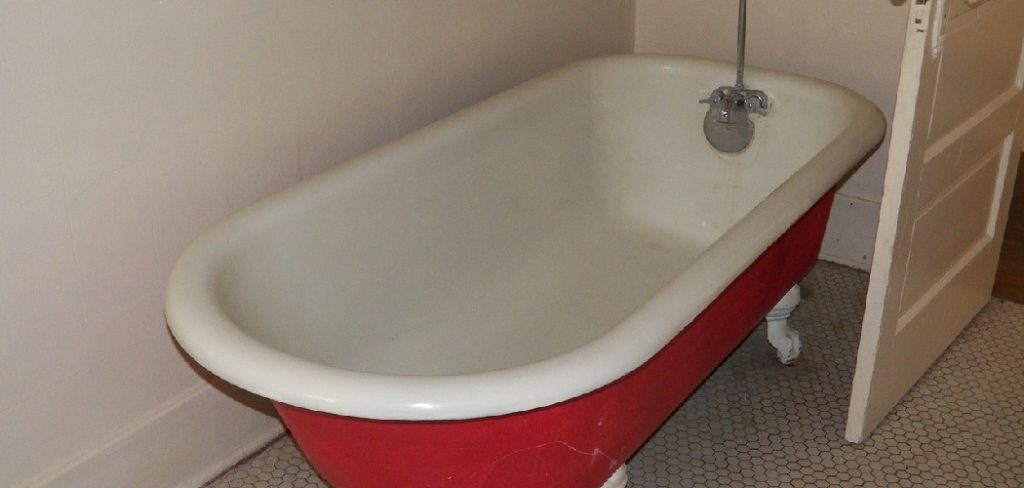
How to update an old bathtub can breathe new life into your bathroom and significantly enhance its overall aesthetic. Whether your bathtub shows signs of wear and tear or you’re simply looking to modernize its look, there are several approaches to consider. From refinishing and reglazing to complete replacement, each option has its own benefits and challenges.
In this guide, we will explore the various methods you can use to update your old bathtub, helping you make an informed decision that suits your style and budget. Transforming your bathing space boosts your home’s value and creates a more enjoyable and relaxing environment.
What Will You Need?
Before diving into the different ways to update your old bathtub, you will need a few essential items regardless of the method you choose. These include:
- Protective Gear: When working with chemicals and tools, it is crucial to protect yourself. Wear safety glasses, gloves, and a face mask to prevent eye or skin irritation.
- Cleaning Supplies: To prepare your bathtub for updating, you will need cleaning supplies such as a scrub brush, bleach or vinegar solution, and a sponge.
- Sandpaper: Sandpaper is necessary to remove imperfections and create a smooth finish when refinishing or reglazing your bathtub’s surface.
- Paintbrushes: Depending on your chosen method, you will need paintbrushes or rollers to apply new coatings onto your bathtub’s surface.
- Caulk Gun: If you plan on replacing your bathtub, you will need a caulk gun to seal the edges and prevent water leakage.
Once you have gathered all the necessary items, you can decide which method will best suit your old bathtub.
10 Easy Steps on How to Update an Old Bathtub
Step 1. Assess the Condition of Your Bathtub:
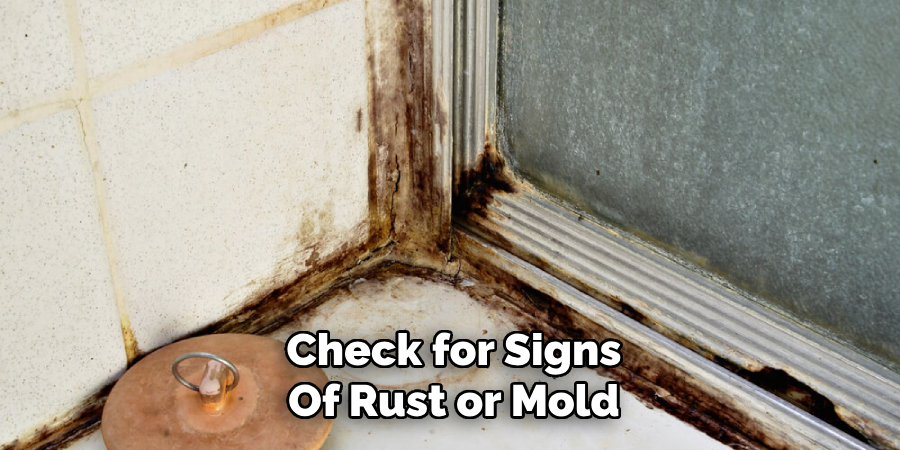
Before proceeding with any updates, it’s vital to thoroughly assess your bathtub’s current condition. Take the time to inspect for any visible damages, such as chips, cracks, or deep stains. Look for less obvious issues, too; check for signs of rust or mold, which can affect aesthetics and hygiene. If your bathtub feels rough to the touch or has a dull appearance, these are indicators that refinishing or reglazing might be necessary.
Additionally, consider how often you use the bathtub and your overall bathroom style—this can influence whether a simple cosmetic upgrade will suffice or if a complete replacement is the better route. Understanding these factors will help you determine the most effective method to restore the functionality and appeal of your bathtub, setting the foundation for the subsequent steps in your renovation journey.
Step 2. Choose Your Update Method:
After assessing the condition of your bathtub, the next step is to decide on the most suitable update method. There are several options available, each tailored to different needs and budgets. If your bathtub has minor imperfections but is otherwise in good shape, refinishing or reglazing may be the best choice, as it can provide a fresh, glossy look without needing a total replacement.
On the other hand, if there is substantial damage or you desire a completely new style, consider a complete bathtub replacement. It’s essential to weigh each method’s pros and cons, considering your timeframe, skill level, and the desired aesthetic result. Doing so will ensure you select the approach that aligns perfectly with your renovation goals.
Step 3. Prepare the Area:
Once you’ve chosen your update method, preparing the work area for your project is essential. Begin by removing all items from around the bathtub, including toiletries, towels, and any décor that may be in the way. This prevents damage to your belongings and allows you space to work safely and efficiently. Next, cover the surrounding surfaces, such as the floor and nearby fixtures, with plastic sheeting or drop cloths to protect them from dust, debris, and any chemicals you may use during the process.
If you’re refinishing or reglazing, ensure proper ventilation in the room. Open windows and doors, and consider using fans to circulate air. Proper preparation will create a clean and safe workspace, making the updating process smoother and more manageable.
Step 4. Clean the Bathtub:
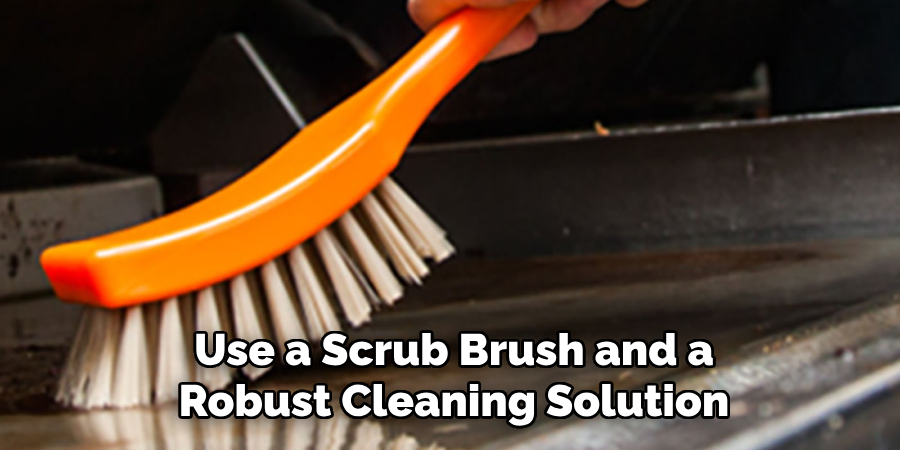
Before you begin any refinishing or reglazing, thoroughly clean your bathtub to ensure the surface is free from soap scum, oils, and dirt. Use a scrub brush and a robust cleaning solution, such as bleach or vinegar, for the best results. Pay special attention to corners and crevices where grime often accumulates. Once you’ve scrubbed the entire surface, rinse it with warm water to remove all cleaning residues.
After rinsing, dry the bathtub with a clean towel to avoid any moisture that could interfere with the adhesion of new coatings. This step is crucial as it guarantees the surface is prepared to bond effectively with the refinishing materials.
Step 5. Sand the Surface:
If you’re planning on refinishing or reglazing, the next important step is to sand the bathtub’s surface. Using sandpaper, carefully sand down any imperfections, such as chips or rough patches. This process not only helps to remove the glossy finish that could hinder the new coating from adhering but also creates a smoother surface for application.
Aim for a uniform texture to serve as a better foundation for the upcoming layers. After sanding, wipe down the bathtub again with a damp cloth to eliminate all dust particles generated from the sanding process because even the smallest dust particle can interfere with the final finish.
Step 6. Apply Primer (if necessary):
Applying a primer may be beneficial depending on the type of update method you’ve chosen and the condition of your bathtub. A high-quality bonding primer can help create a suitable surface for the new coating, improving its durability and adherence. Use a paintbrush or roller to apply an even coat of primer, covering all areas thoroughly.
Allow the primer to dry according to the manufacturer’s instructions before applying refinishing materials, as this step is crucial for achieving a long-lasting finish.
Step 7. Apply the Refinishing Coating:
With the preparations complete, it’s time to apply the refinishing coating to your bathtub. Choose a product that is designed explicitly for bathtubs, ensuring it is suitable for the material of your tub (such as acrylic or porcelain). Using a clean paintbrush or roller, apply the coating in smooth, even strokes, starting from the top and working your way down to prevent drips.
Follow the manufacturer’s directions regarding the number of coats required, allowing adequate drying time between each application. This step will ultimately determine the aesthetic quality and durability of the finish, so be meticulous in your application to achieve the best results.
Step 8. Seal the Bathtub:
After the final finish coat has dried completely, sealing the bathtub to protect it from water damage and wear is crucial. For those who opted for a replacement or new installation, apply caulk around the tub’s edges to create a watertight seal. Use a caulk gun to apply a steady bead of silicone caulk, smoothing it with a caulk tool or your finger to ensure an even finish.
This step is vital, as it prevents water from seeping behind the tub and causing damage to the walls or flooring. Once you’ve sealed the edges, allow the caulk to cure as per the manufacturer’s instructions before resuming regular bathtub use.
Step 9. Clean Up:
With the new finish applied and sealed, it’s time to clean up your work area. Carefully remove any protective coverings and dispose of any materials that may no longer be needed. Wash brushes and rollers promptly to avoid hardened materials, and ensure that all tools are cleaned and stored away properly. This step not only keeps your workspace tidy but also prevents accidents or damage in the future.
Step 10. Enjoy Your Updated Bathtub:
After successfully completing all updates, take a moment to admire your handiwork before you use the bathtub again. Allow any final curing time necessary for coatings and caulk, and then it’s time to indulge in a nice, relaxing bath. Your newly updated bathtub will not only enhance the aesthetics of your bathroom but will also provide you with a refreshed bathing experience. Celebrate the transformation and enjoy the pride of revitalizing an essential element of your home!
By following these steps and taking the time to properly prepare and execute your bathtub updates, you can achieve professional-looking results that will last for years to come.

Conclusion
How to update an old bathtub can breathe new life into your bathroom, enhancing its aesthetic appeal and functionality.
You will ensure a successful transformation by following the outlined steps—preparing the workspace, thoroughly cleaning the surface, applying primer and refinishing coatings, sealing edges correctly, and maintaining a tidy environment. This process improves the look of your tub and extends its lifespan, saving you from costly replacements. With patience and attention to detail, you can achieve results that rival professional finishes, allowing you to enjoy a beautifully updated bathtub for years.
Embrace the satisfaction that comes with this DIY project and relish the improved space every time you indulge in a relaxing bath.

