Are you tired of standing under a leaking showerhead every time you shower? A leaky bathtub faucet can not only be frustrating, but it can also lead to water wastage and increased utility bills.
How to fix leaking bathtub faucet when shower is on can be a straightforward yet essential task for maintaining both the functionality and efficiency of your bathroom fixtures. Not only does a leak waste water and increase your utility bills, but it can also lead to further damage if addressed.
This guide will walk you through the steps to diagnose the issue, gather the necessary tools, and execute a repair, ensuring your bathtub faucet operates seamlessly, whether you’re showering or filling the tub. By the end of this process, you’ll have the knowledge and confidence to tackle this common household problem effectively.
What Will You Need?
Before starting any repair, having all the necessary tools and equipment is crucial. To fix a leaking bathtub faucet, you will need the following:
- Adjustable wrench
- Screwdriver (flathead or Phillips)
- Replacement parts (such as washers or O-rings)
- Plumbers tape
- Towels or rags
These items will make the process much smoother and more efficient.
10 Easy Steps on How to Fix Leaking Bathtub Faucet When Shower is on
Step 1: Identify the Type of Faucet
The first step in fixing a leaking bathtub faucet is to identify the type of faucet you have. Generally, three common types are compression, cartridge, and ball faucets. Compression faucets have separate hot and cold handles that you turn to adjust the water temperature and flow. These faucets often wear out over time, leading to leaks due to damaged washers.
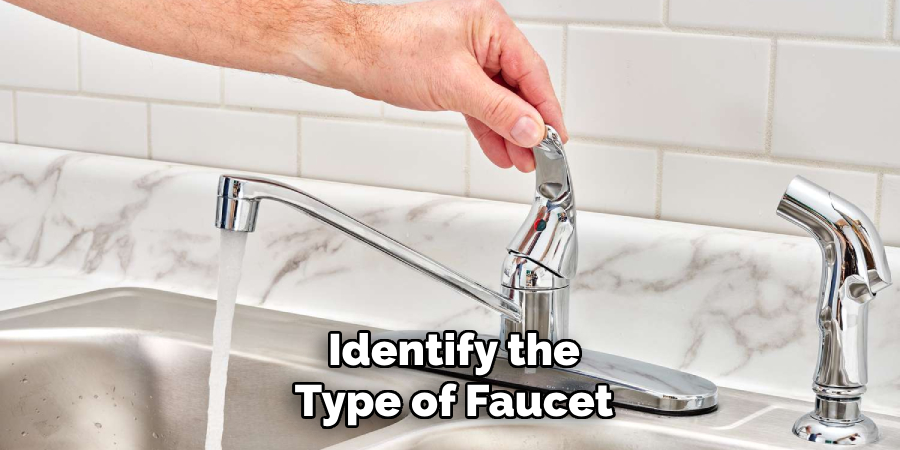
Cartridge faucets, on the other hand, use a cartridge that controls the water flow; they commonly feature single or double handles. If your faucet leaks around the handle, it’s likely a sign that the cartridge needs replacing. Lastly, ball faucets typically have a single handle that moves over a rotating ball assembly, and leaks in these models can occur due to worn-out seals or springs.
Identifying the specific type will help you understand the repair process and the necessary parts. Take a close look at your faucet design and make a mental note, or even better, take a picture. This will guide you through the subsequent steps and ensure you select the correct replacement parts.
Step 2: Turn Off Water Supply
Before beginning any repairs, turning off the water supply to the bathtub faucet is essential. There are typically shut-off valves behind the bathtub or under the sink. If your bathtub doesn’t have individual valves, you may need to turn off the main water supply for the entire home. Once you’ve located and shut off the water supply, turn on the faucet to release any remaining water and relieve any pressure in the pipes.
Step 3: Plug the Drain
Plugging the drain is a critical step in preventing small parts and debris from falling into the plumbing system while you work on the faucet. You can use a rubber stopper, a rag, or even tape over the drain to ensure nothing slips through. This protects your plumbing and saves you the hassle of retrieving lost items later on.
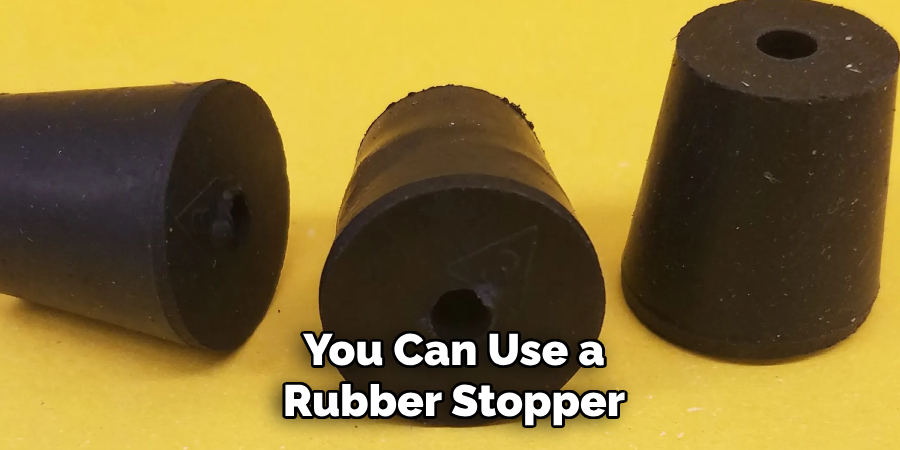
Plugging the drain securely will help maintain a clean and organized workspace, allowing you to focus on the repair without interruptions. Once the drain is adequately secured, you will be ready to dismantle the faucet without worrying about losing any crucial components.
Step 4: Remove the Faucet Handle
You can remove the faucet handle after ensuring the water supply is off and the drain is plugged. Begin by locating the screw that secures the handle in place; this may be hidden under a decorative cap. Use a flathead or Phillips screwdriver, depending on the screw type, to unscrew and carefully lift the handle off. If the handle is stuck, gently wiggle it back and forth to loosen it. Be cautious not to apply excessive force, which could damage the faucet or surrounding areas.
Step 5: Disassemble the Faucet
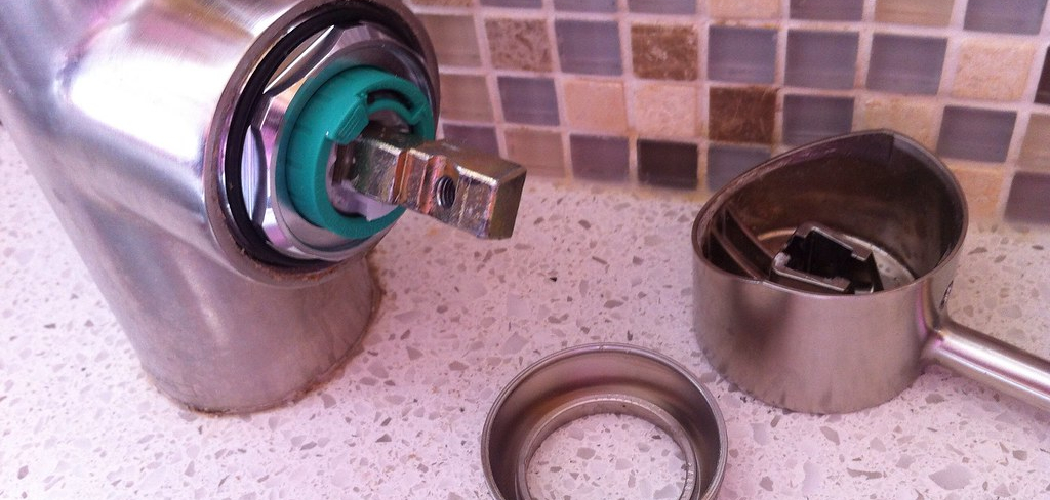
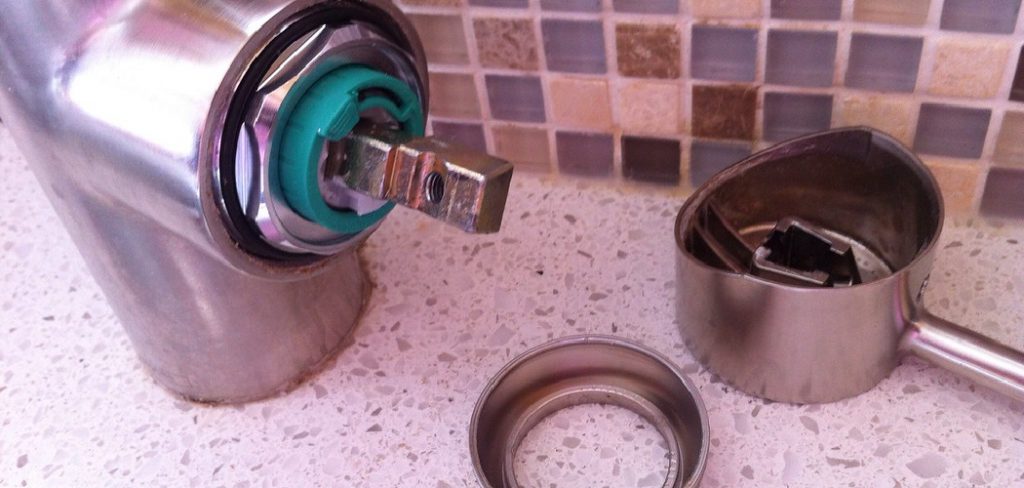
With the handle removed, it’s time to disassemble the faucet. Depending on the type, you may need to unscrew a retaining nut or remove additional components to access the cartridge or valve. Use your adjustable wrench to carefully loosen and remove any nuts or screws holding the assembly together. Keep the parts in a designated area or container to prevent losing them, as you will need them during reassembly.
Step 6: Inspect and Replace Damaged Parts
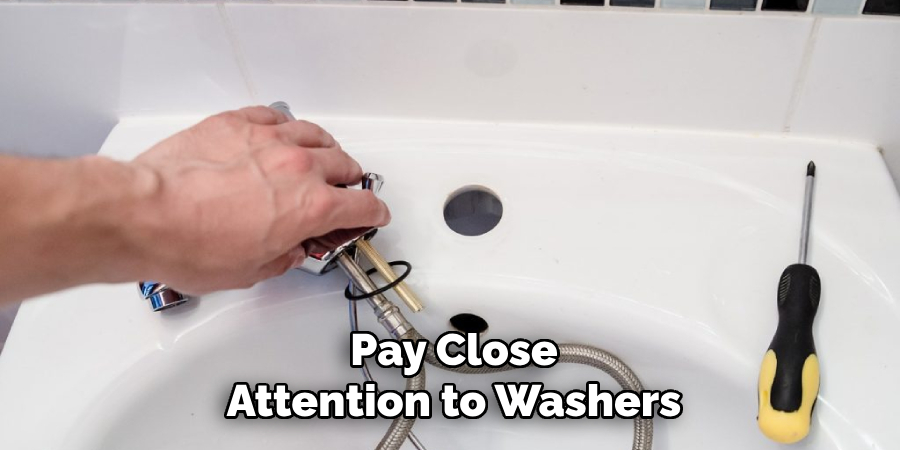
Once you have disassembled the faucet, take a moment to inspect all internal components for signs of wear or damage. Pay close attention to washers, O-rings, and seals, as these are often the primary culprits behind leaks. Look for cracks, fraying, or other visible signs of deterioration. If any parts appear faulty, replacing them with new ones is essential to ensure a proper seal and functionality.
Ensure you obtain the correct size and type for your specific faucet model; the replacement parts can often be found at local hardware stores or online. Remember that replacing all worn components is good practice, even if only one seems faulty, as older parts can lead to future leaks shortly after repair. Once all damaged parts have been replaced, clean the faucet components thoroughly before reassembling everything to ensure a smooth operation.
Step 7: Reassemble the Faucet
Now that you have inspected and replaced damaged parts, it’s time to reassemble the faucet. Start by carefully placing the new components back into their respective positions, ensuring everything fits snugly. If you had to remove any retaining nuts or additional components, reattach them in the reverse order they were taken off.
Use your adjustable wrench to tighten any nuts, but be cautious not to overtighten, as this can damage the new parts or the faucet itself. Once everything is securely in place, proceed to the next step to test your work.
Step 8: Turn the Water Supply Back On
With the faucet reassembled, it’s time to turn the water supply back on. Carefully locate the shut-off valves and turn them counterclockwise to restore water flow. If you previously turned off the main water supply, revert that setting as well. Once the water supply is back on, it’s advisable to open the faucet slightly to allow any trapped air in the pipes to escape. This will help to avoid any initial bursts or sputtering.
Step 9: Check for Leaks
After restoring the water supply, closely inspect the faucet for any signs of leakage. Turn the faucet on to test its operation and observe the handle and the area around the spout. If you notice water seeping from these areas, it may indicate that the seals need to be well-fitted or replaced. In such cases, it may be necessary to disassemble the faucet again and double-check the installation of the new parts. Taking the time to thoroughly check for leaks will save you from future challenges and ensure a successful repair.
Step 10: Clean Up and Final Inspection
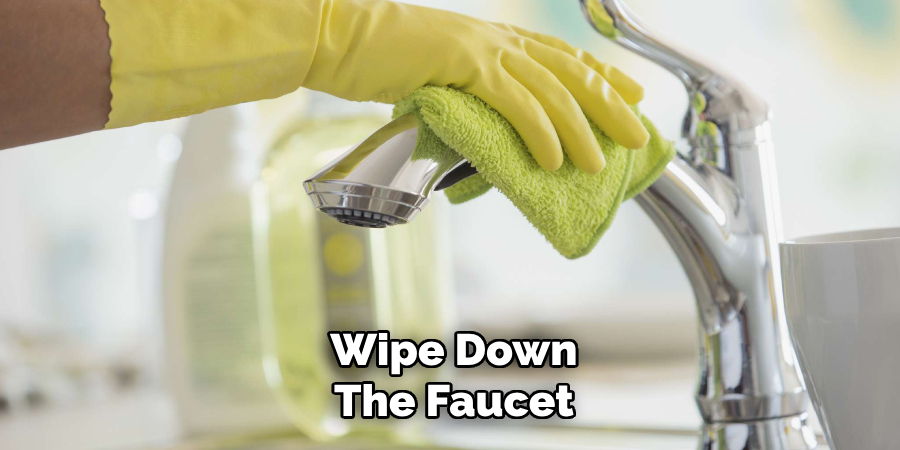
Once you are satisfied that there are no leaks, clean up your workspace by removing any tools, rags, or debris. It’s also a good idea to thoroughly wipe down the faucet to remove any fingerprints or smudges from the repair process. Finally, do a last inspection to ensure everything operates smoothly and looks tidy. Enjoy your newly fixed bathtub faucet, and take pride in completing the repair yourself!
By following these steps, you can successfully repair a leaky bathtub faucet without needing professional help.
5 Things You Should Avoid
- Using Excessive Force: Avoid applying excessive force when removing components, as this can damage the faucet or its parts. If a piece is stuck, use a proper lubricant or gently tap it into motion rather than forcing it.
- Ignoring Safety Precautions: Always wear safety goggles and gloves while working on plumbing projects. This protects against sharp tools or inadvertent splashes from plumbing materials that may cause injury.
- Overlooking Compatibility of Replacement Parts: Ensure that any replacement parts you select are compatible with your specific faucet model. Using incorrect sizes can lead to further leaks or malfunctions.
- Rushing Through the Inspection Process: Take time to thoroughly inspect the faucet for signs of wear and damage before reassembly. Rushing can result in missed issues, leading to repeated repairs and increased frustration.
- Don’t Use Poor Quality Replacement Parts: While saving money by purchasing cheap replacement parts may be tempting, this can lead to more frequent repairs and additional expenses in the long run. Invest in high-quality parts for your faucet model to ensure a successful and long-lasting repair.
By avoiding these common mistakes, you can ensure a successful and hassle-free repair of your bathtub faucet.
Conclusion
Successfully fixing a leaking bathtub faucet, especially when the shower is in use, requires patience and attention to detail.
By following the step-by-step guide on how to fix leaking bathtub faucet when shower is on, including disassembly, inspection, and careful reassembly, you can effectively address leaks and restore functionality. Remember, taking the time to replace damaged components and adequately check for leaks after reinstallation is crucial to ensure long-term results. Always consider the compatibility and quality of replacement parts to avoid future issues.
With a little effort and the right approach, you can enjoy a fully functioning bathtub faucet and shower system without the inconvenience of leaks. Happy DIYing!

