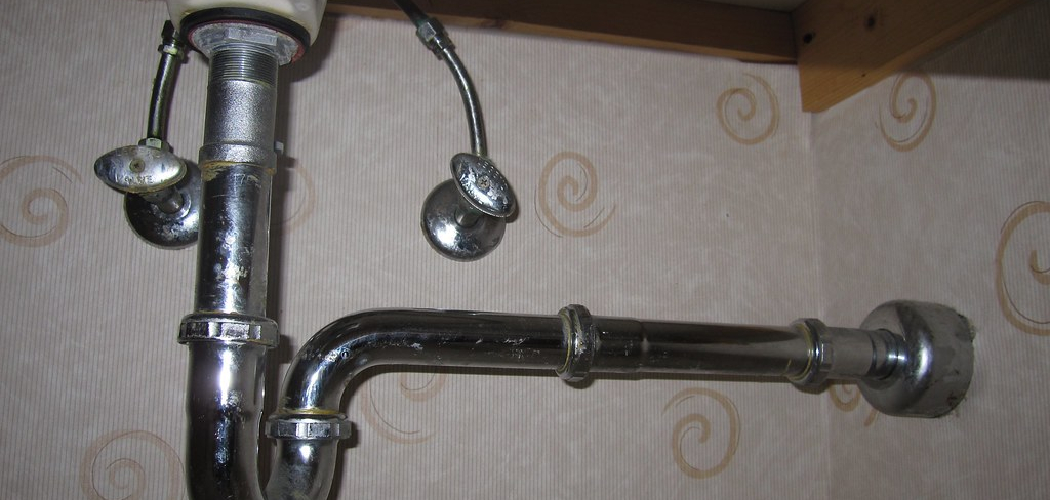
Galvanized pipes have long been a standard choice for plumbing due to their durability and resistance to corrosion. However, over time, these pipes can develop issues such as rusting, leaks, or reduced water flow. Understanding how to identify and repair problems with galvanized pipes is essential for maintaining a functional plumbing system and preventing costly water damage.
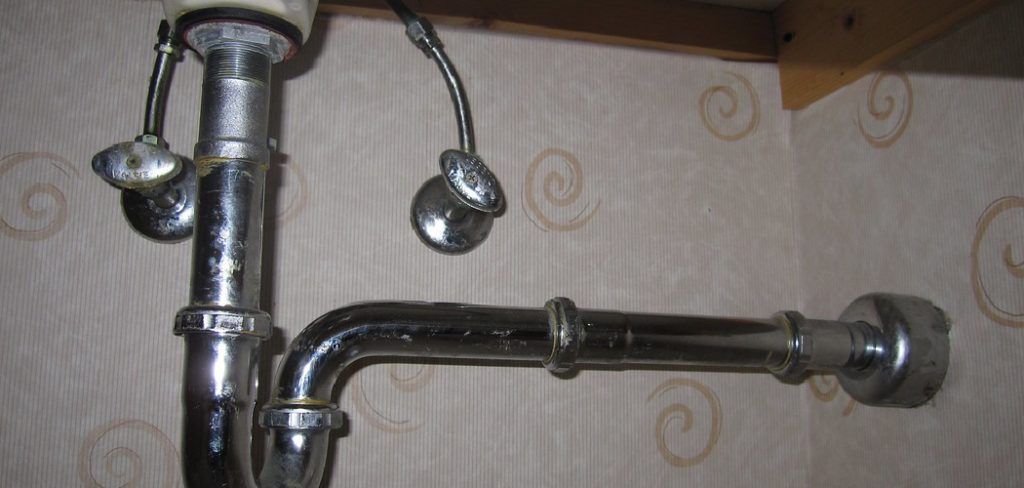
This guide on how to fix galvanized pipe will outline the common issues associated with galvanized pipes and provide step-by-step instructions on how to effectively address them, ensuring your plumbing remains in top condition.
What is a Galvanized Pipe?
A galvanized pipe is a type of metal piping that has been coated with a layer of zinc to protect it from corrosion and rust. This process, known as galvanization, enhances the pipe’s longevity, making it a popular choice for a variety of plumbing applications, including water supply lines and drainage systems. Typically made from steel, galvanized pipes can withstand high pressure and are less prone to damage compared to non-coated pipes.
However, despite their benefits, they are not immune to issues such as the buildup of mineral deposits over time, which can lead to reduced water flow and other plumbing problems. Understanding the characteristics and construction of galvanized pipes is crucial for effective maintenance and repair.
Identifying Common Issues with Galvanized Pipes
One of the most common issues with galvanized pipes is rusting. Over time, the zinc coating on these pipes can wear off, leaving the steel vulnerable to corrosion. This can result in rusty and discolored water, reduced water flow, and even leaks or burst pipes.
Another issue commonly associated with galvanized pipes is mineral buildup. As minerals in hard water accumulate inside the pipes, they can cause clogs and reduce water pressure. This buildup is more likely to occur in older galvanized pipes that have been in use for several years.
8 Step-by-step Guidelines on How to Fix Galvanized Pipe
Step 1: Identify the Problem
Before attempting to fix galvanized pipes, it’s essential to accurately identify the specific issues at hand. Start by inspecting your plumbing system for signs of rust, discoloration, or leaks. Look for areas where water may be pooling or dripping, and check for any visible corrosion on the pipes themselves.
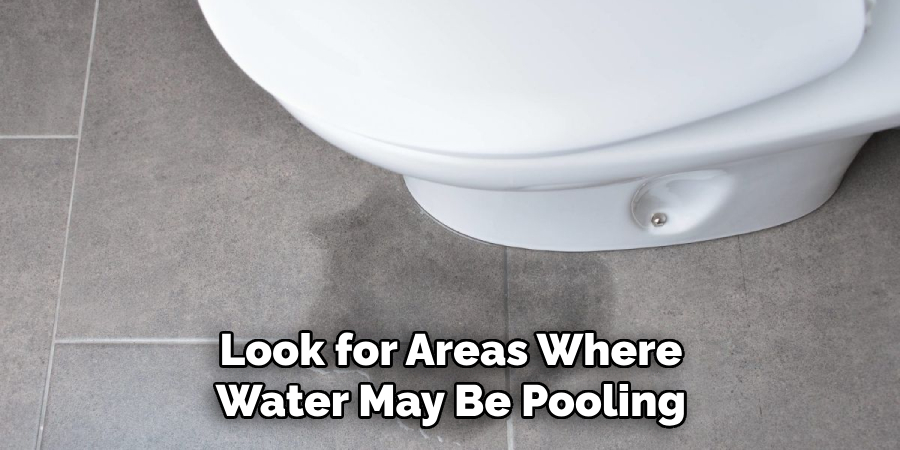
Additionally, assess the water flow; if it seems sluggish or inconsistent, mineral buildup may be causing a blockage. Taking note of these symptoms will help you determine whether the problem lies in rusting, leaks, or mineral deposits, guiding you in choosing the appropriate repair method.
Step 2: Turn off the Water Supply
Once you have identified the problem with your galvanized pipes, the next crucial step is to turn off the water supply to prevent any further leakage or water damage during the repair process. Locate the main water shut-off valve, which is typically found near where the water line enters your home. Turning this valve clockwise will stop the flow of water. If you are working on a specific section of plumbing, you may also need to shut off individual valves leading to that particular area.
It’s advisable to open a faucet in the lowest part of your home to drain any remaining water in the pipes. This step ensures a safe and effective repair, allowing you to address the issues without the risk of flooding or complications.
Step 3: Prepare the Work Area
Before you begin any repairs on the galvanized pipes, it’s vital to prepare your work area to ensure a safe and efficient process. Start by clearing away any obstacles around the pipeline, which may include furniture, tools, or debris. Having a clean workspace will not only make it easier to access the pipes but will also help prevent accidents.
Next, gather all necessary tools and materials, such as pipe wrenches, replacement parts, towels, and a bucket for any residual water. It’s also a good idea to wear safety goggles and gloves to protect yourself from debris and sharp edges. With your work area set up and well-organized, you can proceed with the repairs confidently and efficiently.
Step 4: Remove the Affected Section of the Pipe
If you have identified a specific area of your galvanized pipe that is rusted or leaking, you will need to remove that section entirely. Begin by using a pipe wrench to loosen and remove any fittings or connectors on either end of the affected section. Be sure to hold onto these fittings as they may be reusable for the repair.
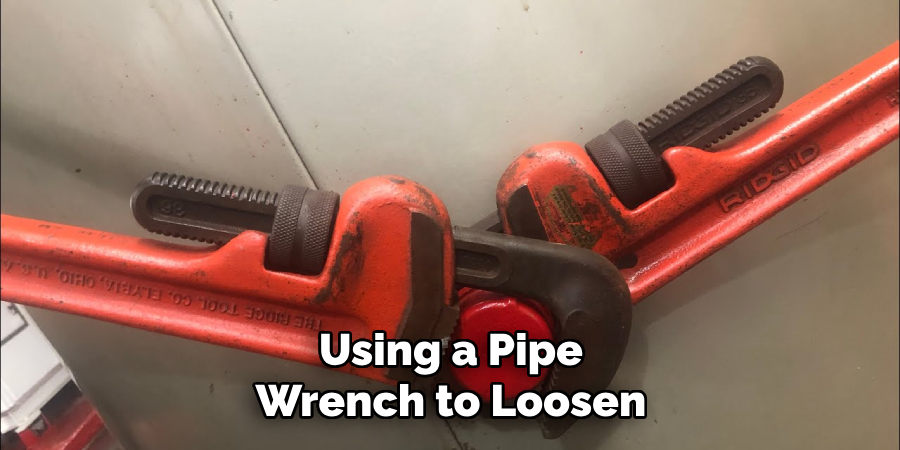
Next, use a hacksaw or reciprocating saw to cut out the damaged portion of the pipe. Be careful not to damage any surrounding pipes while doing so. Once removed, clean up the edges of the remaining pipes with sandpaper to ensure a smooth surface for connecting new pieces.
Step 5: Replace with New Pipe
After removing the damaged section, you will need to replace it with a new piece of galvanized pipe. Measure and cut the replacement pipe to fit the gap left by the removed section. Be sure to factor in the length needed for fittings on either end.
Once cut, use a pipe threading tool to create threads on both ends of the new pipe. These threads are necessary for connecting fittings and ensuring a secure seal.
Step 6: Connect New Pipe
With your new pipe ready, it’s time to connect it to the existing pipes using threaded fittings. Apply some Teflon tape or joint compound on the threads of each fitting before screwing them onto either end of the new pipe. Use a pipe wrench to tighten the fittings, ensuring a secure and leak-proof connection.
You may also need to add additional fittings, such as couplings or elbows, to create the necessary path for your pipes. Use the same process of adding tape or compound and tightening them securely with a pipe wrench.
Step 7: Test for Leaks
After completing the repairs, it’s essential to turn on the water supply and test for any leaks or issues. If there are no signs of leakage, you can proceed with reassembling any other parts or fixtures that were removed during the repair process.
However, if you notice any leaks, shut off the water supply again and inspect your connections for possible causes. It may be necessary to reapply Teflon tape or joint compound or tighten the fittings further until there are no more leaks.
Step 8: Regular Maintenance and Inspections
To prevent future issues with your galvanized pipes, it’s crucial to perform regular maintenance and inspections. This can include checking for signs of rust or mineral buildup, replacing worn-out fittings or connectors, and addressing any leaks promptly.
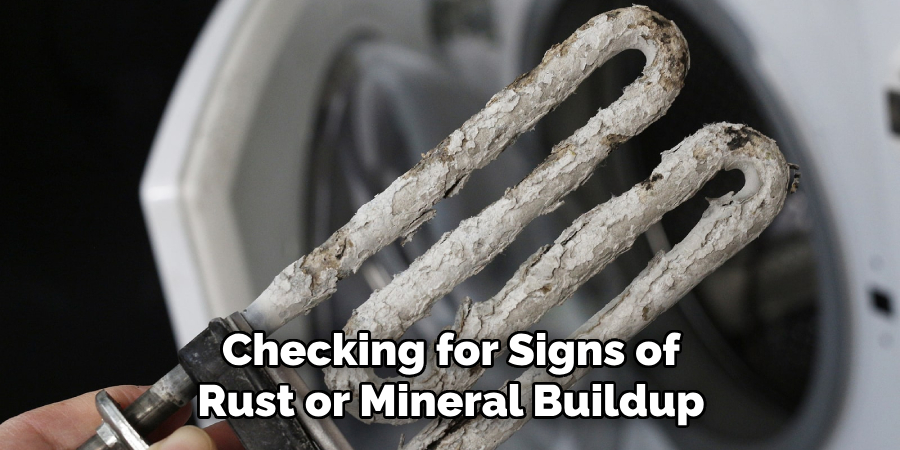
You may also want to consider upgrading to more modern plumbing materials in the long run as galvanized pipes may continue to cause problems over time. By staying on top of maintenance and repairs, you can prolong the lifespan of your plumbing system while ensuring safe and efficient water flow in your home.
Following these step-by-step guidelines on how to fix galvanized pipe can help you effectively fix galvanized pipes and restore the functionality of your plumbing system. Whether it’s a minor repair or a complete replacement, taking care of any issues with galvanized pipes will save you from costly water damage and ensure the smooth operation of you home’s water supply.
Frequently Asked Questions
Q: How Do I Know if My Galvanized Pipes Need to Be Repaired?
A: Some common signs of issues with galvanized pipes include visible rusting or corrosion, leaks, low water pressure, and discolored water. If you notice any of these problems, it’s best to address them promptly before they worsen.
Q: Can I Repair Small Leaks in My Galvanized Pipes on My Own?
A: Yes, small leaks can often be repaired using the steps outlined above. However, if the leak is significant or widespread, it may require professional help or a more extensive repair process.
Q: How Long Do Galvanized Pipes Typically Last?
A: The lifespan of galvanized pipes can vary depending on factors such as water quality and usage. On average, they can last anywhere from 20-50 years before needing replacement. Regular maintenance and prompt repairs can help prolong their lifespan.
Q: Should I Consider Replacing All of My Galvanized Pipes Instead of Repairing Them Individually?
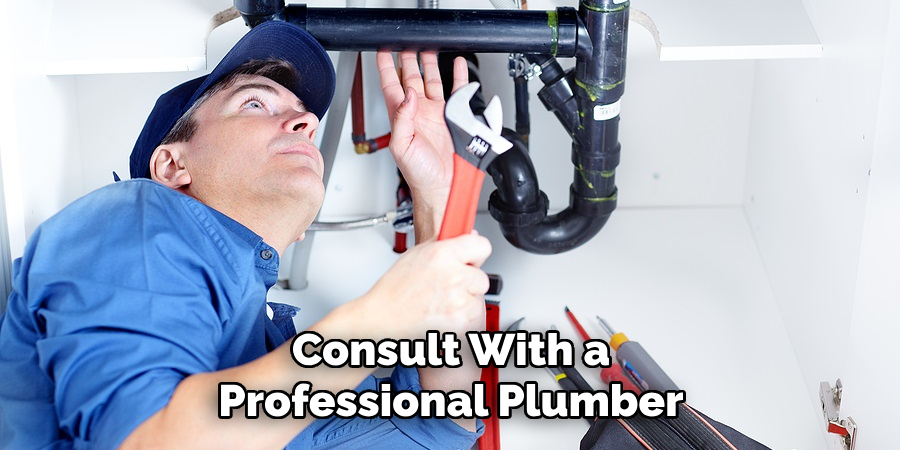
A: It may be worth considering replacing all galvanized pipes in your home if they are reaching the end of their lifespan or have a history of recurring issues. This can also help prevent future problems and improve the overall efficiency and safety of your plumbing system. Consult with a professional plumber to assess the best course of action for your specific situation.
Conclusion
In conclusion, repairing galvanized pipes can seem daunting, but by following these step-by-step guidelines on how to fix galvanized pipe, homeowners can effectively address common plumbing issues. From identifying the problem to performing regular maintenance, each step plays a critical role in ensuring the longevity and efficiency of your plumbing system.
By being proactive and knowledgeable, you can minimize the risk of leaks and damage while maintaining healthy water flow in your home. Remember, when in doubt, seeking the help of a professional plumber can provide peace of mind and ensure the job is done correctly.

