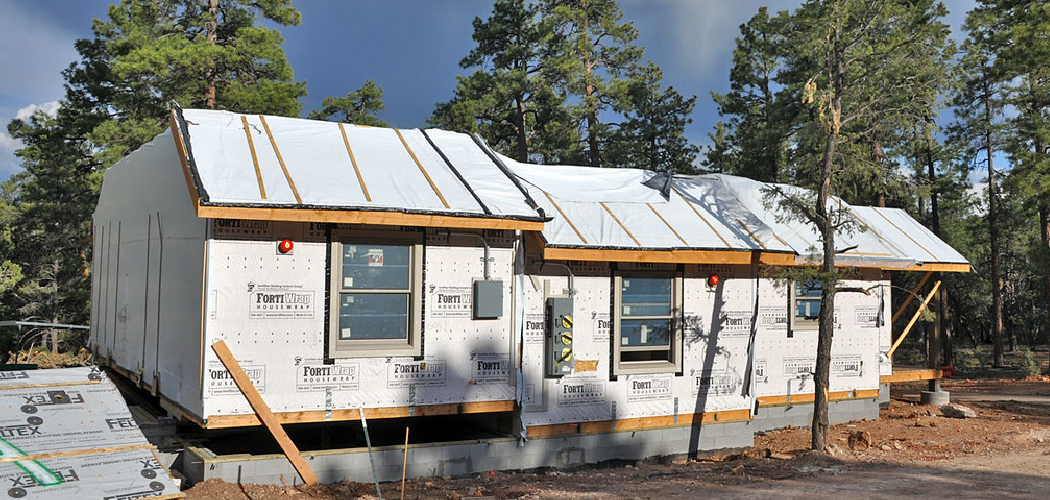
Are you looking to add plumbing to your shed? Whether you want to use it as a workshop, office, or even a living space, having access to water can significantly improve its functionality and convenience.
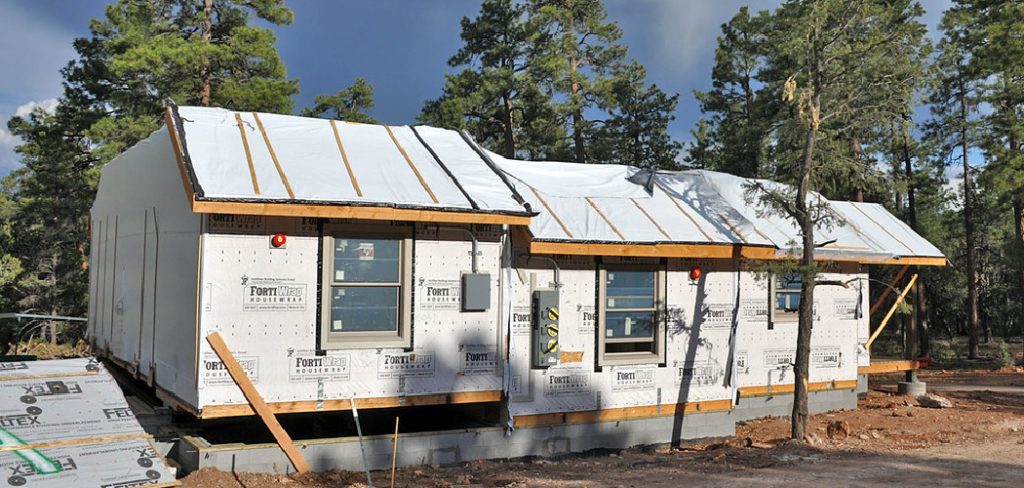
How to add plumbing to a shed can transform it from a simple storage space into a functional and comfortable environment, suitable for various uses like a workshop, guest house, or hobby space.
By incorporating a water supply, drainage system, and fixtures, you can enhance the shed’s utility while increasing its value. However, planning and executing a plumbing installation requires careful consideration, including understanding local building codes, proper materials, and necessary tools.
This guide will outline the essential steps and considerations for successfully adding plumbing to your shed, ensuring both efficiency and safety in your project.
What Will You Need?
Before you begin adding plumbing to your shed, it is important to gather all the necessary materials and tools. Some of the essential items you will need include:
- Pipes (PVC or copper)
- Fittings (elbows, tees, couplings)
- Shutoff valves
- Water supply line
- Drainage pipe
- Sink or other fixtures (toilet, shower)
- Pipe cutter or hacksaw
- Pipe wrench
- Plumber’s tape
- Pliers
- Level
- Measuring tape
- Drill
- Screwdriver
Make sure to purchase high-quality materials suitable for outdoor use and withstand various weather conditions.
10 Easy Steps on How to Add Plumbing to a Shed
Step 1. Plan Your Plumbing Layout
Begin by sketching a detailed layout of the plumbing in your shed. Consider the placement of sinks, toilets, and other fixtures, ensuring easy access to plumbing lines.
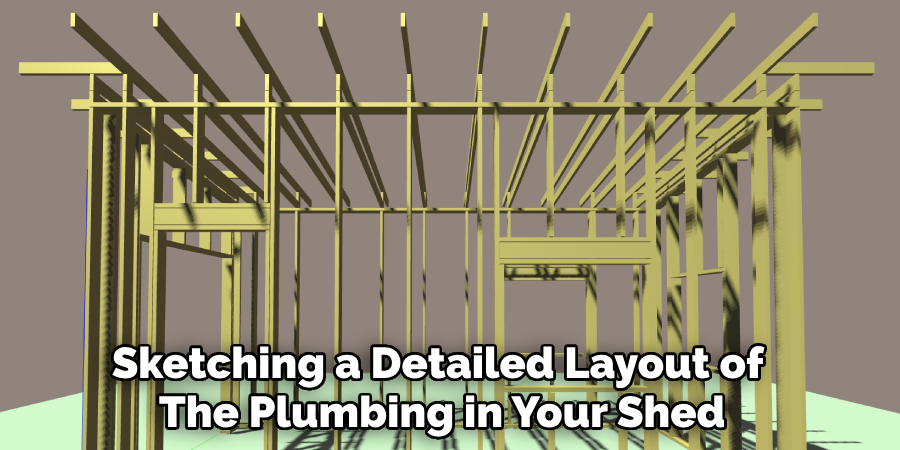
Consider the most efficient route for both the water supply and drainage systems, considering the slope needed for proper drainage. This initial planning will serve as a blueprint for your installation process, helping you visualize and execute each step effectively.
Step 2. Obtain Necessary Permits
Before you proceed with any plumbing installation, you must check with your local building authority regarding necessary permits. Many areas require permits for plumbing work to ensure compliance with health and safety codes.
Submit your plumbing plans for approval, and make sure to keep a copy of the license on hand during the installation process. This will help you avoid fines and ensure that your plumbing project meets local regulations, providing peace of mind for your shed upgrade.
Step 3. Shut Off the Water Supply
Before you begin any plumbing work, shutting off the water supply to prevent any unwanted leaks or water damage during your installation is crucial. Locate the main water shutoff valve in your home and turn it off.
If your shed is already connected to a water source, close the valve that controls water flow to the shed. Once the water supply is off, open the faucets in the shed to drain any remaining water from the lines, ensuring a dry workspace for your plumbing project.
Step 4. Install Water Supply Lines
You can install the water supply lines with your plans in place and the water supply turned off. Begin by measuring and cutting the necessary pipe lengths based on your planned layout. Use the appropriate fittings to connect the pipes, ensuring all joints are secure and leak-free.
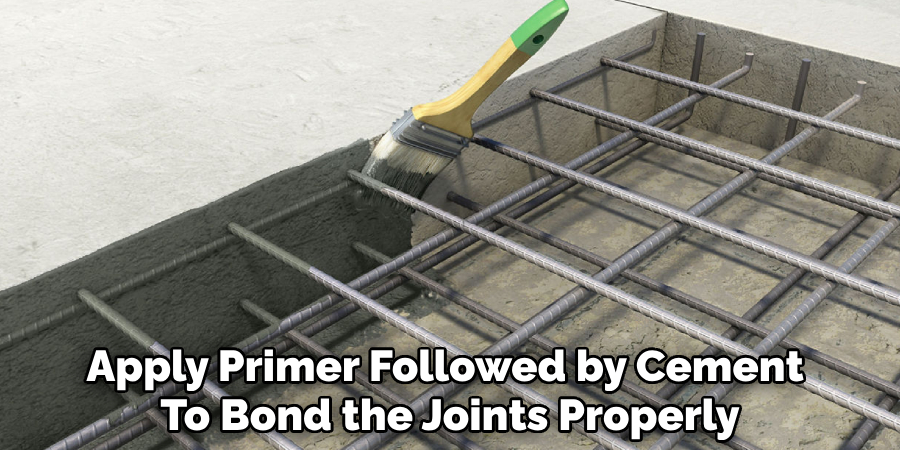
If you’re using PVC pipes, apply primer followed by cement to bond the joints properly. For copper pipes, use a soldering torch to create secure connections. Once the water supply lines are in place, check for any leaks by briefly turning the water back on and monitoring for any moisture around your connections.
Step 5. Install Drainage System
Once the water supply lines are securely in place, the drainage system is installed. Start by determining the location of your sink, toilet, or any other fixtures that will require drainage. Measure and cut the drainage pipes according to your layout, ensuring they have a downward slope of at least 1/4 inch per foot to facilitate proper flow.
Connect the drainage pipes using appropriate fittings, securing them tightly to prevent leaks. If your shed has a sink or similar fixture, install a trap to catch debris and prevent unpleasant odors from entering your space. Finally, connect the drainage system to your existing sewer line or a septic system, depending on your setup, and ensure that all connections are robust and watertight.
Step 6. Install Fixtures
Now that your water supply and drainage systems are in place, installing the fixtures is time. Begin with the sink, toilet, or any other plumbing appliances you’ve chosen for your shed. Carefully follow the manufacturer’s instructions for each fixture, ensuring proper alignment and securing. For sinks, connect the faucet to the water supply lines and attach the drain to the drainage system.
Position toilets according to the drainage pipe and secure them with the provided bolts. Once everything is installed, double-check to ensure that all connections are tight and that there are no gaps that could lead to leaks. This step not only enhances the functionality of your shed but also gives it a more finished and polished appearance.
Step 7. Test Your Plumbing System
After installing all the fixtures, it’s critical to test your plumbing system to ensure everything is functioning correctly. Begin by gradually turning the water supply back on and check for any leaks at the connections of the pipes and fixtures. Operate the sink, flush the toilet, and run any other installed appliances to ensure water flows appropriately and drainage occurs without obstructions.
Pay close attention to any unusual sounds or issues that may arise. If you encounter leaks, tighten the connections and check for correct fittings. Once you have confirmed that the system operates smoothly without leaks, you can move on to the final steps of your plumbing project.
Step 8. Insulate Pipes
To protect your plumbing from temperature fluctuations, mainly if your shed is located in a region that experiences cold weather, it’s essential to insulate the pipes. Start by selecting an appropriate insulating material, such as foam pipe insulation or heat tape. Wrap the insulation around the exposed pipes, ensuring a snug fit to prevent any heat loss and guard against potential freezing.
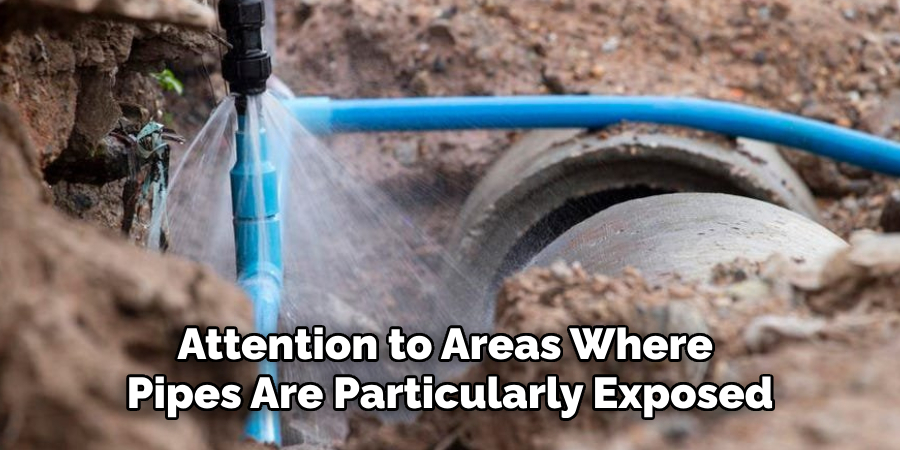
Pay special attention to areas where pipes are particularly exposed to the elements, such as those near windows or doors. Proper insulation enhances the longevity of your plumbing system and improves energy efficiency, potentially reducing heating costs in colder months.
Step 9. Finish Interior Connections
With the plumbing systems intact and insulated, turn your attention to the final interior connections. Securely fasten any remaining loose pipes and ensure they are adequately anchored to prevent movement that could lead to leaks over time.
If you use any wall cavities for running pipes, consider sealing them against drafts and moisture. Make sure to install any needed access panels to facilitate future maintenance. This step solidifies your plumbing work, offering a seamless and clean appearance while ensuring everything operates independently and efficiently.
Step 10. Final Inspection and Maintenance
Now that your plumbing system is all setup, conducting a final inspection is vital. Check each fixture, connection, and pipe for any signs of leaks or imperfections. Run water through all fixtures once again to confirm operational efficiency.
After ensuring everything works well, create a maintenance schedule to check your plumbing system regularly. Be vigilant about observing any changes in water flow or signs of leaks, addressing issues promptly to avoid more significant problems in the future.
Following these steps, you can install a functional and durable plumbing system in your shed.
5 Things You Should Avoid
- Neglecting Local Building Codes: Ensure your plumbing installation complies with local building codes and regulations. Failing to do so can result in fines, costly modifications, or even unsafe plumbing practices.
- Using Improper Pipe Materials: Avoid using pipe materials unsuited for your specific environment or type of plumbing system. For example, using PVC pipes in areas with ordinary freezing temperatures can lead to ruptured pipes.
- Skipping Necessary Permits: Remember to obtain the required permits for your plumbing installation. Ignoring this step can lead to legal issues and complications when selling your property or if inspections are required.
- Overlooking Proper Ventilation: When installing fixtures such as toilets and sinks, do not overlook the need for appropriate ventilation. Insufficient ventilation can lead to drainage issues and unpleasant odors.
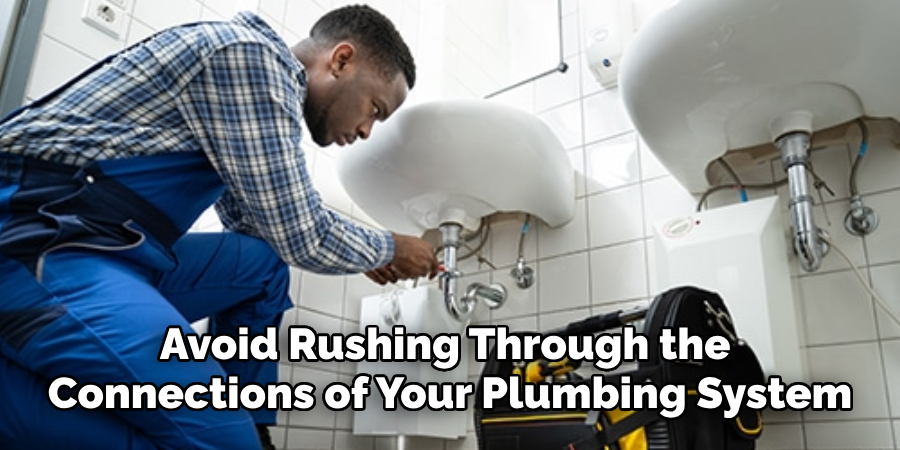
- Rushing Through Pipe Connections: Avoid rushing through the connections of your plumbing system. Always take the time to ensure that all connectors are secure and leak-free, as overlooking this can result in leaks and extensive water damage in your shed.
By avoiding these common mistakes, you can ensure a successful and long-lasting plumbing installation in your shed.
Conclusion
How to add plumbing to a shed can significantly enhance its functionality, transforming it into a more practical and comfortable space.
Following the outlined steps, from planning the layout to insulating pipes and ensuring proper connections, you can create a reliable plumbing system that meets your needs. Remember to prioritize safety and compliance with local regulations to avoid future complications.
Regular plumbing system maintenance is essential to prevent leaks or blockages, ensuring that your shed remains a valuable extension of your home for years to come.
Whether used as a workshop, storage area, or personal retreat, having a well-plumbed shed adds convenience and increases its overall value.

