Installing a kitchen sink sprayer can significantly enhance the functionality of your kitchen, making tasks such as washing dishes and rinsing fresh produce much more efficient. This guide will provide you with a step-by-step approach to successfully installing a kitchen sink sprayer, ensuring that you have all the necessary tools and materials at hand.
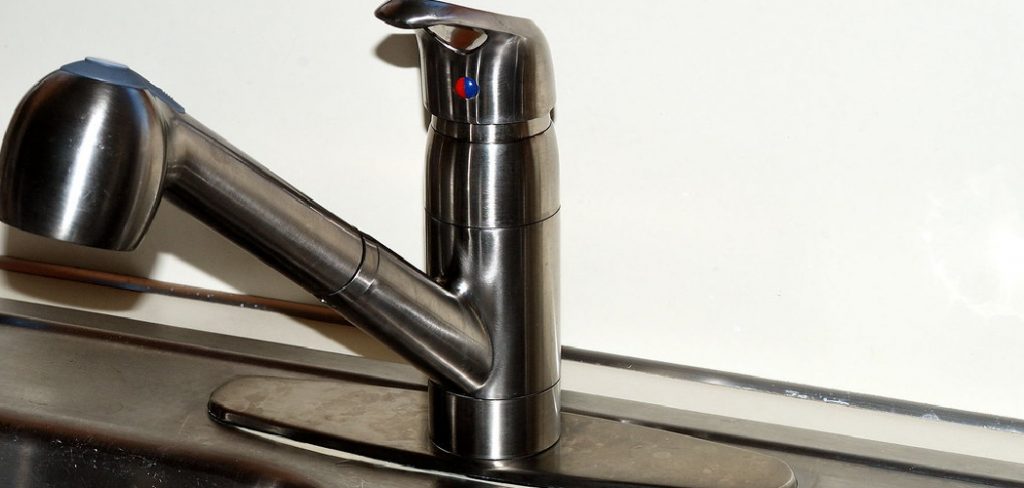
By following these instructions on how to install a kitchen sink sprayer carefully, you can save time and effort while upgrading your kitchen experience. Let’s get started!
Why Install a Kitchen Sink Sprayer?
A kitchen sink sprayer offers several benefits that can improve your daily kitchen activities. Here are some reasons why you should consider installing one:
Enhanced Cleaning: With a sprayer, you can easily reach all areas of your sink and properly rinse off food particles, making cleaning after cooking much easier and more efficient.
Versatility: A sprayer can serve multiple purposes, such as filling up large pots and buckets with water, making it a versatile tool for various kitchen tasks.
Water Conservation: By using a sprayer instead of running your faucet at full blast, you can save water while still getting the job done effectively.
Materials You Will Need
Before starting the installation process, gather all necessary materials to avoid any interruptions or delays during the process. Here is a list of the items you will need:
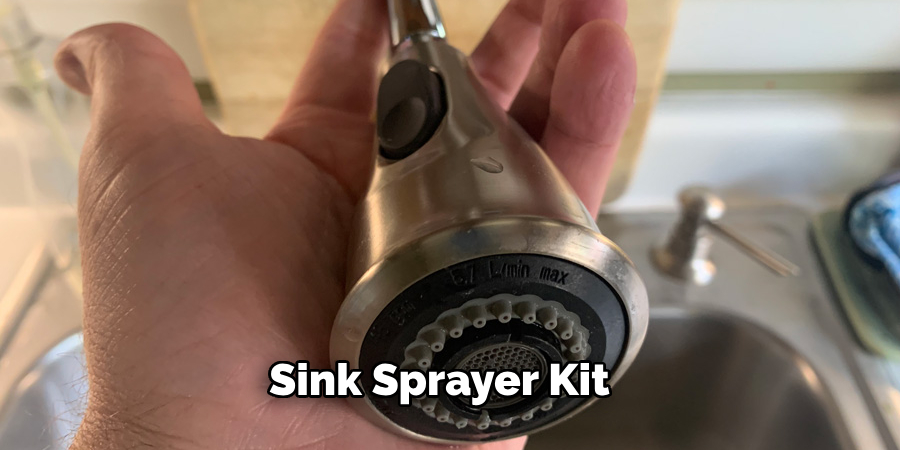
Sink Sprayer Kit
This usually includes the sprayer head, hose, mounting nut, and other necessary components. Make sure to check that the kit is compatible with your sink.
Adjustable Wrench
You will need this tool to tighten and loosen nuts during the installation process.
Pliers
These will come in handy for removing old parts and adjusting the sprayer hose if necessary.
Plumber’s Tape
This tape prevents leaks and ensures a secure connection between components.
8 Simple Step-by-step Installation Guidelines on How to Install a Kitchen Sink Sprayer
Step 1: Assemble the Sprayer Kit
Begin by unboxing the sink sprayer kit and laying out all the components on a clean work surface. This typically includes the sprayer head, the flexible hose, a mounting nut, and any additional parts such as washers or connectors that may come with the kit. Inspect each piece to ensure they are in good condition and free from defects.
Next, if your sprayer kit requires any initial assembly, follow the manufacturer’s instructions to connect the sprayer head to the hose securely. Having everything assembled and ready will streamline the installation process and allow you to work more efficiently.
Step 2: Turn off the Water Supply
Before proceeding with the installation, it is crucial to turn off the water supply to avoid any potential leaks or water damage. Locate the shut-off valves under your sink—these are typically found on the water supply lines leading to the faucet. Turn each valve clockwise until fully closed.
To ensure that the water supply is off, turn on the faucet to release any remaining water in the pipes. This step is essential for a safe and effective installation process.
Step 3: Remove the Old Sprayer (If Applicable)
If you are replacing an existing kitchen sink sprayer, the next step is to remove the old unit. Begin by disconnecting the hose from the faucet. Using your adjustable wrench, carefully loosen the connection nut that secures the hose to the faucet base. Once it’s loose, you can free the hose from the faucet.
Next, locate any mounting hardware beneath the sink that holds the sprayer in place. Use your pliers to unscrew or unclip these components to fully detach the old sprayer. After removing the sprayer and hose, check the area for any leftover debris or old fittings that might need cleaning or replacement before installing the new sprayer. This step will ensure a smooth installation and proper functionality of the new sprayer.
Step 4: Install the Mounting Nut
Once the old sprayer has been removed, it’s time to install the mounting nut for your new sprayer. Begin by aligning the mounting nut with the hole in the sink where the sprayer will be seated. Depending on your sink configuration, you may need to insert the mounting nut underneath the sink to secure it.
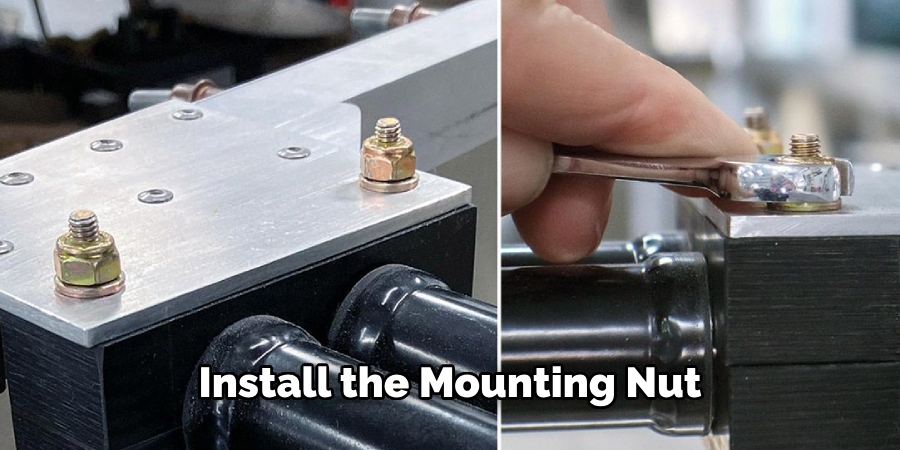
Make sure that the nut is positioned correctly, and then thread it onto the sprayer hose, pulling it gently upward to ensure that it fits snugly against the sink. Use your adjustable wrench to tighten the mounting nut, but be careful not to overtighten, as this can damage the sink or the sprayer components. Once securely in place, verify that the sprayer hose is properly aligned and ready for the next step in the installation process.
Step 5: Connect the Hose to the Faucet
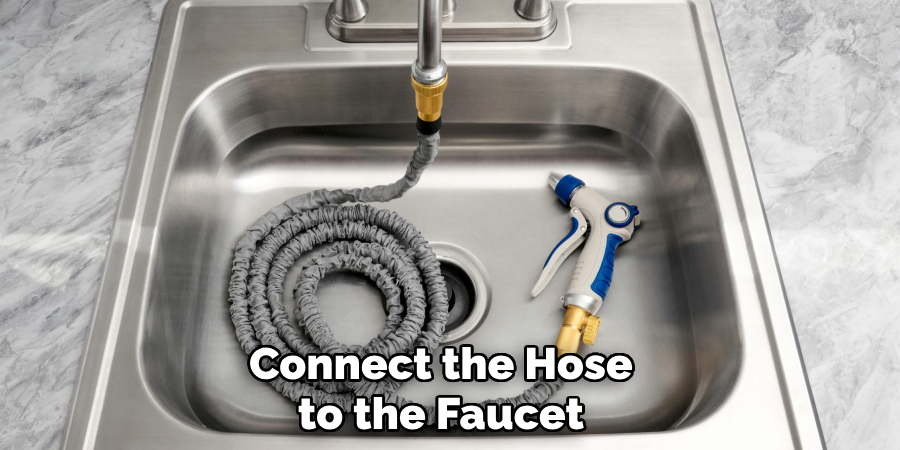
With the mounting nut in place, it’s time to connect the sprayer hose to your faucet. Begin by threading the end of the hose through any washers or connectors that came with your kit. Slide these pieces onto the hose and push them up toward where they will meet the faucet base.
Next, carefully align and secure the connection nut on top of these fittings using an adjustable wrench. Be sure to tighten this connection securely but not too tight as it can damage components and cause leaks. Once complete, double-check all connections for a snug fit before proceeding further.
Step 6: Turn on Water Supply
With all connections in place, it’s time to turn the water supply back on. Begin by slowly turning on the shut-off valves so that water gently flows through the pipes and into the faucet. Turn on your faucet and allow any remaining air or debris to flush out of the system.
Once you have a steady stream of water coming from your faucet, check all connections for leaks or looseness. If everything looks good, you are ready to use your new kitchen sink sprayer!
Step 7: Adjust Hose Length (If Required)
Depending on your sink configuration and personal preference, you may need to adjust the length of your sprayer hose for optimal functionality. To do this, simply unthread the connection nut at the faucet base and pull the hose gently downward until you have a desirable length. Retighten the connection nut, and your sprayer should be ready to use.
It’s also essential to ensure that the hose does not get caught or kinked when retracting back into its base. Adjust as needed and test the sprayer to ensure smooth operation.
Step 8: Test Your New Sprayer
Congratulations, your new kitchen sink sprayer is now installed and ready to use! To ensure everything is working correctly, test out your sprayer by turning on the water supply and using it as you would normally. If you encounter any issues or leaks, carefully check all connections for any potential problems.
Following these simple step-by-step installation guidelines on how to install a kitchen sink sprayer will help you successfully install a new kitchen sink sprayer in no time. With proper maintenance and care, your sprayer should provide you with years of efficient use and make your daily cleaning tasks easier to accomplish.
Tips for Maintaining Your Kitchen Sink Sprayer
- Periodically clean the spout and nozzle to remove any buildup or debris.
- Check all connections for leaks or looseness regularly.
- If your sprayer starts to lose pressure, check for any obstructions or clogs in the hose or nozzle.
- Consider replacing your sprayer every 5-7 years to ensure optimal functionality.
- Don’t overtighten connections as it can damage components and cause leaks.
By following these maintenance tips on how to install a kitchen sink sprayer, you can prolong the life of your kitchen sink sprayer and keep it functioning at its best.
Frequently Asked Questions
Q1: Can I Install a Kitchen Sink Sprayer on My Own?
A: Yes, with the right tools and instructions, installing a kitchen sink sprayer is a relatively straightforward process. The steps outlined above can guide you through the installation process, but it’s always recommended to consult a professional if you are unsure or uncomfortable with installing it on your own.
Q2: How Do I Know Which Kitchen Sink Sprayer is Compatible with My Faucet?
A: Before purchasing a new kitchen sink sprayer, make sure to check the brand and model of your current faucet. This information can help you find a compatible sprayer from the same manufacturer or one that has universal compatibility. If in doubt, consult a professional for assistance.
Q3: How Often Should I Replace My Kitchen Sink Sprayer?
A: It’s generally recommended to replace your kitchen sink sprayer every 5-7 years to ensure optimal functionality. However, this timeline may vary depending on usage and maintenance. If you notice any significant decrease in performance or visible wear and tear, it may be time to replace your sprayer sooner.
Q4: Can I Use a Kitchen Sink Sprayer for Both Hot and Cold Water?
A: Most kitchen sink sprayers are designed to work with both hot and cold water. However, it’s essential to check the specifications of your specific sprayer before use as some may have limitations or recommendations for water temperature.
Conclusion
Installing a kitchen sink sprayer can be a straightforward DIY project that enhances the functionality of your kitchen. By following the step-by-step instructions on how to install a kitchen sink sprayer outlined above, you can ensure a proper installation that supports both efficiency and ease of use.
Remember that regular maintenance is key to prolonging the life of your sprayer and preventing potential issues down the line. Embrace your new kitchen upgrade, and enjoy the convenience that comes with a well-installed sprayer as you tackle everyday cleaning tasks with ease!
