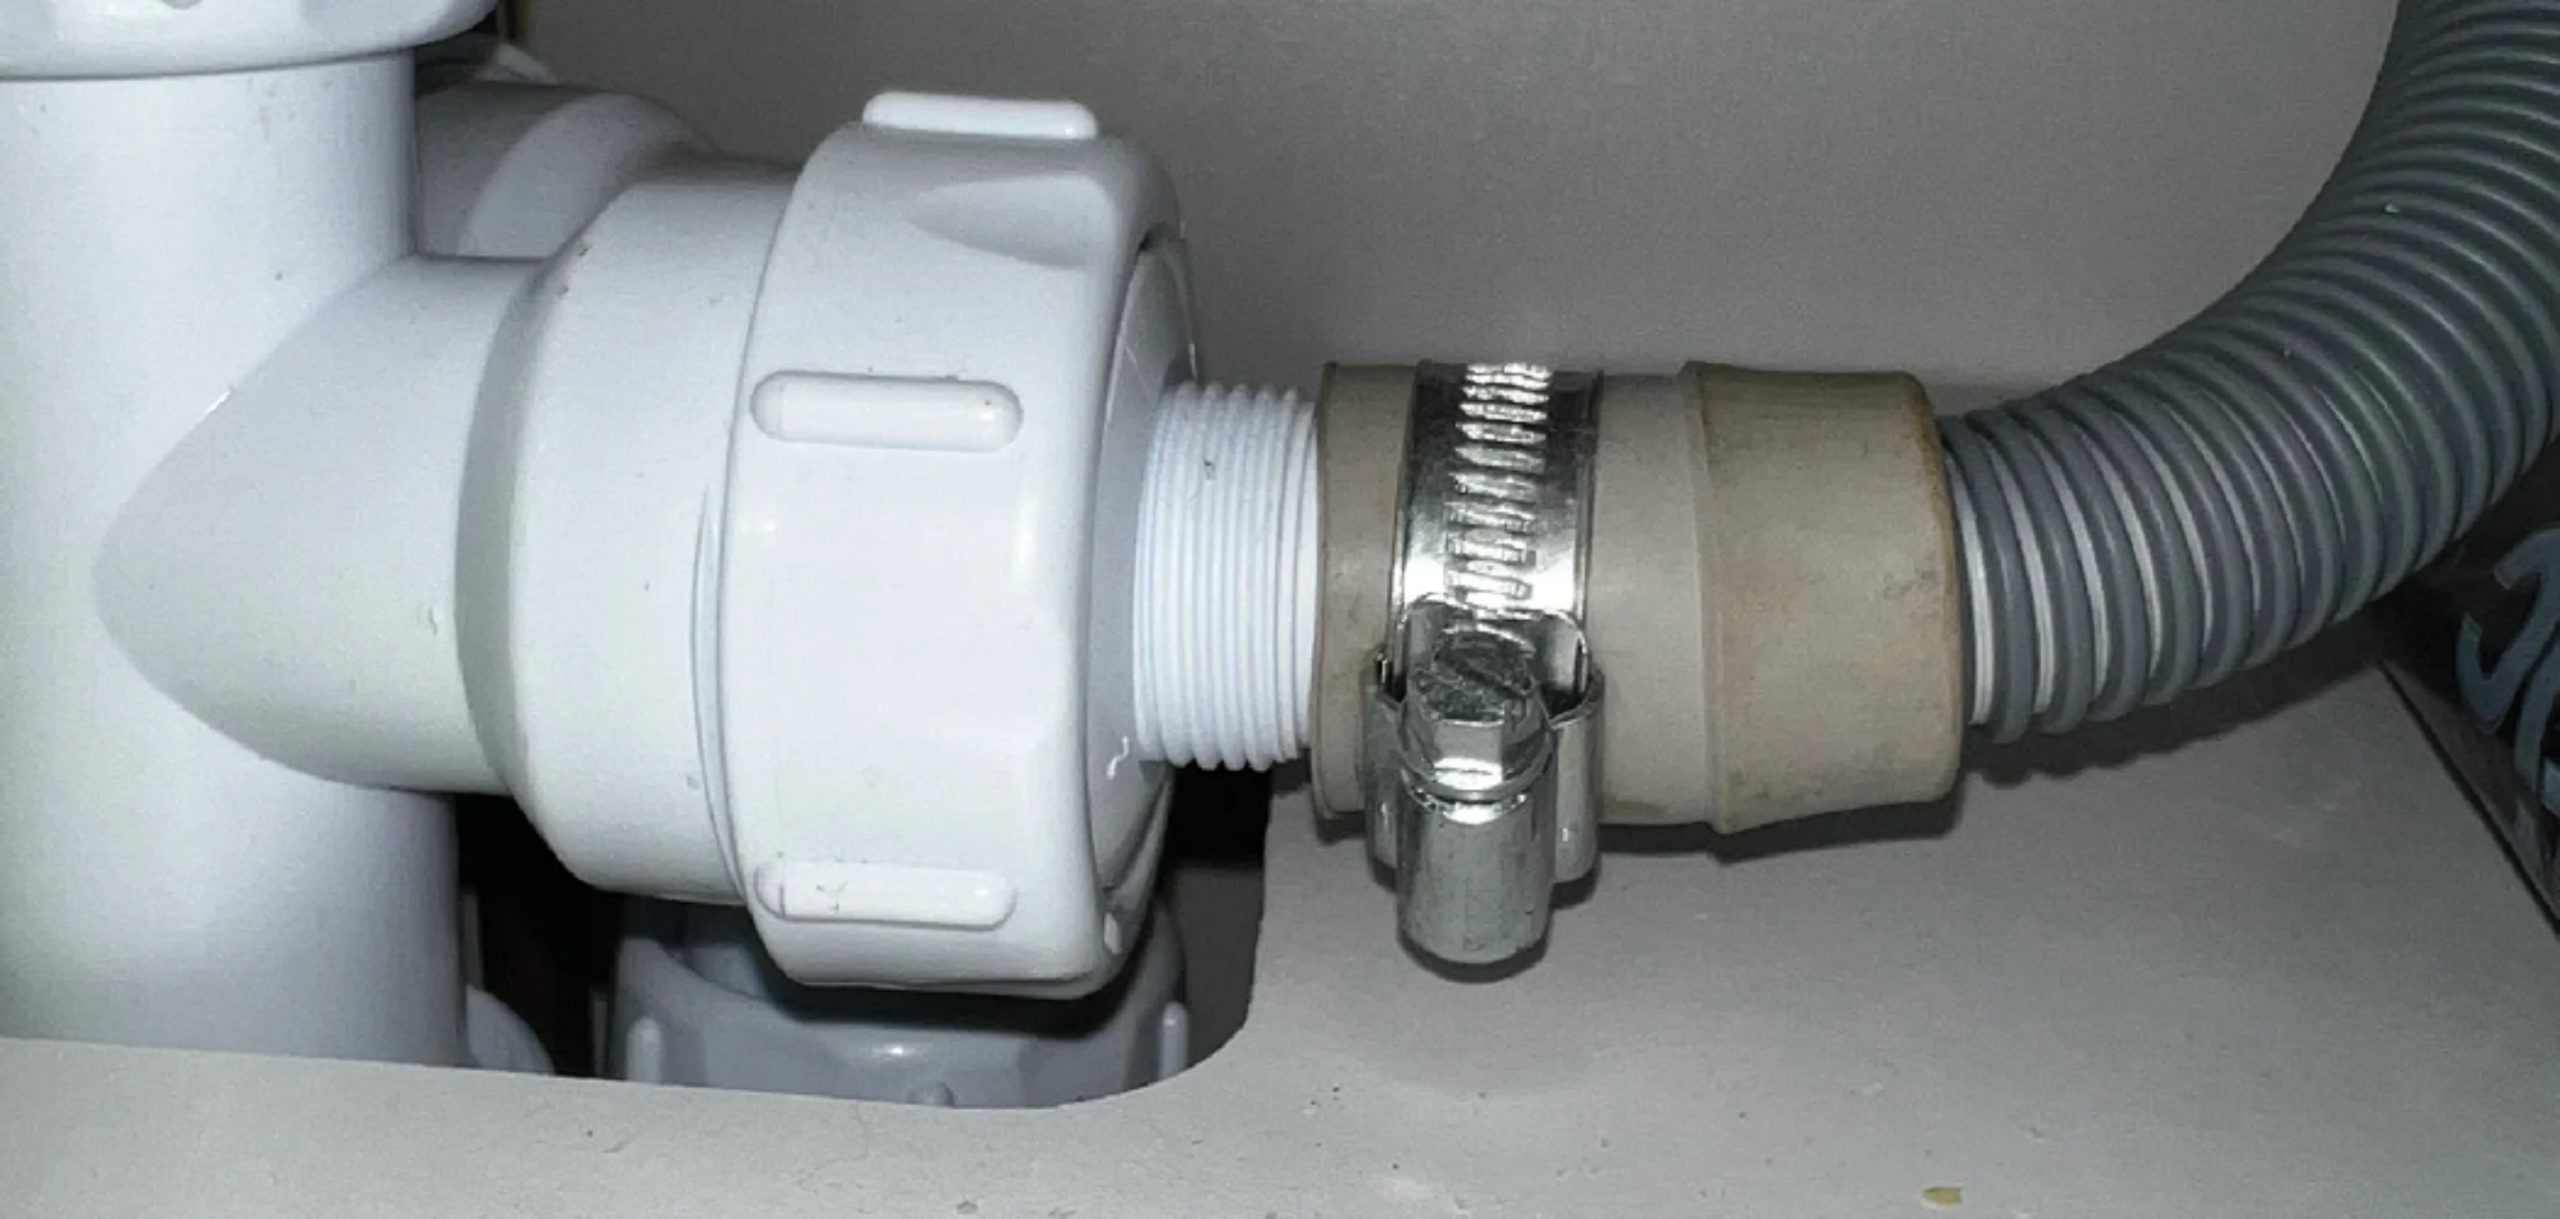
Correctly plumbing a dishwasher drain ensures efficient operation and prevents common issues such as leaks or improper drainage. A properly installed drain enhances the dishwasher’s performance and safeguards against water damage to your kitchen and surrounding areas.
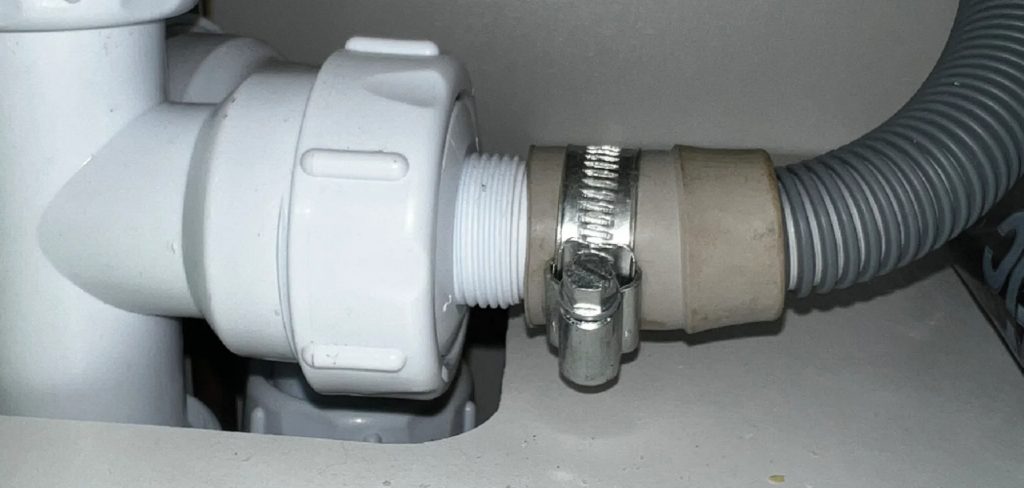
If the drain connection is flawed, water can back up, leading to inconvenient and costly repairs. This article will guide you through the key steps on how to plumb dishwasher drain effectively, covering everything from preparation to testing the installation.
We will highlight the significance of each phase in the plumbing process, ensuring that you understand how each step contributes to a secure and functional drainage system. By following these guidelines, you can maintain a well-functioning dishwasher, prevent nuisance leaks, and promote longevity in your appliance’s performance.
Gather the Necessary Tools and Materials
List of Tools and Materials
To successfully plumb your dishwasher drain, gathering the right tools and materials is crucial. Essential Items include pipe wrenches, pliers, Teflon tape, PVC or metal pipe fittings, hose clamps, and a dishwasher drain hose.
Additionally, you may want to have a bucket on hand for catching any residual water during installation, pipe sealant to secure fittings, and potentially a new garbage disposal unit if you are replacing an existing one.
Safety Precautions
Before starting your plumbing project, it’s important to take safety precautions. Protective Gear: Always wear gloves and safety glasses to safeguard against any debris, sharp edges, or unexpected spills. Workspace Preparation: Clear the area under the sink, ensuring it is clean and free of obstacles.
This will create a safe and efficient work environment, allowing you to focus on the task without distractions or hazards. By taking these steps, you will enhance your safety and streamline the plumbing process, leading to a successful installation of your dishwasher drain.
How to Plumb Dishwasher Drain: Installing the Dishwasher Drain
Step 1: Connect the Drain Hose to the Dishwasher
To begin installing your dishwasher drain, first locate the drain outlet on the dishwasher. Tip one end of the drain hose over the drain outlet, ensuring it fits snugly. Once positioned correctly, secure the hose using a hose clamp, tightening it firmly to create a leak-proof connection.
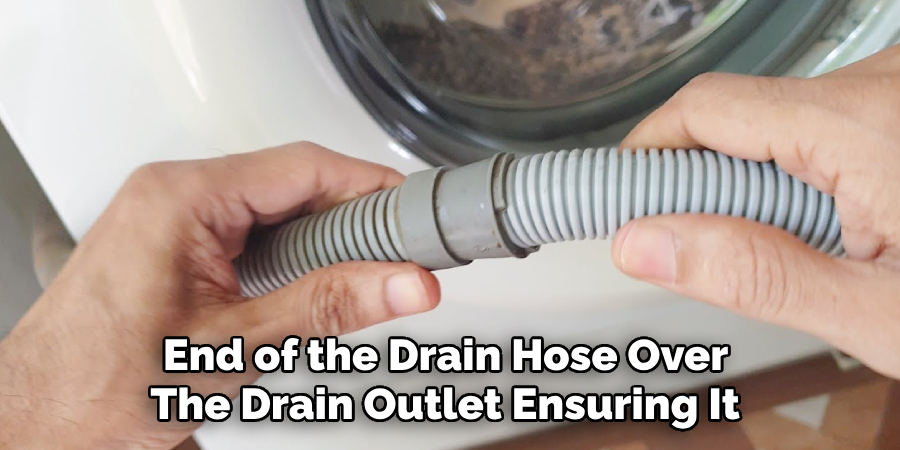
This step is vital as it prevents any leaks during operation, which could lead to water pooling inside the kitchen or damaging cabinetry. Additionally, a secure connection ensures that wastewater from the dishwasher is effectively drained, optimizing the appliance’s performance.
Step 2: Connect the Drain Hose to the Sink or Garbage Disposal
Next, route the free end of the drain hose toward the sink drain or garbage disposal. If you’re connecting the hose to a garbage disposal, feed it into the disposal’s inlet and secure it with another hose clamp. If you’re opting for a direct connection to the sink, attach the hose to the sink’s drain fitting instead.
This connection is crucial as it directs wastewater from the dishwasher to the proper drainage system. A faulty connection can result in improper drainage, leading to potential clogs or backups, so ensure that everything is securely fastened.
Step 3: Install a High Loop or Air Gap
The final step in installing your dishwasher drain involves creating a high loop or adding an air gap to the setup. To achieve a high loop, attach the drain hose to the underside of the sink cabinet using a bracket or other securing device, ensuring that the hose is elevated above the sink’s drain level. This configuration helps prevent any backflow of wastewater into the dishwasher.
Alternatively, you can opt for an air gap fitting, which is typically installed on the sink’s countertop and serves the same purpose of preventing backflow. Installing either a high loop or air gap is essential for maintaining hygiene and avoiding contamination within your dishwasher, as it protects against foul odors and potential health hazards caused by wastewater ingress.
Testing the Installation
Step 1: Turn On Water Supply
How to Do It: Slowly turn on the dishwasher’s water supply. As the water begins to flow, carefully check all connection points, particularly around joints and fittings, for any signs of leaks. Ensure that the water flows freely through the drain hose without any obstructions.
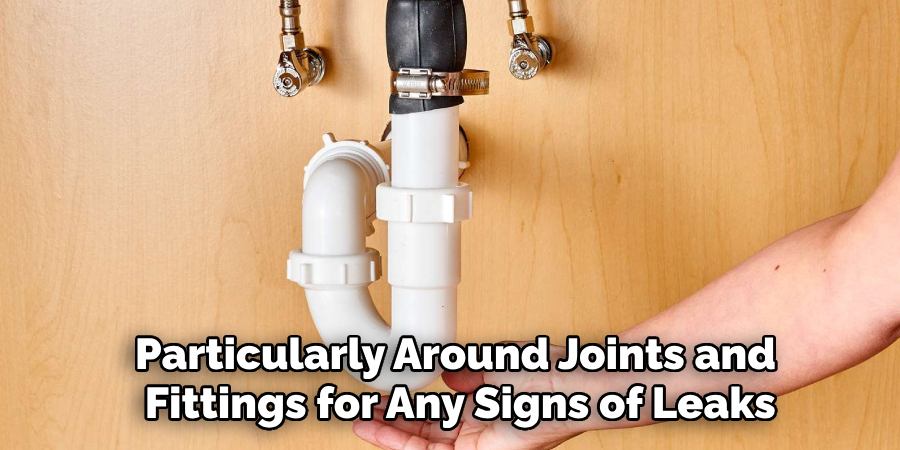
Why It’s Important: This step is crucial for verifying that the installation is secure and that all connections are tightly sealed, preventing any potential leaks. Undetected leaks can lead to water damage over time, affecting your kitchen’s integrity and causing costly repairs.
Step 2: Run a Test Cycle
How to Do It: Once you’ve confirmed that there are no leaks, run a short test cycle on your dishwasher. During this cycle, monitor the machine to ensure that it drains properly and functions as expected. Pay close attention to the area around the drain hose and garbage disposal connection for any leaks or drainage issues.
Why It’s Important: Running a test cycle helps confirm that the plumbing setup is working correctly and that the dishwasher is efficiently draining. Any issues detected during this phase can be addressed immediately, ensuring that the appliance operates safely and effectively over time.
Common Issues and Troubleshooting
Issue 1: Leaks at Connections
Possible Causes: Leaks can often stem from loose fittings, damaged hoses, or improper installation. Even minor misalignments or inadequate sealing can lead to significant problems over time.
Troubleshooting Steps: To address leaks, start by tightening all connections with a wrench, ensuring they are secure but not overly tightened. Examine the hoses for any signs of damage, such as cracks or wear, and replace them if necessary. Additionally, check that all fittings are properly sealed with Teflon tape or pipe sealant as needed to create a water-tight environment.
Issue 2: Clogged Drain Hose
Possible Causes: A clogged drain hose can occur due to debris or buildup that collects inside the hose over time, impeding proper drainage.
Troubleshooting Steps: To resolve this issue, begin by detaching the drain hose from both the dishwasher and the sink or garbage disposal. Once removed, flush the hose with water to remove any loose debris. If the clog persists, using a plumber’s snake can effectively reach deeper obstructions and clear the pathway. After clearing the blockage, reattach the hose and run a test cycle to ensure proper drainage.

Maintenance Tips
Regular Inspection
How to Do It: Periodically check the drain hose and connections for signs of wear, leaks, or blockages. Ensure the hose remains securely attached and free of kinks. Inspect the area around the connections for moisture, which can indicate leaks. Consider doing this every few months or more frequently if you notice any changes in your dishwasher’s performance.
Why It’s Important: Regular inspections help prevent issues and extend the lifespan of the plumbing setup. Early identification of potential problems allows for timely repairs, reducing the risk of extensive damage or costly emergencies.
Cleaning the Hose
How to Do It: Remove the drain hose and rinse it with warm water to remove any residue or buildup that may have accumulated over time. Use a mild detergent if necessary to help break down stubborn residues. After cleaning, reattach the hose securely and check that all connections are tight and leak-free.
Why It’s Important: Cleaning the hose prevents clogs and maintains efficient drainage. Regular hose maintenance ensures that wastewater is carried away effectively, reducing the chance of foul odors and ensuring the dishwasher operates at peak performance. Proper care also contributes to the overall hygiene of your kitchen environment.
When to Call a Professional
Complex Plumbing Issues
If you encounter complex plumbing issues, such as persistent leaks or drainage problems that you cannot resolve. These problems can stem from underlying issues within your plumbing system that may not be visible or easily fixable.
A qualified plumber has the expertise and tools necessary to diagnose and address these issues effectively, ensuring your dishwasher operates safely and efficiently.
Installation Challenges
For complicated installations or if you’re unsure about any of the steps in the installation process, consider hiring a professional. Engaging a plumber can save you time and provide peace of mind, knowing that the setup is correct and complies with local codes or regulations.
Professional involvement helps avoid potential mistakes that could lead to further complications down the line, ensuring a smoother experience with your new dishwasher.

Conclusion
In summary, understanding how to plumb dishwasher drain involves several key steps, from preparation to testing and maintenance. First, ensure that all connections are secure and properly sealed to prevent leaks.
Next, run a test cycle to verify that the plumbing works effectively, allowing for optimal drainage. Following the installation, regular inspections and cleaning of the drain hose are vital to maintaining performance and preventing future issues. A proper installation not only aids in preventing leaks but also promotes efficient drainage, safeguarding your kitchen from potential water damage.
As a final tip, always conduct regular checks and maintenance to keep your dishwasher plumbing in optimal condition. Developing this habit ensures long-lasting functionality for your appliance and ultimately enhances your overall kitchen experience.

