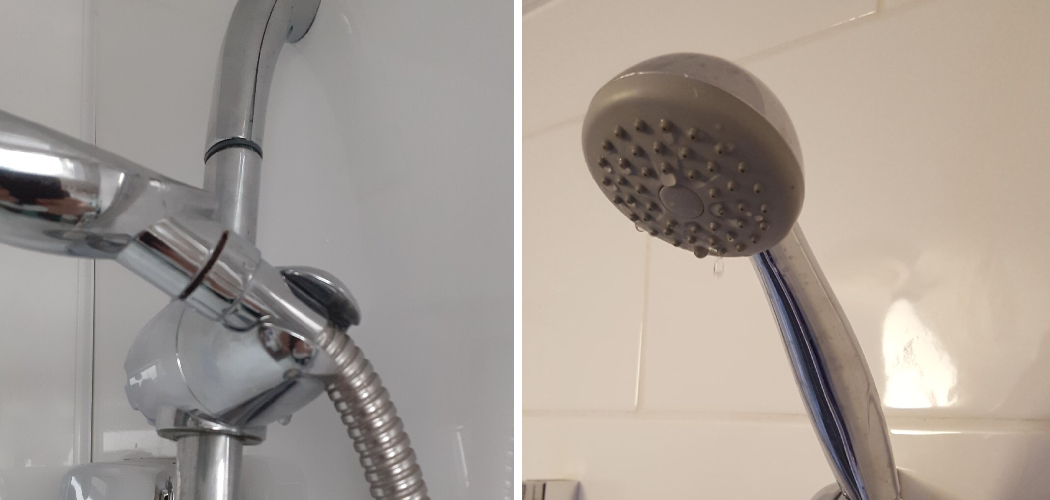
Are you constantly dealing with a loose and wobbly showerhead? Do you find yourself adjusting the position of your shower head every time you want to shower? If so, it may be time to tighten the swivel on your shower head.
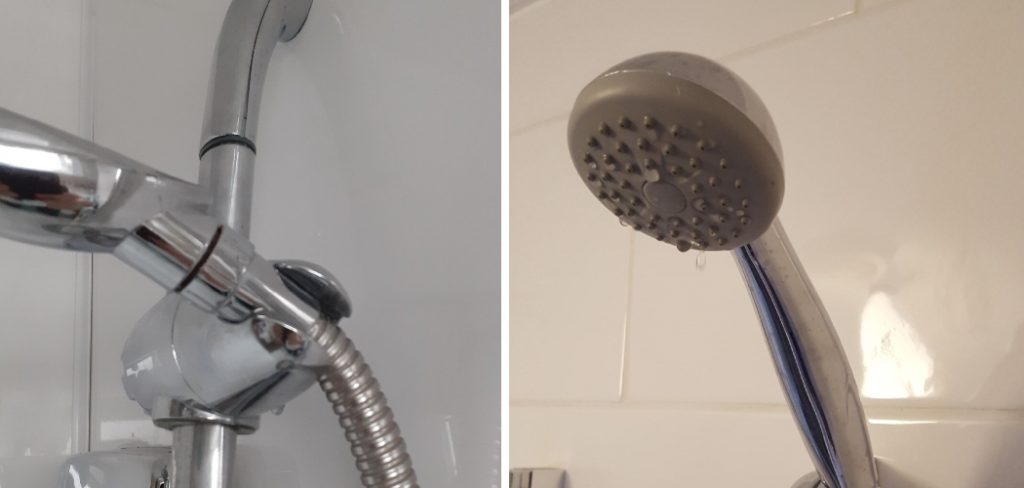
How to tighten shower head swivel is a simple yet essential maintenance task that can improve your shower experience. Over time, the connection between the shower head and the arm may loosen due to regular use, leading to unwanted drips or an improper angle of spray. Fortunately, this is a straightforward fix that requires minimal tools and effort.
In this guide, we will walk you through the step-by-step process to securely tighten your shower head swivel, ensuring a leak-free and comfortable shower every time.
What Will You Need?
Before we proceed, let’s gather the necessary tools to complete this task. You will need only a few items that are easily accessible and most likely already in your household.
- Adjustable wrench
- Pliers
- Cloth or rag
Once you have these items, you are ready to begin tightening your shower head swivel.
10 Easy Steps on How to Tighten Shower Head Swivel
Step 1: Turn Off the Water Supply
Before you start working on tightening the shower head swivel, it is crucial to turn off the water supply to prevent any unexpected sprays or leaks. Locate the shut-off valve, typically found near the shower or in the plumbing system. Turning it counterclockwise will shut off the water flow.
If you need help determining where the valve is, you can also shut off the main water supply for your home. After ensuring the water is off, turn on the shower to release any remaining water in the pipes. This will create a more accessible and cleaner work environment, allowing you to focus on tightening the swivel without any interruptions.
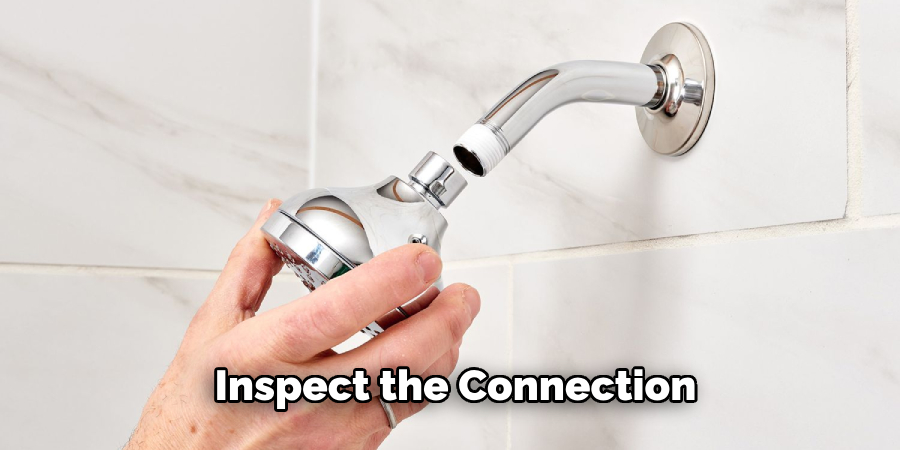
Step 2: Inspect the Connection
With the water supply turned off, take a moment to inspect the connection between the shower head and the arm. Look for any visible signs of wear, damage, or mineral deposit buildup that might contribute to the looseness.
This inspection can help you determine if you simply need to tighten the swivel or if further action, such as cleaning or replacing parts, is necessary. Clear away any debris to ensure a smooth tightening process when you proceed to the next steps.
Step 3: Wrap the Connection with a Cloth
Before proceeding to tighten the connection, it’s essential to protect the finish of both the shower head and the arm from any potential scratches or damage. Take a soft cloth or rag and wrap it around the joint where the shower head connects to the arm. This simple step acts as a buffer, preventing the tools from directly contacting the surface. Not only does this help maintain the aesthetic of your bathroom fixtures, but it also helps create a better grip. With the cloth securely in place, you can move on to the next step more confidently, knowing that you’re protecting your investment while effectively addressing the issue.
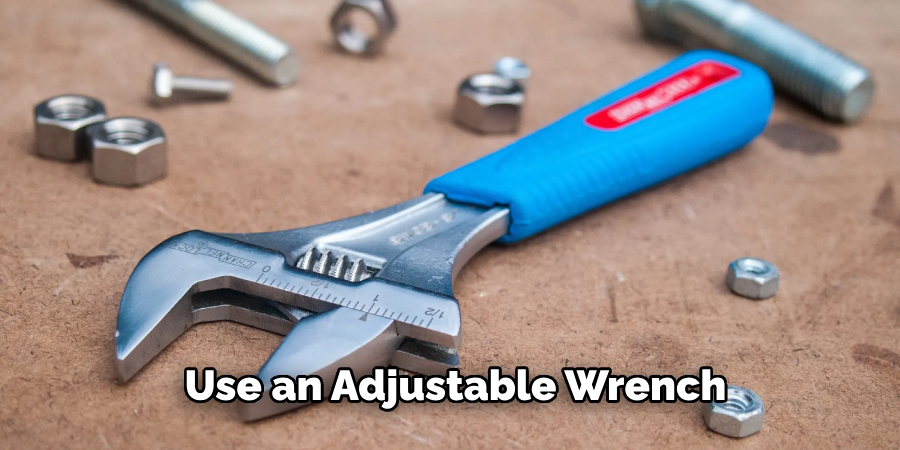
Step 4: Use an Adjustable Wrench
Now that you have wrapped the connection with a cloth, it’s time to use the adjustable wrench to tighten the shower head swivel securely. Position the wrench around the connection point, ensuring it is properly aligned to avoid any slippage or damage. Gently but firmly turn the wrench clockwise to tighten the connection.
Be cautious not to overtighten, as this can cause damage to the plumbing or the shower head. You’re aiming for a snug fit, so check the stability as you go along by wiggling the shower head slightly. If it remains secure, you’re on the right track! Once you’re satisfied with the tightness, you can move on to the next step.
Step 5: Use Pliers for Additional Tightening
In some cases, the adjustable wrench might not provide enough leverage for a secure fit. Grab your pliers for additional support if the connection still feels loose after tightening with the wrench. Carefully grip the cloth-wrapped area with the pliers, ensuring not to apply excessive force that could damage the fixtures. Turn the pliers gently in a clockwise direction to add a little extra tightness to the connection. Once again, be mindful not to overtighten—just a little extra torque can make a significant difference. After applying this final adjustment, check the stability of the shower head once more to confirm that it is secure. With this step complete, you can proceed to the final adjustments.
Step 6: Check for Leaks
Once you have tightened the shower head swivel with both the wrench and pliers, it’s time to check for any leaks. Turn the water supply back on slowly, allowing water to flow through the shower head. Observe the connection point closely for any signs of dripping or leaks. If you notice any water escaping, repeat the tightening process a bit more carefully.
Ensure that everything is securely tightened without overtightening, as this can also lead to leaks due to damage. Once you’re satisfied that there are no leaks, you can proceed to the next step.

Step 7: Test the Shower Head Functionality
Now that you’ve checked for leaks and ensured that the shower head is securely tightened, testing its functionality is essential. Turn on the shower to a comfortable temperature and observe the water spray pattern. Ensure that the shower head provides a strong and even stream while allowing for proper flexibility in adjustment. If the water flow is even and there are no unusual angles or irregular spraying, congratulations—you’ve successfully tightened your shower head swivel! Suppose you encounter any issues with the water flow. In that case, you may need to revisit earlier steps to examine the connection or consider cleaning out any internal components affecting performance.
Step 8: Clean Up the Area
After successfully tightening the shower head swivel and confirming its functionality, cleaning up the work area is essential. Start by removing any tools, clothes, and debris from the shower space. Wipe down the area with a damp cloth to collect any water spills or residue that may have accumulated during the process. This not only helps maintain a tidy bathroom but also prevents any slipping hazards. Once everything is cleared and cleaned, take a moment to admire your handiwork before leaving the bathroom. A well-maintained showerhead will enhance your shower experience, and your diligent efforts have ensured that it functions optimally.
Step 9: Regular Maintenance
To ensure your shower head’s longevity and optimal performance, it’s important to schedule regular maintenance. Check the tightness of the shower head connection every few months, as fluctuations in water pressure and regular use can lead to loosening over time. Additionally, consider cleaning the shower head periodically to remove mineral deposits and buildup that can affect water flow. A simple vinegar and water solution can effectively dissolve these deposits, keeping your shower head in good condition. By incorporating these maintenance practices, you’ll enhance your shower fixtures’ functionality and lifespan.
Step 10: Addressing Corrosion and Buildup
Over time, shower heads can accumulate mineral deposits and corrosion, which may impede water flow and hinder functionality. Regularly inspect the shower head for any signs of buildup, such as discoloration or reduced water pressure. If you notice these issues, it’s advisable to soak the shower head in equal parts vinegar and water for at least 30 minutes. This solution helps dissolve mineral deposits, making it easier to clean.
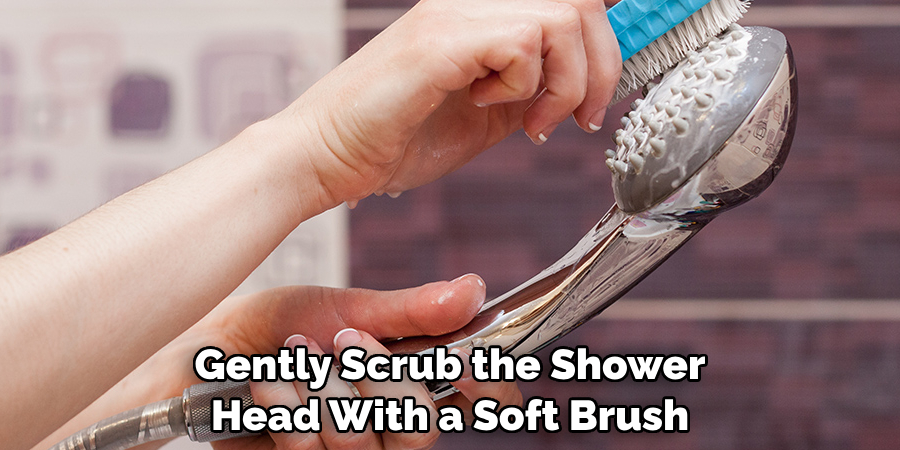
After soaking, gently scrub the shower head with a soft brush or cloth to remove any remaining residue. Rinse thoroughly with water before reattaching the head, allowing for optimal water flow and a refreshed appearance. Regular attention to these details will keep your shower head functioning smoothly and looking its best.
By following these simple steps, you can quickly tighten your shower head swivel and enhance its functionality.
What are the Causes of a Loose Shower Head Swivel?
There are several reasons why your shower head swivel may become loose over time. These include:
- Regular use and water pressure fluctuations can gradually loosen the connection between the shower arm and the swivel.
- Mineral deposits can build up inside the parts, affecting their ability to fit together securely.
- Corrosion can occur due to exposure to moisture and chemicals in tap water, leading to damage or weakening of the connection.
- Poor installation or inadequate tightening during initial setup can cause the shower head to swivel to loosen over time.
Regular maintenance and proper installation techniques are crucial to prevent these issues. By following our step-by-step guide on tightening your shower head swivel, you can ensure that your shower head remains securely attached and functions optimally for an enjoyable shower experience.
Conclusion
In summary, how to tighten shower head swivel is a straightforward yet essential task that ensures a leak-free and efficient showering experience.
Following the outlined steps—from assessing the existing connection to conducting thorough checks for leaks and maintaining cleanliness—your shower head will function optimally. Regular maintenance and attention to any signs of corrosion or buildup are equally essential to prolong the life of your fixtures.
Hopefully, this guide has given you the necessary knowledge and tips to effectively tighten your shower head swivel and enhance your overall shower experience. With proper maintenance and care, your shower head will continue providing strong and enjoyable water flow for years. Happy tightening!

