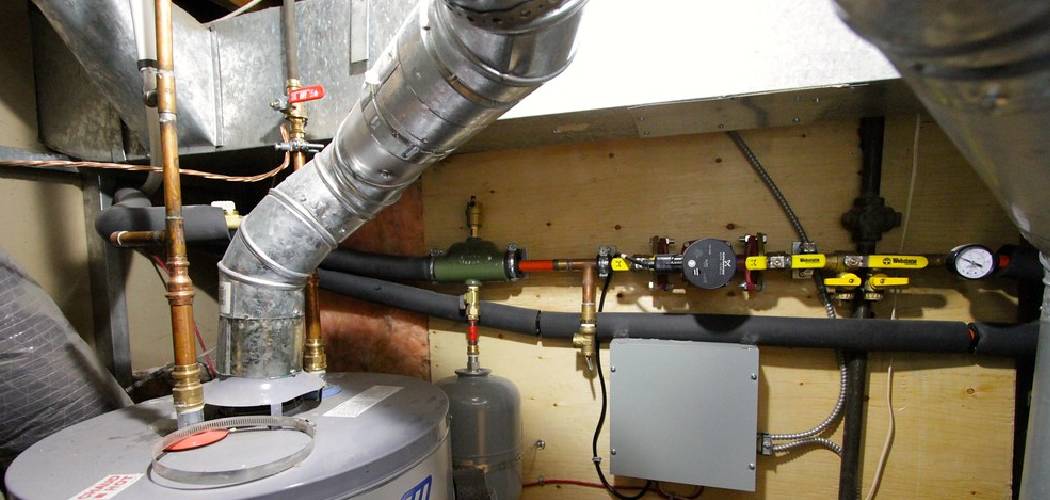
Are you having trouble dealing with a leak from your water heater vent pipe? If so, then you’re not alone. Sealing and maintaining the proper clearance around these appliances can oftentimes be difficult because of their complicated relationships to the structure of our home. But while it might seem like an impossible task at first, sealing around your water heater is actually a relatively simple and inexpensive process that anyone can do in just a few steps.
In this blog post, we will share with you essential tips on how to seal around water heater vent pipe for worry-free enjoyment of hot showers and warm evenings spent by the fire!
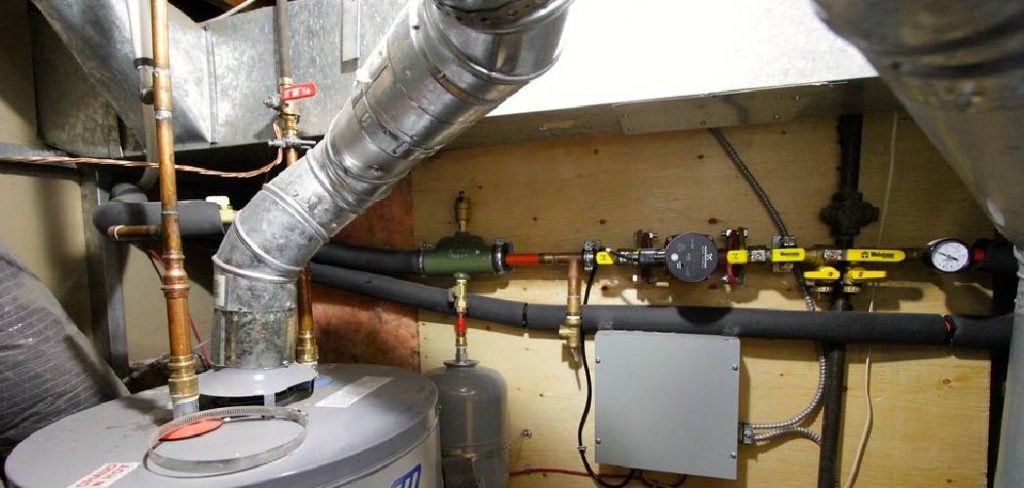
With professional advice from our experts and easy-to-follow instructions provided here, you’ll soon be confidently fixing up any leaks or other issues related to poor installation or faulty seals – guaranteed!
What are the Benefits of Sealing Around the Water Heater Vent Pipe?
Sealing around your water heater vent pipe is a simple yet effective way to save on energy costs, prevent dangerous gas leaks, and extend the lifespan of your home’s infrastructure. Because a properly sealed vent pipe prevents moisture from entering the water heater, it eliminates the risk of rust formation and corrosion which can cause costly damage to the appliance.
Additionally, when gas leaks occur due to ill-fitting vent pipes, the gas can cause severe safety risks for you and your family. Sealing around the water heater vent pipe will thus guarantee a secure and safe environment for everyone living in the house.
What Will You Need?
Before beginning the process, you will need to gather a few tools and materials. Here is a list of everything required:
- A ladder
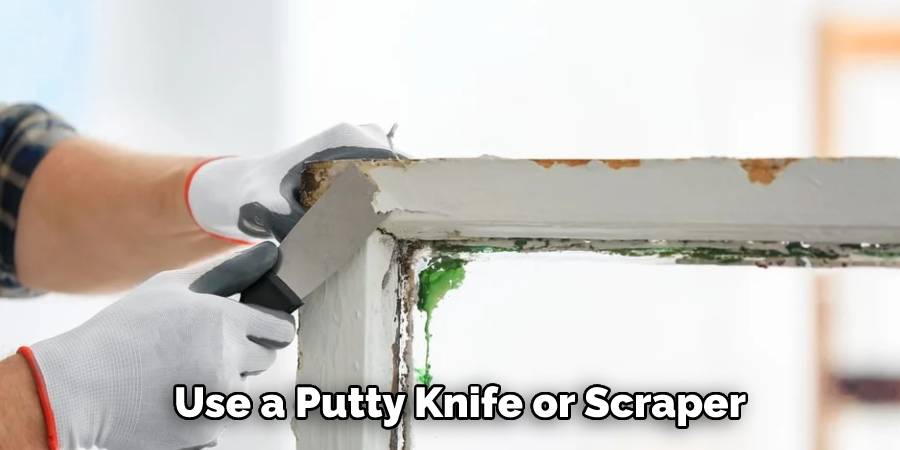
- Putty knife or scraper
- Flexible vinyl foam insulation tape
- Silicone caulk (acrylic latex)
- Utility knife
- Caulk gun
Once you have all the necessary items, you’re ready to begin.
10 Easy Steps on How to Seal Around Water Heater Vent Pipe
Step 1: Inspect the Area:
Before starting any work around your water heater vent pipe, inspect the area thoroughly. Look for any signs of deterioration in the pipe and surrounding areas that might indicate an imminent leak or damage. If there are any significant issues, call a professional for assistance before continuing with the repairs.
Step 2: Clean Off the Old Sealant:
Gently use a putty knife or scraper to remove any existing sealant from around the water heater vent pipe. You want to ensure that no debris is blocking off access or preventing proper adhesion when applying the new sealant. It is important to be very careful during this process to avoid damaging the pipe.
Step 3: Apply Insulation Tape Around the Pipe:
Flexible vinyl foam insulation tape is designed to provide a strong, airtight barrier and help prevent any drafts or moisture from entering your home. Cut the insulation tape so that it fits snugly around the pipe, and then use a utility knife to make small slits in the top of the material if necessary. This will help ensure it fits perfectly against the sides of the pipe without any uncomfortable bulges or creases.
Step 4: Caulk Around Edges:
Once you have applied the insulation tape, use an acrylic latex caulk gun to apply a thin layer of silicone caulk along each edge of the pipe. Make sure to spread the caulk evenly and cover any crevices or gaps you may have missed with the insulation tape. You can use a damp rag to wipe away any excess caulk if needed.
Step 5: Allow Caulk to Set:
Allow the caulk to set for approximately 20 minutes before continuing on to the next step. This will also give you time to check that everything is properly sealed and there are no gaps or leaks in the area. If all looks good, you can move on to the next step.
Step 6: Clean Up Excess Caulk:
Once the caulk has dried, use a damp cloth or putty knife to gently remove any excess material from around the edges of your water heater vent pipe. Be sure not to apply too much pressure, as this could cause damage to your appliance. You can also use a vacuum cleaner to remove any remaining debris if necessary.
Step 7: Inspect the Area Again:
Take a few moments to inspect the area again and ensure everything is properly sealed. Look for any signs of drafts or moisture around the pipe and check that all crevices are properly filled with caulk. Repeat steps 2-7 if you find additional sections of your water heater vent pipe needing resealing or repairing. Be sure to take your time with each step to guarantee a secure, airtight seal around the entire appliance.
Step 8: Test for Leaks:
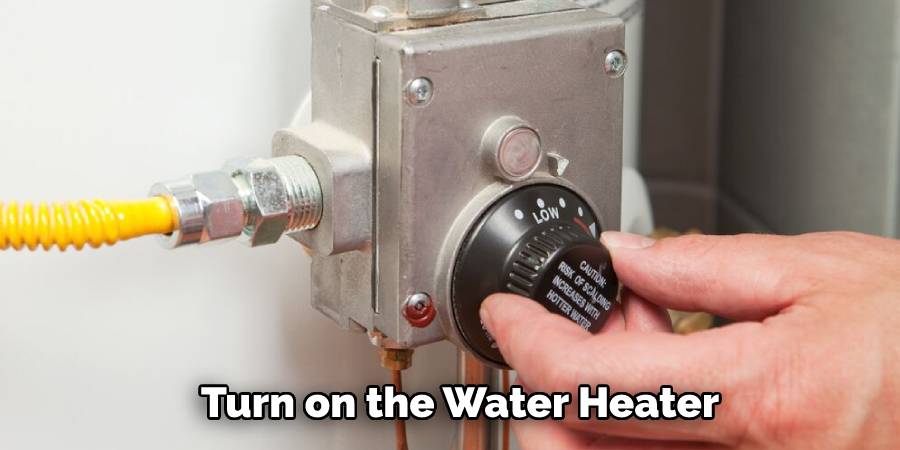
Once you’ve finished sealing up your water heater vent pipe, give it one final test to ensure no leaks. Turn on the water heater and leave it running for a few minutes before turning it off again. You should be good to go if you don’t hear any sound of rushing air or detect any drafts.
Step 9: Clean Up Area:
Take a few moments to clean up the area around your water heater vent pipe and remove any debris from the floor or walls. This will help prevent potential issues from occurring in the future and keep your appliance looking its best. Moreover, it will also help to keep your home comfortable and energy-efficient.
Step 10: Enjoy Your Peace of Mind:
You’ve now successfully sealed around your water heater vent pipe and can enjoy peace of mind knowing that your appliance is safe and secure! With proper maintenance and regular inspections, you can ensure your water heater vent pipe stays in top condition for years to come.
By following these steps, you can easily seal around your water heater vent pipe and safeguard against any potential drafts or moisture getting into your home. Taking the time to inspect the area properly will help prevent any unnecessary damage from occurring down the line and keep your appliance running smoothly.
5 Additional Tips and Tricks
1. Use caulk that is specifically designed for a water heater vent pipe. A good sealant should be flexible and able to expand and contract with temperature changes.
2. When applying the caulk, make sure to apply it in such a way as to create a continuous bead around the entire vent pipe. If there are any gaps or irregularities in how the caulk is applied, air may leak through these areas rather than being vented outside of your home.
3. Before applying the caulk, make sure to clean off any dust or debris from around the area where you’re planning on sealing up the vent pipe. This will help ensure that your seal lasts longer and more effectively prevents drafts and air leaks in your home.
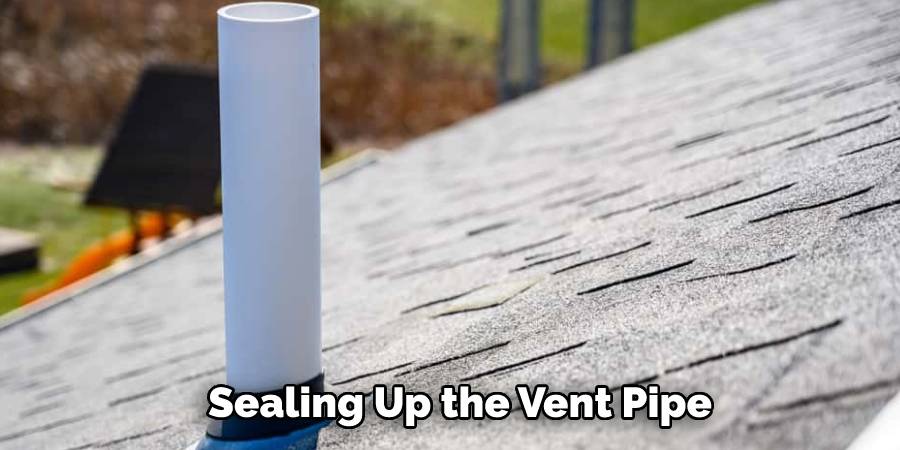
4. To help the caulk adhere better, it is a good idea to slightly wet the area where you are applying the sealant. This will provide additional protection against drafts and air leaks in your home.
5. After applying the caulk, inspect how it looks, and if there are any gaps or irregularities in how you applied the sealant, fill them back up with more caulk! Doing this will ensure that your water heater vent pipe is sealed properly and efficiently, preventing air leakage in your home.
With these tips in mind, you should be able to easily seal up your water heater vent pipe and improve how efficiently your water heater works!
5 Things You Should Avoid
1. Do not use caulk to seal the vent pipe. Caulk is not designed for high temperatures and may be unable to handle them in an enclosed space.
2. Do not try to stuff insulation around the pipe, as this can cause air blockages and other issues with your water heater’s functions.
3. Don’t forget about the connections that attach the vent pipe from your water heater beneath it—these need to be sealed with metal tape or a similar product before moving on.
4. Don’t simply wrap duct tape around the joint; this won’t do enough to protect against moisture and isn’t nearly as reliable as more specialized tapes like metal tape or foil-backed fiberglass tape.
5. Don’t use asbestos materials to seal the pipe; this is hazardous and can cause health problems over time.
With a few precautions in mind, you can ensure that your water heater vent pipe will be properly sealed and insulated—giving you peace of mind that it’s functioning correctly and safely.
Conclusion
Sealing around the water heater vent pipe is a simple and cheap job that you can do yourself in less than an hour. Be sure to purchase quality caulk, seal it correctly, and check it regularly to ensure no additional moisture infiltrates the area.
Proper installation of the vent pipe sealant will help protect your home from potential structural damage caused by water infiltration. In addition, regular maintenance of the sealant can also prolong its effectiveness and ensure that the vent pipe works safely and reliably for years to come.
All in all, having properly sealed water heater vent pipes is essential for creating an efficient energy system for your property or residence. Taking these steps on how to seal around water heater vent pipe could save you time and money in the future. So make sure you get your vent pipe sealing done securely today!

