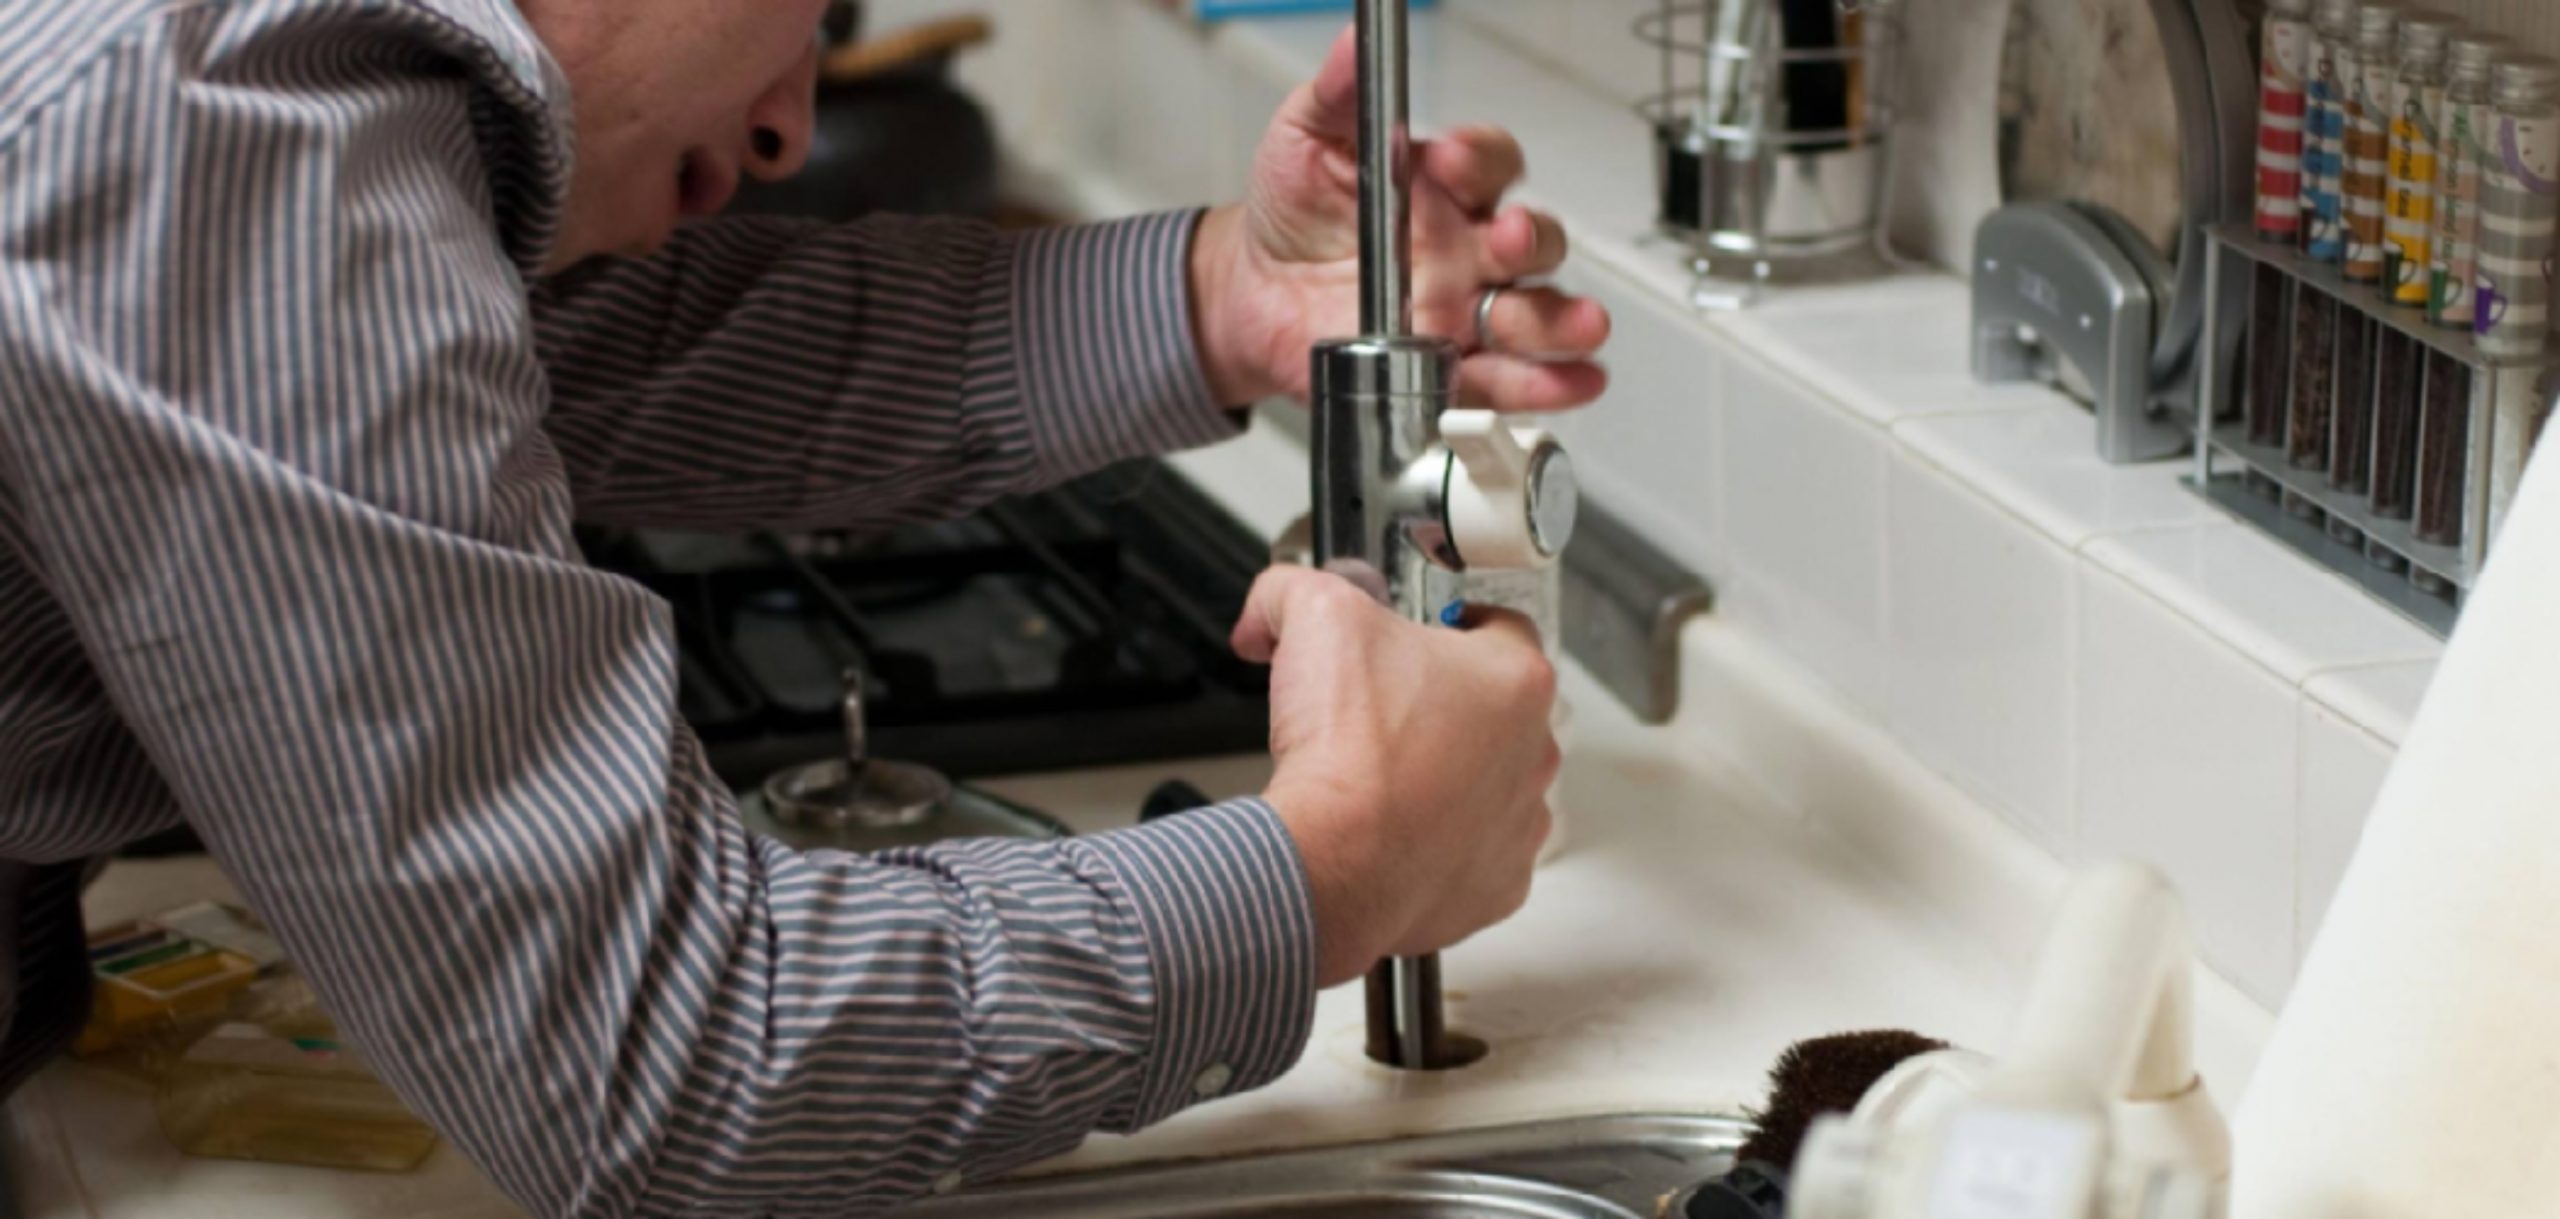
Dealing with a loose bathtub faucet can be a frustrating experience, leading to a less-than-ideal bathing environment and potential water wastage. Fortunately, this issue is often easily resolvable with a few simple tools and some basic plumbing knowledge. In this guide, we will walk you through how to fix loose bathtub faucet, ensuring it functions properly and remains stable.
Whether you’re a DIY novice or have some experience under your belt, you’ll find these instructions accessible and effective for restoring your faucet’s integrity.
Common Issues with a Loose Bathtub Faucet
A loose bathtub faucet can lead to several common issues that affect both functionality and comfort. One of the primary concerns is the potential for leaks, which can waste water and increase your utility bills.
Additionally, a loose faucet can result in inconsistent water pressure, leading to an annoying and uneven flow during bath time. Over time, if left unaddressed, the constant movement could cause damage to the plumbing connections or the faucet itself, requiring more extensive repairs or even a complete replacement.
Lastly, the noise produced by a loose faucet can be bothersome, as it may rattle or clatter when in use, detracting from a relaxing bathing experience. Addressing these issues promptly can save time and money in the long run.
Types of Bathtub Faucets
When it comes to bathtub faucets, understanding the different types available can help you choose the right one for your needs and preferences. Here are some common types of bathtub faucets:
- Single-Handled Faucets: This design features one lever that controls both the temperature and flow of water. They are user-friendly and ideal for quick adjustments, making them a popular choice for many homeowners.
- Double-Handled Faucets: These faucets have separate handles for hot and cold water, allowing for precise temperature control. While they may require more effort to adjust, many users appreciate the traditional aesthetic they offer.
- Wall-Mounted Faucets: Installed onto the wall above the bathtub, these faucets can save space and add a modern look. They are often paired with freestanding or clawfoot tubs for a stylish effect.
- Freestanding Faucets: These are designed for standalone tubs and can provide a striking visual appeal. Typically, they have a tall spout and often come with a handheld shower attachment, making them both functional and decorative.
- Shower/Tub Combo Faucets: These versatile units serve both bathtub and shower functions, often allowing the user to switch between the two with ease. They are ideal for smaller bathrooms where space is at a premium.
Choosing the right type of faucet can greatly enhance your bathing experience, and understanding the options available will help you make an informed decision.

10 Methods How to Fix Loose Bathtub Faucet
1. Turn Off the Water Supply
Before starting any repair work, the first and foremost step is to turn off the water supply to avoid any accidental spills or flooding. Locate the shut-off valves for the bathtub, usually found in the basement or under the sink if the valves are not accessible directly behind the bathtub.
If you cannot find individual shut-off valves, turn off the main water supply for your home. After shutting off the water, open the faucet to drain any residual water remaining in the pipes. This step prevents any water from dripping or leaking while you are working on the faucet.
2. Inspect the Faucet and Handle
With the water turned off, take a closer look at the faucet and its handle to assess the extent of the looseness. Remove any decorative cover or cap on the handle to expose the mounting screws or nuts. Check if the faucet handle is loose or if the entire faucet assembly is wobbling.
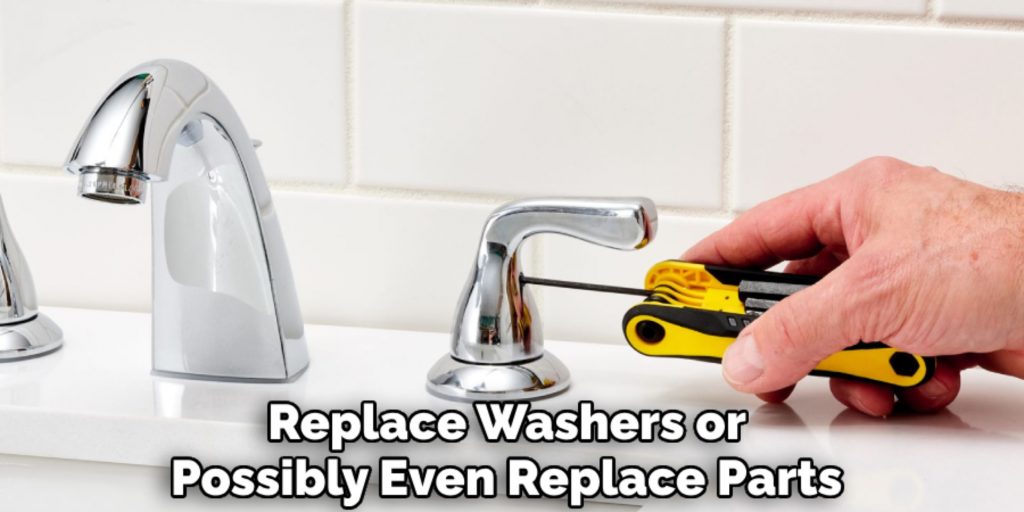
Understanding the specific issue—whether it’s a loose handle, a loose mounting, or both—will help guide the repair process. Identifying the problem will also determine whether you need to tighten screws, replace washers, or possibly even replace parts of the faucet.
3. Tighten the Handle Screws
If the faucet handle is loose, the most common cause is loose screws. Using a screwdriver, tighten the screws that secure the handle to the faucet body. These screws are often located under a decorative cap or cover. Gently tighten them clockwise, being careful not to overtighten, as this could strip the screws or damage the handle.
Once tightened, test the handle to ensure it operates smoothly and does not wobble. If the handle remains loose, you may need to investigate further to determine if other parts of the faucet are causing the issue.
4. Check and Tighten the Faucet Mounting Nuts
If the entire faucet assembly is loose, the issue may be with the mounting nuts securing the faucet to the bathtub. Locate the mounting nuts underneath the bathtub or behind the wall if you have access. Using a wrench, tighten the mounting nuts by turning them clockwise.
Ensure that the faucet is aligned properly and that it sits flush against the wall or tub. Tightening these nuts will secure the faucet in place and eliminate any wobbling. Be cautious not to overtighten, as this could damage the faucet or the bathtub.
5. Apply Thread Sealant
For faucets that continue to be loose despite tightening, applying thread sealant to the faucet threads can provide extra stability. Remove the faucet from the mounting and wrap the threads with plumber’s tape or thread sealant.
This helps to fill any gaps and creates a tighter seal when the faucet is reinstalled. Once the thread sealant is applied, reattach the faucet to the mounting and tighten the nuts securely. This method helps to ensure a snug fit and can prevent leaks or further loosening.
6. Replace Worn Washers or Gaskets
Worn washers or gaskets can cause a loose faucet by failing to create a proper seal. To address this issue, you’ll need to disassemble the faucet to access these components. Remove the handle and any other parts necessary to access the internal washers or gaskets.
Inspect them for wear, cracks, or damage. Replace any worn or damaged washers or gaskets with new ones, ensuring that they fit snugly into place. Reassemble the faucet and check for stability. Replacing worn components can often resolve issues with a loose faucet and restore proper function.
7. Check for Corrosion or Damage
Corrosion or damage to the faucet or mounting hardware can also cause looseness. Examine the faucet, mounting nuts, and surrounding areas for signs of corrosion, rust, or damage. If you notice any corrosion, you may need to clean or replace the affected parts.
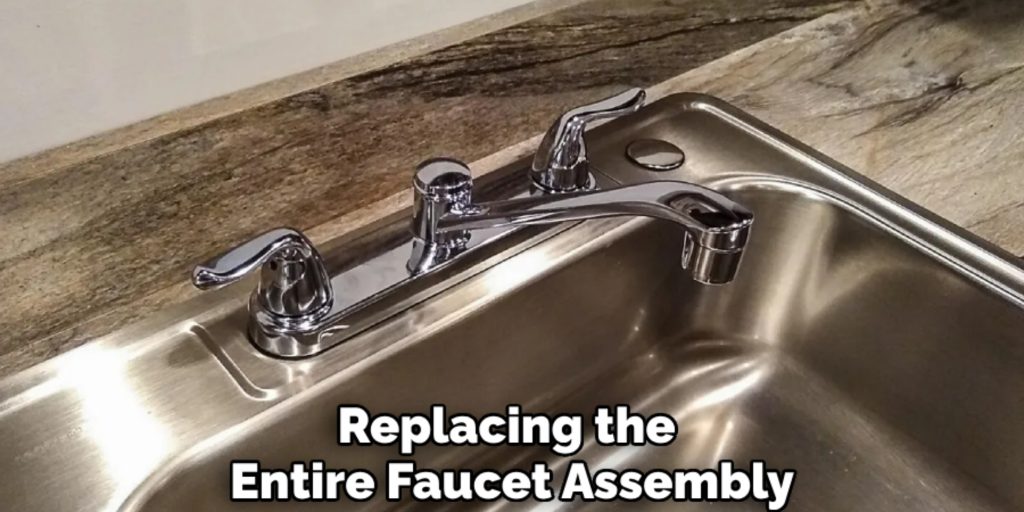
Use a rust remover or wire brush to clean off any corrosion, and replace any damaged components. If the faucet or mounting hardware is severely corroded or damaged, consider replacing the entire faucet assembly to ensure a secure and functional installation.
8. Reinforce with a Faucet Repair Kit
If the faucet remains loose despite your best efforts, using a faucet repair kit can provide additional support. These kits often include various components, such as mounting brackets or stabilizers, designed to reinforce the faucet and improve stability.
Follow the instructions provided with the repair kit to install the additional components. These kits can help address underlying issues that may not be visible during a standard repair and can provide a more permanent solution for a loose faucet.
9. Seal Any Gaps with Caulk
To prevent water from seeping behind the faucet and causing damage, apply a bead of silicone caulk around the base of the faucet where it meets the bathtub. Use a caulking gun to apply a thin, even bead of caulk around the faucet base. Smooth the caulk with your finger or a caulking tool to ensure a clean and effective seal. Allow the caulk to dry completely before turning the water supply back on. This step not only helps to secure the faucet but also prevents water damage and leaks.
10. Test the Faucet and Make Final Adjustments
After completing the repair work, turn the water supply back on and test the faucet to ensure it operates correctly. Check for any leaks around the faucet and handle. Test the handle to ensure it operates smoothly and that the faucet is securely mounted.
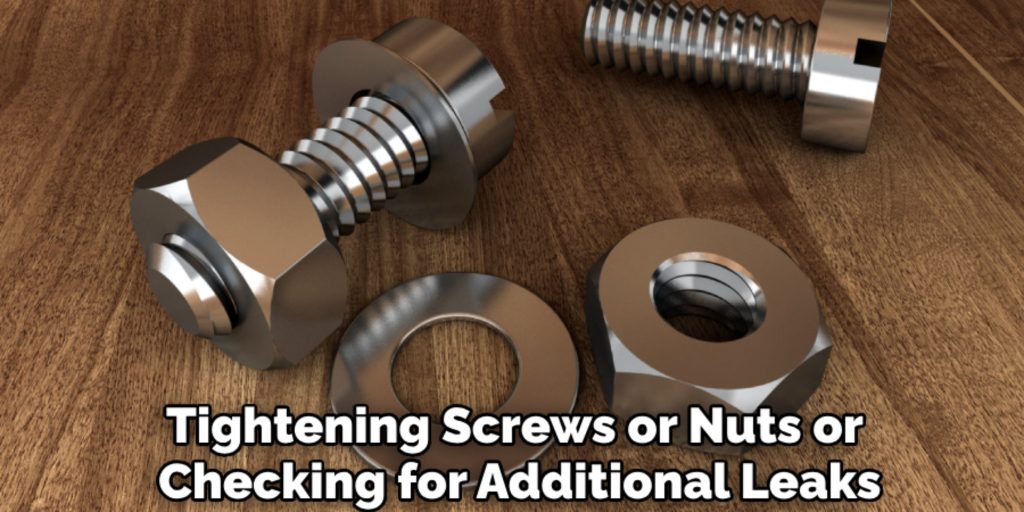
If you notice any issues, such as continued wobbling or leaks, make any necessary adjustments. This may involve tightening screws or nuts, adjusting the handle, or checking for additional leaks. Ensure that the faucet is fully functional and that there are no signs of instability before completing the repair.
Conclusion
Fixing a loose bathtub faucet involves a series of methodical steps, from turning off the water supply to making final adjustments. Each method addresses specific aspects of the faucet’s stability, from tightening screws and mounting nuts to applying thread sealant and replacing worn parts. By following these ten methods, you can ensure that your bathtub faucet is securely fixed, preventing leaks and ensuring reliable performance. Hopefully, this article gave you some helpful tips about how to fix loose bathtub faucet successfully, so now that you have the proper knowledge on how to get the job done, why not give it a try today?

