Unclogging a sink clogged with grease presents unique challenges that many homeowners face. Grease, when washed down the drain, cools and solidifies inside the pipes, creating stubborn blockages.

This leads to slow drainage, results in unpleasant odors, and can even cause significant damage to your plumbing system if left unaddressed. Understanding how grease clogs form and knowing how to unclog a sink that has grease in it is essential for restoring proper drainage and preventing further plumbing issues.
In this article, we will explore effective methods and tools to tackle these stubborn clogs, including techniques using hot water, a baking soda and vinegar solution, plunging, and professional plumbing snakes. By following these steps, you can maintain the functionality of your sink and avoid costly repairs down the line.
Understanding Grease Clogs
How Grease Clogs Form
Grease clogs develop when fats, oils, and grease (FOG) are washed down the drain. As these substances flow through the pipes, they cool and solidify, adhering to the interior walls of the plumbing. Over time, this accumulation restricts water flow, leading to increasingly severe blockages. The solidified grease can trap food particles and debris, compounding the issue and creating a stubborn clog that is difficult to remove.
Common Causes
Several everyday habits contribute to the formation of grease clogs. Common culprits include pouring cooking oil, butter, and other fatty residues down the sink. Additionally, food scraps containing grease, such as those left on dishes or pots, can easily enter the drain if not properly scraped off. Even washing greasy cookware can introduce fats into the plumbing system, ultimately leading to serious drainage issues if not managed accordingly.
Preventive Measures to Avoid Grease Clogs
Proper Grease Disposal
To prevent grease clogs, it is crucial to dispose of grease properly. Allow any leftover cooking grease or oil to cool down and solidify in a container. Once cooled, you can dispose of it in the trash instead of pouring it down the sink. This simple practice safeguards your plumbing from unnecessary clogs and keeps your drains flowing freely.
Use of Drain Screens
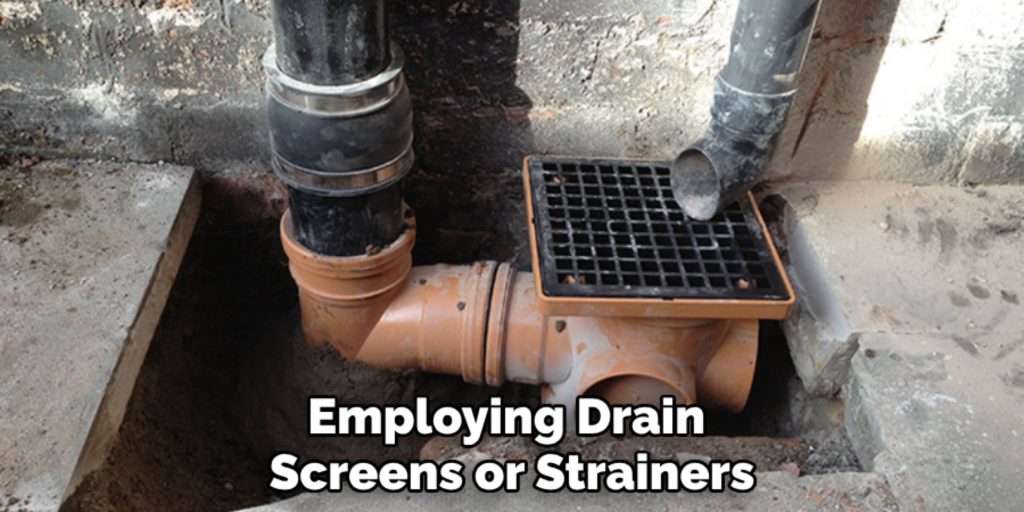
Employing drain screens or strainers is another effective preventive measure. By placing these devices over sinks, you can catch food particles and debris before they enter the plumbing system. This reduces the likelihood of grease and other materials adhering to the pipes, ultimately minimizing the chances of developing stubborn clogs. Regularly cleaning and maintaining these screens is essential to maintaining optimal drainage in your sink.

Initial Steps for Addressing the Clog
Turn Off the Water Supply
To begin addressing a grease clog effectively, it’s vital to turn off the sink’s water supply. This step prevents any additional water from flowing into the drain, which could worsen the blockage and create further complications during the unclogging process.
Remove Standing Water
Next, use a cup or bowl to remove any standing water from the sink. This will make it easier to access the drain and allow for better visibility of the clog, ensuring you can assess the situation accurately before proceeding with your chosen method.
Avoid Using the Garbage Disposal
If you suspect the clog is related to grease, it’s essential to avoid using the garbage disposal. Running the disposal could push the grease further down the pipes, intensifying the blockage and making resolving it more challenging. Instead, focus on the above initial steps for a more effective unclogging process.
How to Unclog a Sink that Has Grease in It: Using Hot Water and Dish Soap
Step 1: Boil Water
Begin by boiling a kettle of water. Ensure that you have enough to fill the sink at least halfway. The hot water will help to melt the grease clog, making it easier to clear the blockage in the pipes.
Step 2: Add Dish Soap
Next, add a generous amount of grease-cutting dish soap directly to the sink. The dish soap breaks down the grease and fats, enhancing the effectiveness of the hot water when poured into the drain.
Step 3: Pour Hot Water
Carefully and slowly pour the boiling water down the drain. Allow the heat and the soap to work together to dissolve the grease clog. You may need to repeat this process multiple times, especially with stubborn clogs, until drainage improves and your sink is flowing freely again.

Baking Soda and Vinegar Solution
Step 1: Prepare the Ingredients
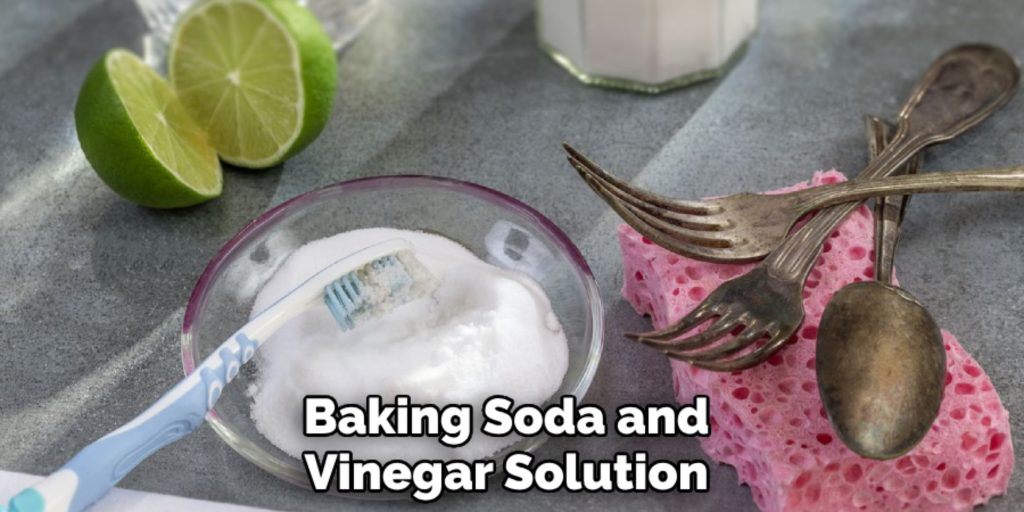
To effectively tackle grease clogs, gather two key ingredients: baking soda and white vinegar. These pantry staples are eco-friendly and powerful at breaking down stubborn grease blockages within your plumbing system.
Step 2: Pour Baking Soda
Start the unclogging process by pouring about half a cup of baking soda directly into the drain. The baking soda acts as a mild abrasive that begins breaking up the grease and softens the accumulated fats that have adhered to the pipe walls.
Step 3: Add Vinegar
Next, promptly pour one cup of white vinegar down the drain. The reaction between baking soda and vinegar will create fizzing bubbles, which helps to dislodge the grease and tackle any debris that may be contributing to the clog.
Step 4: Let the Mixture Sit
Allow the mixture to sit undisturbed for 15 to 30 minutes. This waiting period is crucial, as it gives the baking soda and vinegar time to work through the clog and break down the grease effectively.
Step 5: Flush with Hot Water
After letting the mixture sit, finish the process by flushing the drain with hot water. Pouring boiling water down the drain will help wash away the dissolved grease and any residual baking soda and vinegar.
Step 6: Repeat if Necessary
If the clog persists and drainage remains slow, don’t hesitate to repeat this process. Sometimes, stubborn grease clogs require a few applications of the baking soda and vinegar solution to achieve optimal results and restore proper flow in your sink.

Using a Plunger
Step 1: Fill the Sink with Water
Begin by filling the sink with enough water to cover the plunger’s cup, approximately one to two inches. This water is essential for creating the necessary seal for effective suction during plunging, ensuring the process will be as efficient as possible.
Step 2: Position the Plunger
Carefully position the plunger over the drain, making sure to create a tight seal around the opening. A proper seal is vital as it allows the pressure generated during plunging to be focused on dislodging the grease clog, maximizing the effectiveness of this method.
Step 3: Plunge the Drain
Use firm, quick motions to plunge the drain with the plunger securely in place. Push down and pull up vigorously, creating a suction that can help to break up the grease clog. Repeat this process several times until the clog is cleared and water flows freely through the drain.
Using a Plumbing Snake or Auger
Step 1: Insert the Snake or Auger
To begin tackling the grease clog with a plumbing snake or auger, carefully insert the end of the tool into the drain. Make sure to do this gently to avoid damaging the pipes.
Gradually push the snake or auger deeper into the drain until you encounter resistance, indicating that you’ve reached the grease clog. It’s important to maintain a steady hand to ensure proper insertion without causing any disruption to the plumbing.
Step 2: Rotate the Tool
Once the plumbing snake or auger is securely in place, grip the handle firmly and start to rotate it clockwise. This rotation is crucial, as it allows the tool to break up the grease and dislodge any debris that may be causing the blockage.
Continue rotating while applying gentle forward pressure, which helps to push through the clogged materials. Keep an ear out for sounds of breaking grease as you work the tool.
Step 3: Remove the Tool and Clean the Drain
After working the plumbing snake or auger through the clog, carefully pull it out of the drain. Observe the end of the tool for any grease, hair, or other debris that may have been collected.
If you see a significant amount of buildup, dispose of it properly. Use a damp cloth or an old sponge to clean the inside of the drain, ensuring that any remnants are removed to prevent further clogging.
Step 4: Flush with Hot Water
To complete the unclogging process, flush the drain with hot water. Pouring boiling water down the drain will help wash away any grease and debris the snake or auger may have dislodged.
This step is essential for ensuring that the pipes are clear and that water can flow freely through the system once again. Repeat this process if necessary to achieve optimal drainage.

Conclusion
In summary, several effective techniques exist for unclogging a sink with grease, including using hot water, baking soda, and vinegar solution, plunging, and employing a plumbing snake.
Each method tackles the greasy buildup in a unique way, adapting to the severity of the blockage. Regular maintenance and proper grease disposal can significantly reduce the risk of future clogs, ensuring your plumbing system remains in optimal condition.
Remember, if these methods do not resolve the issue, don’t hesitate to seek professional assistance to maintain your plumbing’s functionality. By understanding how to unclog a sink that has grease in it and following these methods, you can keep your drains flowing freely and efficiently.
