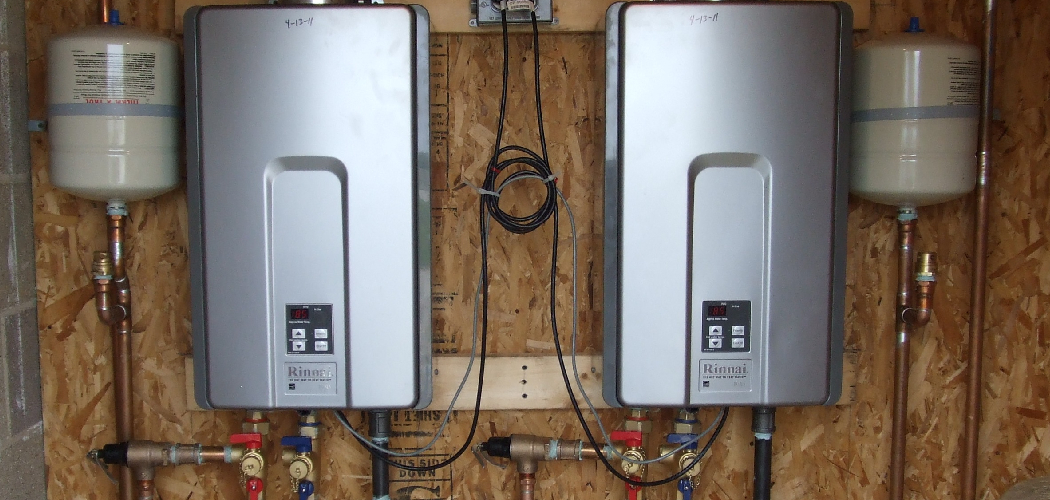
This article aims to guide homeowners through the benefits and process of installing a Rheem tankless water heater. These units are renowned for their energy efficiency, providing hot water only when needed, which can lead to substantial savings on energy bills.
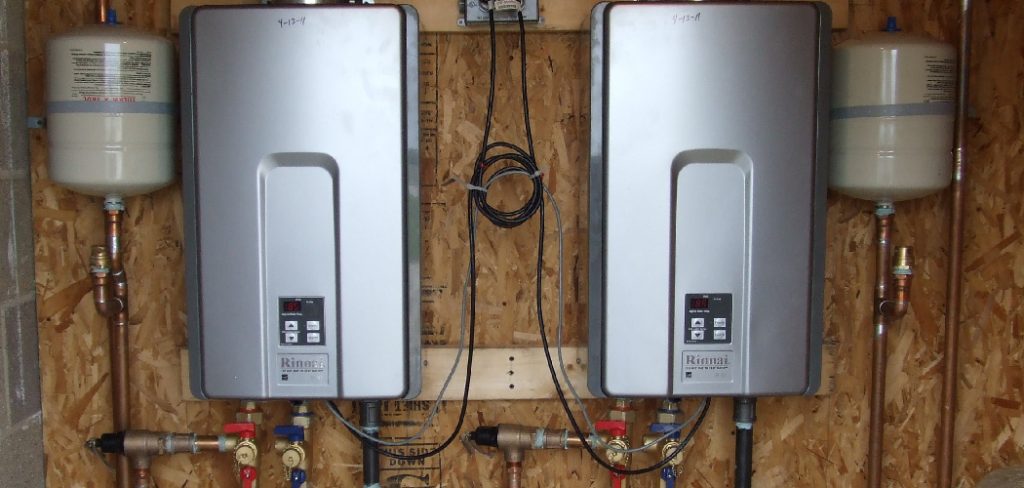
Additionally, they offer a continuous supply of hot water, eliminating the frustration of running out during peak usage times. Their compact design allows for flexible indoor or outdoor installation, freeing up valuable space in your home.
This article will provide a comprehensive overview of how to install rheem tankless water heater, covering essential preparations, step-by-step installation procedures, and important final checks. By following these guidelines, you will have a clearer understanding of how to effectively and safely install your new water heater, ensuring optimal performance and longevity.
Preparing for Installation
Thorough preparation is essential before starting the installation process. This will ensure a smooth and successful setup of your Rheem tankless water heater.
Step 1: Review Installation Manual
Start by carefully reviewing the installation manual provided by Rheem. This document contains crucial information tailored to your specific model, including assembly instructions, safety warnings, and requirements that must be adhered to during installation. Familiarizing yourself with this manual will equip you with the necessary knowledge to execute the installation process effectively and safely.
Step 2: Gather Tools and Materials
Next, gather all necessary tools and materials to facilitate the installation. You will need drill and drill bits for mounting, pipe wrenches and screwdrivers for tightening connections, plumbing fittings to connect water lines, and venting materials if your installation requires it.
Additionally, ensure you have electrical wiring and components ready for the electrical connections to the unit. Having these items on hand will streamline the installation process and minimize interruptions.
Step 3: Check Local Codes and Permits
Finally, it’s vital to check local building codes and obtain any necessary permits prior to commencing the installation. This step ensures compliance with regulations that govern plumbing and electrical work, which keeps your project legal and guarantees safety and reliability in the system you are installing.
Choosing the Installation Location
Choosing the right installation location for your Rheem tankless water heater is crucial for optimal performance and ease of access. Several factors to consider include whether to install the unit indoors or outdoors and its proximity to water supply lines and electrical power sources.
Indoor vs. Outdoor Installation
Consider space requirements and proper ventilation when deciding between indoor and outdoor installation. Indoor installations may require additional venting to direct exhaust gases safely outside, while outdoor units must be positioned in a location that shields them from harsh weather conditions and excess debris.
It’s essential to ensure adequate airflow around the unit to prevent overheating and to meet local building codes. Additionally, consider the available space for maintenance access; indoor units need sufficient clearance for servicing, while outdoor installations should be placed away from obstructions to allow for proper operation.
Proximity to Water Supply and Power Source
Placing the tankless water heater close to both the water supply and electrical power source is vital for minimizing installation complexity and ensuring efficient operation. A shorter distance between these connections can reduce the amount of pipe and wiring needed, thus saving on materials and labor costs.
It also helps maintain a steady flow of hot water without extended waiting times, thereby enhancing the unit’s energy efficiency. Careful consideration of the location can also facilitate easier troubleshooting and routine maintenance in the future.
How to Install Rheem Tankless Water Heater Installing Process
Step 1: Mounting the Unit
Begin by securely mounting your Rheem tankless water heater to the wall or a stand, ensuring that it is level for optimal performance. Use a level tool to confirm proper alignment and mark the mounting bracket location on the wall.
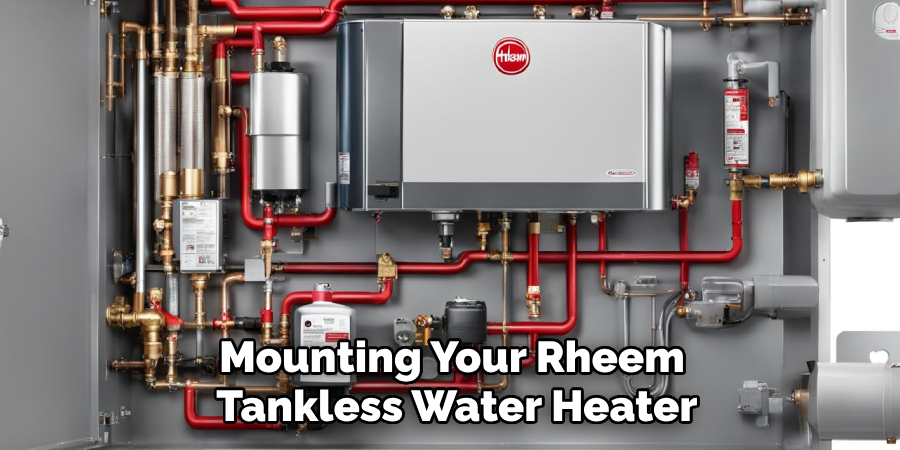
If a mounting bracket was provided with your unit, attach it according to the instructions in the installation manual. Drill the necessary holes and use appropriate anchors to support the heater’s weight. Once the bracket is secured, carefully lift the unit into place, ensuring that all screws are tightened and the heater is firmly anchored.
Step 2: Connecting the Water Lines
Next, connect the cold and hot water supply lines to the unit. Start by identifying the inlet and outlet connections on the Rheem tankless water heater. Use appropriate fittings that comply with local plumbing codes, and ensure that the threads are clean.
Wrap Teflon tape around the threads of the fittings to create a watertight seal, and then securely fasten the water lines to the unit. It is crucial to double-check that all connections are tight to prevent leaks. Once attached, turn on the water supply to the unit and check for any signs of leaking at the joints.
Step 3: Electrical Wiring
Once the water lines are connected, it’s time to address the electrical requirements. Following the manufacturer’s instructions, connect the electrical wiring to the unit, ensuring that all voltage and amperage specifications are met. Before beginning this step, turn off the power supply to avoid any risk of electrical shock.
Use caution when handling the electrical components, and ensure that all connections are secure and well-insulated. If you’re uncertain about any aspects of the electrical work, it may be wise to consult a licensed electrician to ensure compliance with local electrical codes and safety standards.
Step 4: Installing the Venting System
If your Rheem tankless water heater requires a venting system, you’ll need to install this next. Start by connecting the vent pipes according to the installation manual, ensuring that they are properly secured and sealed to prevent exhaust leakage. Maintaining the correct clearance from combustible materials as specified in local building codes is essential.
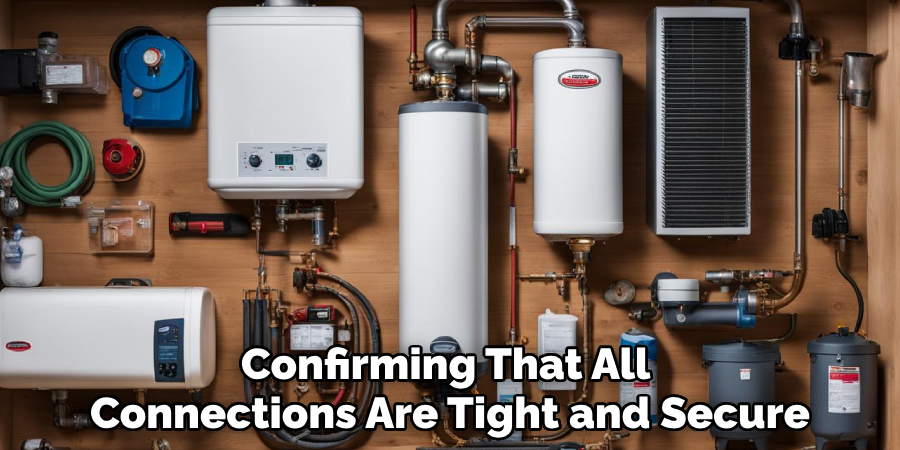
Follow the manufacturer’s guidelines for the venting configuration, confirming that all connections are tight and secure. Regularly check the venting system for blockages or wear, as proper venting is critical for the safe operation and optimal efficiency of your tankless water heater.
Finalizing the Installation
Step 1: Insulate Pipes
Once the installation is complete, insulating the water supply pipes is crucial for preventing heat loss and improving the overall energy efficiency of your Rheem tankless water heater. Using pipe insulation sleeves or wraps can significantly reduce the amount of heat lost as hot water travels from the heater to the outlets.
Ensure that all exposed pipes, especially those that run through unheated areas such as basements or attics, are adequately covered. This simple step enhances efficiency and helps maintain a consistent water temperature, providing better comfort for your household.
Step 2: Clean Up and Inspection
After finishing the installation, it’s important to clean up the workspace by removing any debris, tools, or leftover materials. A tidy installation area improves safety and creates a more professional finish. Take the time to perform a final inspection of the entire system.
Check all connections to ensure they are secure and free from leaks. Verify that the unit is operating correctly by turning it on and testing the hot water flow from various fixtures. Address any issues immediately, as catching problems early can prevent more significant complications down the line.
Maintenance and Operation
Routine Maintenance
Regular maintenance is essential to ensure the longevity and efficiency of your Rheem tankless water heater. Schedule descaling of the unit at least once a year to remove mineral buildup, especially if you live in an area with hard water.
Also, regularly check for leaks around the connections and fittings and verify that the venting system is clear of obstructions. This proactive approach can help maintain optimal performance and prevent potential issues.
Operating Tips
For efficient operation, set the temperature of your tankless water heater to a comfortable and safe level, typically between 120°F and 140°F (49°C to 60°C). This balance helps avoid scalding while ensuring an adequate hot water supply.
Be sure to follow the manufacturer’s guidelines during operation, particularly regarding the simultaneous use of hot water fixtures to prevent temperature fluctuations. Proper usage of the unit will enhance both performance and energy efficiency, ultimately reducing operational costs.
When to Call a Professional
Complex Installations
It’s advisable to enlist the services of a professional when facing complex installations or encountering challenges during the setup process, particularly with electrical wiring or venting systems.
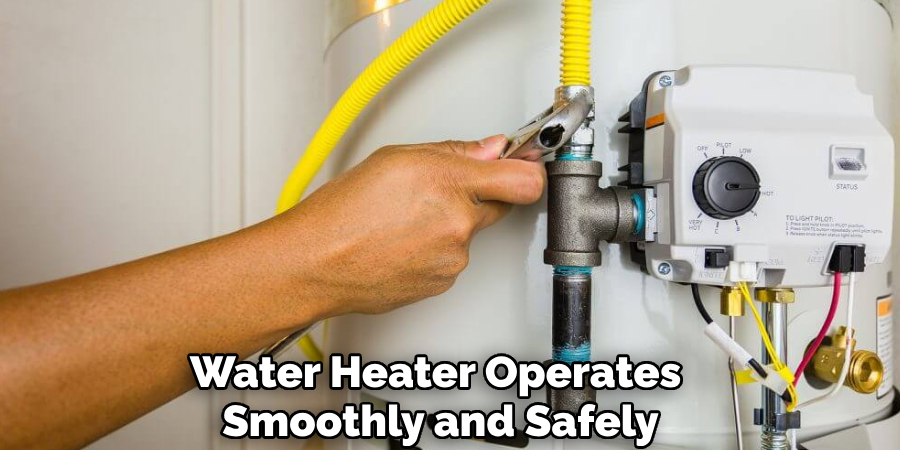
These tasks can involve intricate details that, if mishandled, may result in malfunctions or hazardous conditions. A qualified technician brings the necessary expertise and experience to manage these components effectively, ensuring your Rheem tankless water heater operates smoothly and safely.
Compliance with Codes
Consulting a professional is also recommended to guarantee that your installation adheres to local building codes and safety standards.
If you’re uncertain about the installation requirements or the codes that apply to your area, a licensed plumber or electrician can provide valuable guidance. This step not only ensures compliance but also protects you from potential fines and ensures the safety and efficiency of your system.
Conclusion
In summary, installing a Rheem tankless water heater involves several key steps: preparing the workspace, selecting an appropriate location, connecting water lines and electrical wiring, installing the venting system, insulating pipes, and conducting a thorough inspection of the finished installation.
Each of these steps plays a crucial role in ensuring a successful setup and optimal performance. We encourage readers to follow the outlined steps carefully to avoid complications and enhance the efficiency of their water heater. Remember, regular maintenance is vital; it keeps your tankless water heater functioning efficiently and extends its lifespan.
For more detailed guidance, consult resources on how to install Rheem tankless water heater, ensuring you get the most out of your investment. Taking these precautions will lead to satisfactory long-term results and a reliable hot water supply for your household.
check it out to Tankless Water Heater

