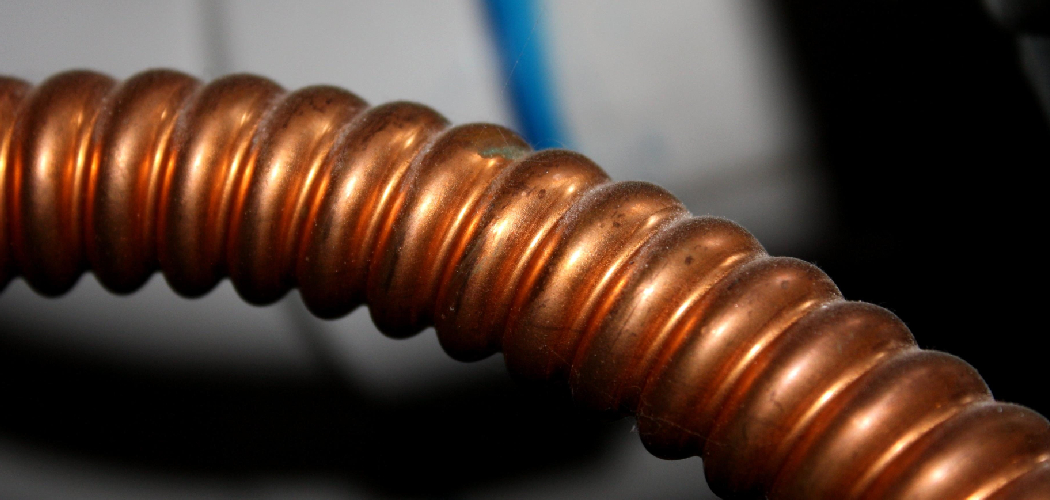
Flaring copper pipes is a fundamental technique in plumbing and HVAC systems, crucial for creating secure, leak-free connections between components. By expanding the end of the pipe into a conical shape, flaring ensures that fittings are tightly sealed, preventing costly leaks and inefficiencies.
However, there may be times when access to a dedicated flaring tool is not possible—whether during emergency repairs or while embarking on DIY projects. In such scenarios, knowing how to flare copper pipe without tool can be incredibly valuable.
This article will explore several methods and techniques for flaring copper pipes using common household items, providing step-by-step guidance for safe and effective results. From using tapered objects to employing heat, readers will gain practical insight into improvising without specialized equipment while maintaining the integrity of their plumbing systems.
Understanding the Basics of Flaring Copper Pipe
What is Flaring?
Flaring is a process used to expand the end of a copper pipe, shaping it into a conical form that fits securely into a flare fitting. This technique is essential for ensuring leak-free connections in various plumbing and HVAC applications, where the integrity of the seal is critical to the system’s efficiency and safety.
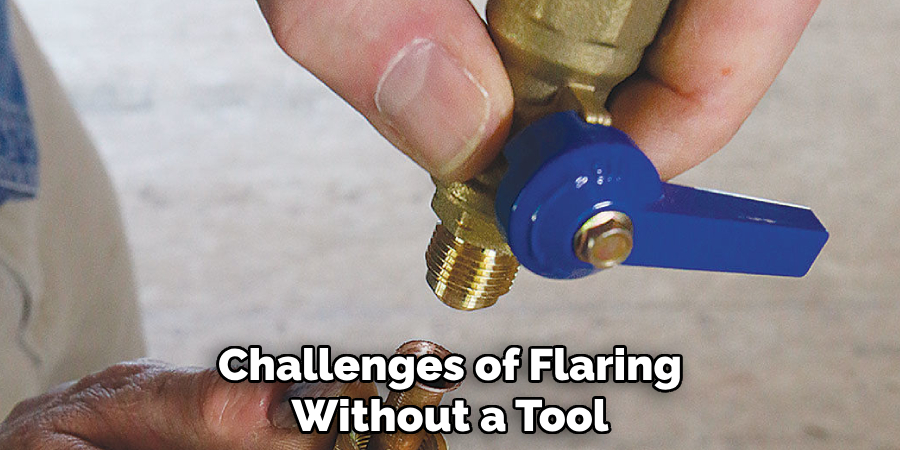
Challenges of Flaring Without a Tool
Attempting to flare copper pipes without a dedicated tool introduces several challenges and risks. Without the precision of a proper flaring tool, there is a higher chance of creating uneven flares, leading to weak seals and potential leaks. Additionally, the lack of control during the flaring process can damage the pipe, compromising its structural integrity and leading to further complications.
Materials Needed for Flaring Without a Tool
Basic Tools and Materials
A few essential items are required to successfully flare copper pipe without a dedicated tool. A sturdy clamp or vise is crucial for securely holding the pipe in place during flaring. A hammer and a tapered punch or conical object will be needed to expand the pipe’s end gradually. Additionally, sandpaper or a file is necessary for preparing the pipe, ensuring the end is smooth and free of any debris or sharp edges that could interfere with the flare.
Safety Equipment
Safety should always be a priority when working with copper pipes, especially when using improvised tools. While handling the pipe and tools, it’s important to wear protective gloves to shield your hands from sharp edges and potential injuries.
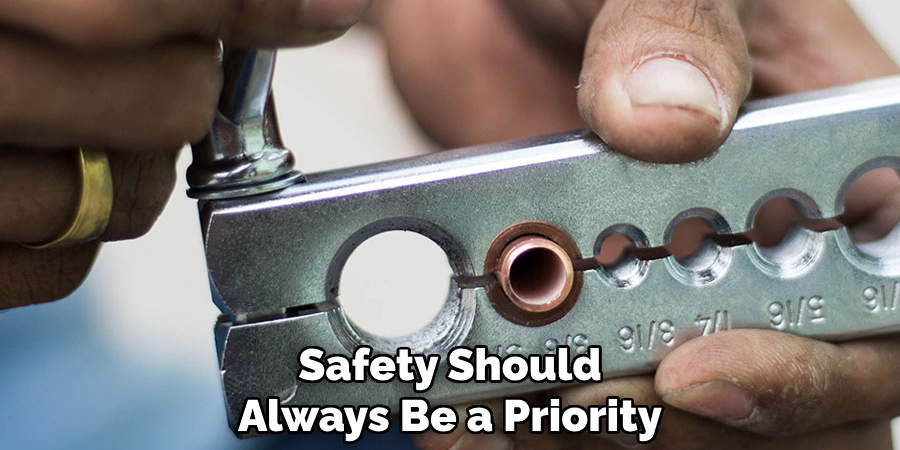
Eye protection is essential to guard against flying debris or accidental impacts while hammering. Equipping yourself with the appropriate safety gear can help mitigate risks and ensure a safer working environment throughout the flaring process.
How to Flare Copper Pipe without Tool: Using a Tapered Object and Clamp
Step 1: Secure the Copper Pipe
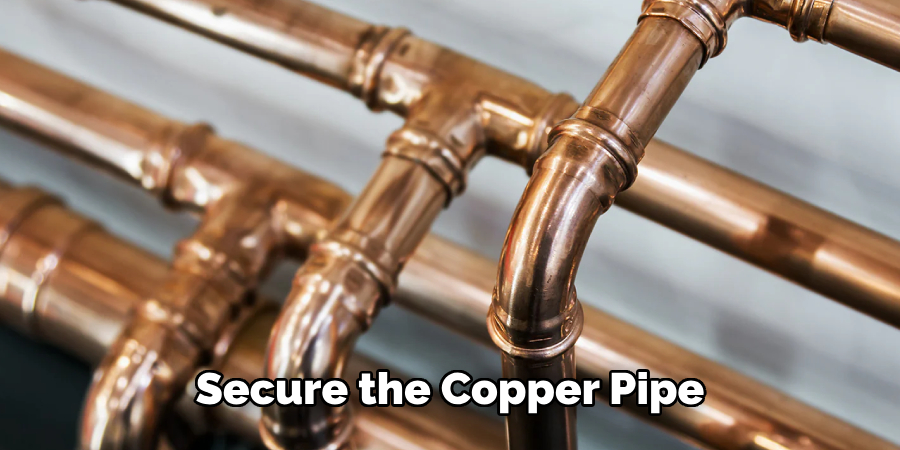
To begin the flaring process, it’s crucial to securely clamp the copper pipe to prevent any movement while you work. If you have a vise, position the pipe in it so that the end you wish to flare is protruding and accessible. Tighten the vise firmly, ensuring the pipe is securely in place. If you don’t have a vise, a strong clamp can be placed as close to the flare point as possible to provide stability.
It’s important to protect the pipe from damage during this step; consider placing a cloth or padding between the clamp and the pipe to avoid crushing or leaving marks on the copper.
Step 2: Prepare the Pipe End
Once the pipe is secured, the next step is to prepare the end of the copper pipe for flaring. Start by sanding or filing the edge to eliminate any burrs or rough spots that could hinder a proper seal once flared. A smooth edge is essential for achieving a reliable connection with flare fittings. Use fine-grit sandpaper or a metal file for this task, taking care to smooth out the end thoroughly.
After sanding, clean the pipe to remove any debris or dust, ensuring the surface is clean and ready for flaring. This preparation is a critical step to ensure the quality of the flare.
Step 3: Form the Flare with a Tapered Object
With the pipe prepared, you can now begin to form the flare using a tapered punch, chisel, or any conical-shaped object that fits snugly into the pipe. Insert the tapered object into the end of the copper pipe and, using a hammer, gently tap the object to begin expanding the end of the pipe. Working slowly and evenly during this process is essential to achieve a uniform flare.
Tap gently until the desired flare shape is formed, continuously checking for evenness. Rushing can easily lead to an uneven or lopsided flare, which may compromise the seal’s effectiveness. Maintaining a steady, controlled approach ensures a clean and effective flare ready for connection to fittings.
How to Flare Copper Pipe without Tool: Using Heat and a Tapered Mandrel
Step 1: Secure and Prepare the Pipe
Just as in the first method, securely clamping the copper pipe is essential for effective flaring. Position the pipe in a vise or a strong clamp, ensuring the end intended for flaring extends beyond the clamping point for easy access. Tighten the clamp or vise sufficiently to hold the pipe firmly in place while preventing any movement. It is recommended to use protective padding, such as a cloth, between the clamp and the pipe to avoid any damage.
Following this, prepare the end of the pipe for flaring by sanding or filing it until smooth. A sharp, clean edge is vital for a successful flare as it helps create a better seal with flare fittings later. Ensuring that safety measures are taken is crucial; wear gloves and safety glasses to protect yourself from any sharp edges and debris during the preparation phase.
Step 2: Heat the Pipe End
Once the pipe is secured and prepared, the next step involves heating the end of the copper pipe. This process requires a propane torch or another suitable heat source. Carefully apply an even flame around the end of the pipe, ensuring that the heat is distributed uniformly. Keep the torch moving continuously to avoid overheating any specific area of the pipe, which could weaken the material. As you heat the copper, watch for a color change—copper typically turns a dull red when it reaches the right temperature and becomes malleable.
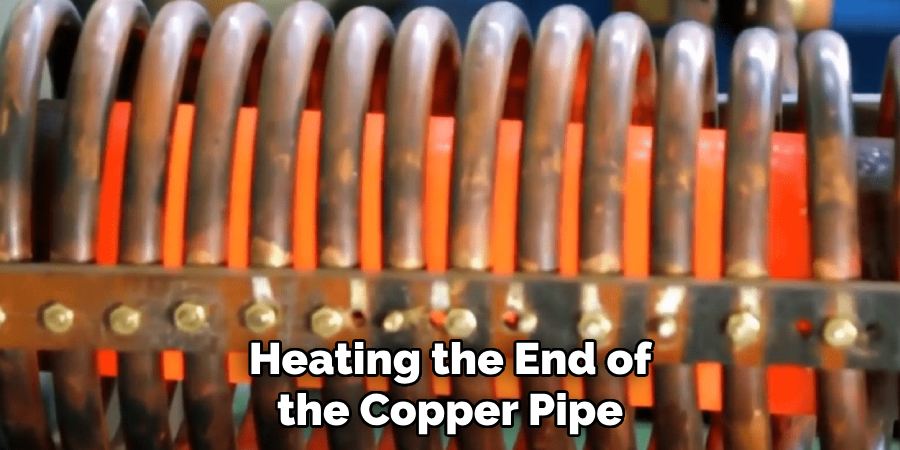
Be cautious—overheating can lead to structural weaknesses, compromising the pipe’s integrity. Conducting this heating process in a well-ventilated area is advisable, as the flames can produce smoke or fumes. Always keep safety equipment nearby, such as a bucket of water or a fire extinguisher, to address any unintended incidents during this step.
Step 3: Expand the Pipe Using a Tapered Mandrel
After the pipe has reached the desired temperature, it’s time to expand it using a tapered mandrel. Carefully insert a cone-shaped metal object or a tapered mandrel into the heated end of the copper pipe. It’s important to ensure that the mandrel fits snugly inside the pipe. Then, gently tap the mandrel using a hammer to begin the flaring process. Take your time and strike slowly, maintaining even pressure to achieve a uniform flare shape. Rushing this step can lead to uneven results or even damage to the pipe.
After the flare has been formed to your satisfaction, allow the pipe to cool naturally or submerge it gently in water to help harden the flare. This cooling process solidifies the new shape, ensuring a reliable, leak-free connection for future fittings. By following these steps with care, you can successfully create a solid flare in the copper pipe without a dedicated flaring tool.
Common Mistakes to Avoid
Uneven Flares
One of the most frequent mistakes made during flaring is creating uneven flares, which can compromise the seal with fittings. This issue often arises from a rushed procedure or a lack of careful observation during the tapping process. To avoid this, working slowly and evenly when using the tapered object is essential. Regularly check the flare’s symmetry as you proceed, adjusting your technique to ensure a uniform shape before finishing.
Overheating the Pipe
Overheating the copper pipe is another common error, as excessive heat can weaken the material and lead to failure under pressure. To control the heat effectively, use a propane torch to apply an even flame, keeping the torch in constant motion to prevent any one spot from overheating. Monitor the copper closely; once it reaches a dull red color, it’s a sign that it is sufficiently malleable without risking damage. Taking these precautions will ensure a successful flaring process.
Conclusion
In summary, we explored two effective methods for learning how to flare copper pipe without tool. The first method involves preparing the pipe by sanding the end smoothly, then using a tapered object to gradually form the flare through careful tapping. The second technique necessitates heating the pipe to a malleable state before inserting a tapered mandrel and expanding the flare with gentle pressure.
While these methods demonstrate that it is indeed possible to create flares without dedicated tools, practicing these techniques will help enhance your proficiency and ensure reliable results. Always remember that safety is paramount; wear protective gear, including gloves and safety glasses, and work in a well-ventilated environment.
Investing in the proper flaring tools is recommended for optimal quality and consistency. With practice and caution, you can achieve effective and solid flares that will serve your plumbing needs well.

